
How to Track a Crochet Pattern You Bought (PDF Row Counter)
Bought a crochet pattern as a PDF? Copy its rows, paste them into Crochet Bobble as a private copy, and track your place row by row and stitch by stitch while a picture of your piece fills in.*
* For tracking your own making only. Paste only a pattern you bought or have the right to use. Your copy stays private and stays its designer's: it can't be shared, sold, published, printed or exported from Crochet Bobble.
You found the perfect pattern, you paid for it, and now it's a PDF on your phone. I love following a bought pattern in Crochet Bobble, because the app remembers my place for me, row by row and stitch by stitch. You copy the rows out of the PDF, paste them in, give them a quick read, and start crocheting.
A pattern you paste stays its designer's. Crochet Bobble keeps it as a private copy, only for you to follow and track while you make it. You may not share it, sell it or give it away.
What you need
- The pattern as a PDF (or an email or web page) that lets you select and copy its words.
- A Crochet Bobble toolbox membership.
If your PDF won't let you copy anything, skip down to when a PDF won't let you copy.
Copy the rows out of your PDF
Copy from the top of the pattern down to the last row or round. The title, yarn, hook and size lines at the top are welcome. Crochet Bobble reads those for the pattern's details and leaves them out of the rows.
On a phone:
- Open the PDF in your PDF viewer.
- Press and hold on the first word you want until it highlights.
- Drag the end handle down to the end of the last row. The page scrolls as you drag.
- Tap Copy.
On a computer:
- Open the PDF in your browser or PDF reader.
- Click just before the first word, hold the mouse button, and drag to the end of the last row. Or click before the first word, then hold Shift and click after the last row.
- Press Ctrl+C (Cmd+C on a Mac).
Tip: If the pattern is printed in two columns side by side, copy one column at a time. Copying across both columns can mix their lines together, so a row ends up with words from its neighbor.
Open Paste instructions
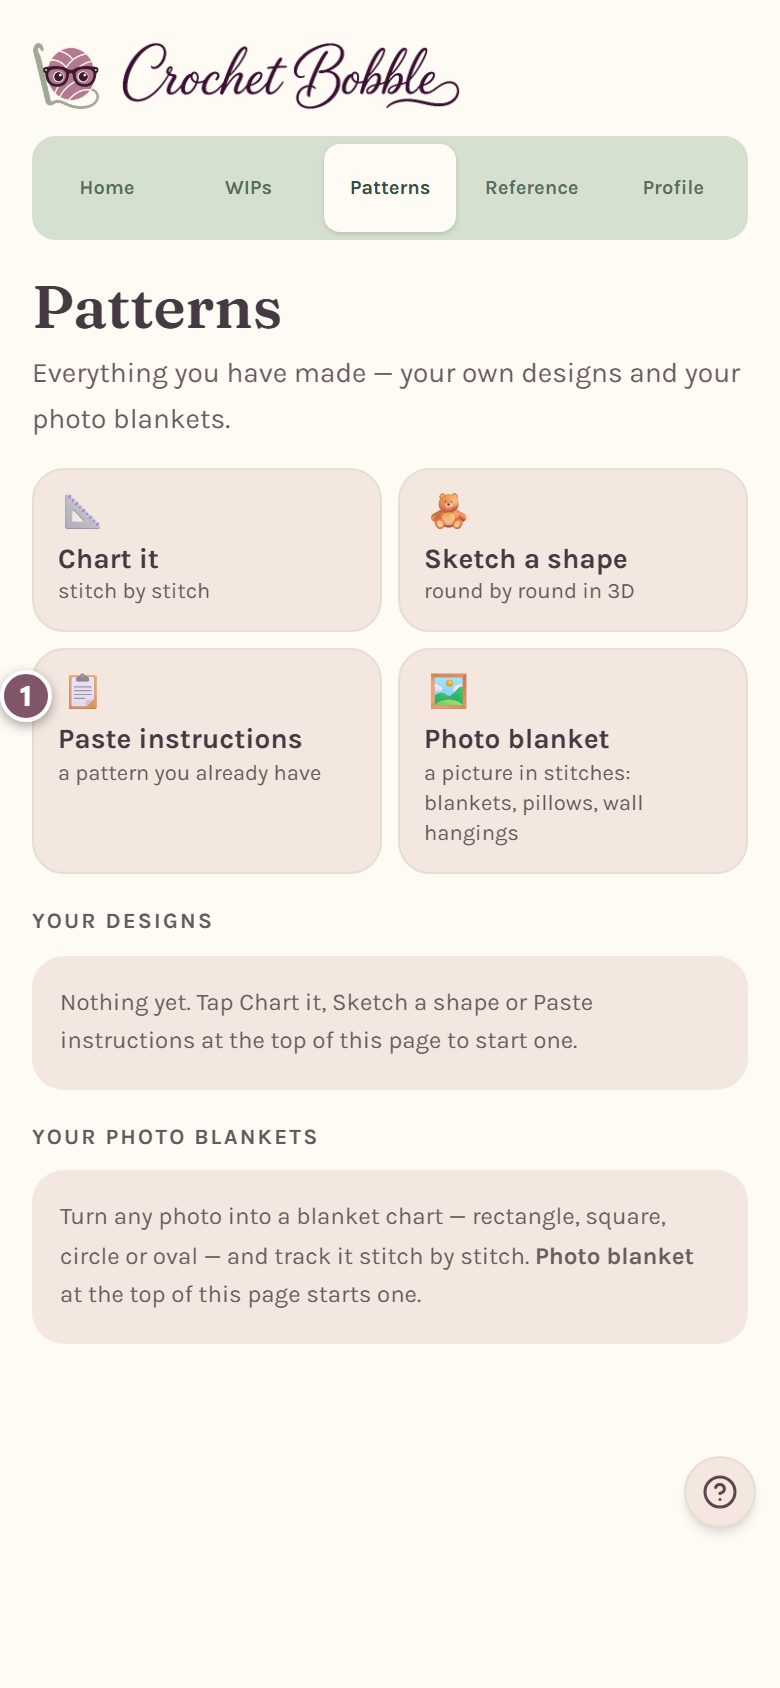
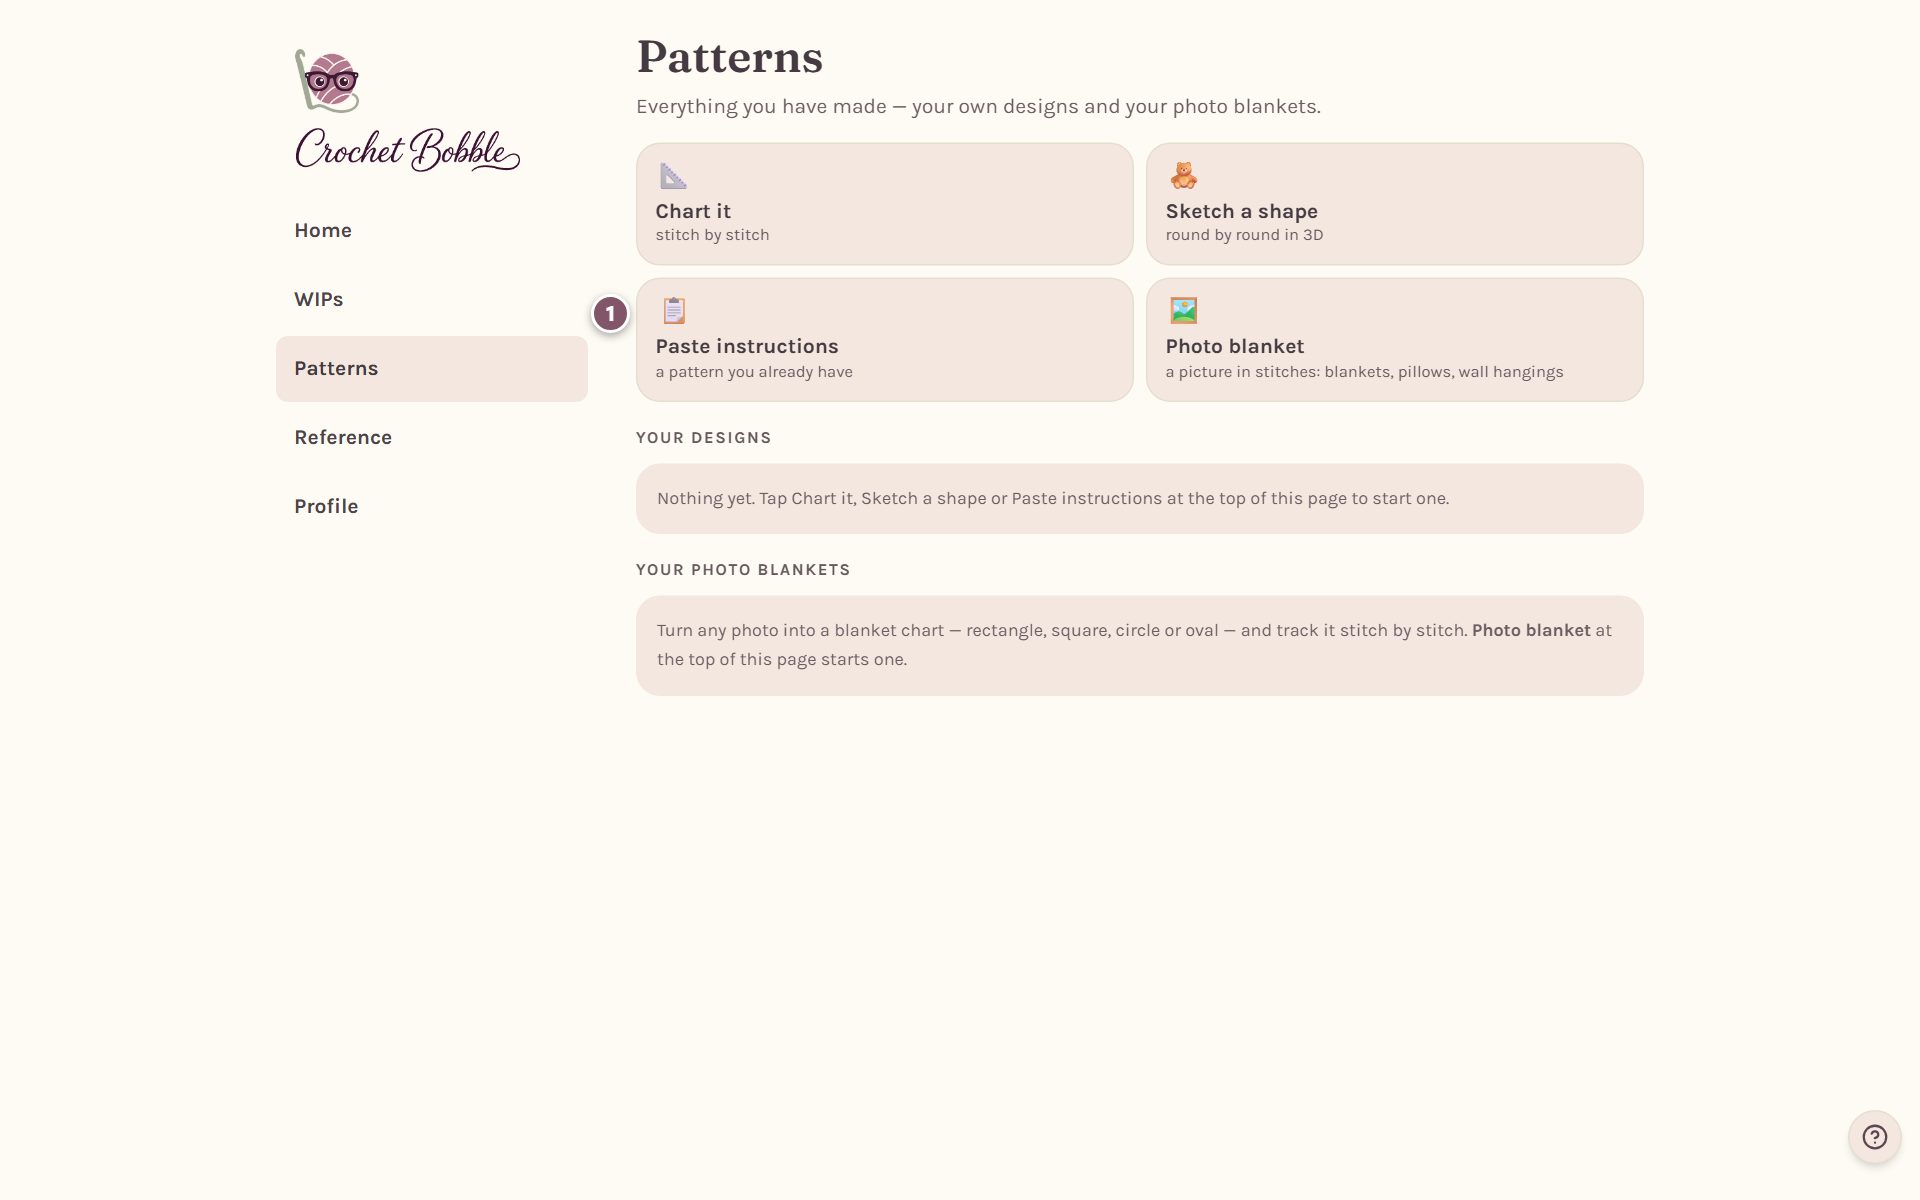
- Open the Patterns tab.
- Tap Paste instructions.
Paste the pattern
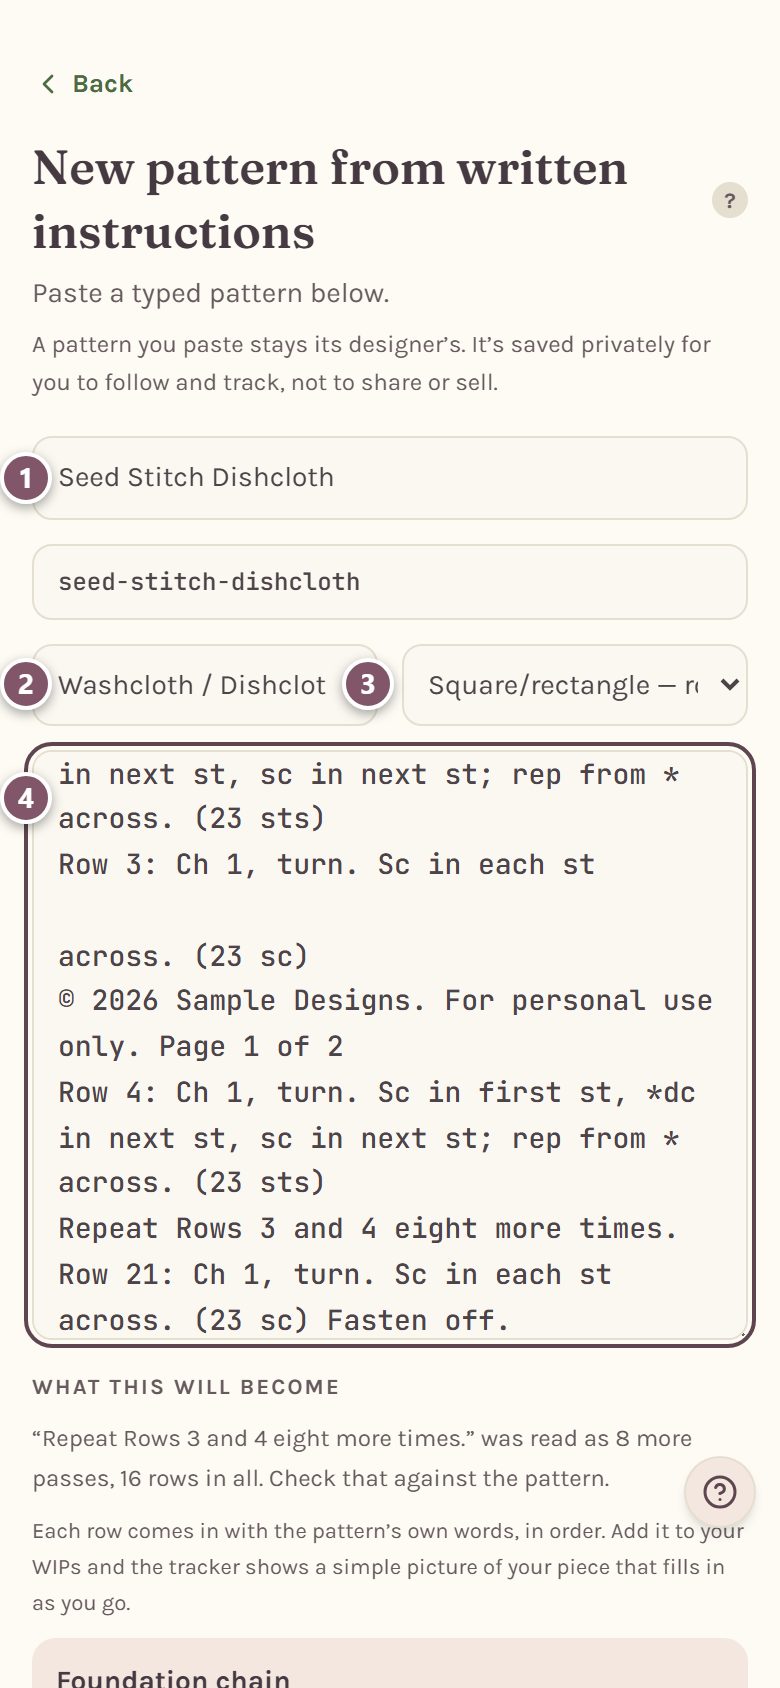
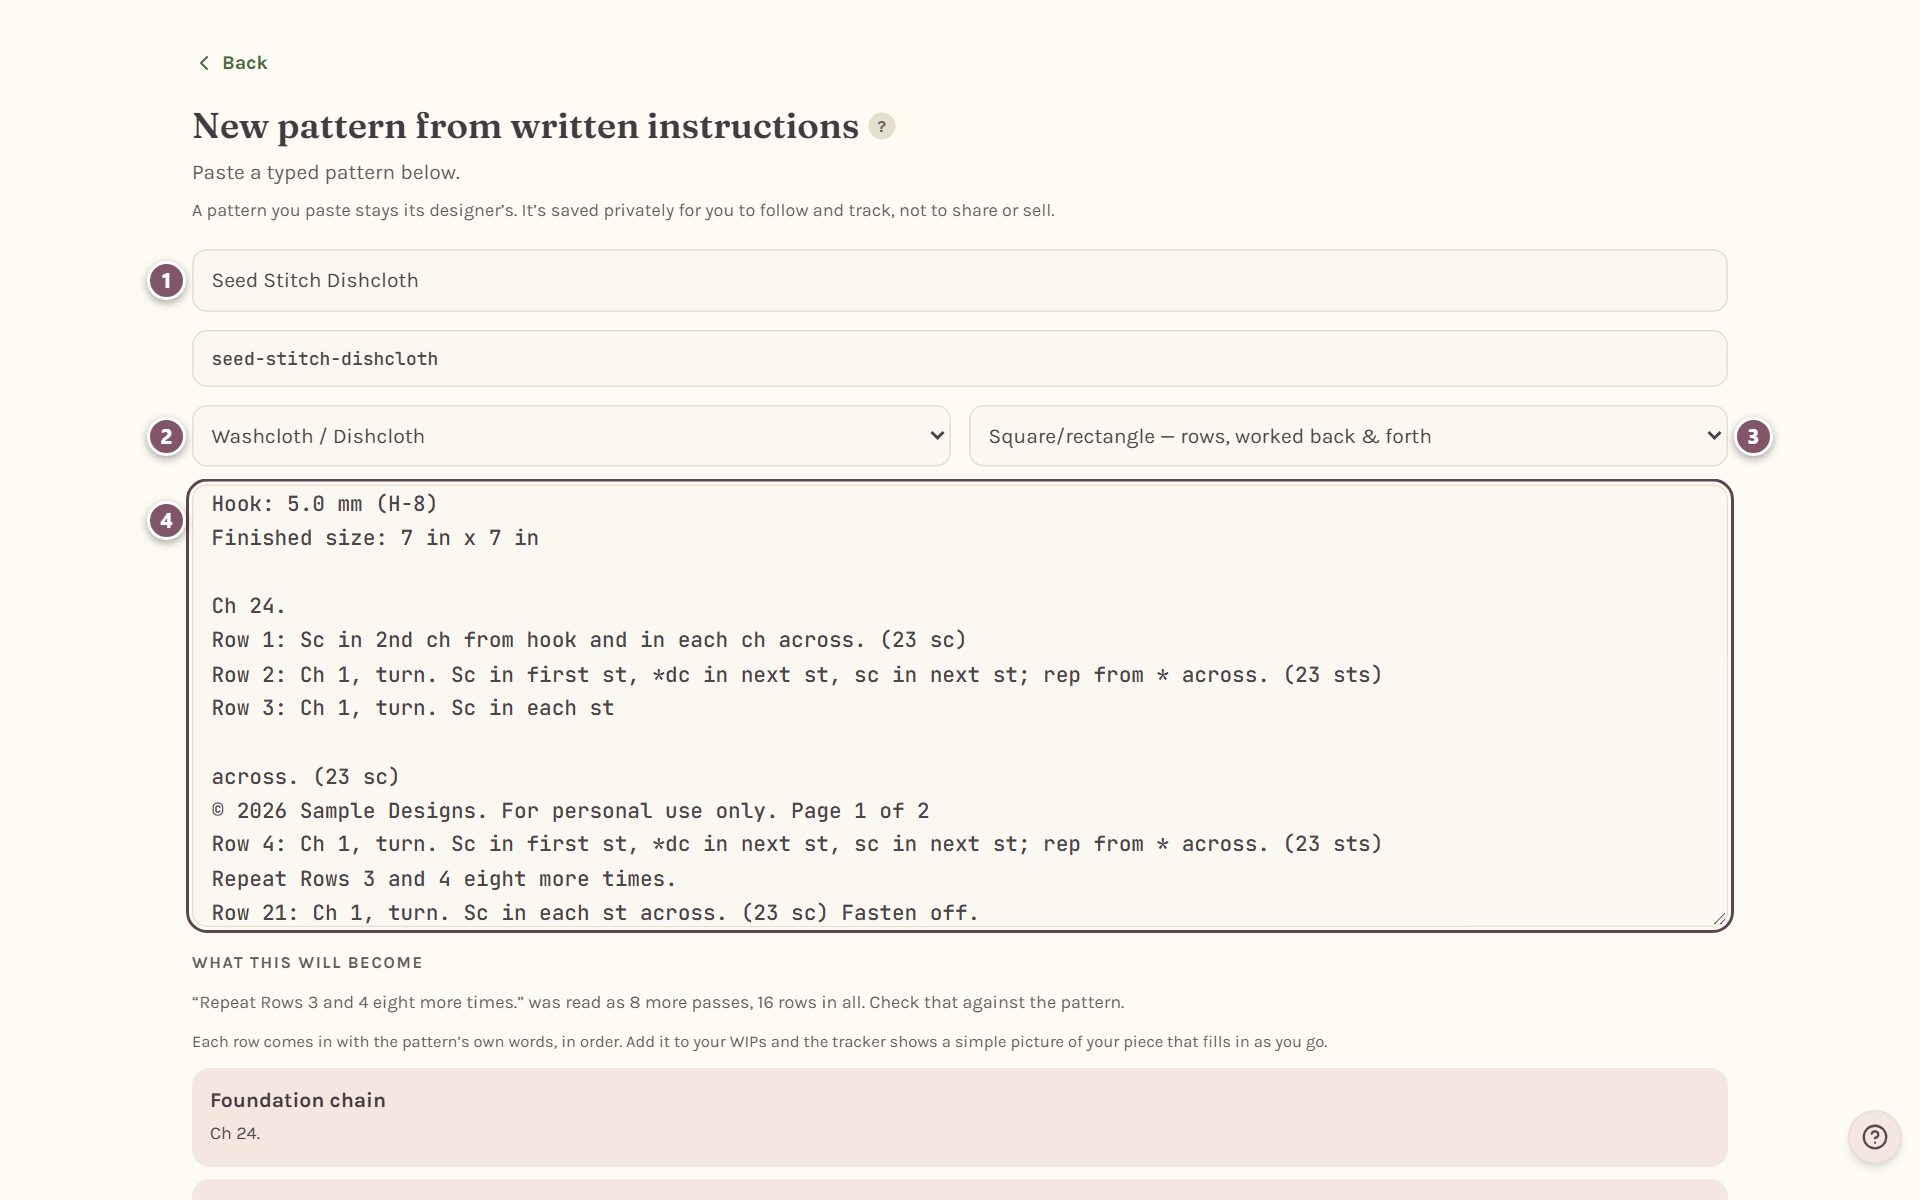
- The Pattern title fills in from the first line of what you paste. Change it if you like.
- Pick a Project type, like Washcloth / Dishcloth.
- Pick the shape: Square/rectangle — rows, worked back & forth for a pattern in rows, or one of the round shapes for a pattern worked in rounds.
- Paste into the big box. Press and hold in it and tap Paste, or press Ctrl+V (Cmd+V on a Mac).
You don't have to clean up what a PDF does to the text. Here's how the app reads it:
- A row starts wherever a line begins with Row, Rnd, Round or R and a number, like "Row 4:" or "Rnd 12". Capital letters and a bullet in front, like "• Row 4", are fine.
- A row broken over two lines, even with a blank line in the middle, is joined back together.
- Page numbers are taken out. Copyright, "purchased by" and "for personal use only" lines are kept with the pattern, apart from the rows.
- A chain line before Row 1, like "Ch 24.", becomes the foundation chain.
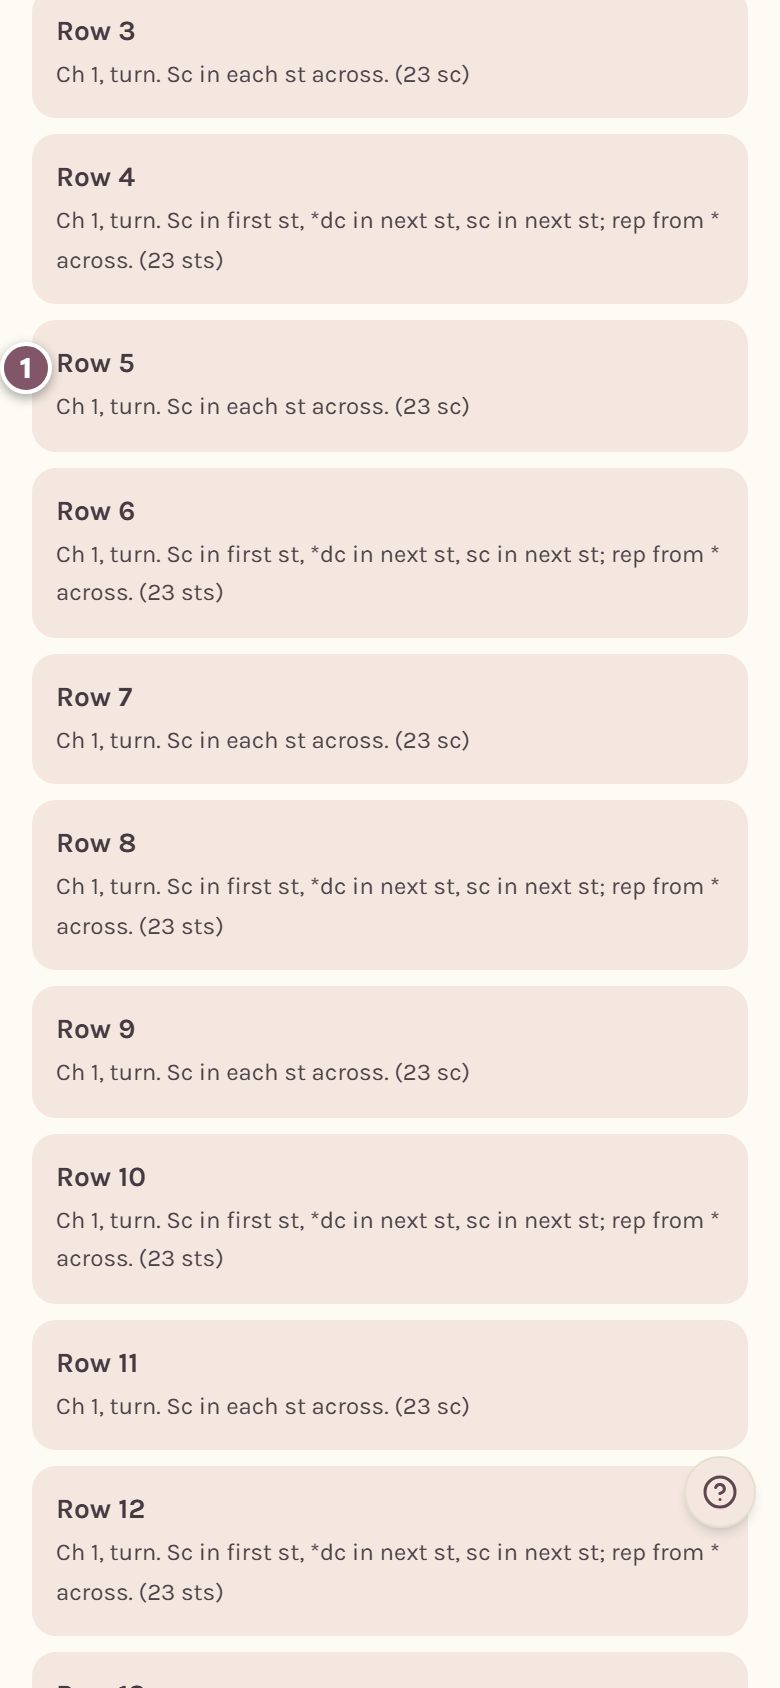
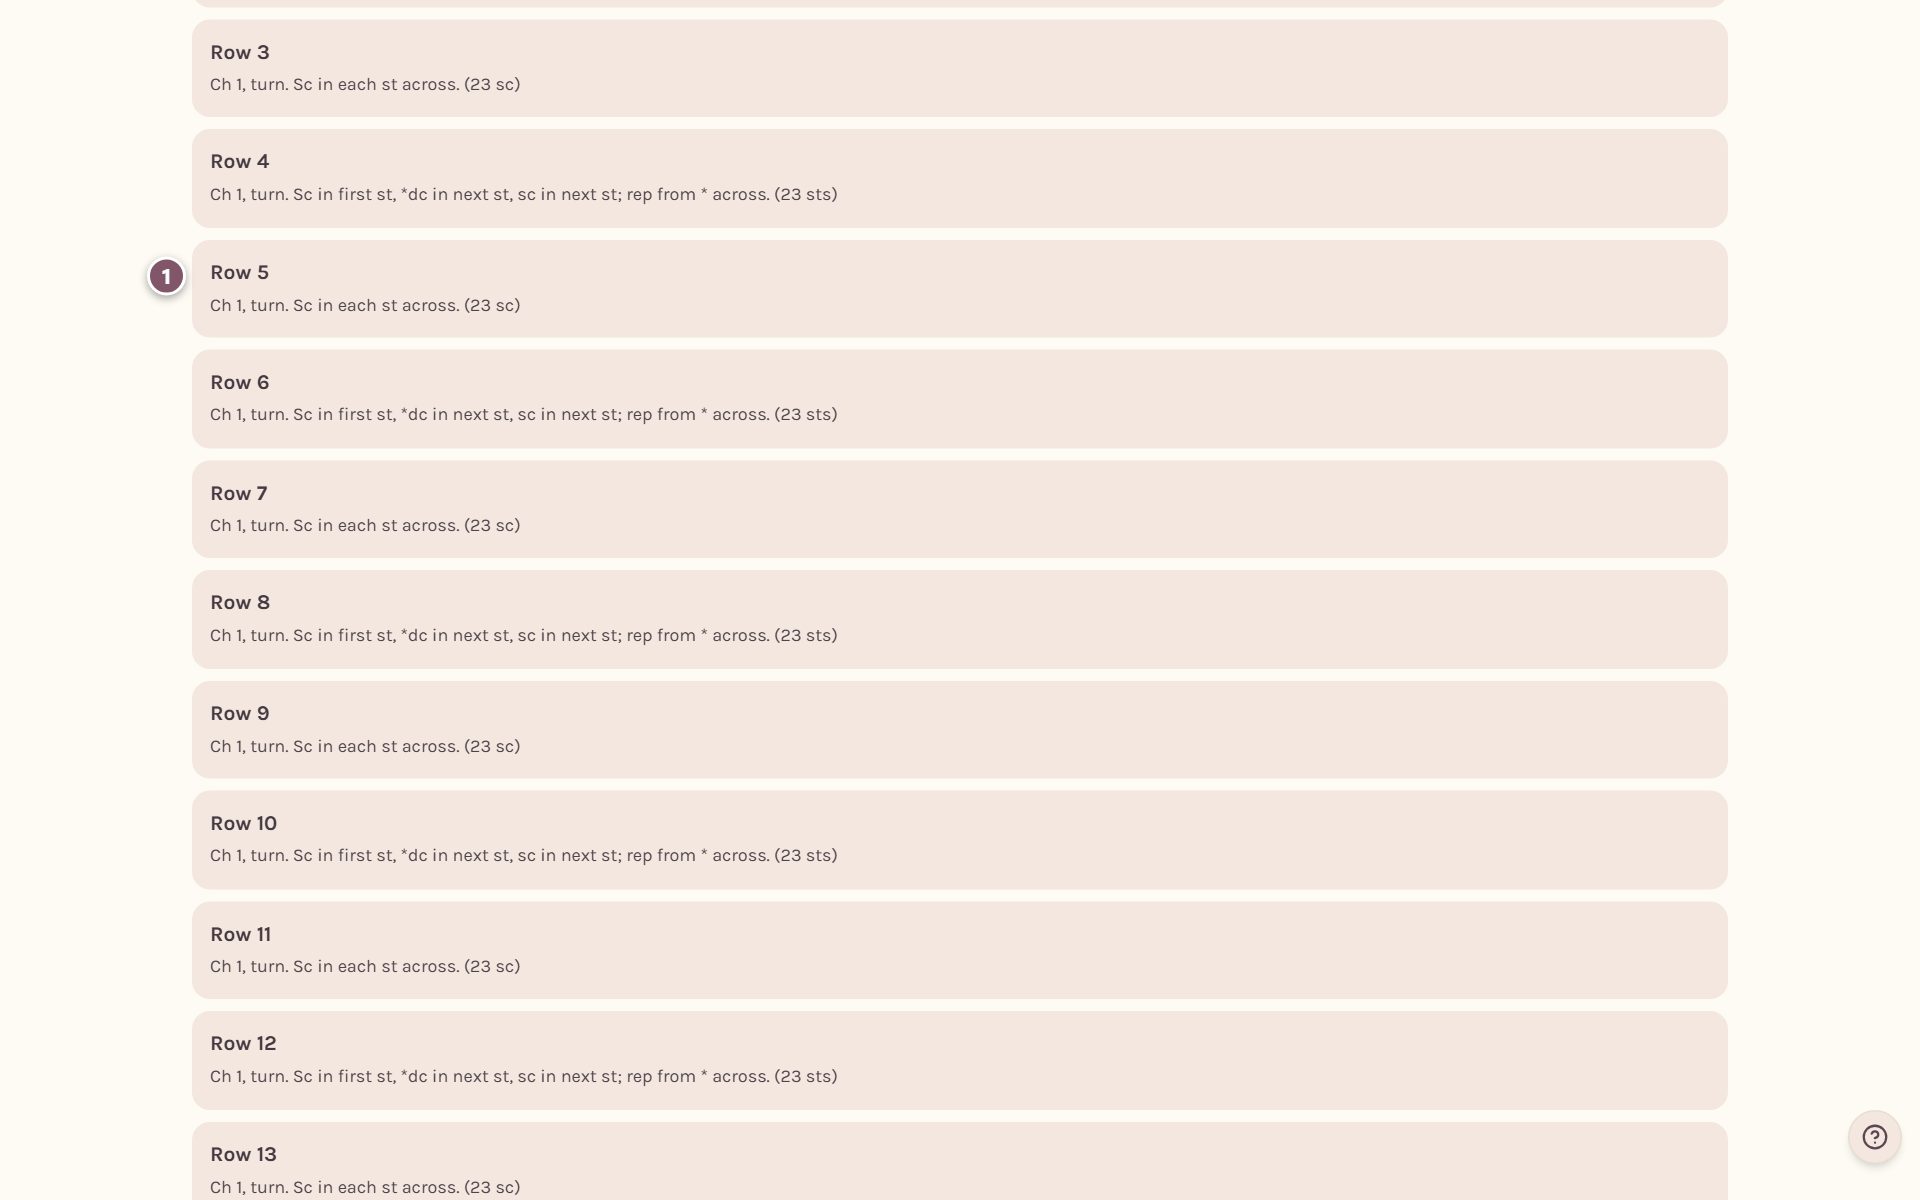
- A line like "Rows 5-20: Rep Rows 3 and 4" or "Repeat Rows 3 and 4 eight more times" becomes all of those rows, each with the words of the row it repeats.
- Each row keeps the designer's words exactly as you pasted them, in their order.
Read what the app found
Right under the box, What this will become lists every row it found, with its words.
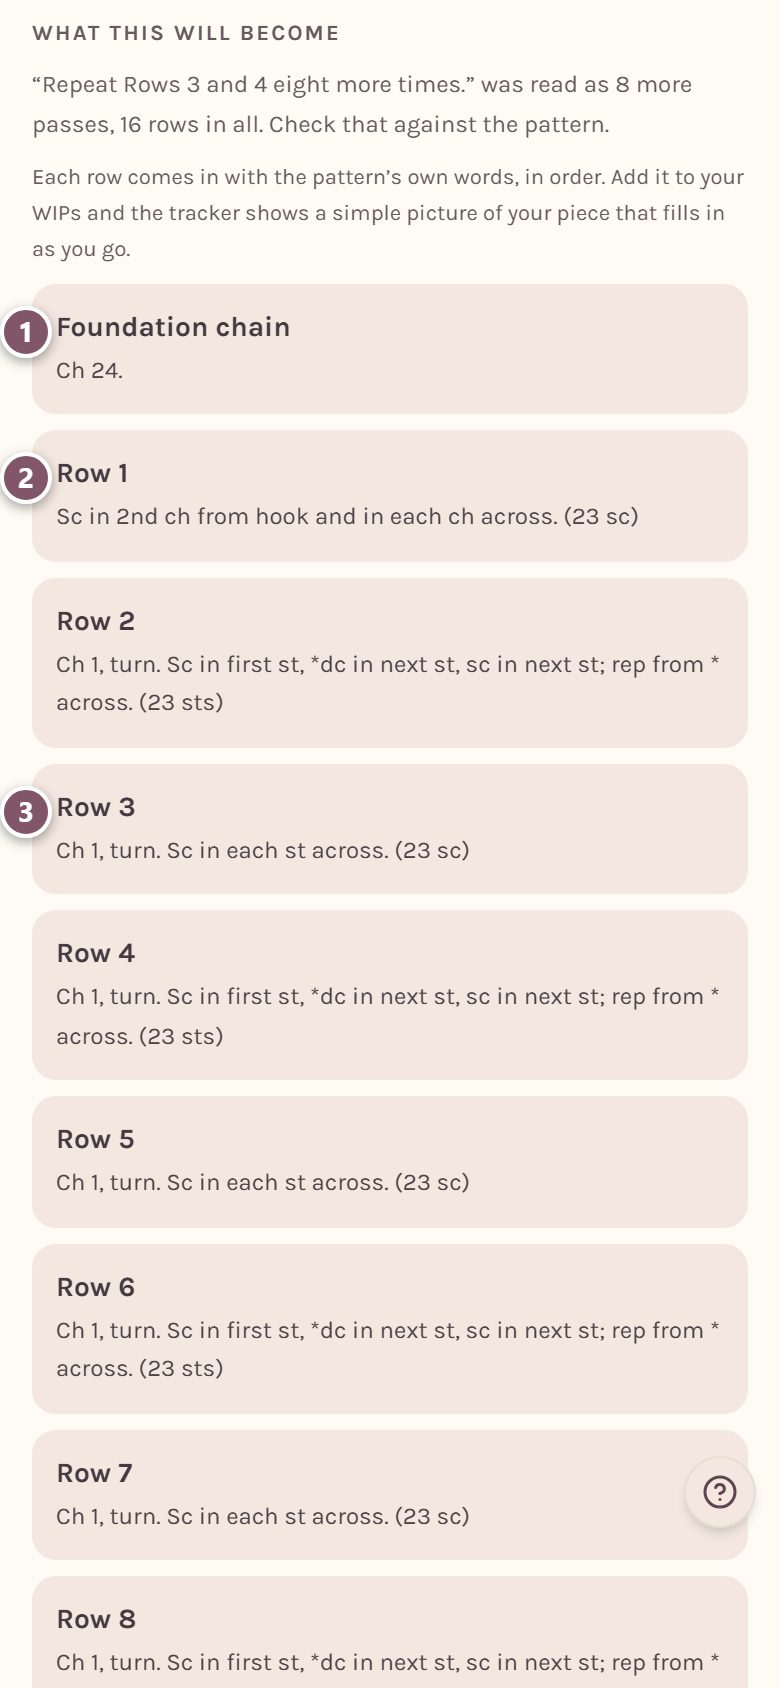
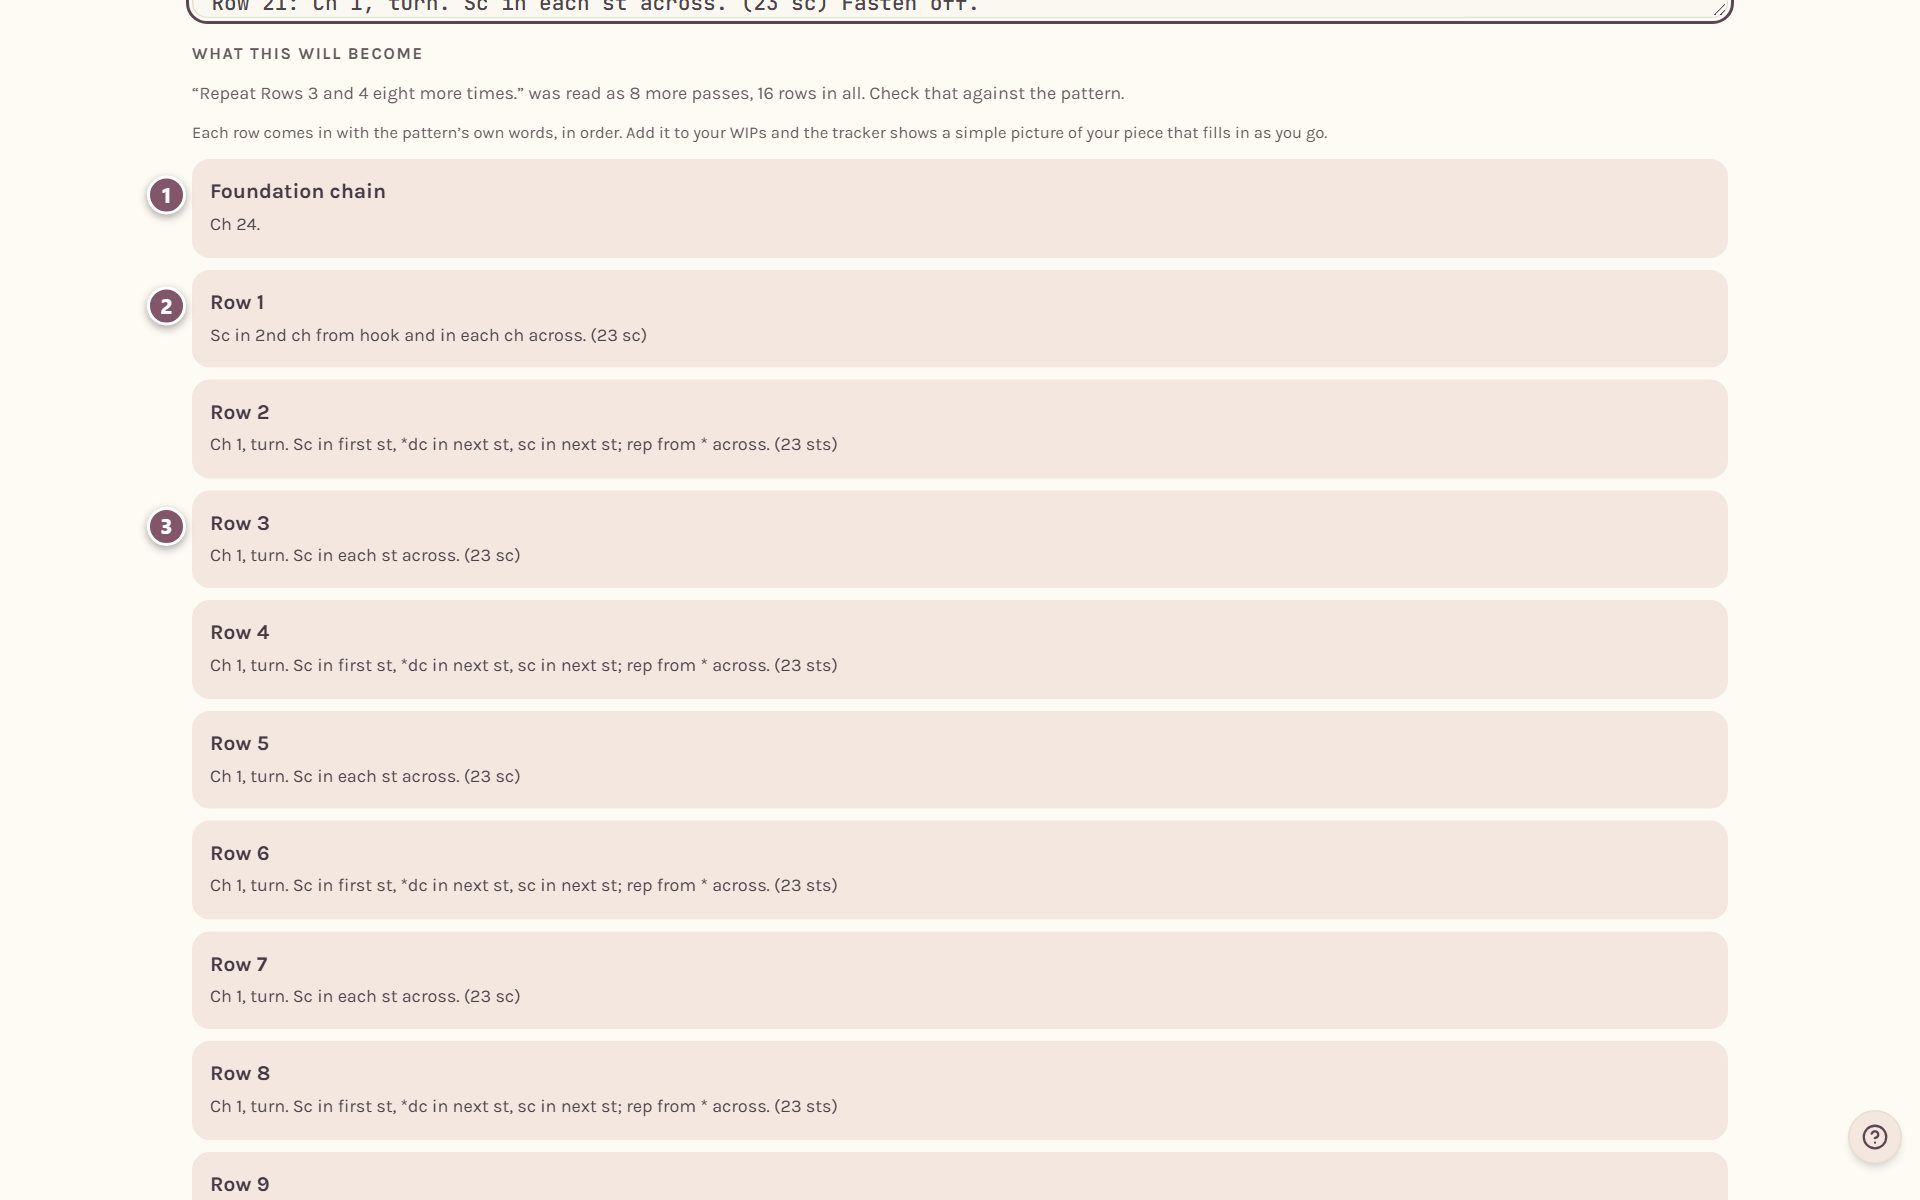
- The chain line before Row 1 comes in as the Foundation chain. Under it, each row comes in with the pattern's own words, in order.
- Read down the list and check each row, like Row 1, against your PDF.
- Row 3 was broken over two lines with a blank line between, and here it's one row again. The page footer that sat under it is gone.
When a repeat line was turned into rows, a line above the list says how it read it, like "read as 8 more passes, 16 rows in all". Check that against your pattern.
Tip: A repeat that's worked to a length, like "Rep Row 2 until piece measures 6 in", isn't turned into rows, because the app can't know how many you'll need. It says so above the list. See crochet until it measures to work those rows to a length.
Rows that still need you
If a row looks wrong in the list, fix its words right in the box. The list updates as you type. These are the ones worth a look:
- A row cut off partway, from a two-column page or a page break. Compare its words with your PDF.
- A row that's missing, because its number didn't start the line. Put the line break back before it.
- More than one piece. When a pattern starts again at Row 1 for a second piece, like a sole and an upper or a second boot, the app notices. It shows a button for each piece, and you bring in one piece at a time. Tap the piece you want, create it, then paste the same text again and pick the next piece.
Create the pattern
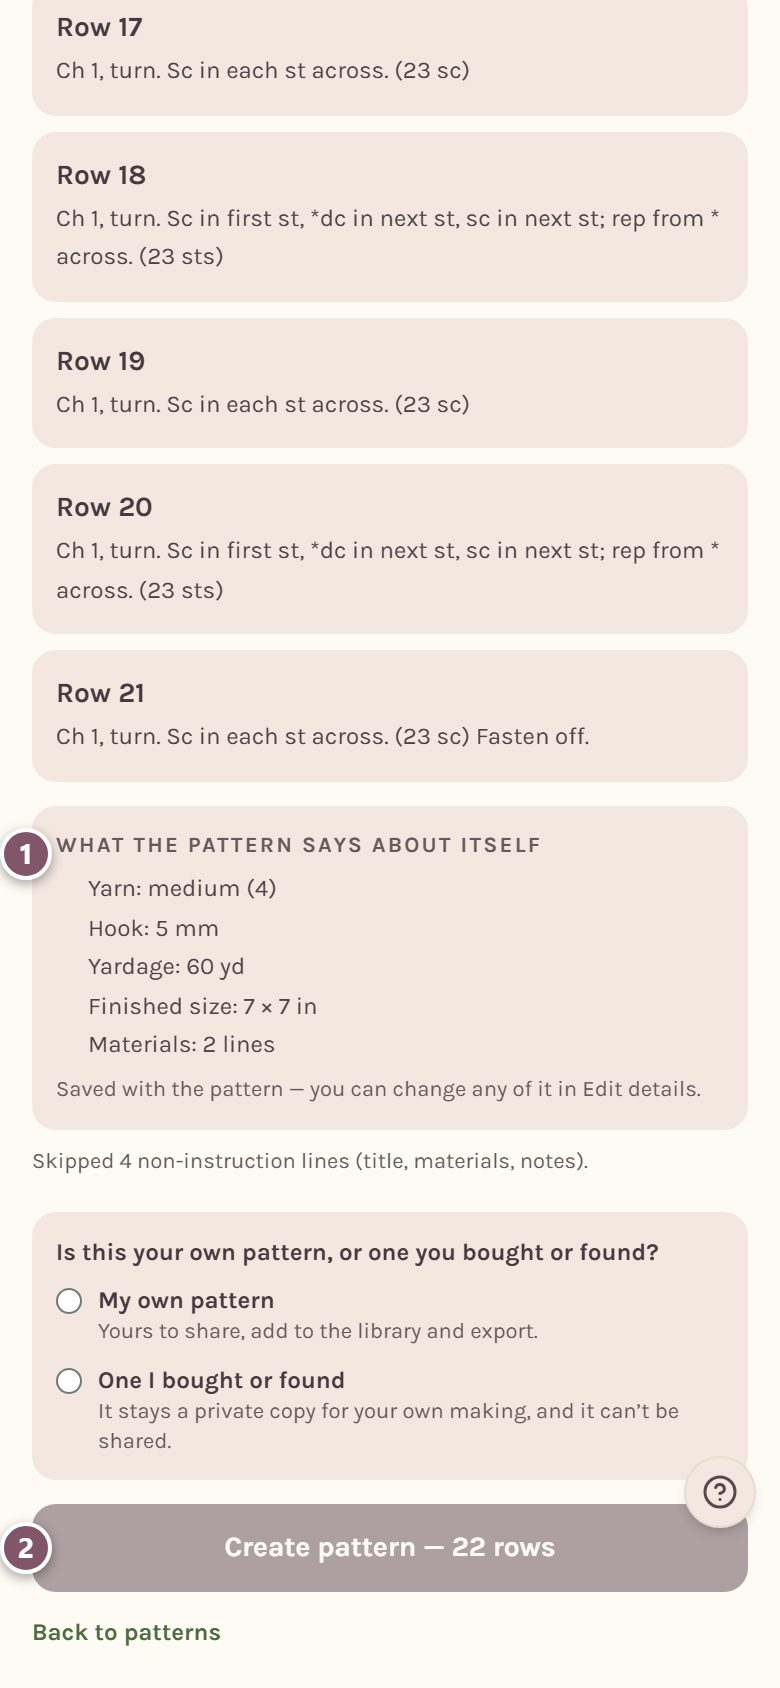
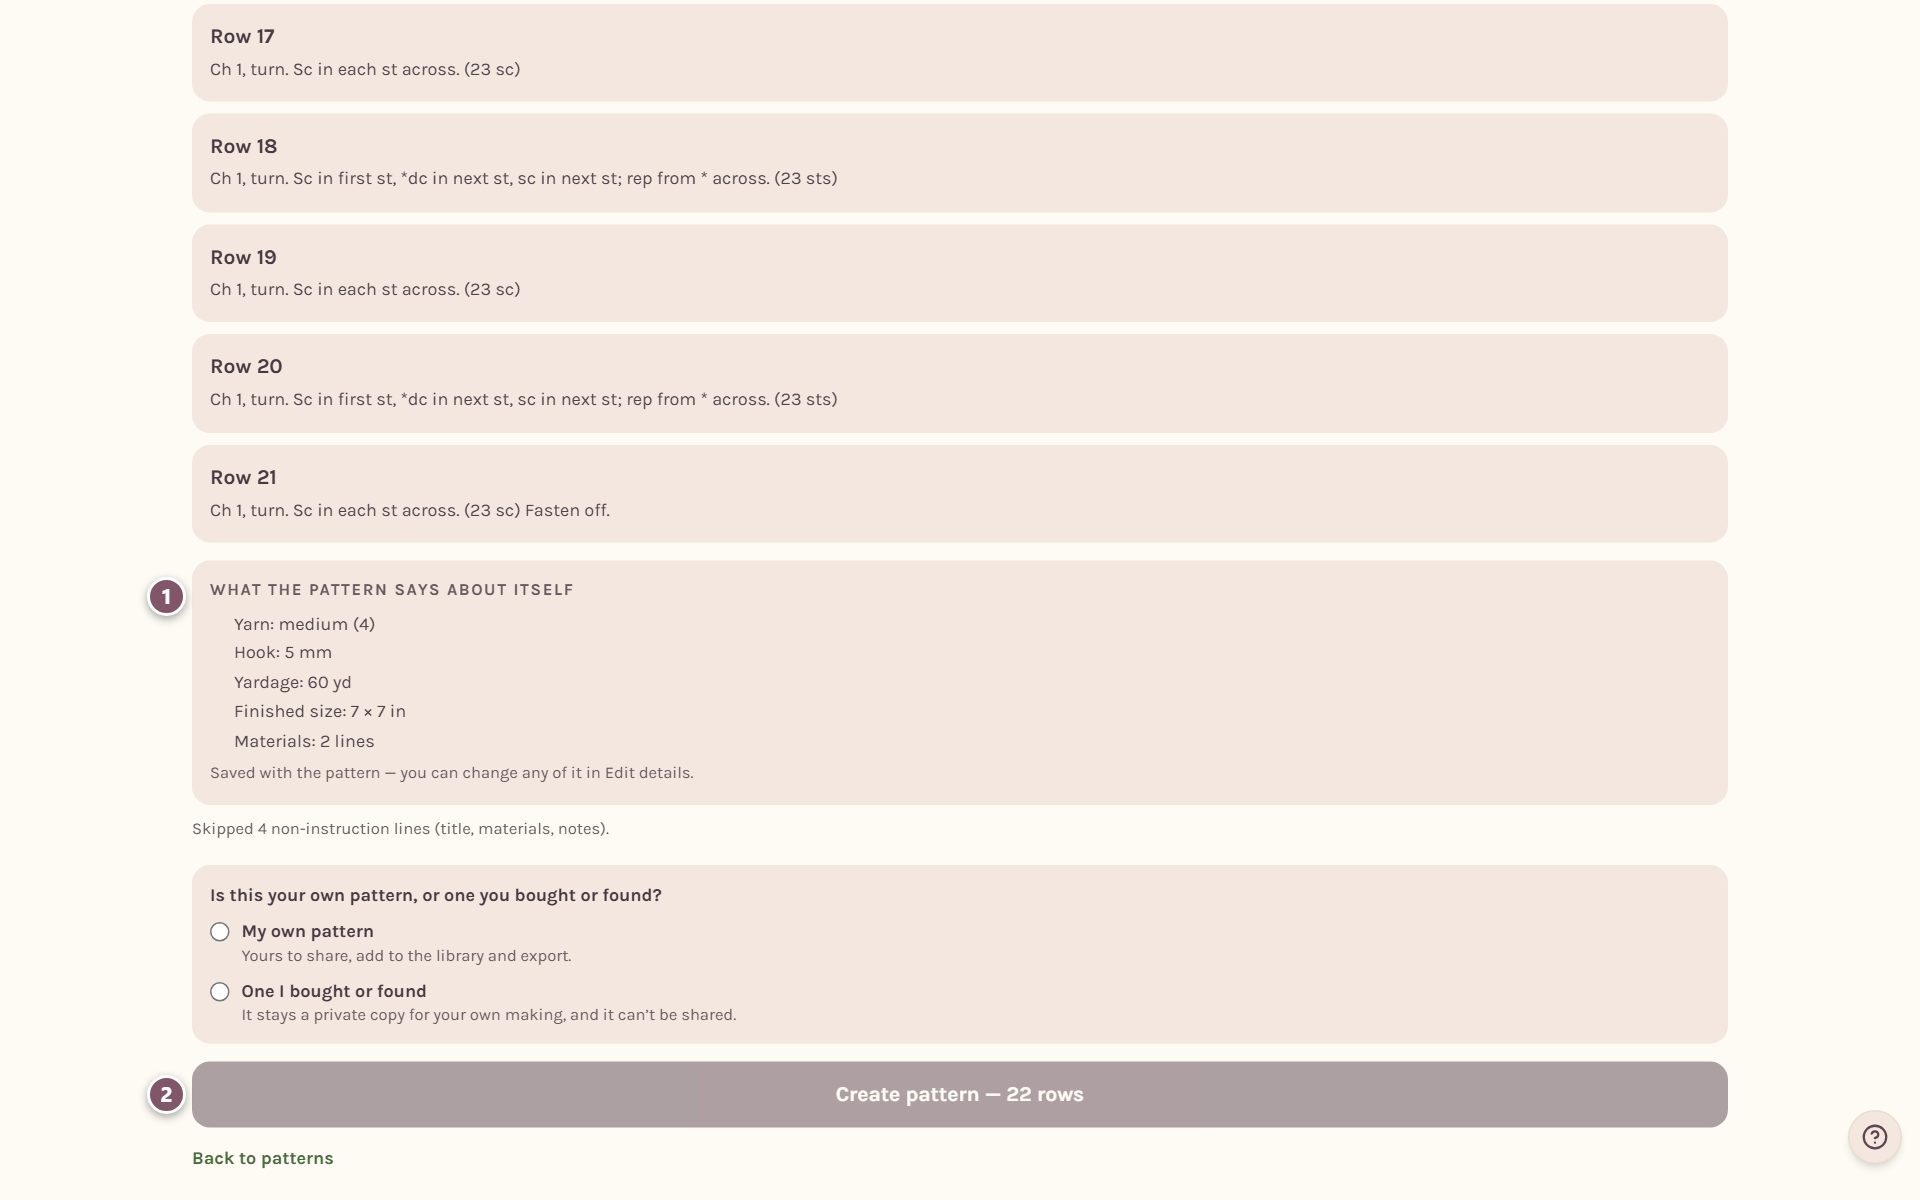
Below the rows, What the pattern says about itself shows the yarn, hook, yardage and finished size it read from the top of what you pasted. They're saved with the pattern.
Say whose pattern it is
Just above Create pattern, the app asks Is this your own pattern, or one you bought or found? The button stays switched off until you answer.
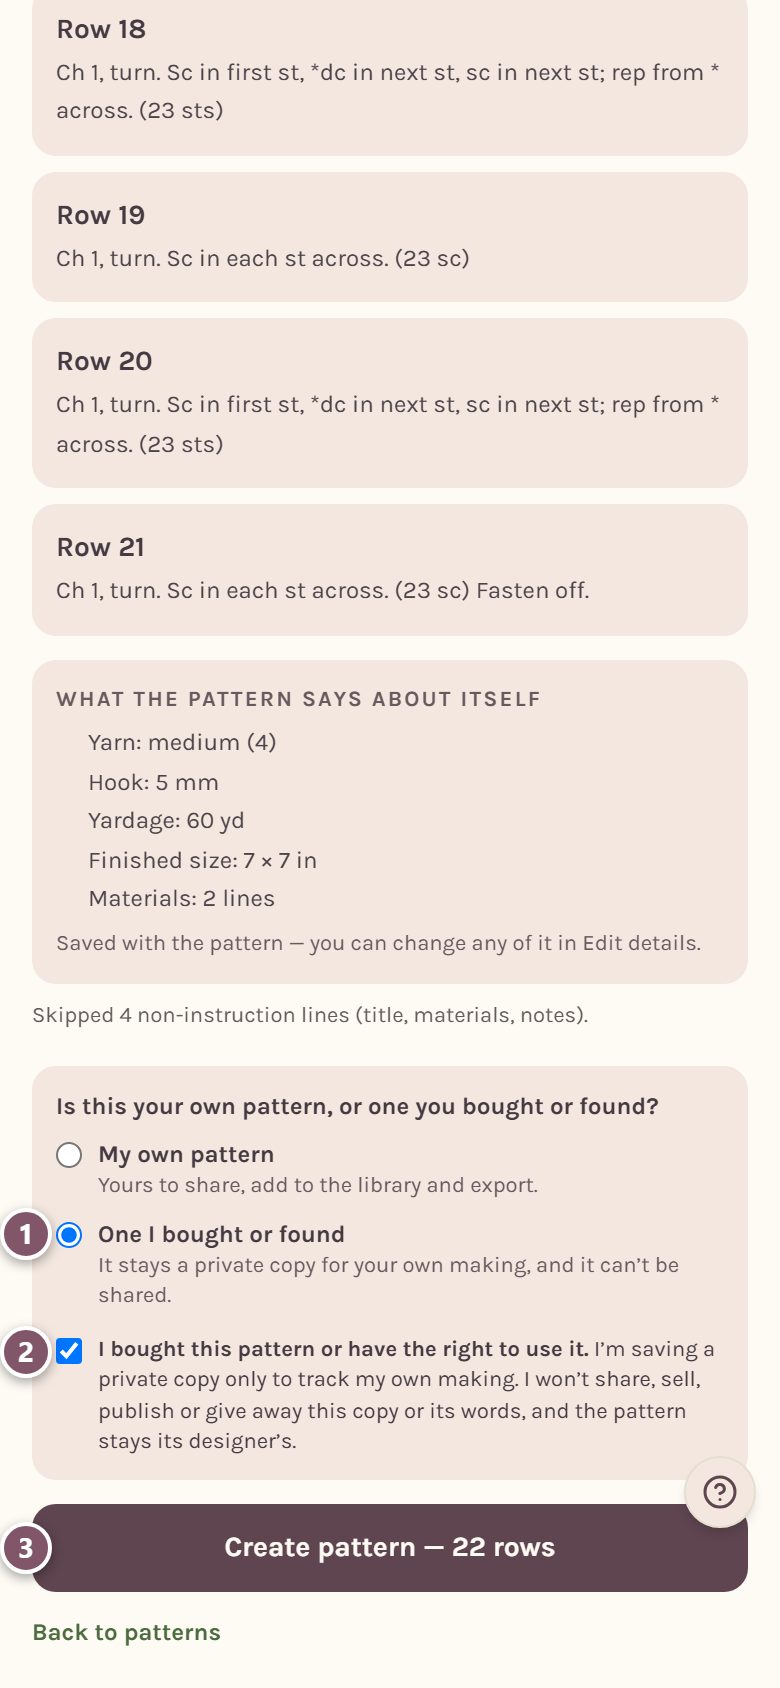
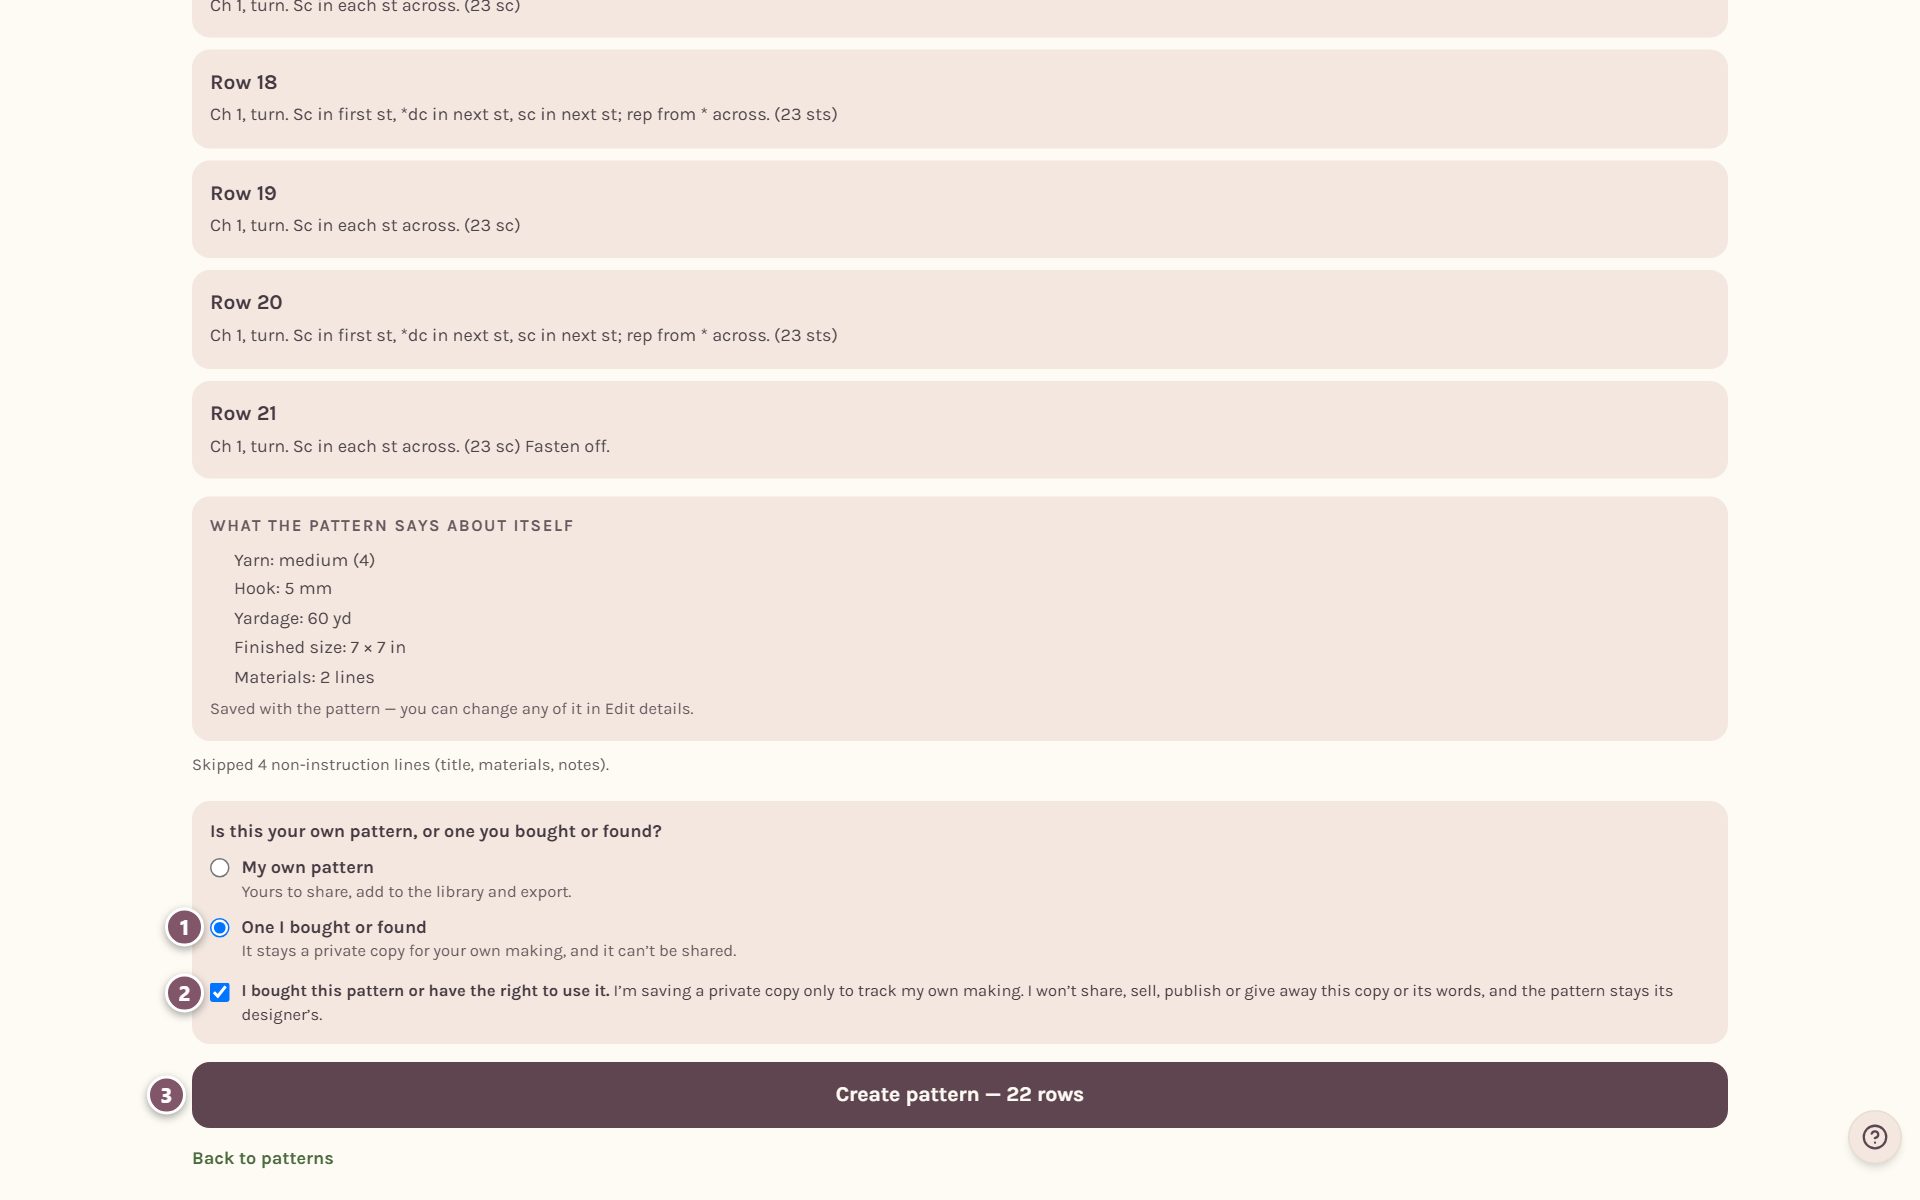
- Choose One I bought or found.
- Read the box that appears and tick it: "I bought this pattern or have the right to use it. I'm saving a private copy only to track my own making. I won't share, sell, publish or give away this copy or its words, and the pattern stays its designer's."
- Tap Create pattern. The button says how many rows it will save, like "Create pattern — 22 rows".
My own pattern is only for a pattern you wrote yourself.
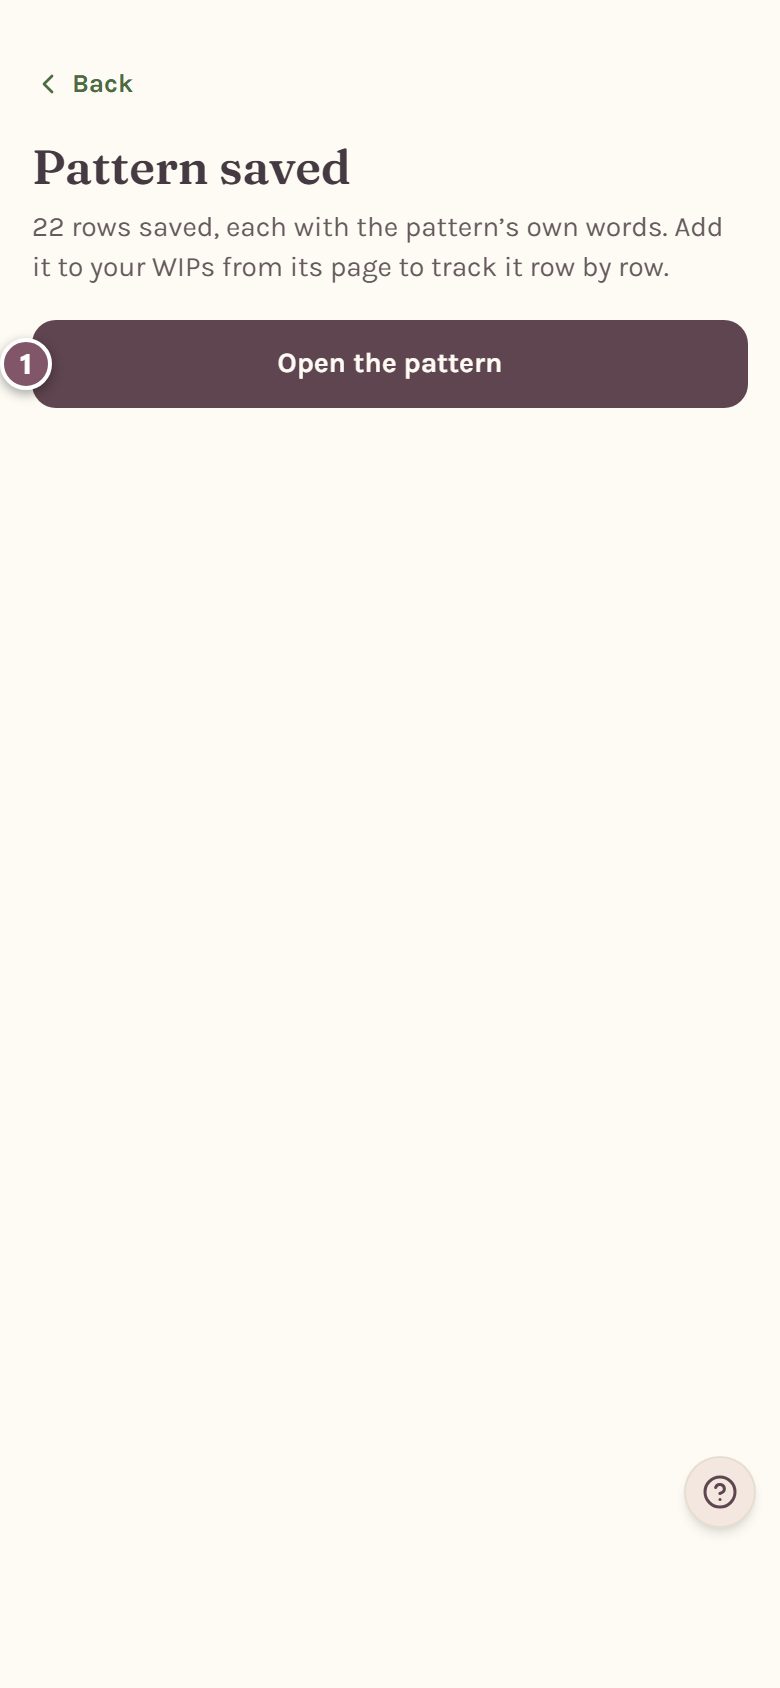
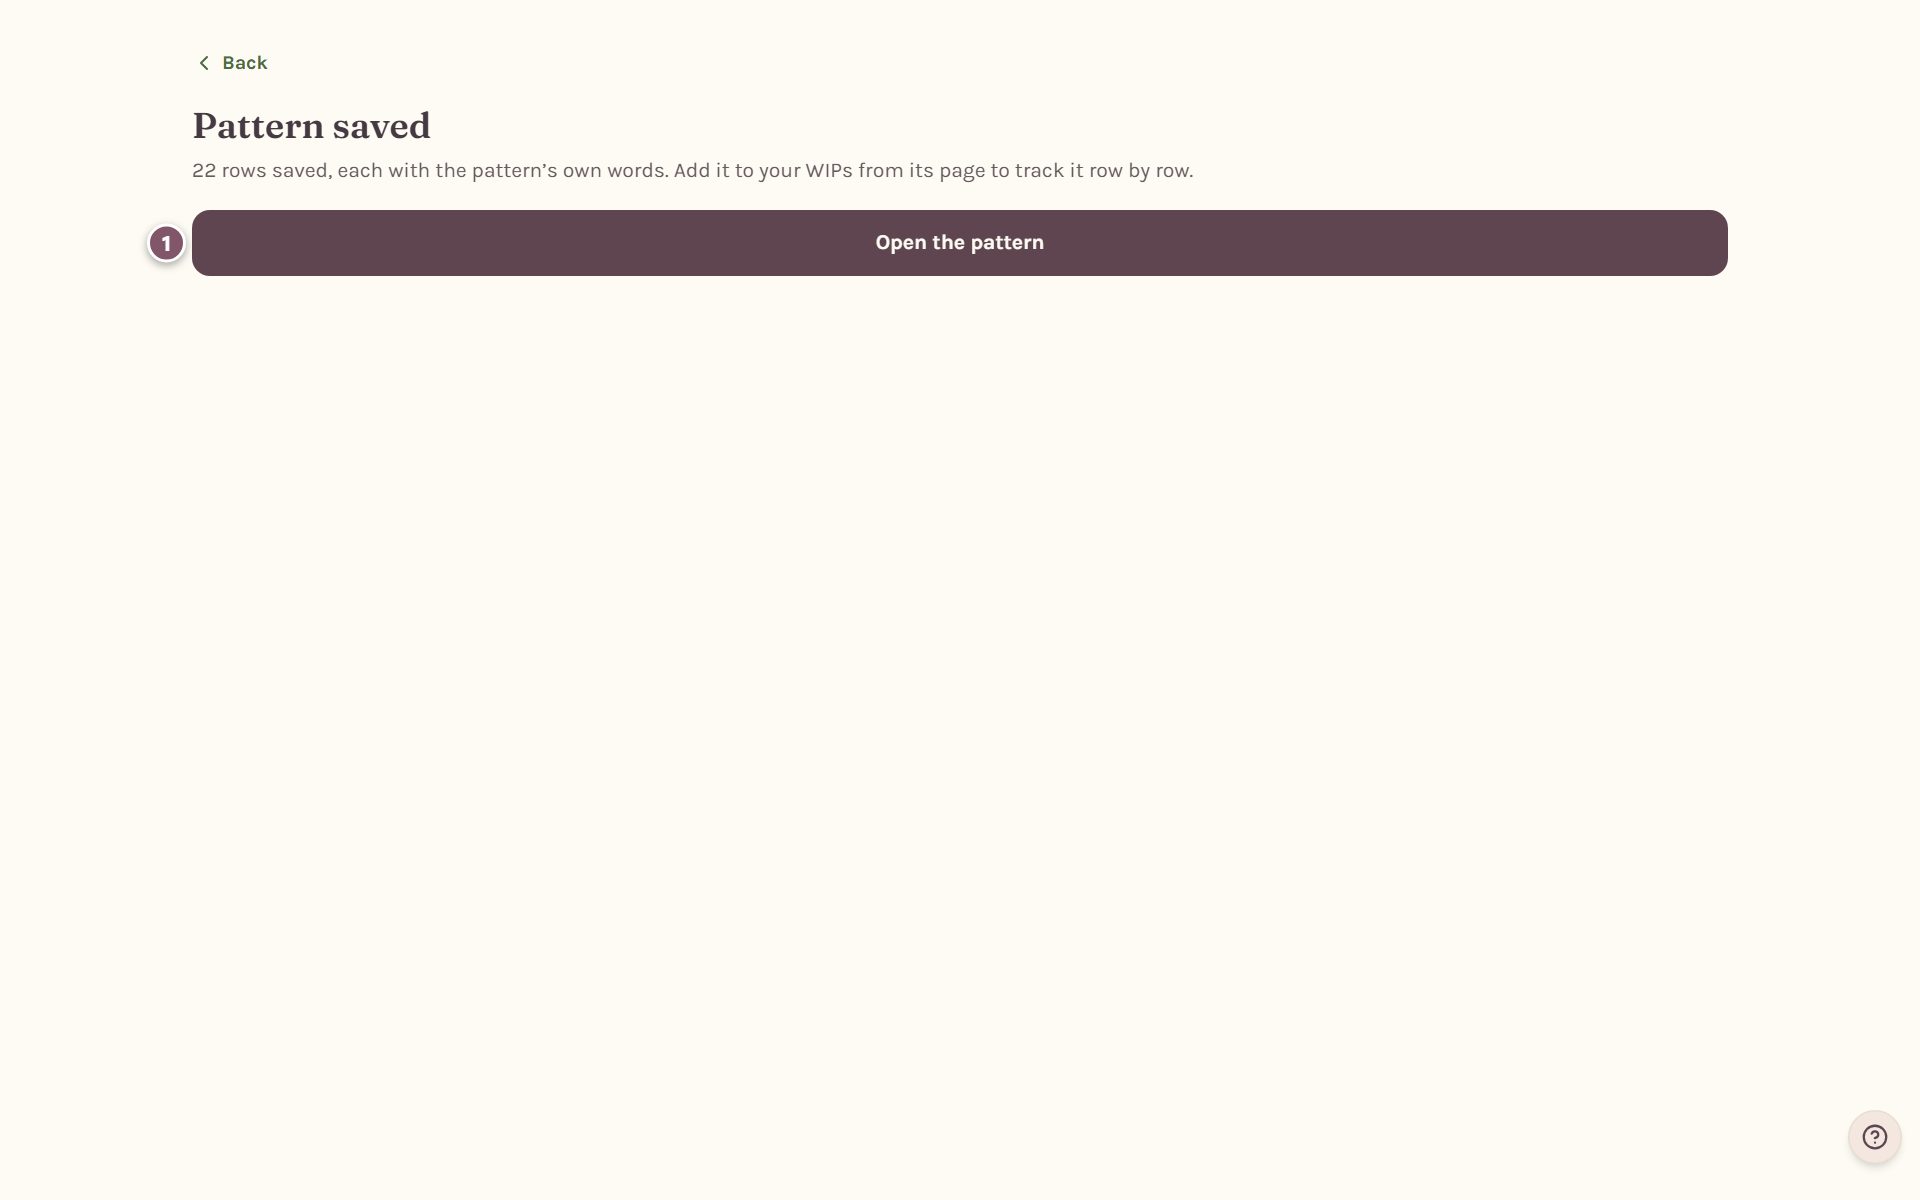
Tap Open the pattern.
Your private copy
Your pasted pattern lives on the Patterns tab, under Your designs, marked Private copy. At the top of its page it says: "Private copy for your own making. This pattern belongs to its designer. It's here so you can keep your place, and it can't be shared, published or exported."
The copyright and "for personal use only" lines from your paste sit at the very top, under From the pattern, just as they came. Nobody can change them.
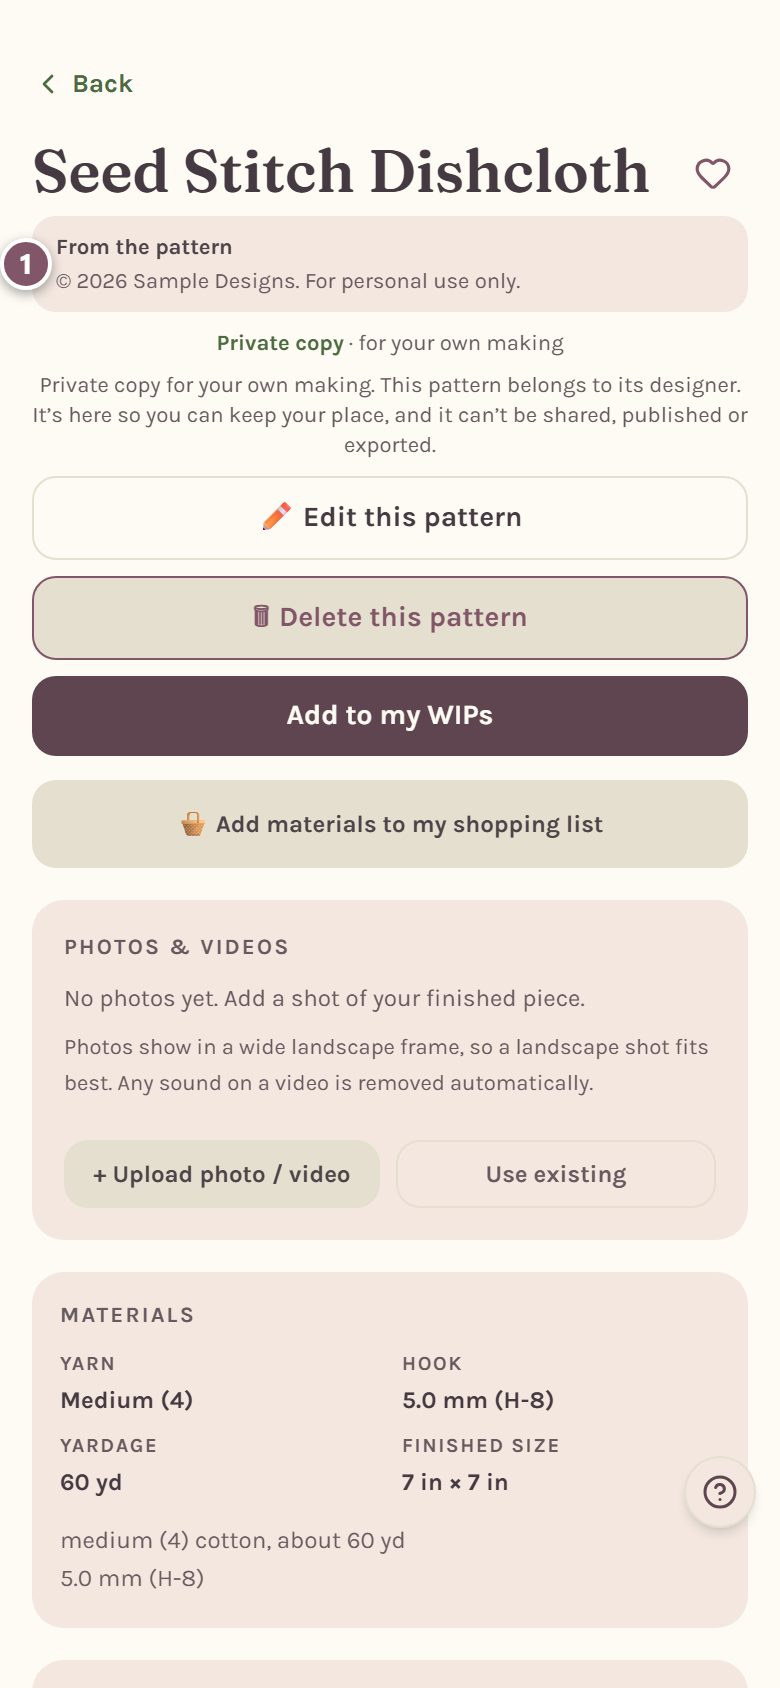
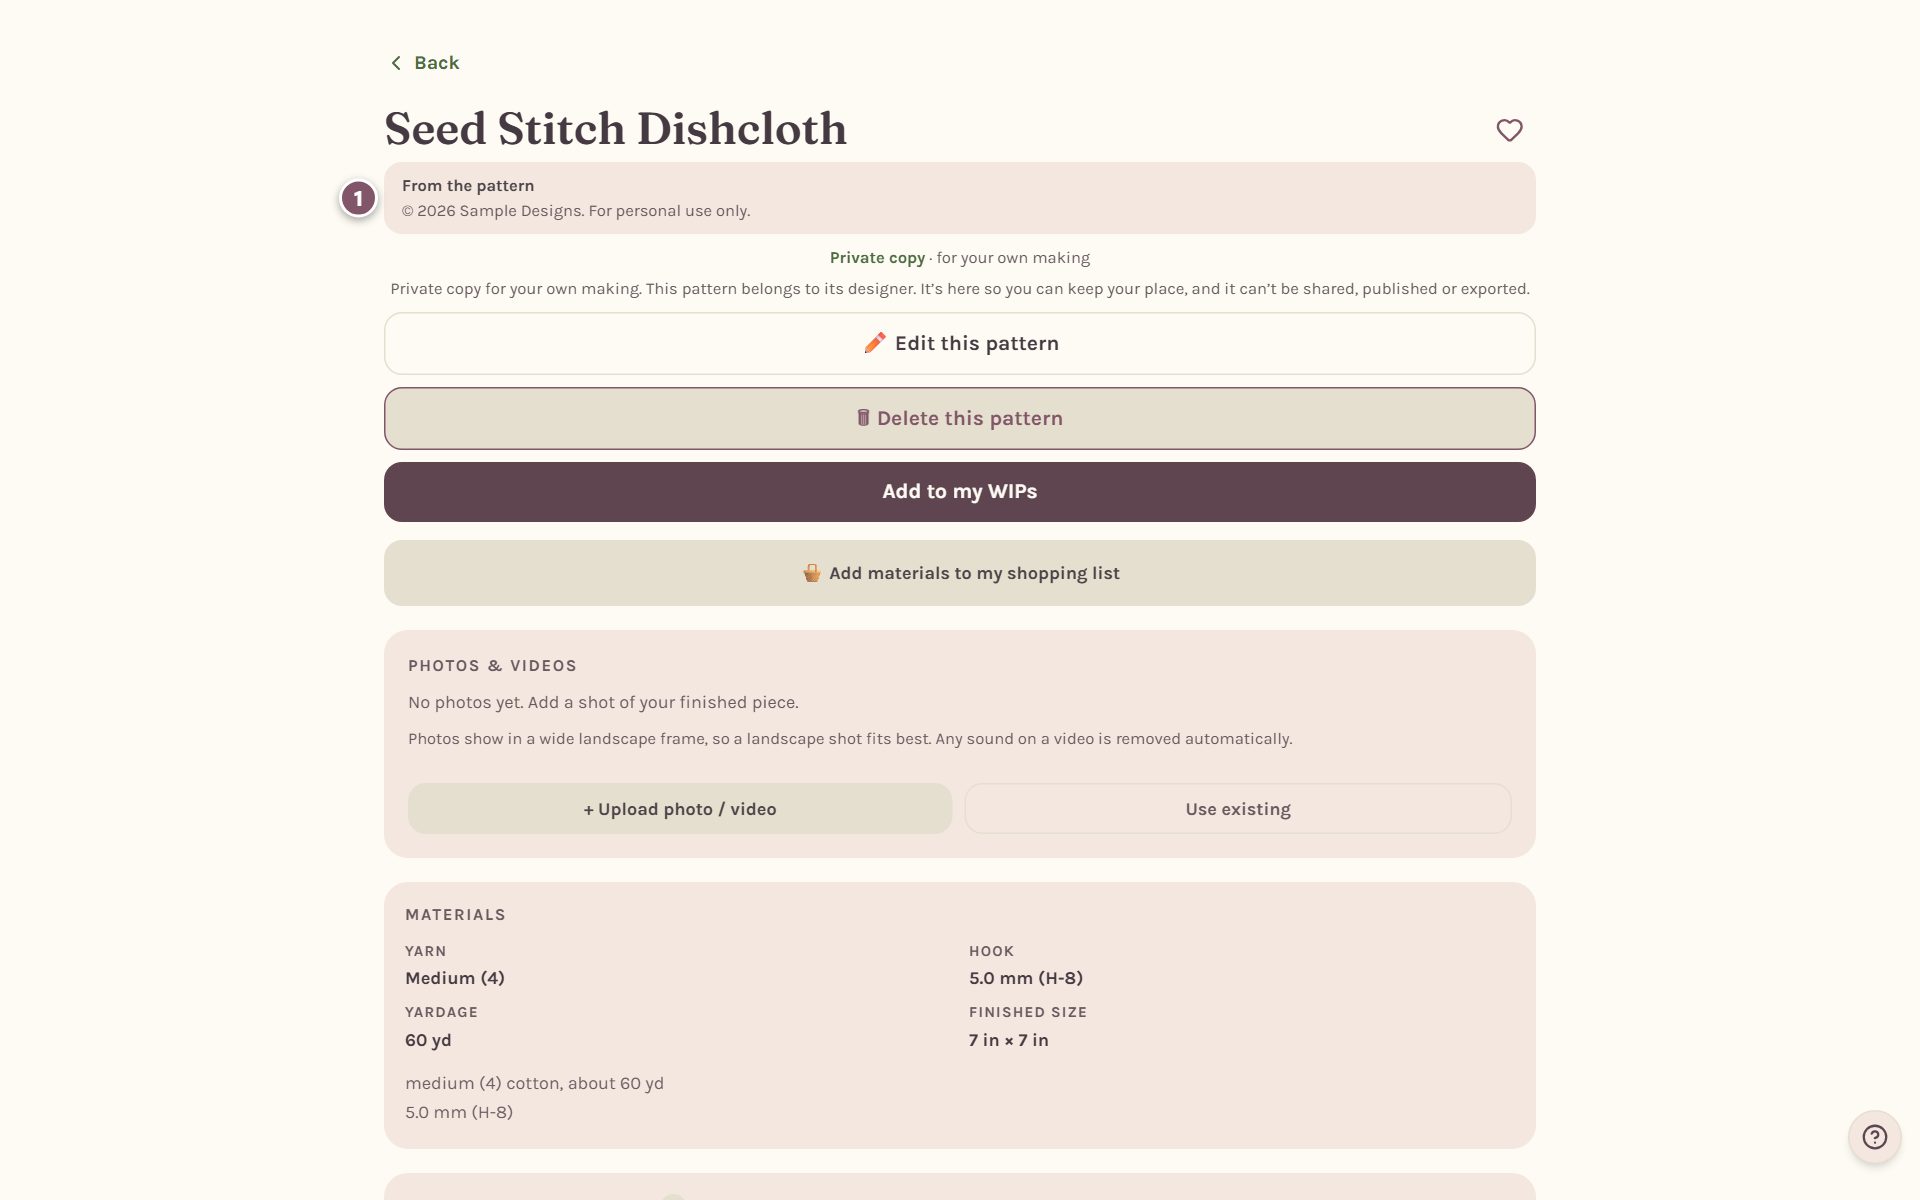
A private copy can't be downloaded or printed from the app. Keep your PDF for that.
Add it to your WIPs
- Tap Add to my WIPs.
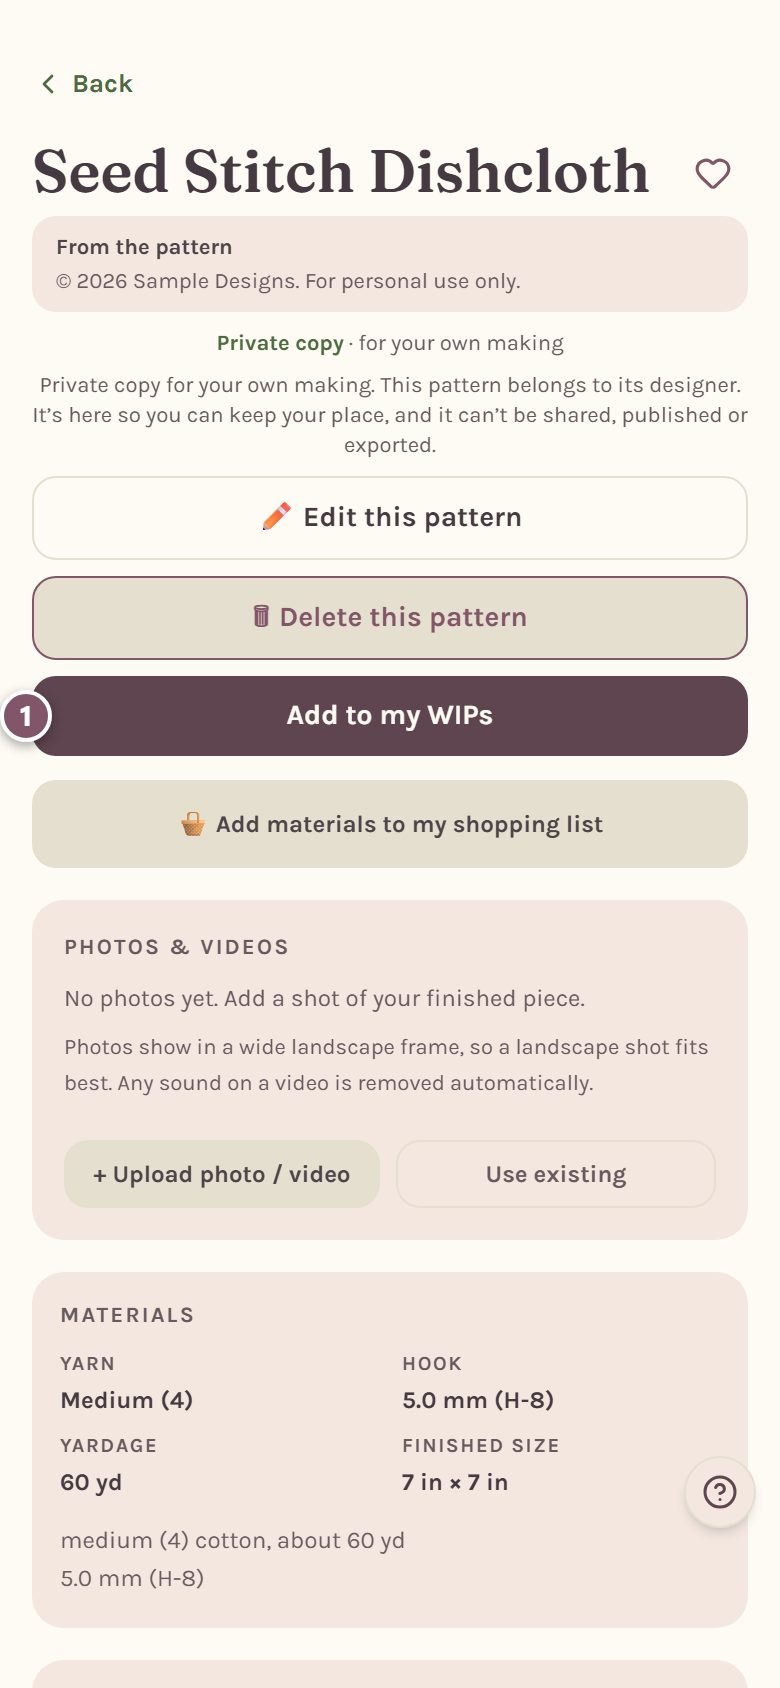
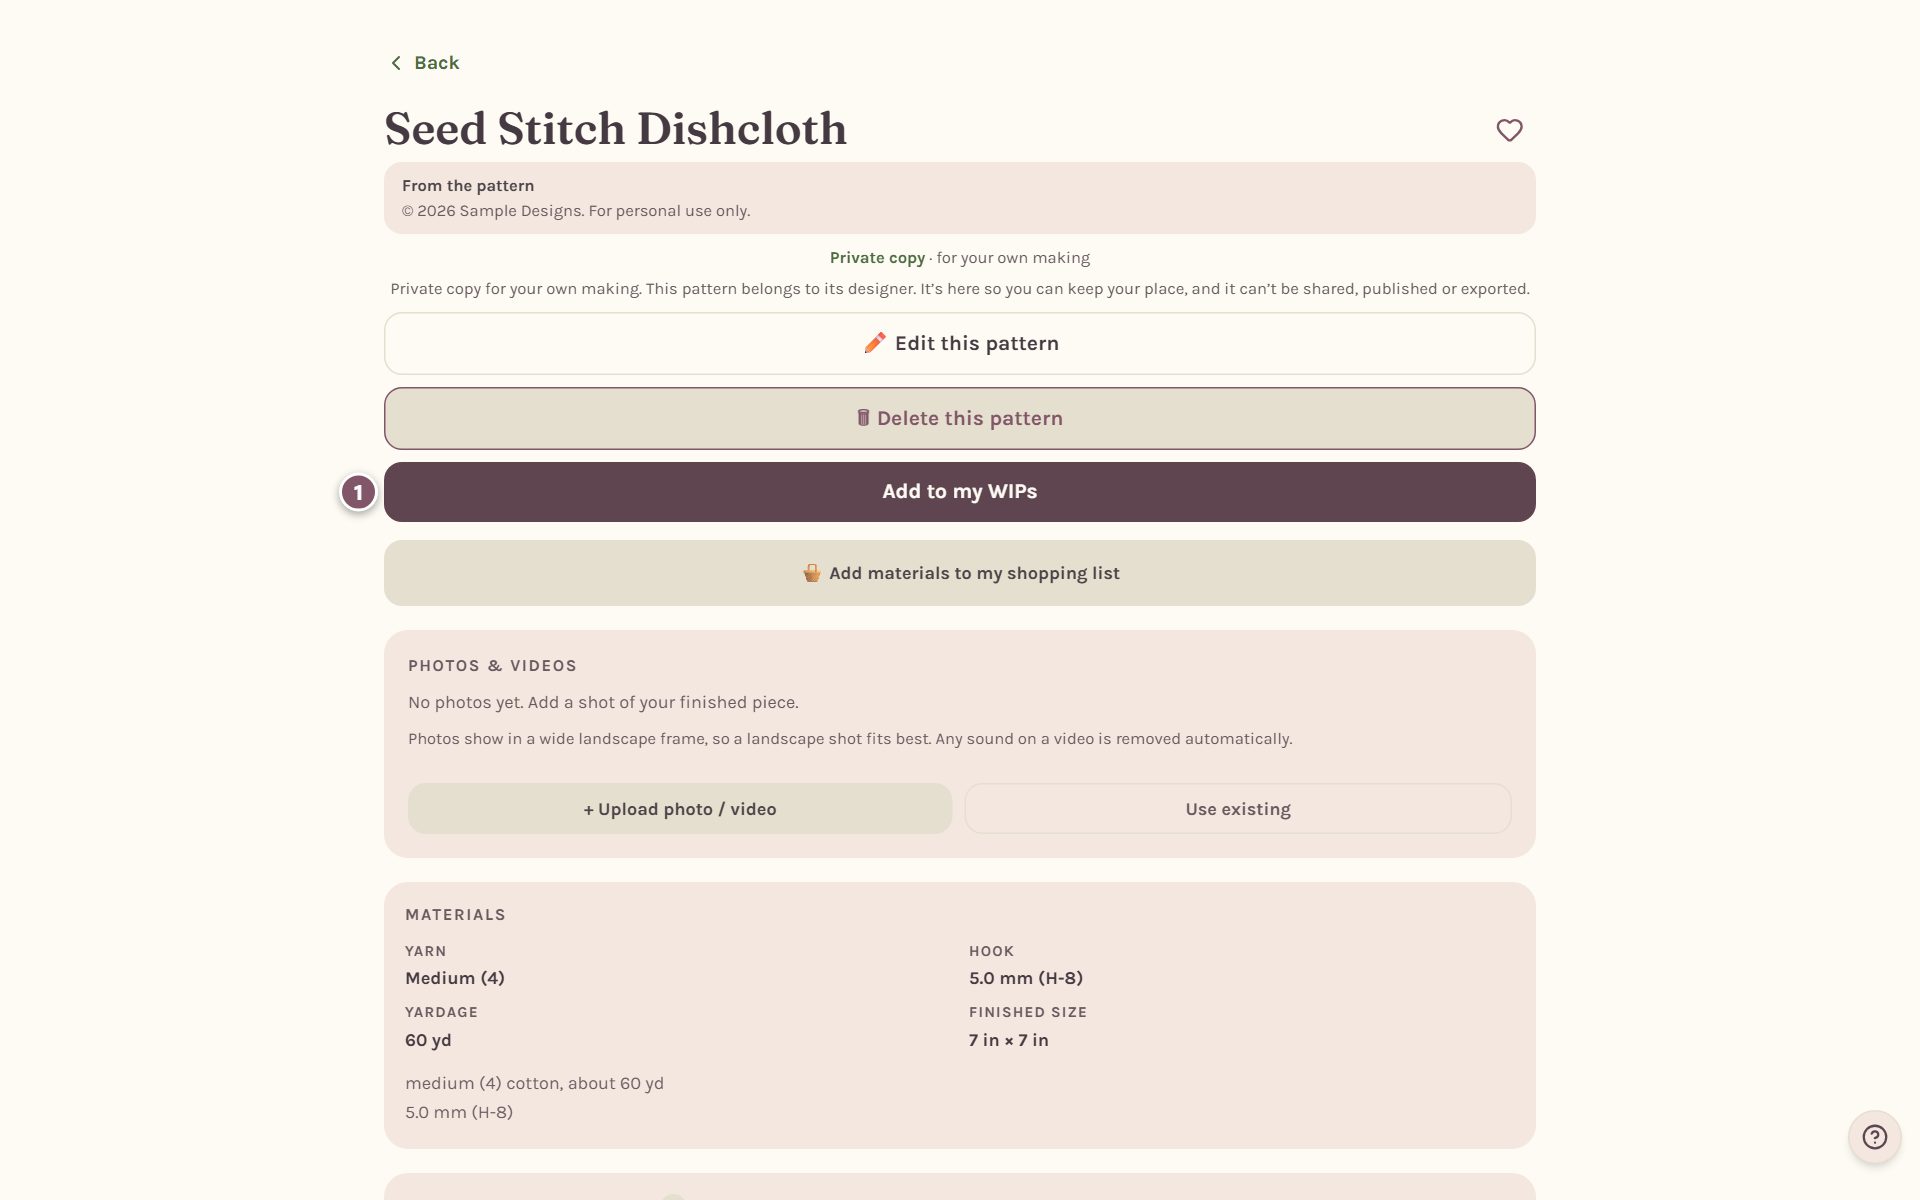
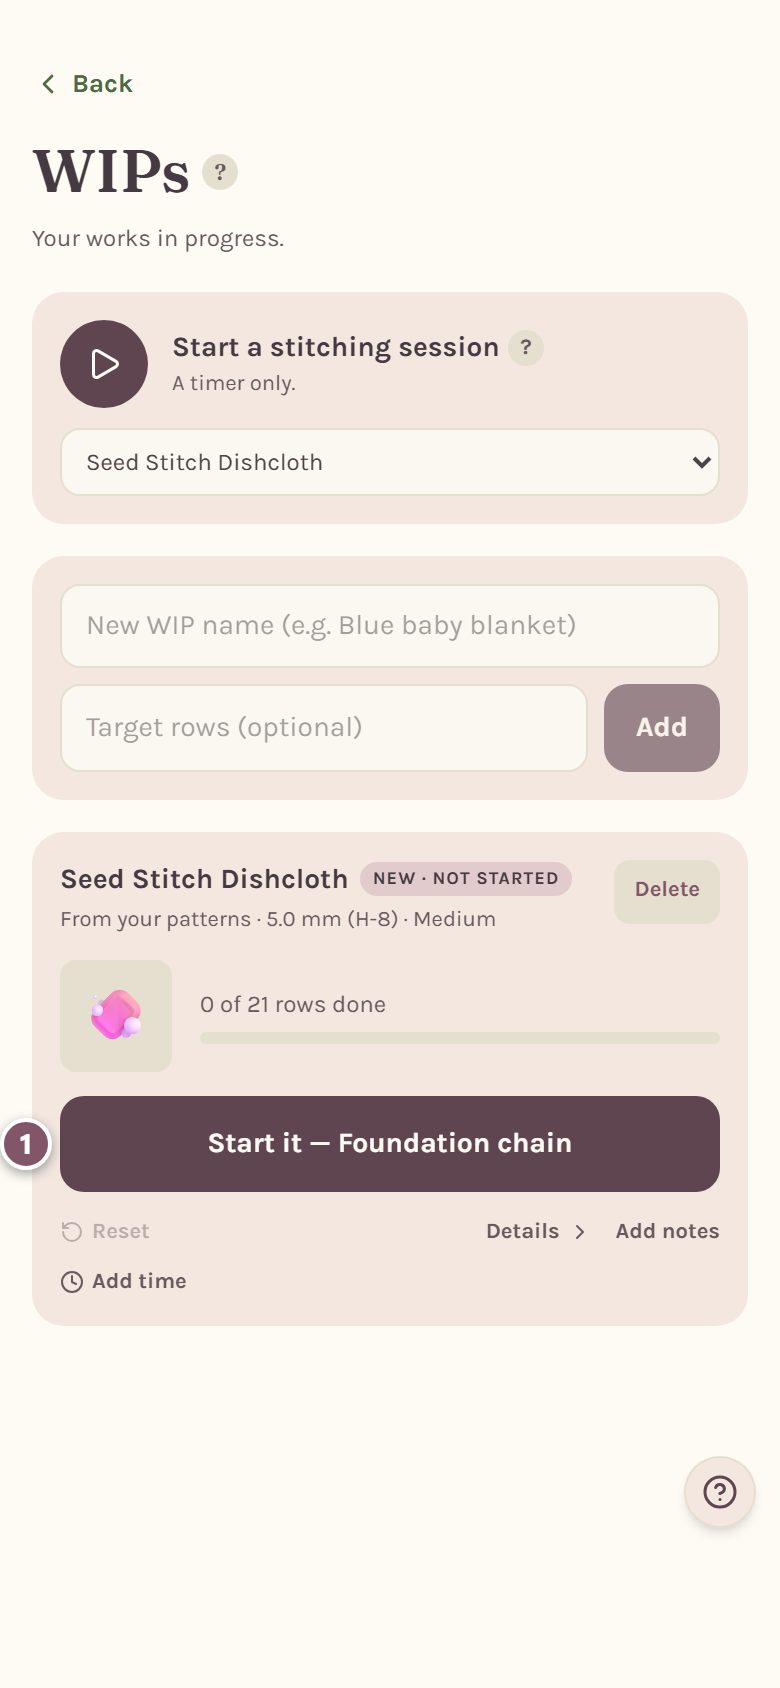
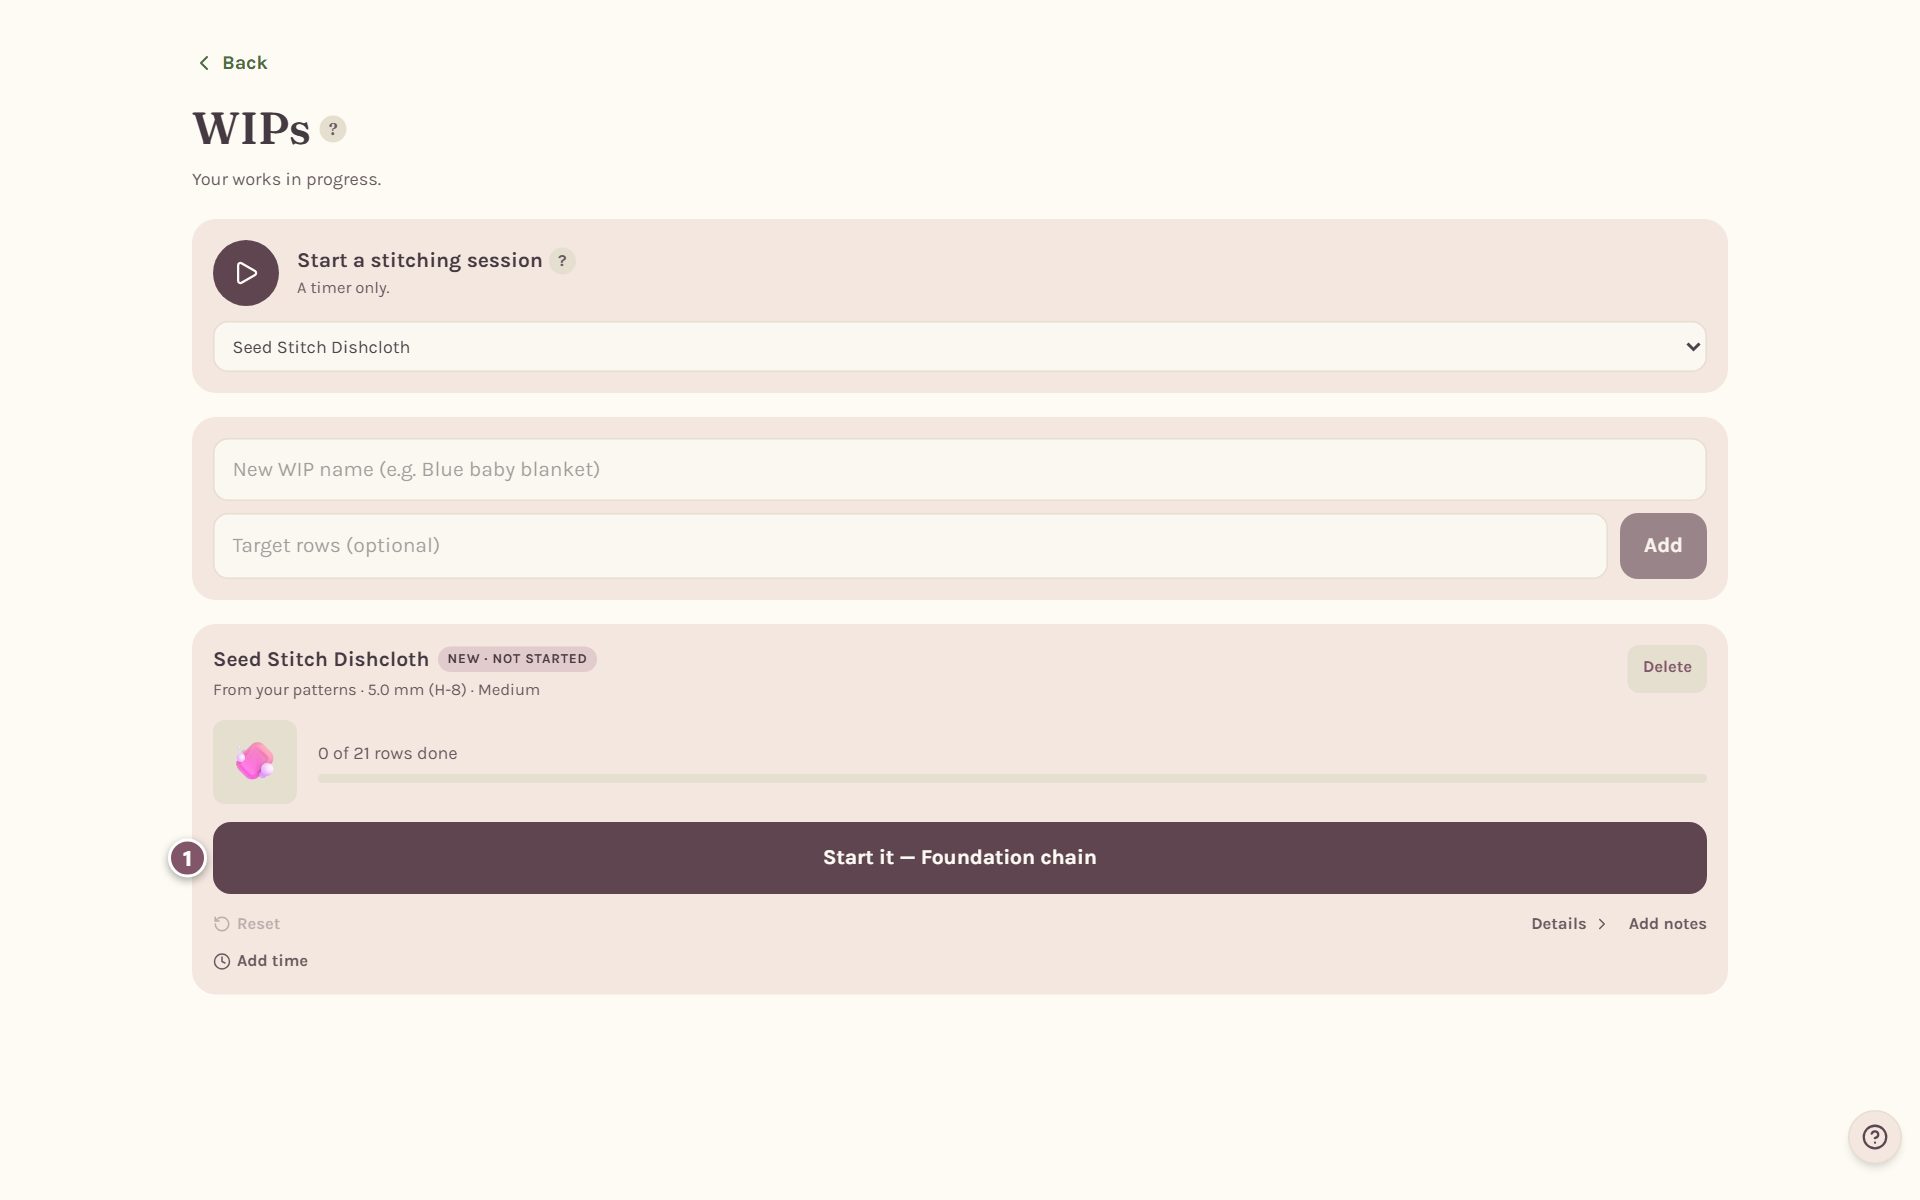
Crochet Bobble takes you to your WIPs with a new card for the pattern.
- Tap Start it. When the pattern starts with a foundation chain, the button says Start it — Foundation chain.
Track it row by row
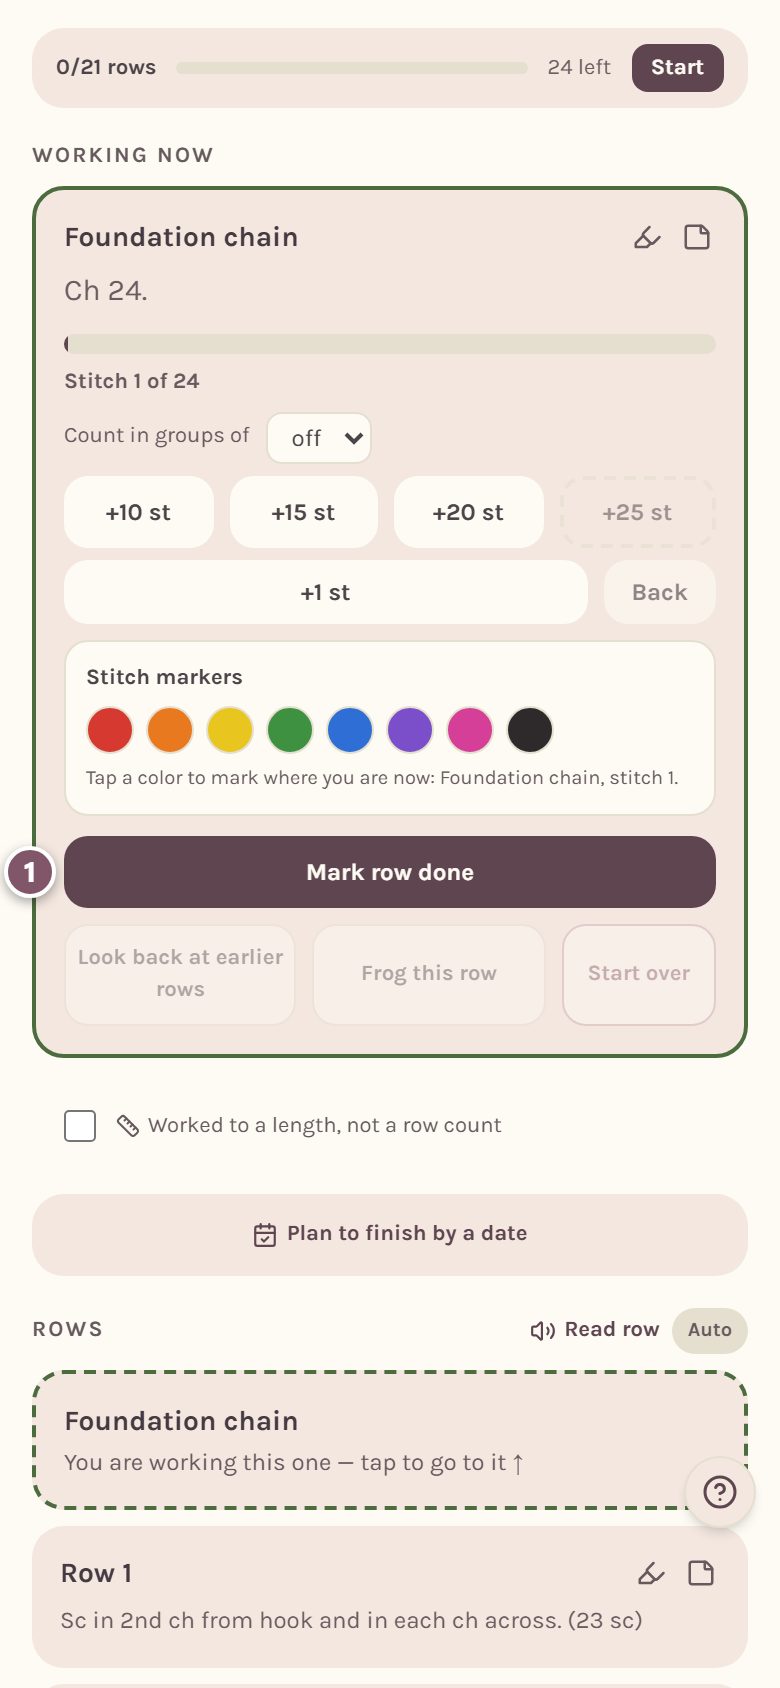
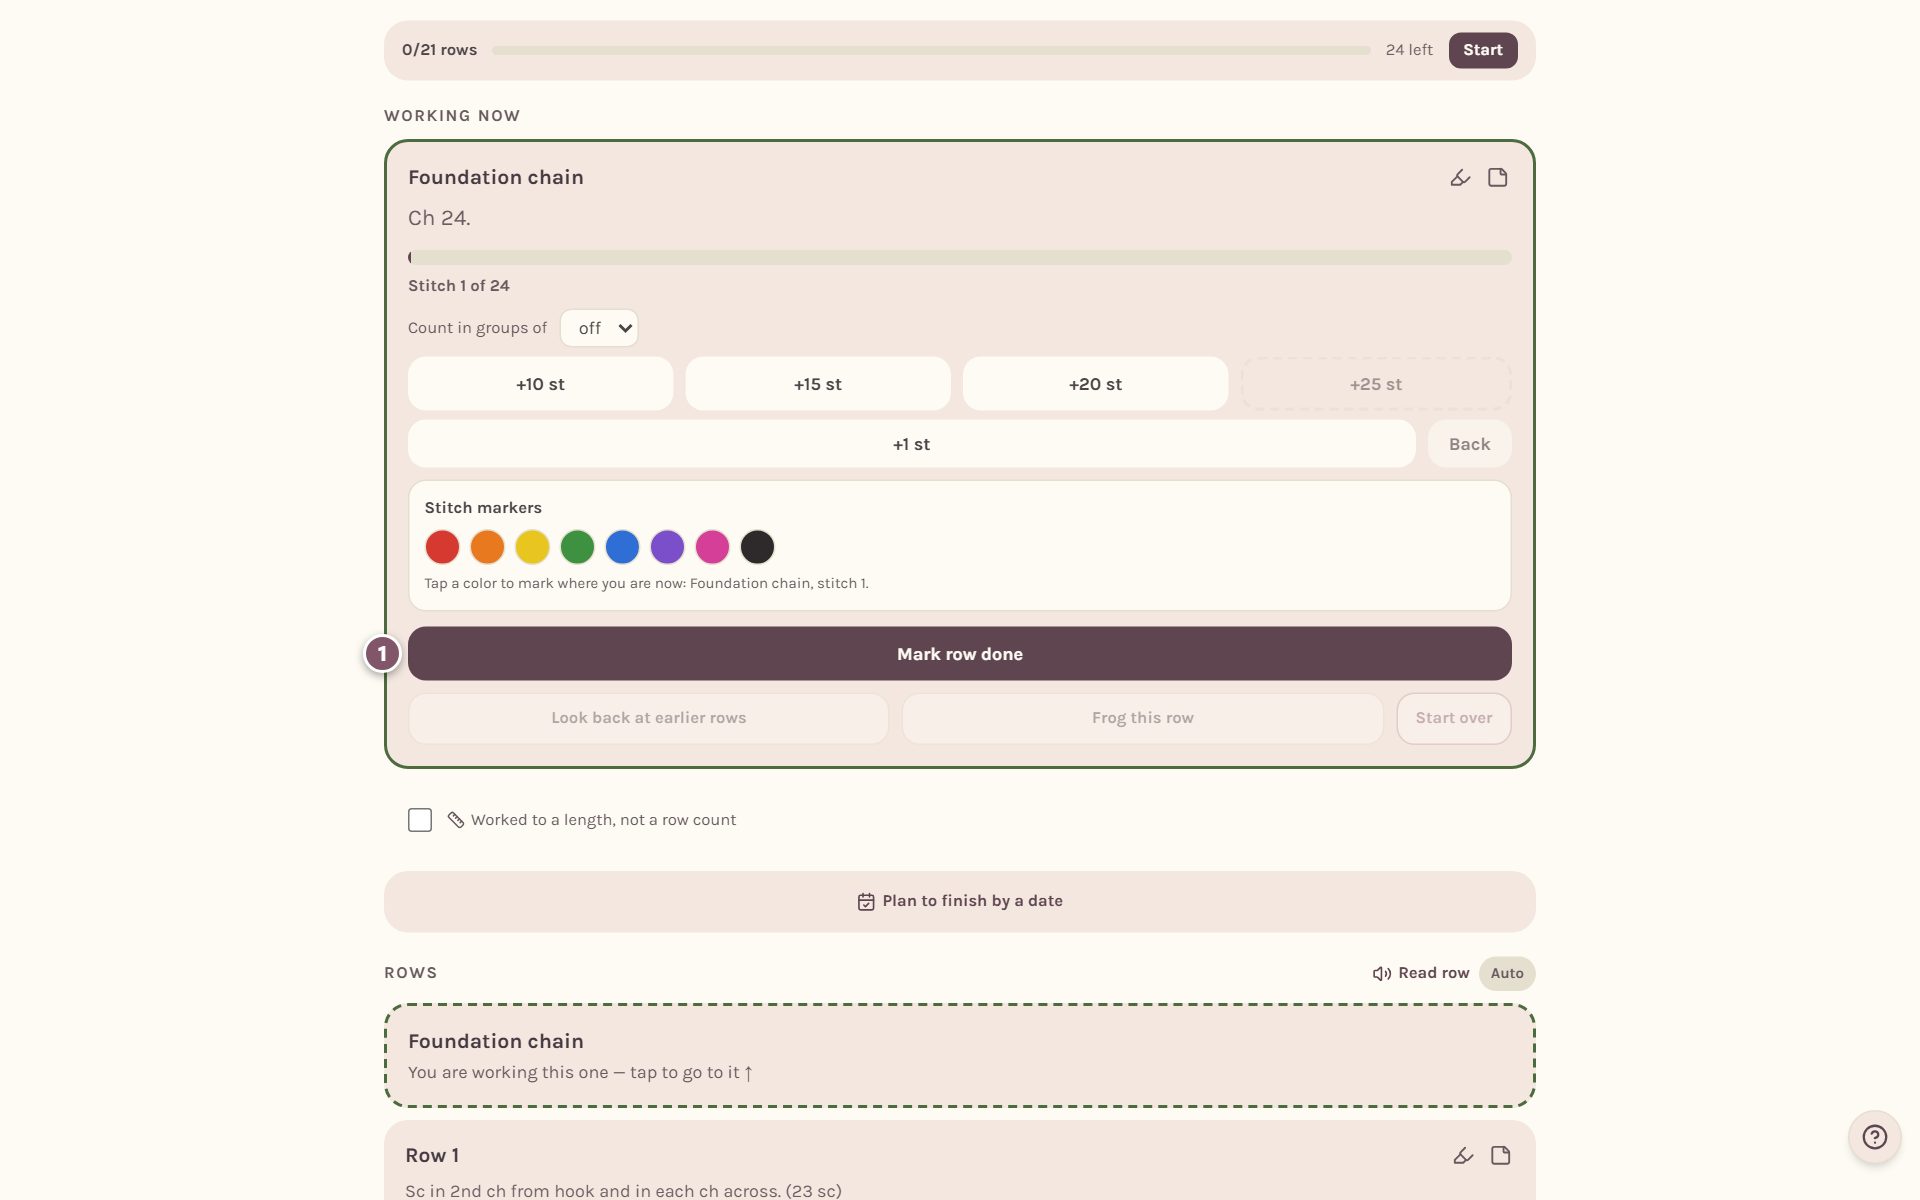
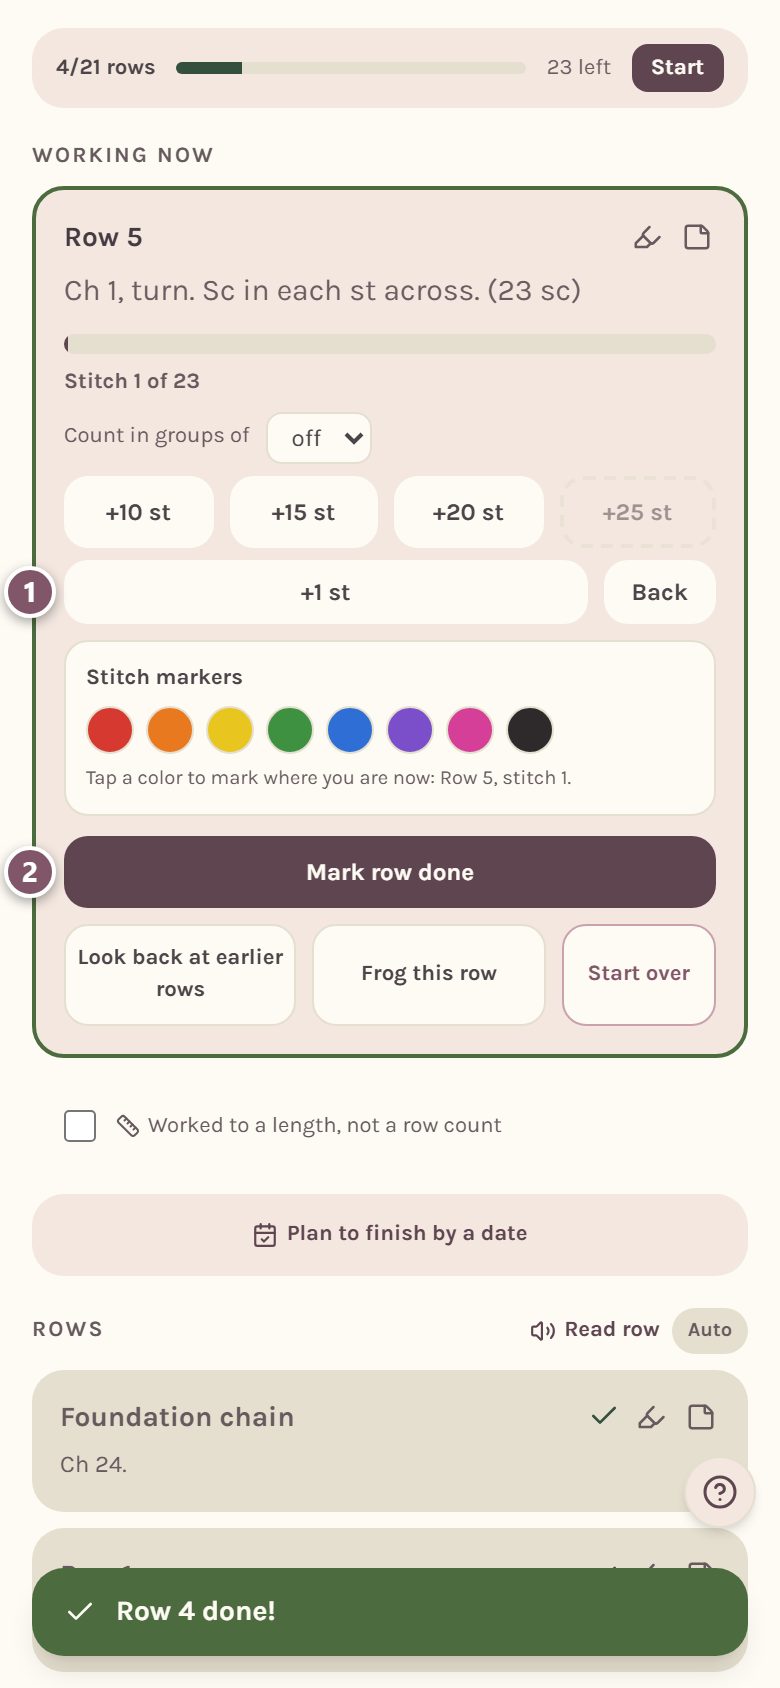
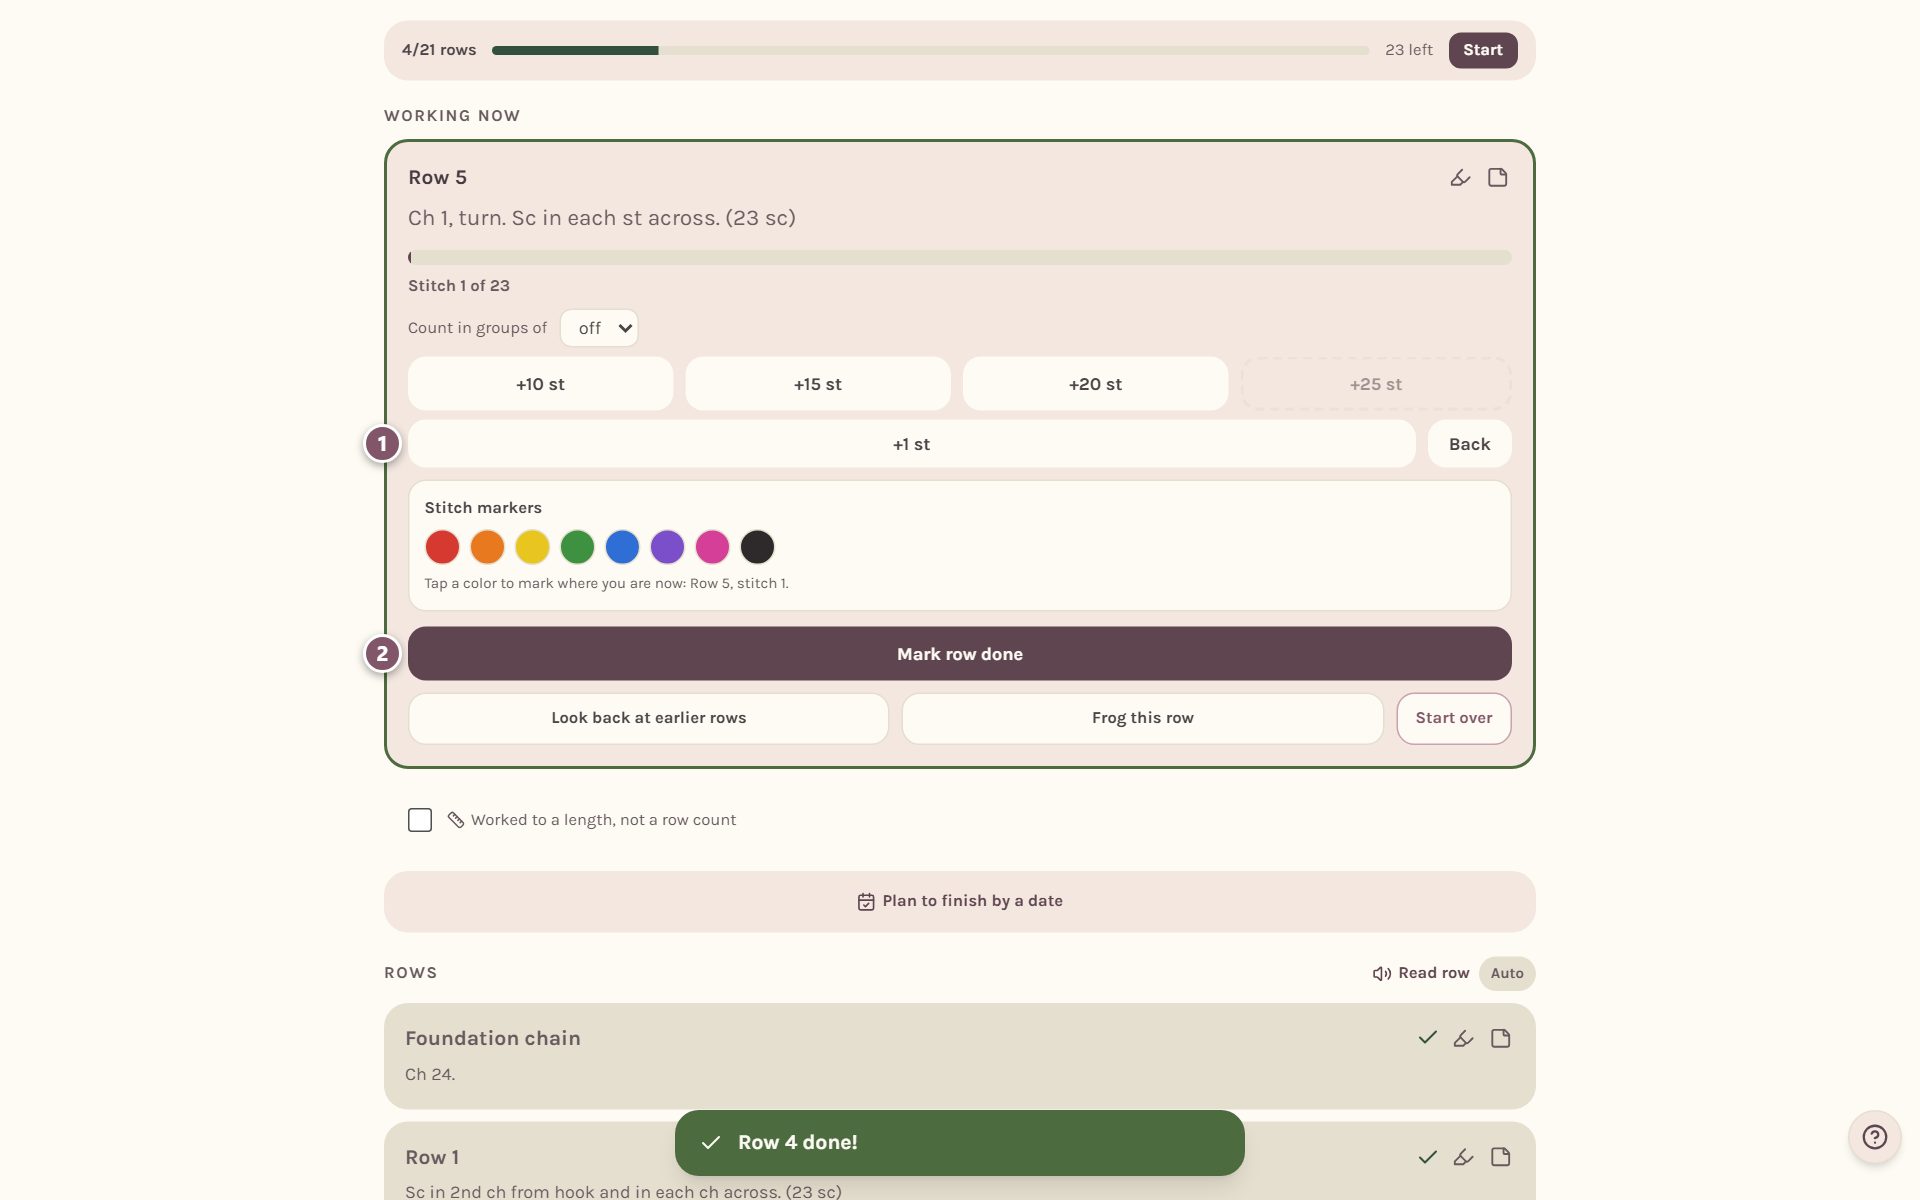
The row you're working sits under Working now, with its words in larger type. Tap Mark row done when you finish the foundation chain.
Then you're on Row 1:
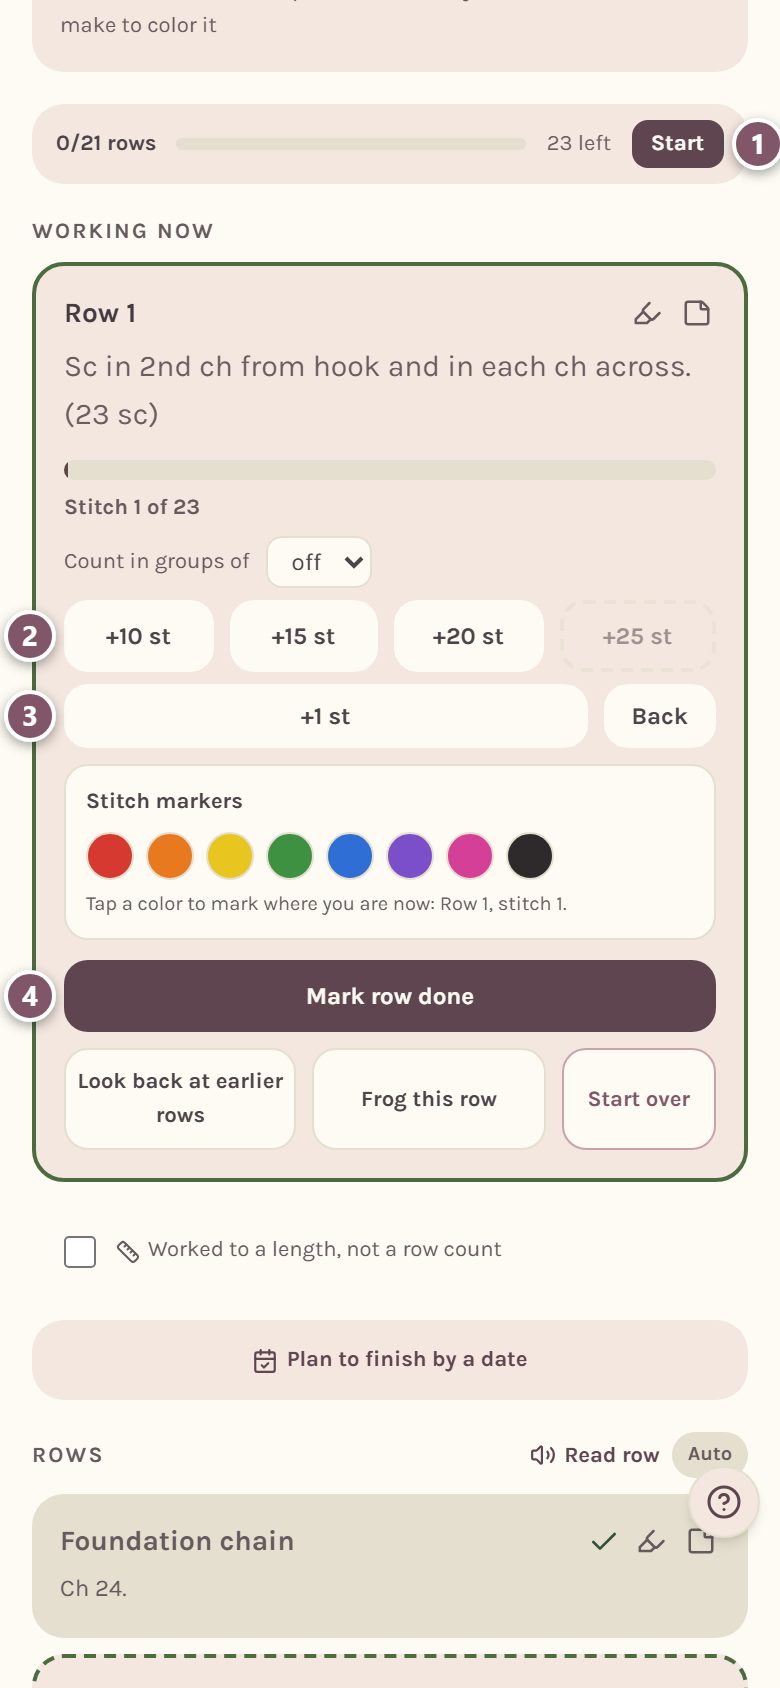
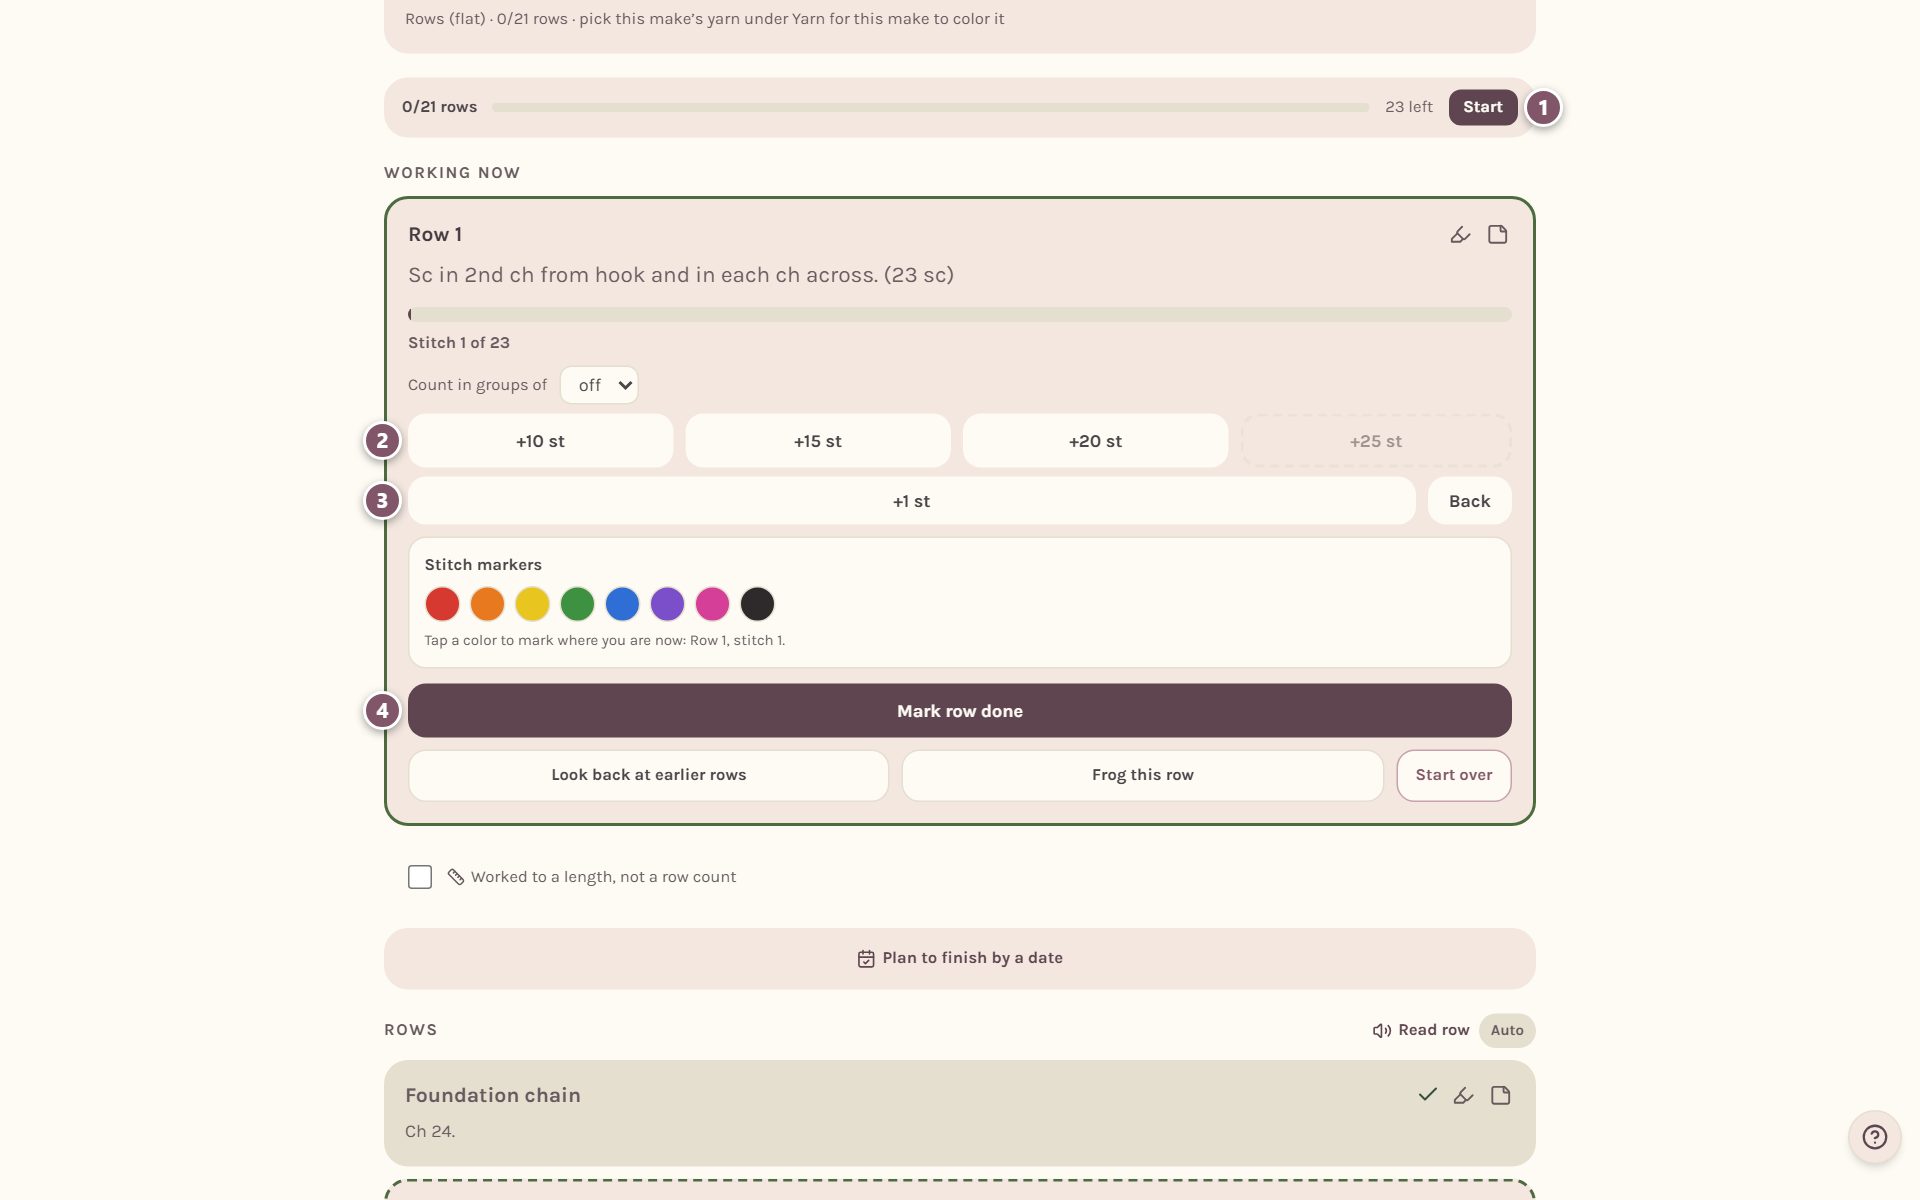
- Start runs the WIP timer, so you can see how long the project takes. See the crochet project timer.
- +10 st, +15 st, +20 st and +25 st log a handful of stitches at once. A dashed button is more than the row has left.
- +1 st logs one stitch. Back moves your place back without frogging anything.
- Mark row done finishes the row and moves you to the next one.
The stitch counter knows each row's count from the count the pattern gives, like "(23 sc)".
The repeated rows track like any other row, with their own stitch counter. On the pattern page, the list of rows shows them as one line, like "Rows 5–20 — repeat Rows 3–4 (8 more times)", with a card for each row to tick off.
Watch your piece fill in
Above the tracker, Your make so far draws your piece as little squares in its shape. Every row you finish fills in, and the star shows where your next stitch goes.
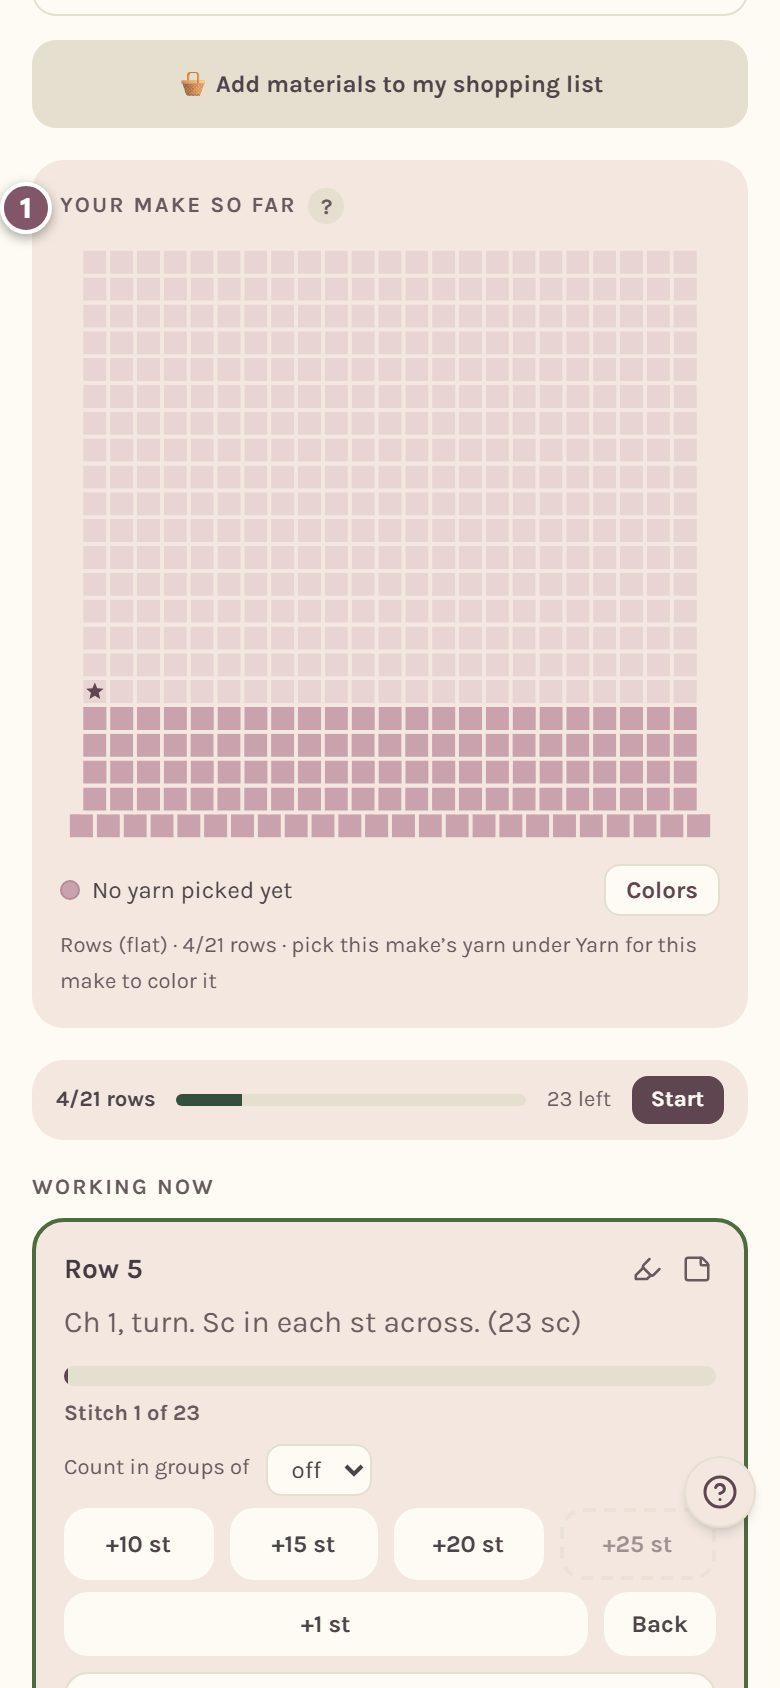
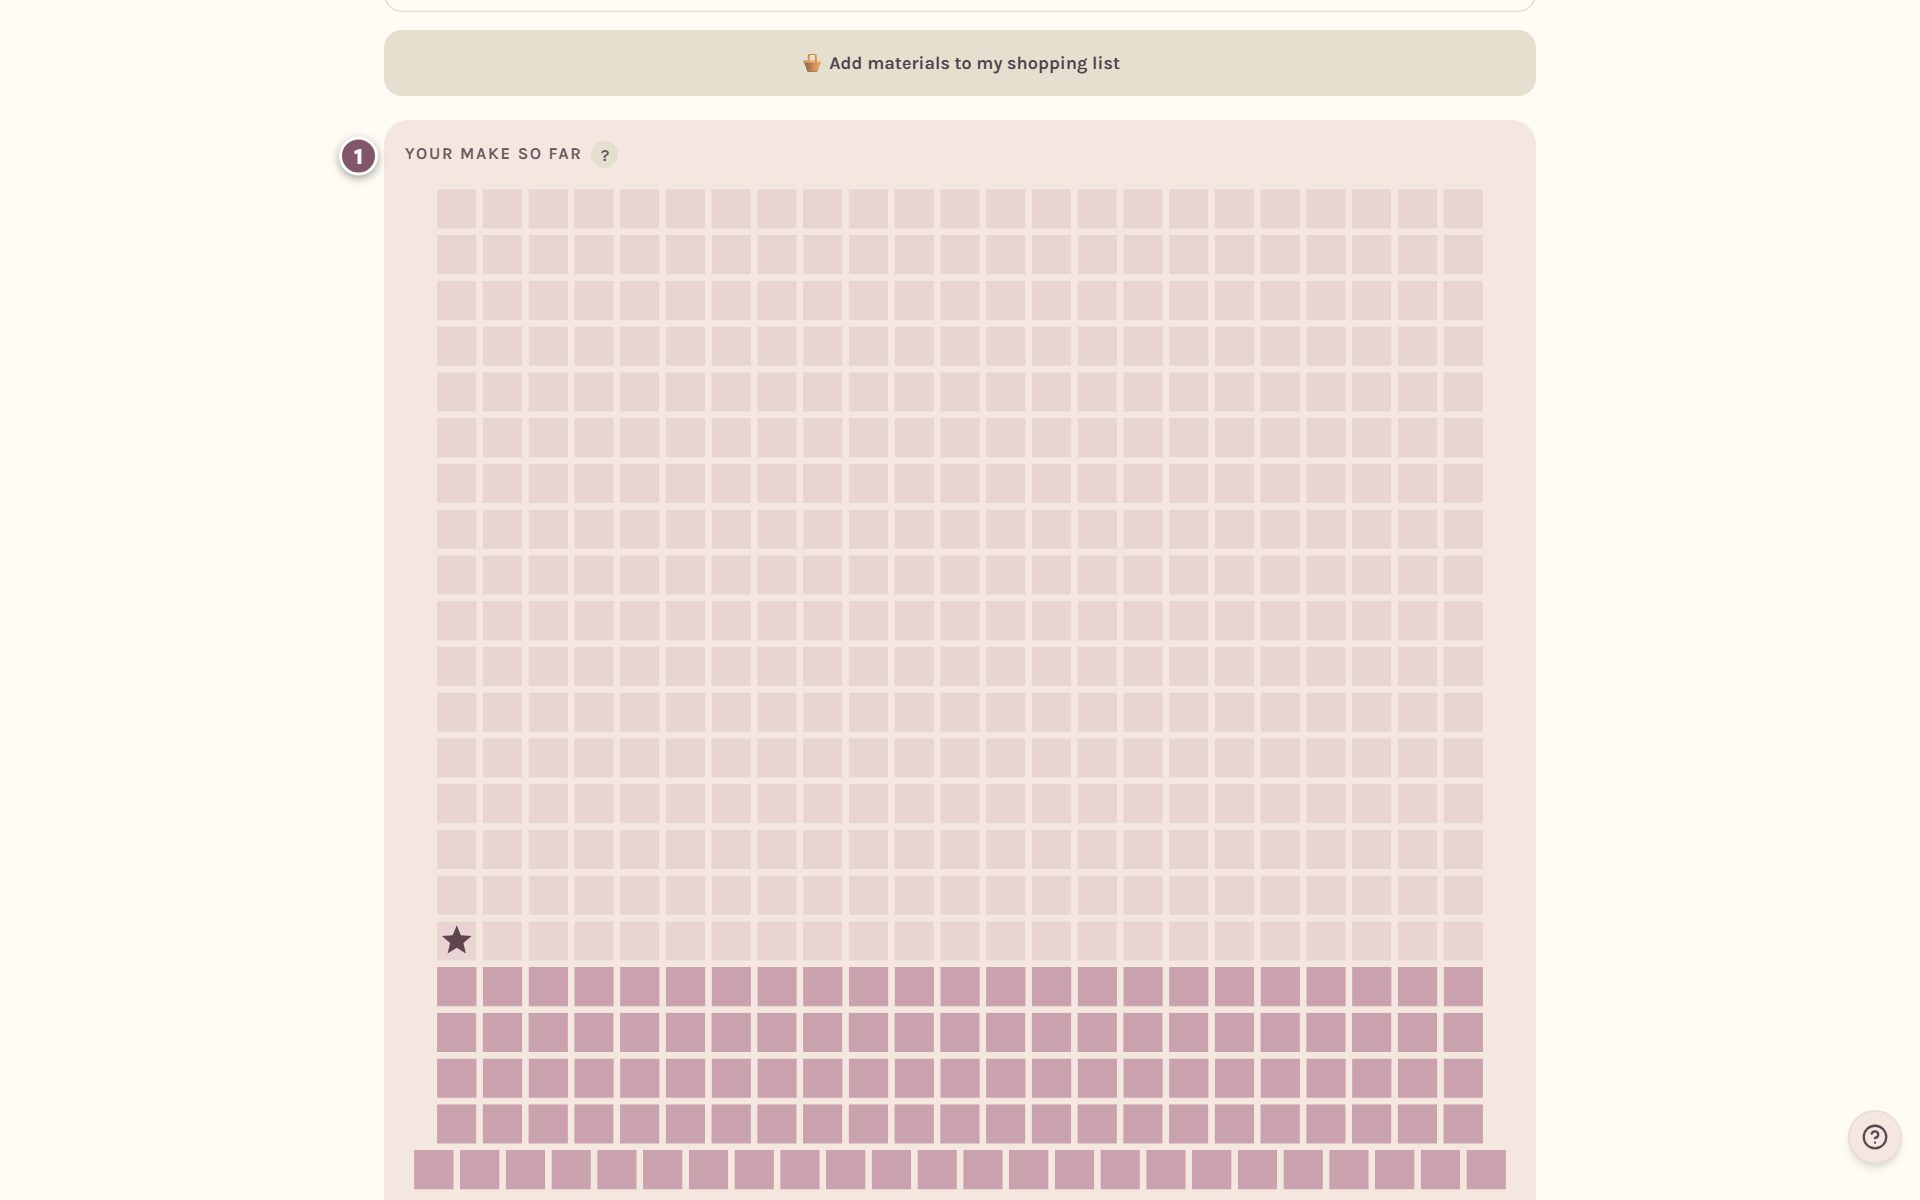
Tap Colors under the picture to color it with your yarn. The ? beside the title explains the star.
For everything else the tracker can do, like stitch markers, looking back, frogging a row and planning to finish by a date, see track a written pattern row by row.
Fix a row's words later
Spotted a row whose words came in wrong? On the pattern page, tap Edit this pattern. Every row is listed with its words in a box of its own.
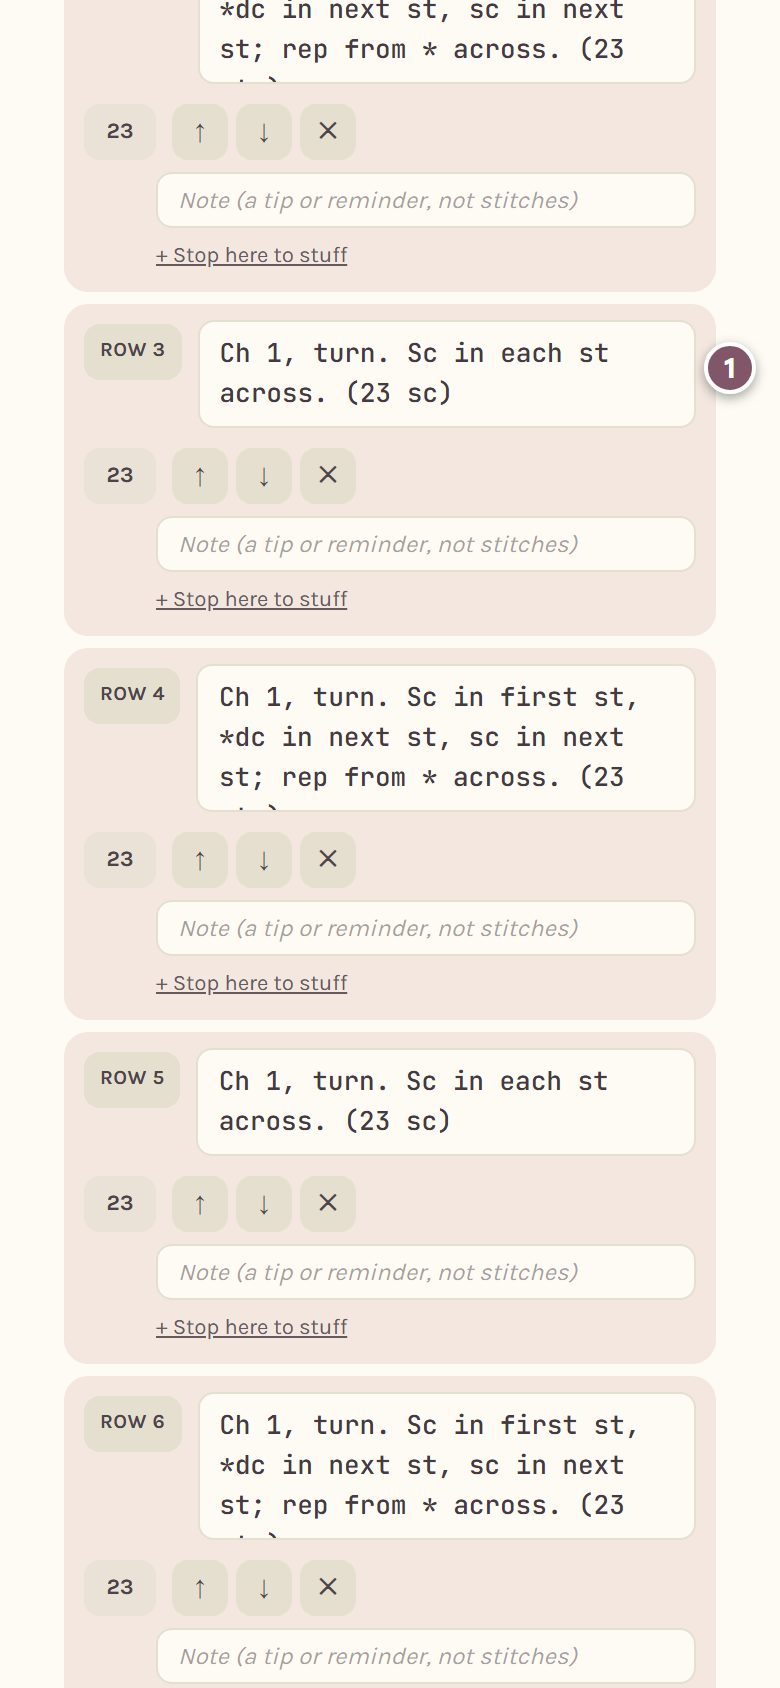
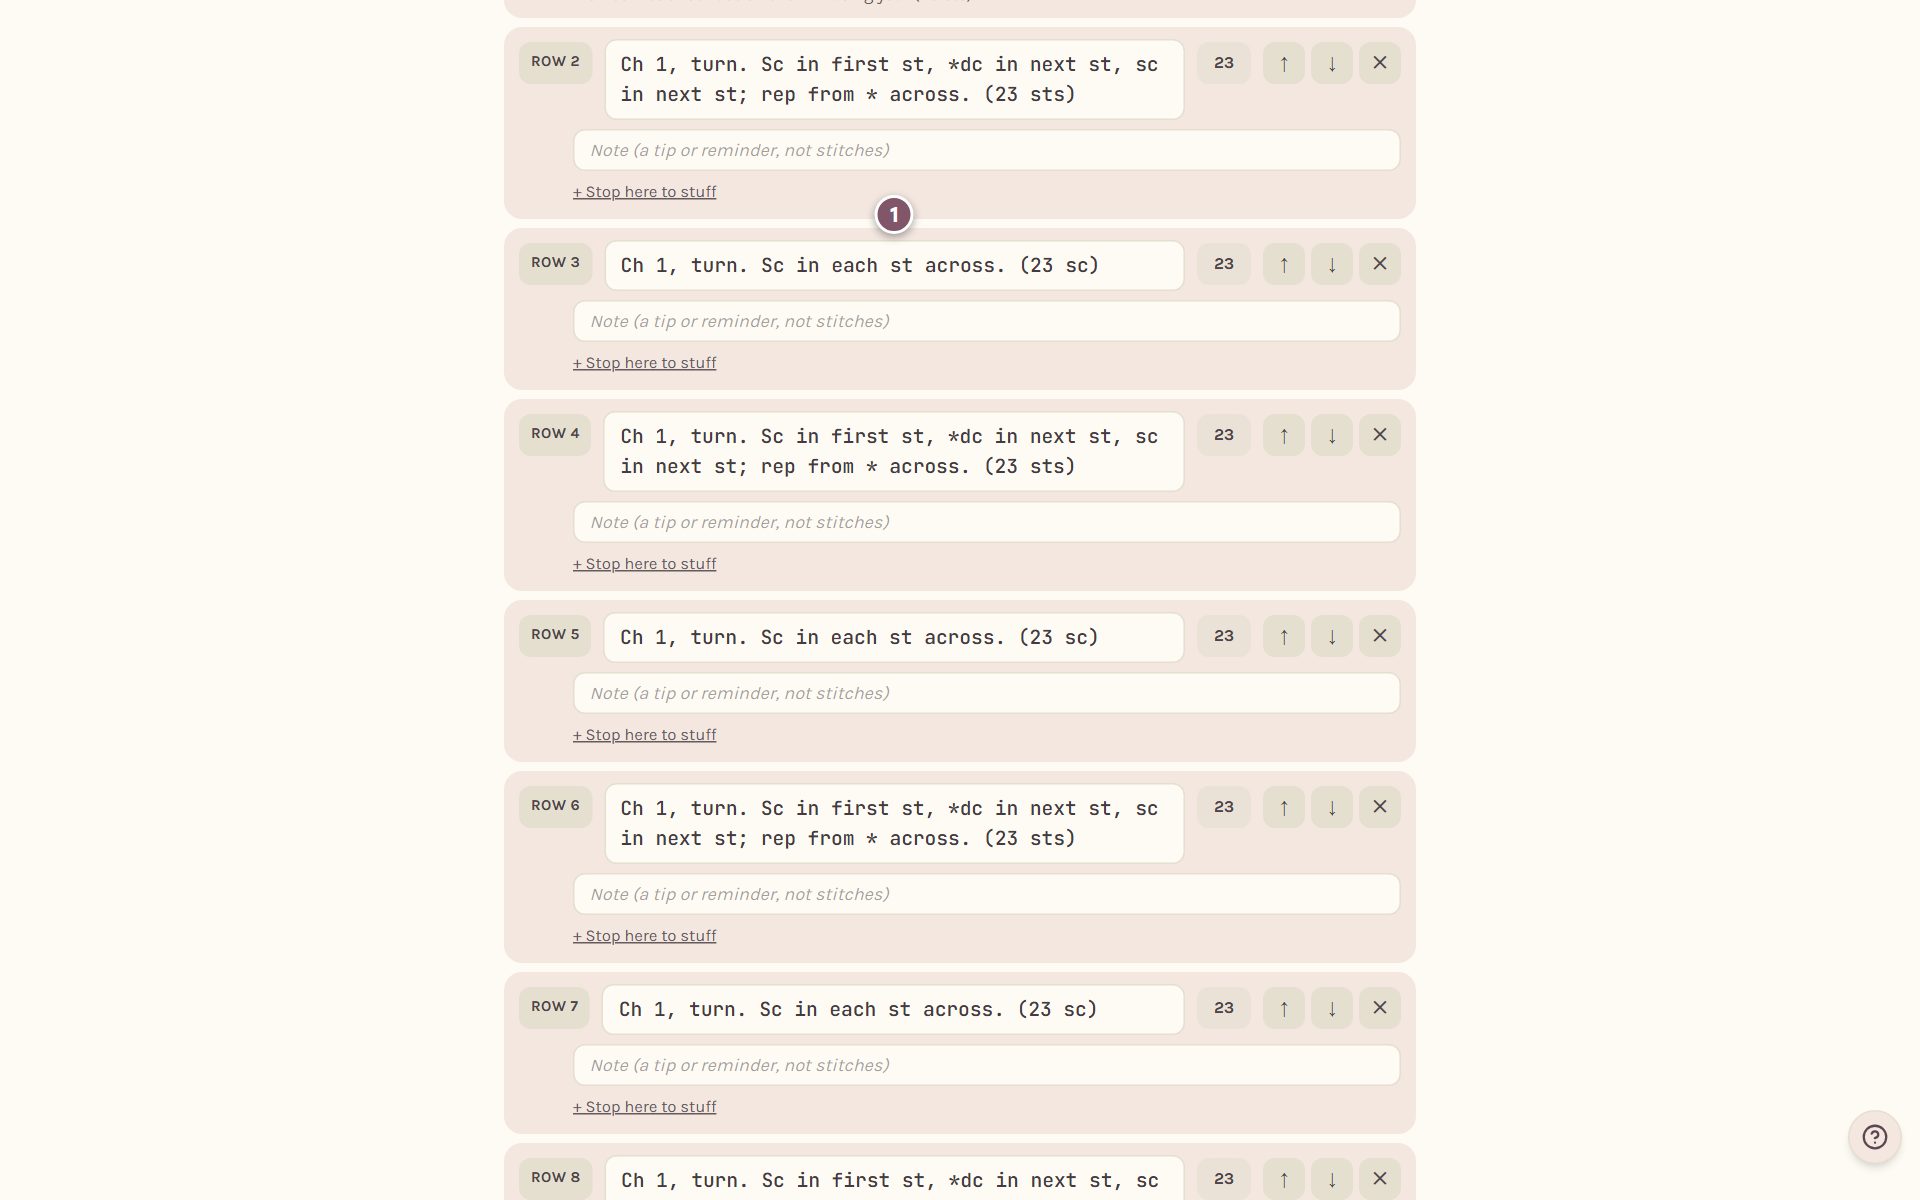
Fix the words in the row's box. The number beside it is how many stitches that row ends with. When you're done, tap Done — back to the pattern at the bottom.
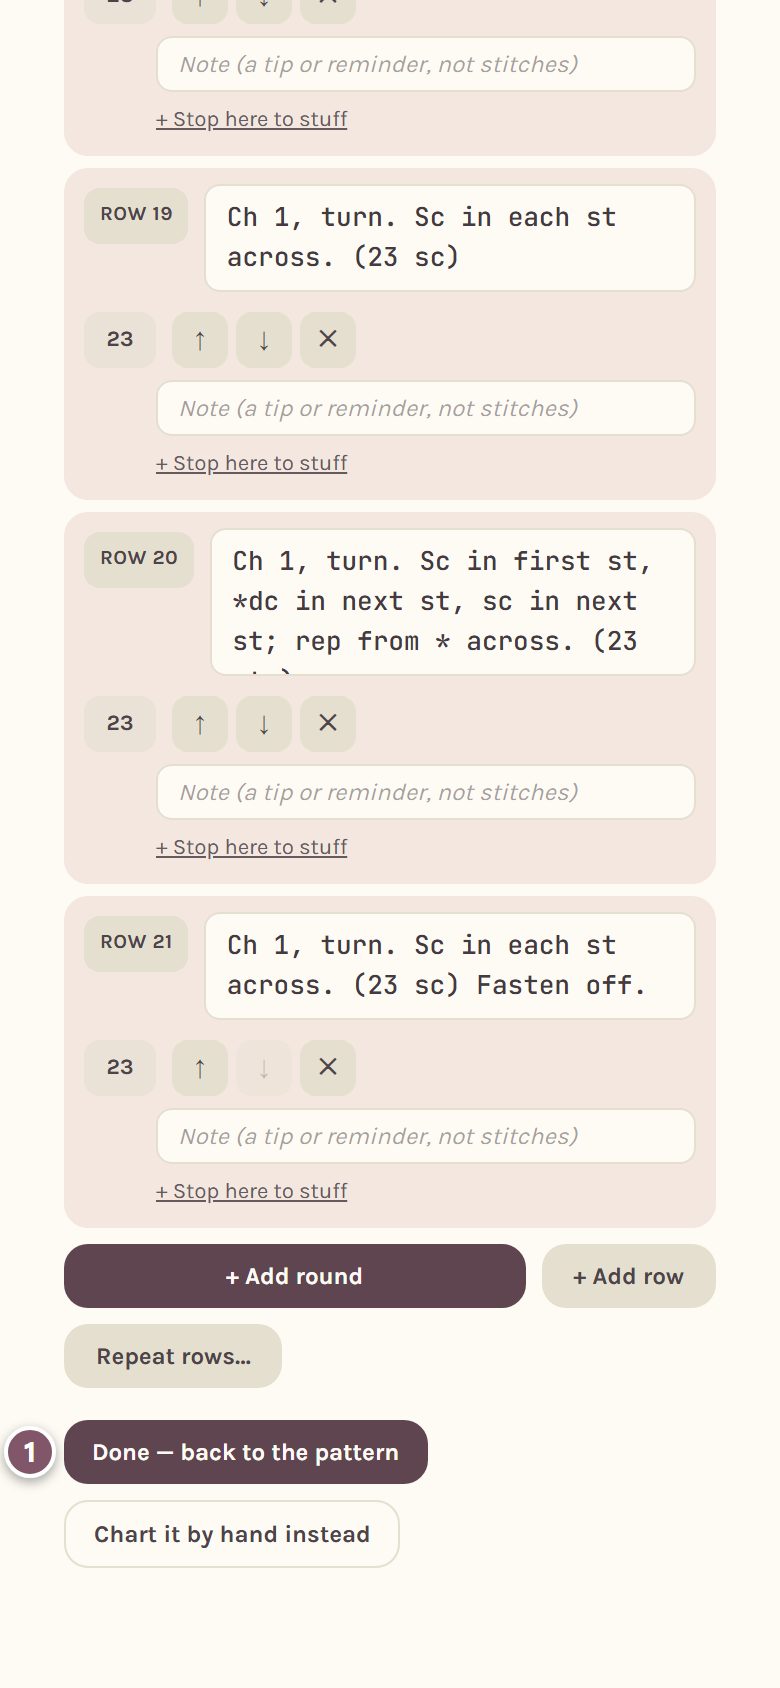
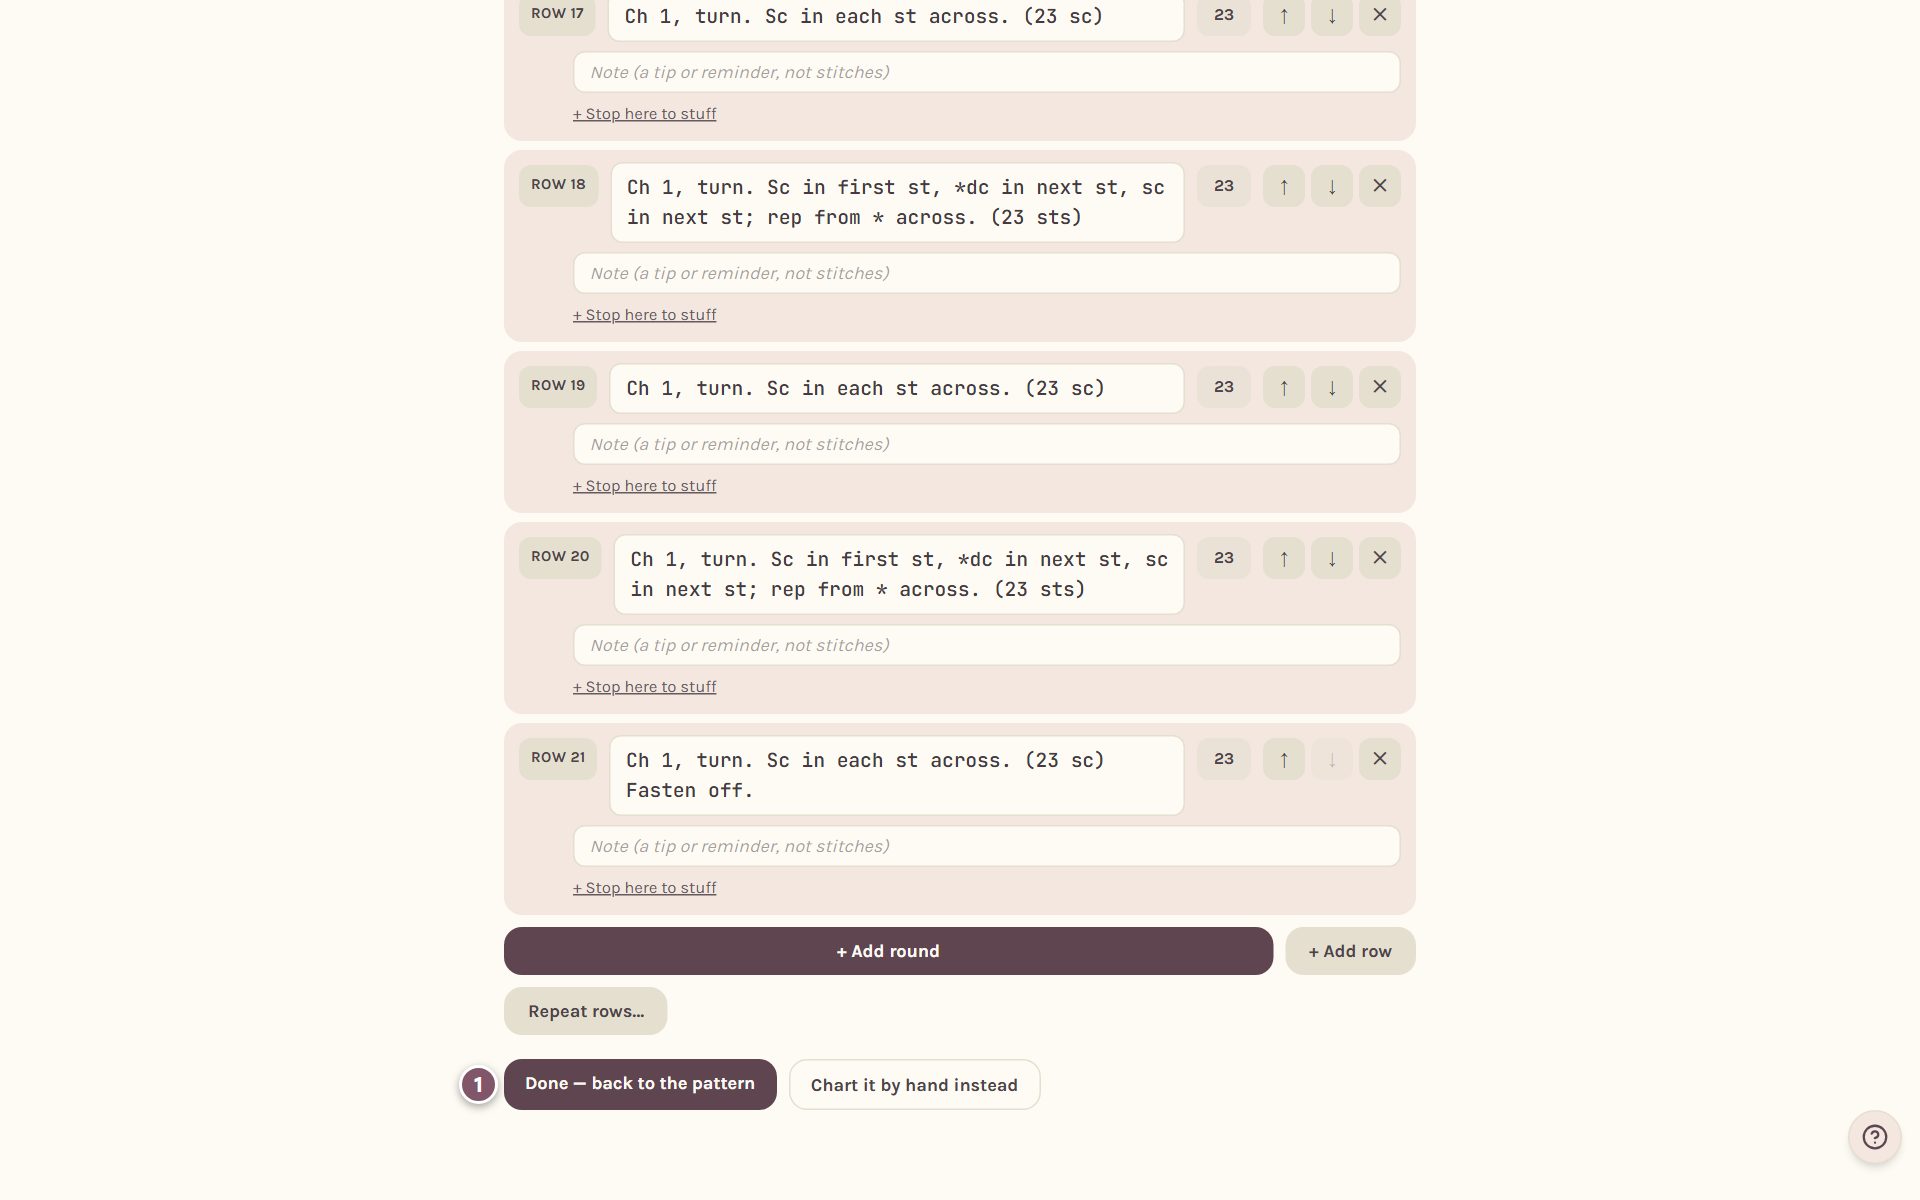
When a PDF won't let you copy
Some patterns are scanned pages, or the designer locked copying. When you press and hold and nothing highlights, there are two good ways to track it:
- Type the rows in. Open Paste instructions and type each row on its own line, starting with its number, like "Row 1: Sc in 2nd ch from hook and in each ch across. (23 sc)". You only need the rows, not the whole page.
- Use the plain row counter. On the WIPs page, type a name in New WIP name, add the number of rows if you know it, and tap Add. You get a big row counter to follow along with your PDF. See a simple row counter for anything.
Frequently asked questions
Is my pasted pattern private? Yes. It's a private copy only you can see. It's yours to make from, and it stays the designer's pattern.
Does the app change the designer's words? No. Each row keeps its words exactly as you pasted them, in order. Page numbers are taken out, and copyright and "purchased by" lines are kept under From the pattern.
Can I print my pasted pattern? No. A private copy can't be printed or downloaded from the app. Print from your PDF.
My pattern comes in several sizes, like "ch 52 (58, 64)". What happens? The app notices and asks which size you're making before it reads anything. It never guesses between sizes.
Ready to try it? Crochet Bobble opens right in your browser, on a phone or a computer.
Open Crochet Bobble