
How to Track an Amigurumi Piece by Piece
Crocheting a toy with a body, ears and arms? Crochet Bobble keeps a separate place for every piece, lets you photograph each one as it comes off the hook, and gives you the sewing steps once they're all made.
A toy is never one piece. There's a body, two ears, maybe arms and a tail, and each one has its own rounds. Crochet Bobble tracks a pattern with several pieces the way you actually make it: one piece at a time, each with its own place, and the sewing at the end.
Two ears count as two pieces, Ear 1 and Ear 2, so you can finish one and leave the other halfway.
What you need
- A pattern with several pieces. You can draw one in the Shape Studio. See the amigurumi pattern generator and putting an amigurumi together.
Add the toy to your WIPs
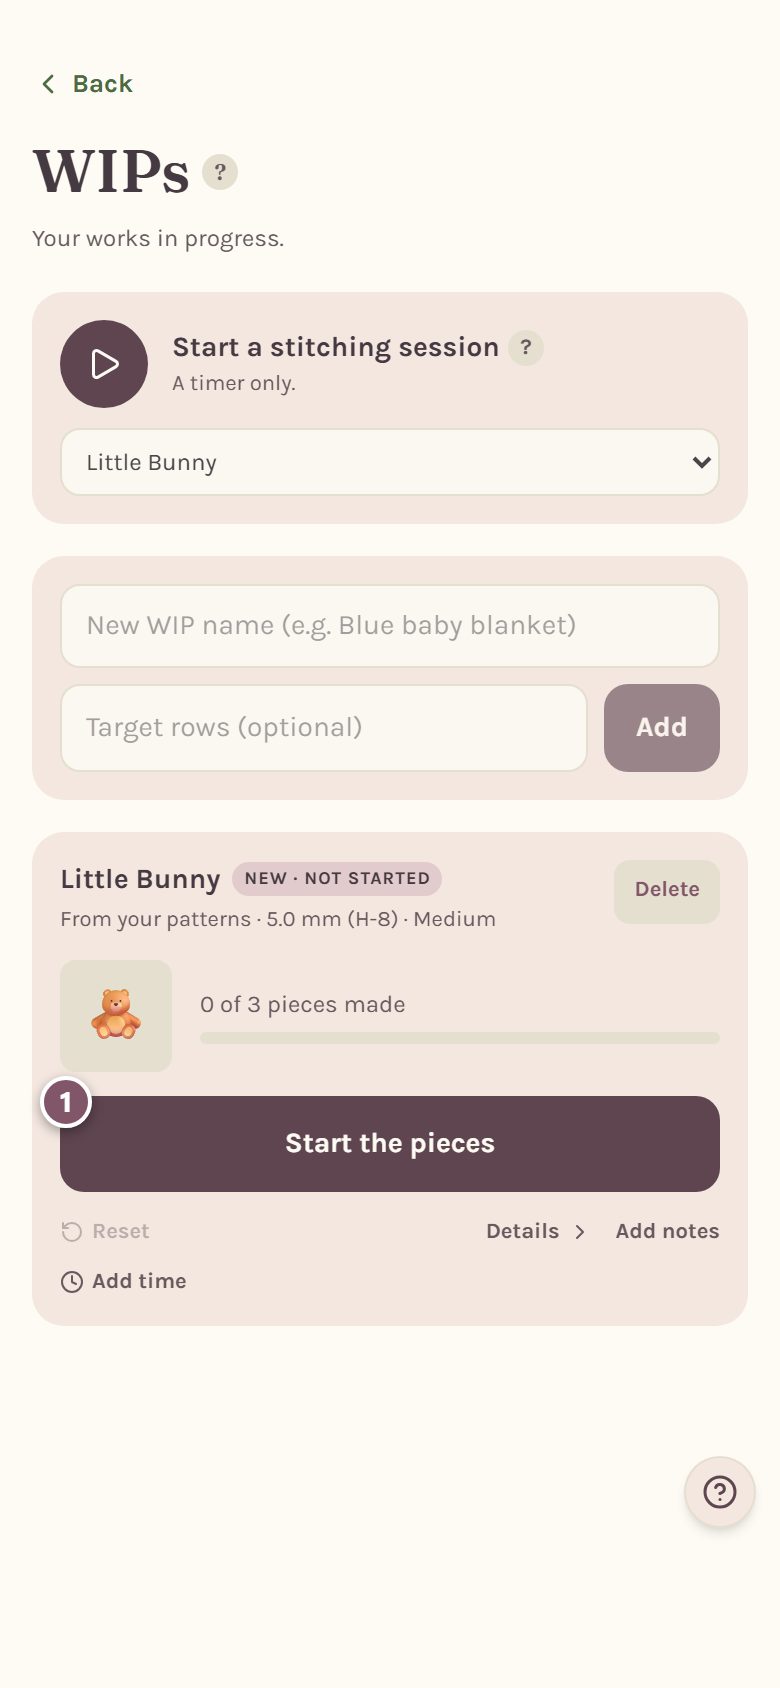
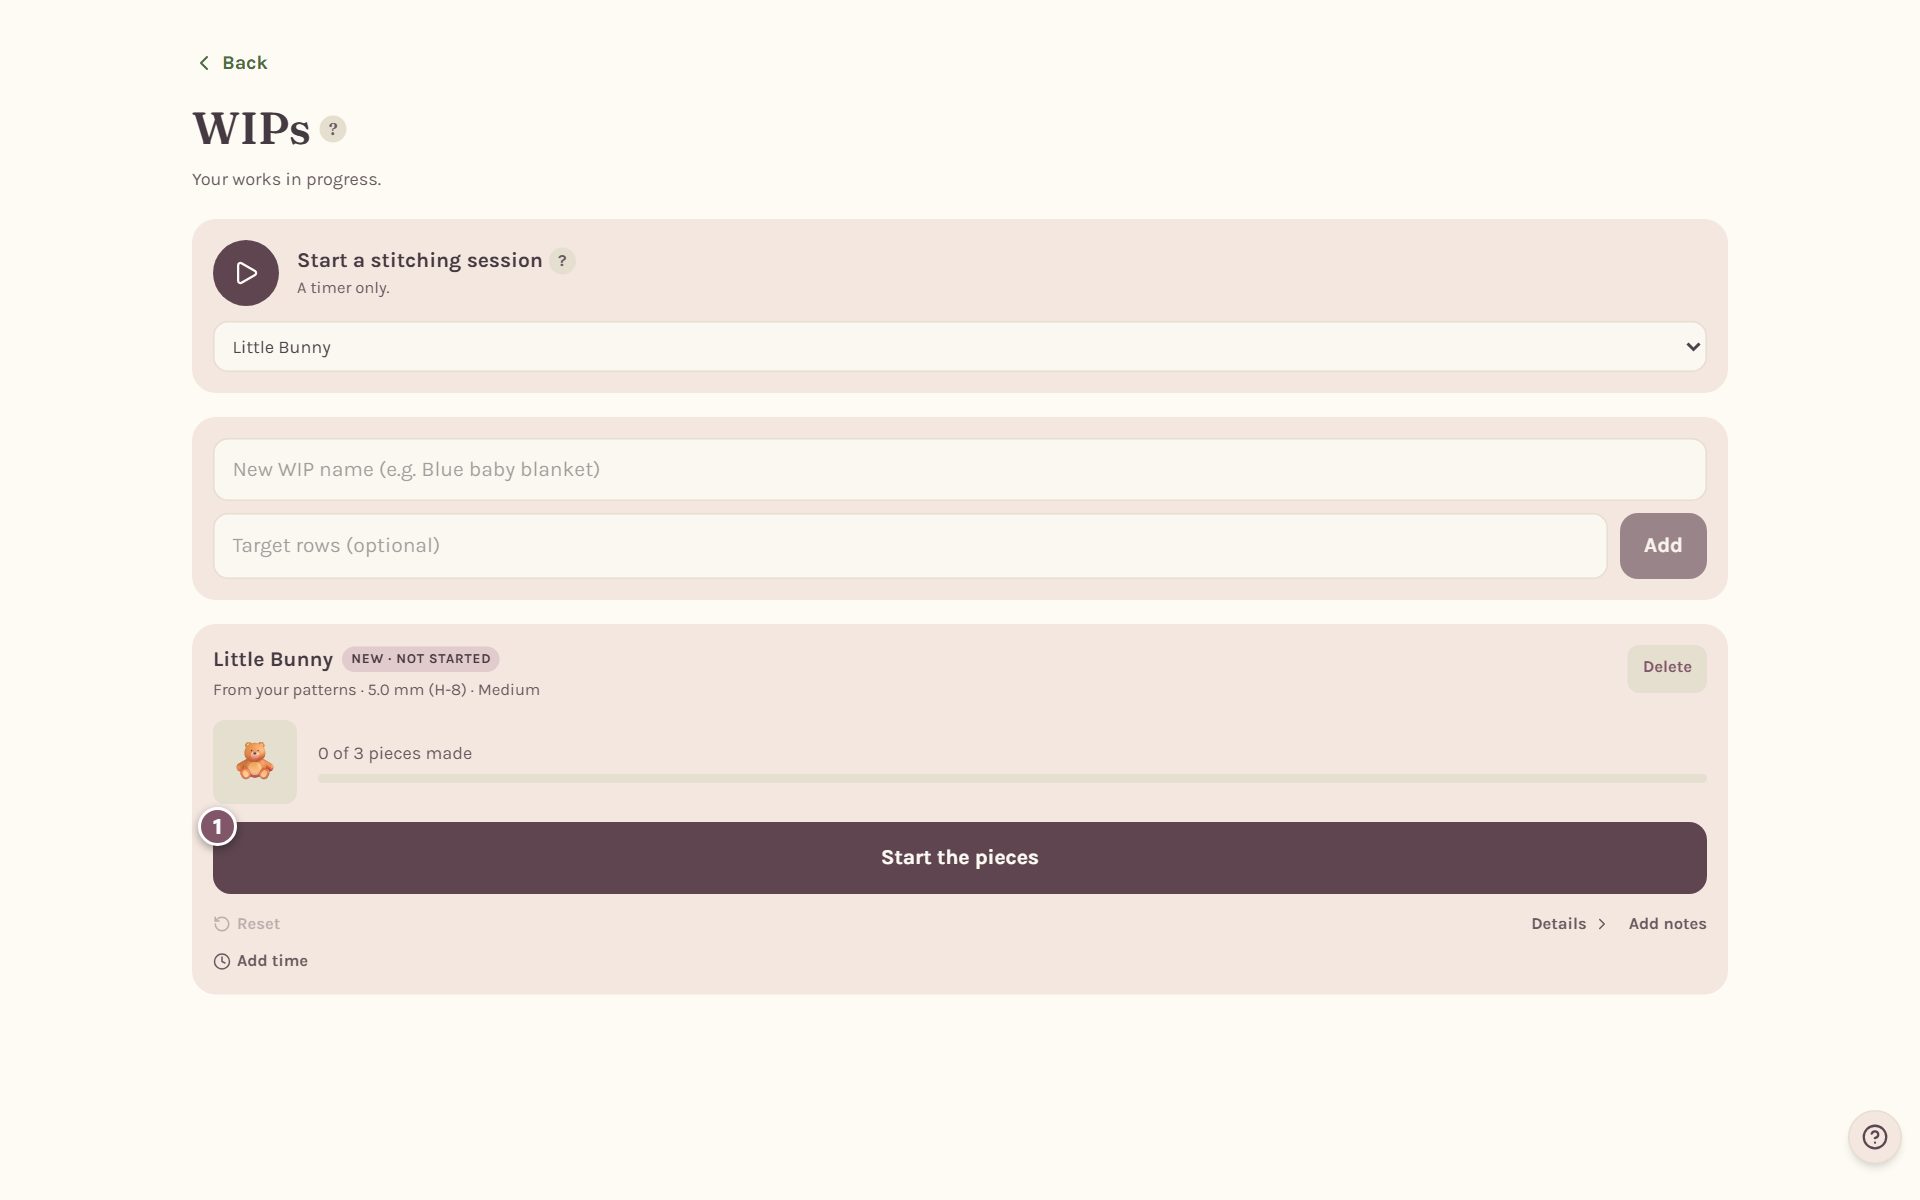
Open the pattern, tap Add to my WIPs, and your WIPs card counts pieces instead of rows: "0 of 3 pieces made". Tap Start the pieces to open it.
Pick a piece from the map
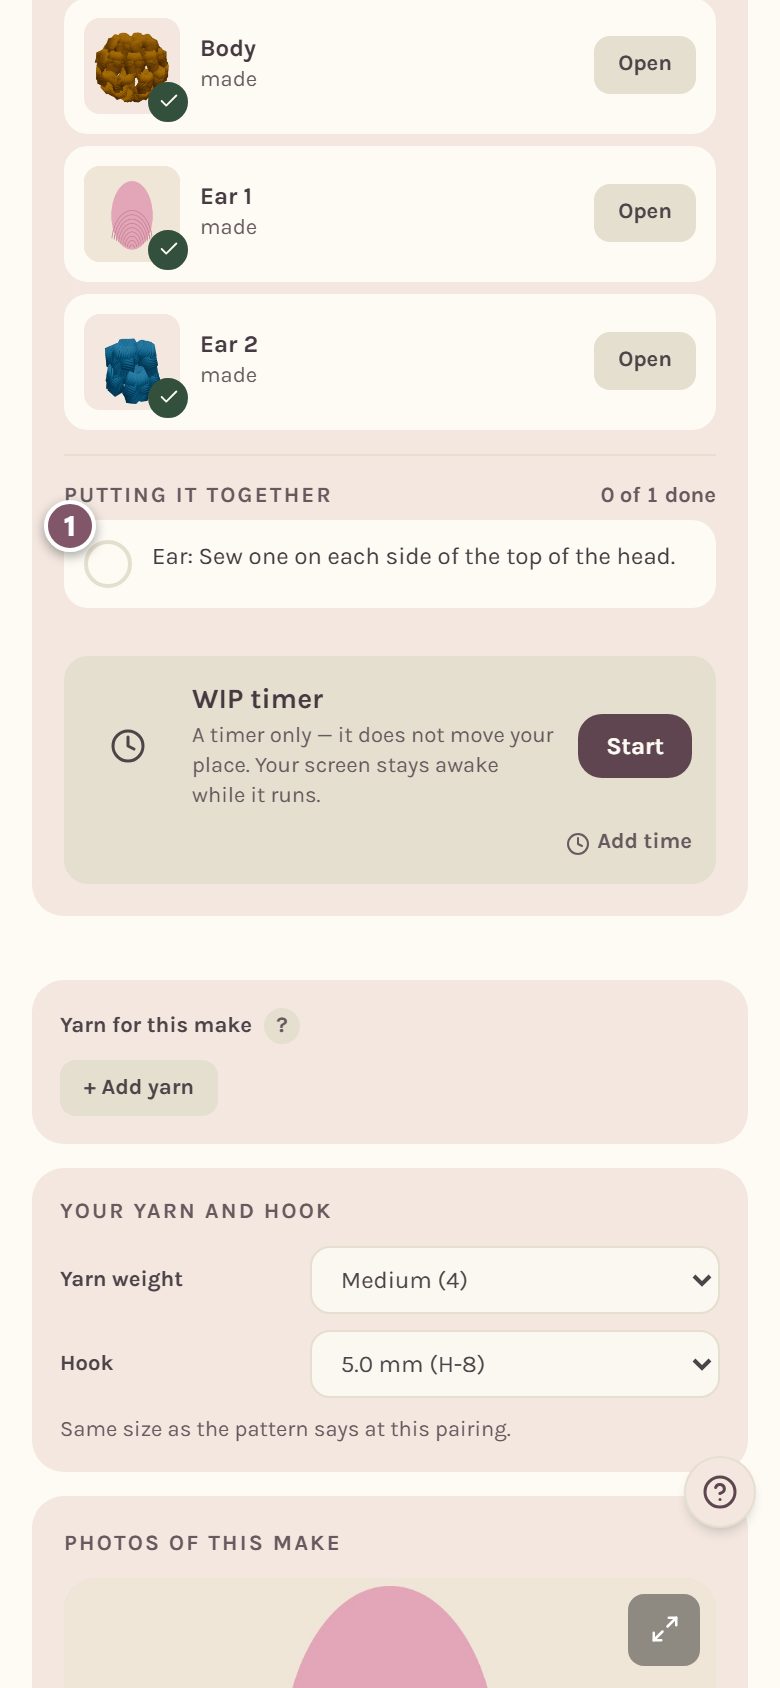
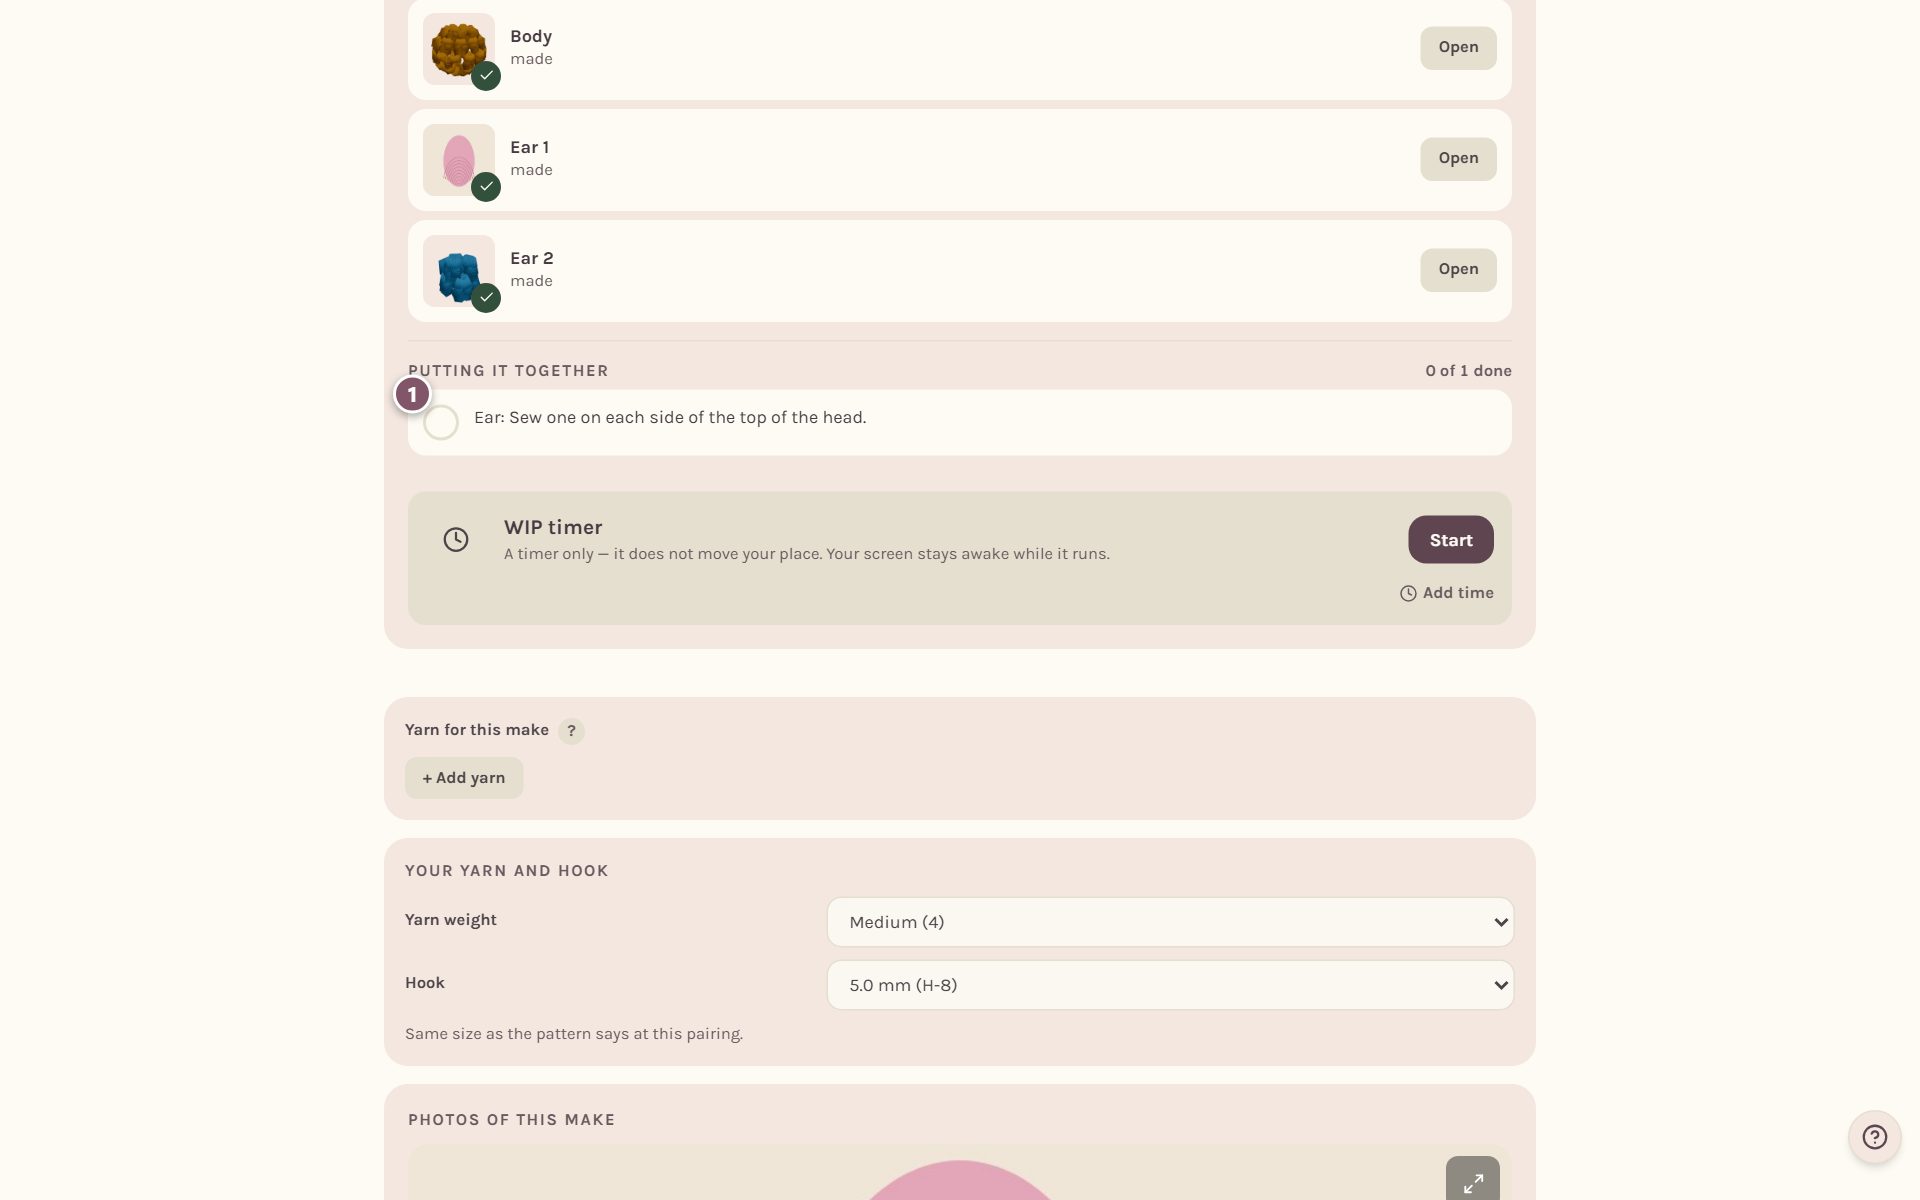
The tracker opens on The pieces, a map of everything you need to make, with a picture of each piece. A piece you've made is in color, and the ones still to make wait in gray.
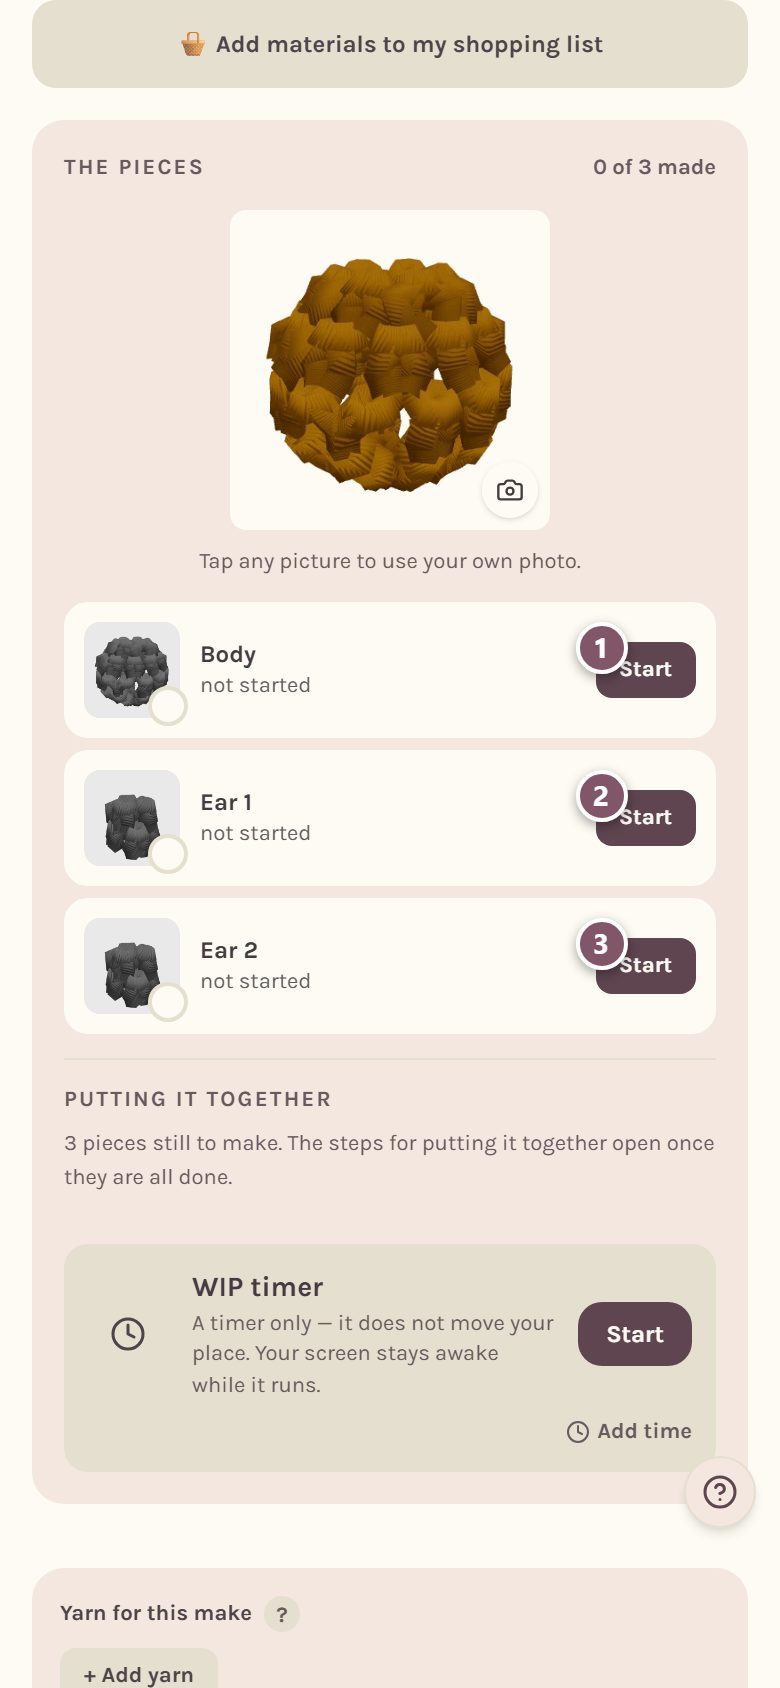
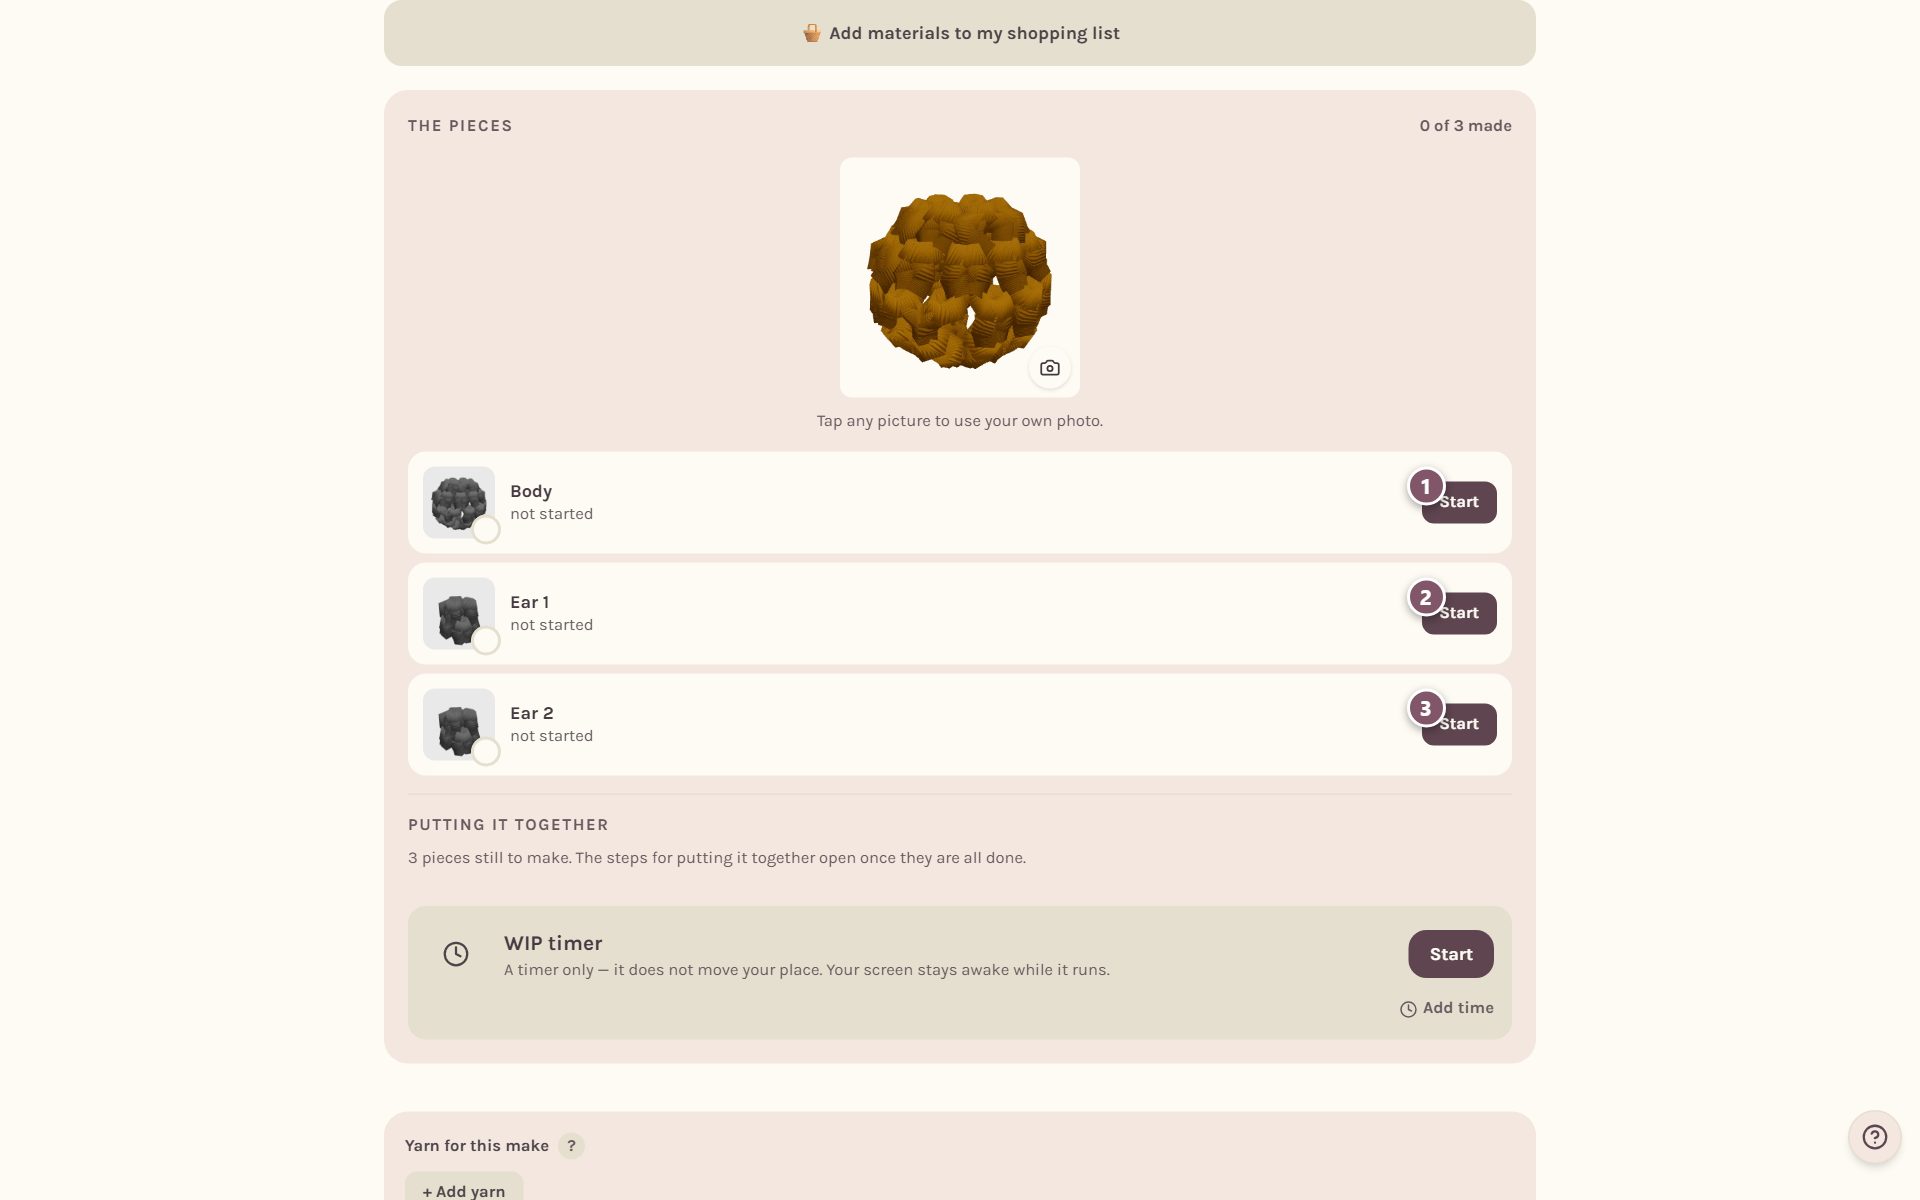
Tap Start beside the piece you want to make first. A piece you've begun says Keep going, and a finished one says Open. Work them in any order you like.
Work the piece's rounds
With a piece open, the tracker is that piece's own: its rounds, its stitch counter and its stops, like "stuff it now".
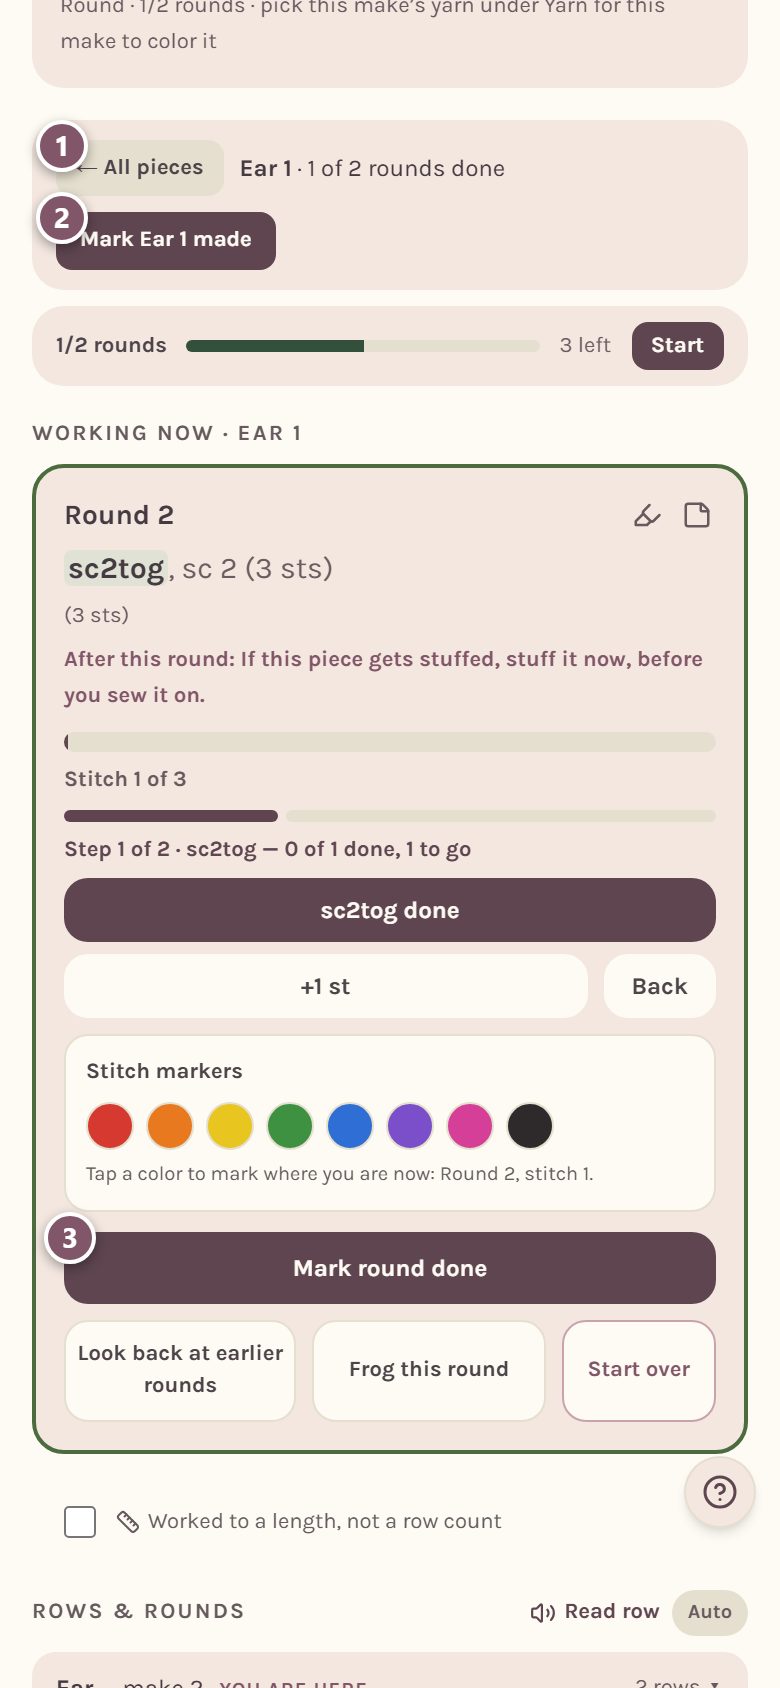
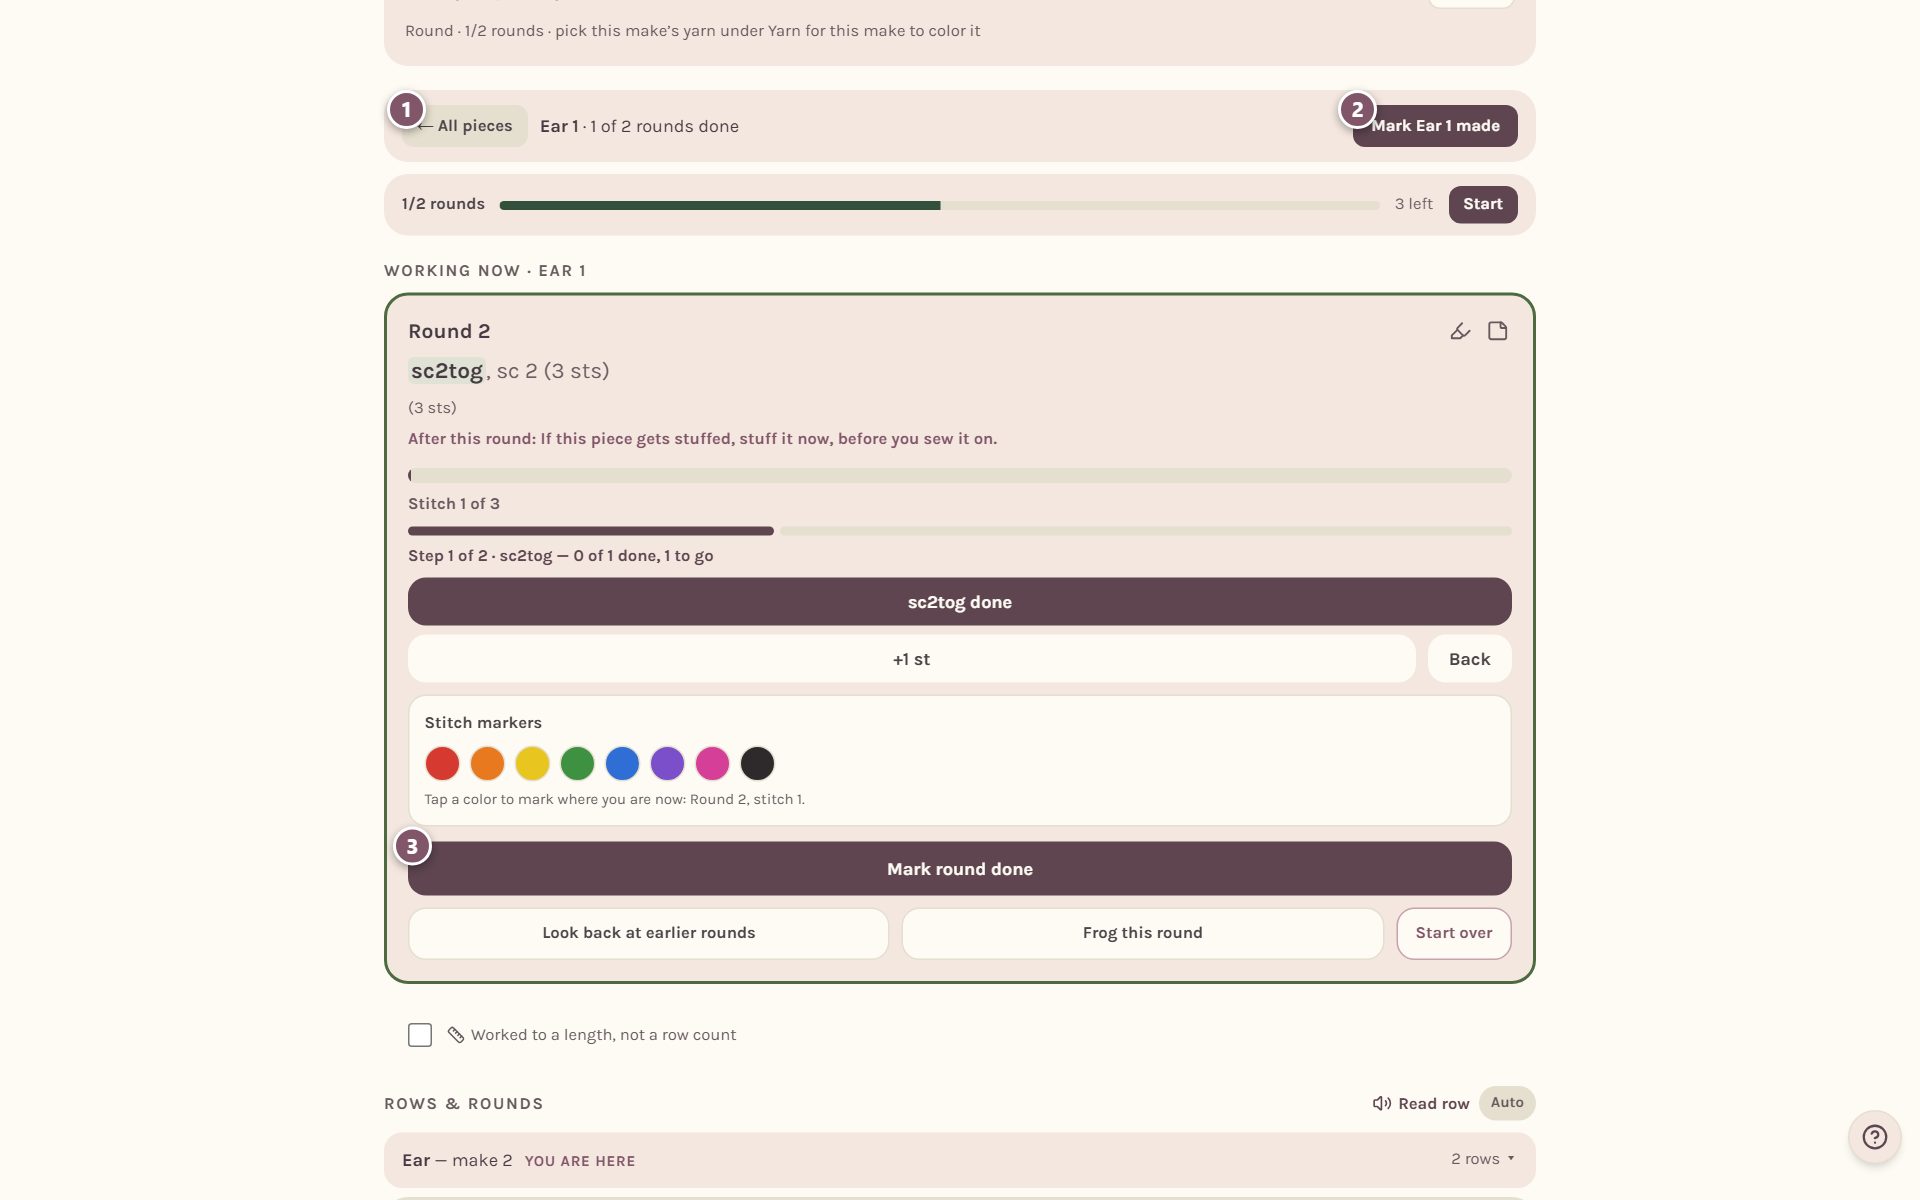
- ← All pieces takes you back to the map. The piece keeps its place.
- Mark Ear 1 made says the piece is finished.
- Mark round done finishes the round you're on, just like any pattern. See the crochet row counter for the stitch buttons.
If the WIP timer is running, the time counts toward the piece you have open.
Mark a piece made, and take its photo
When you mark a piece made, Crochet Bobble says so and offers to photograph it.
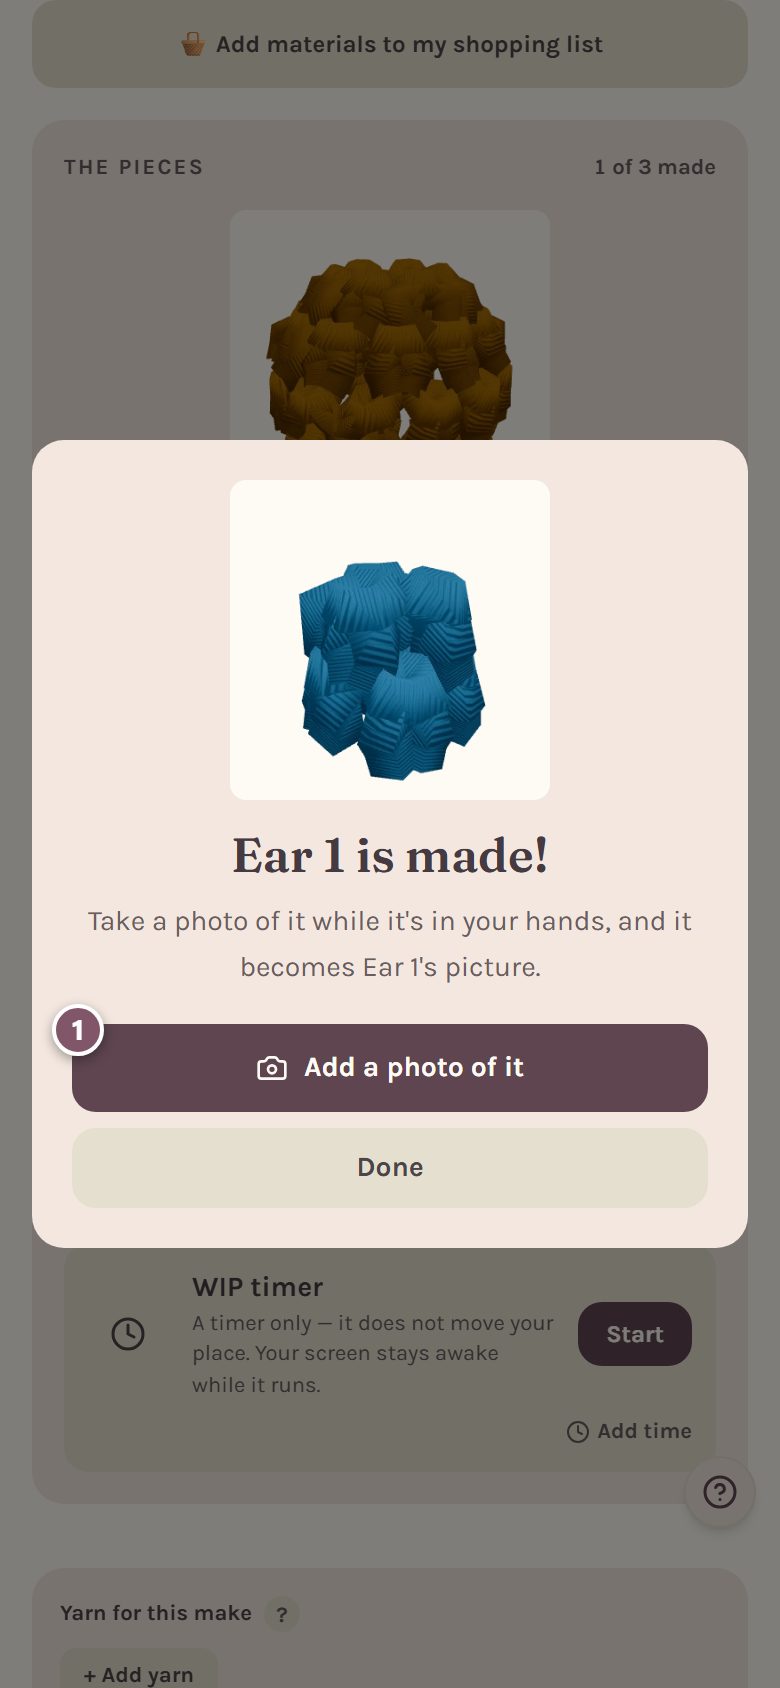
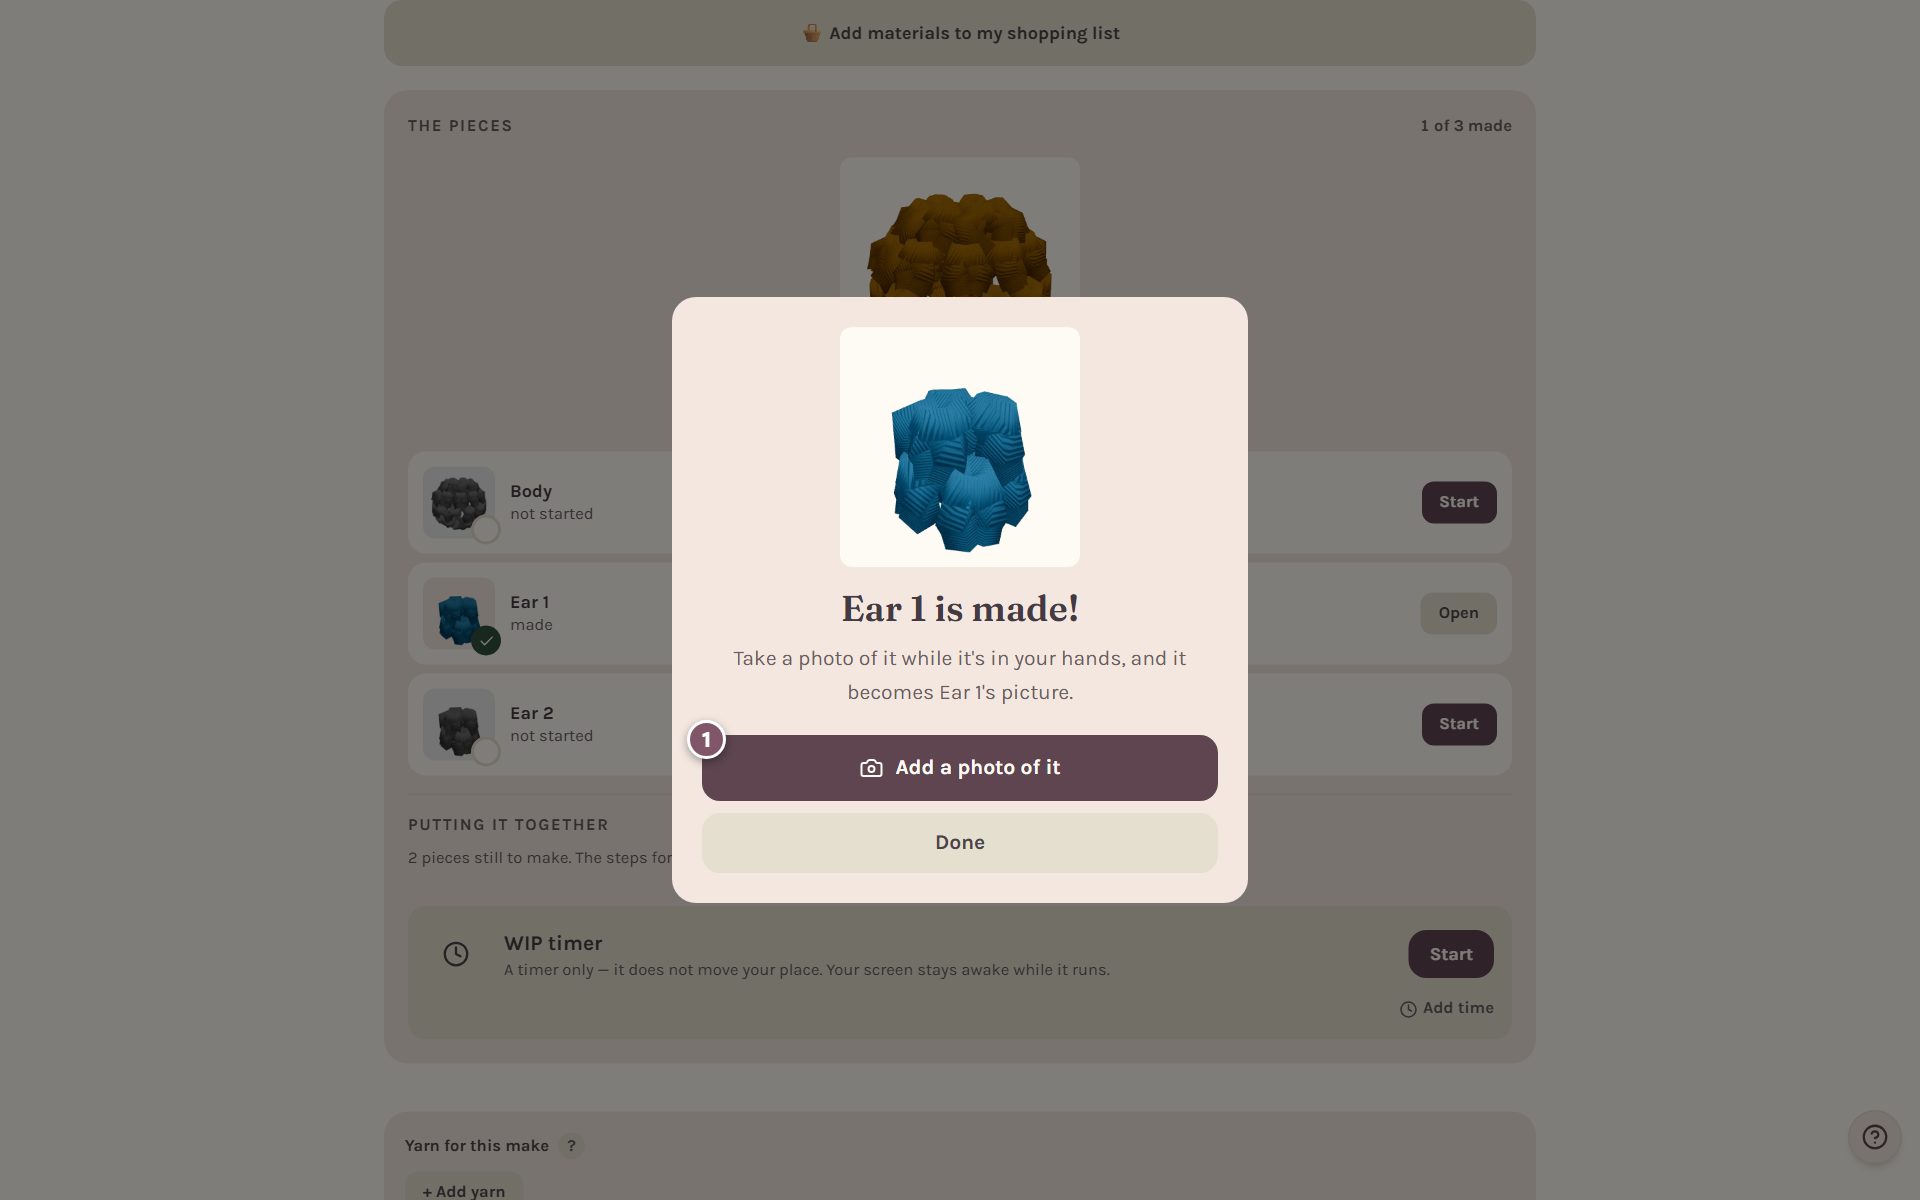
Tap Add a photo of it to take a picture or choose one. That photo becomes the piece's picture on the map.
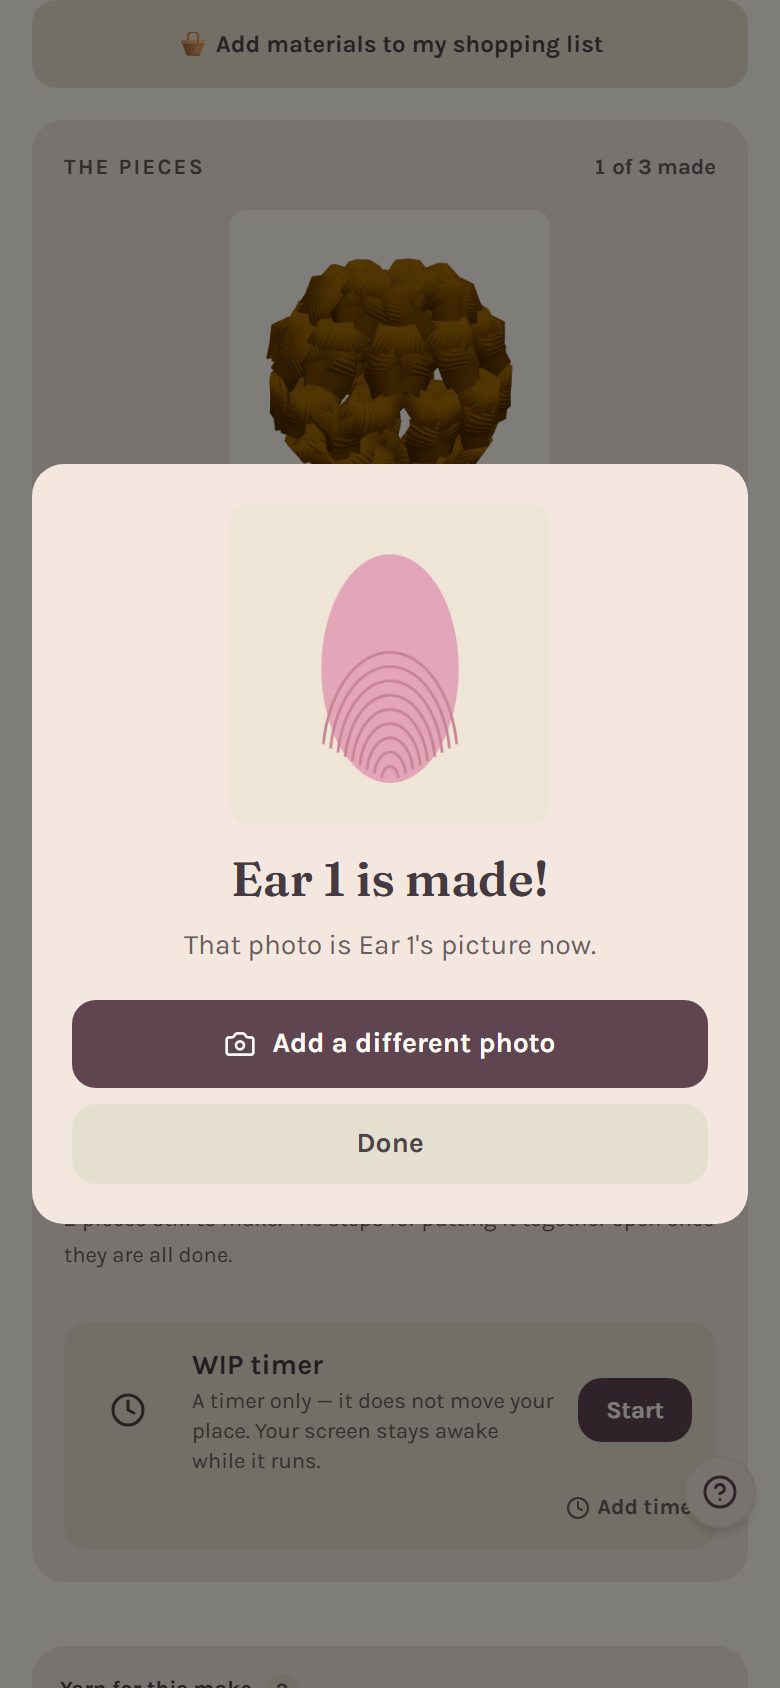
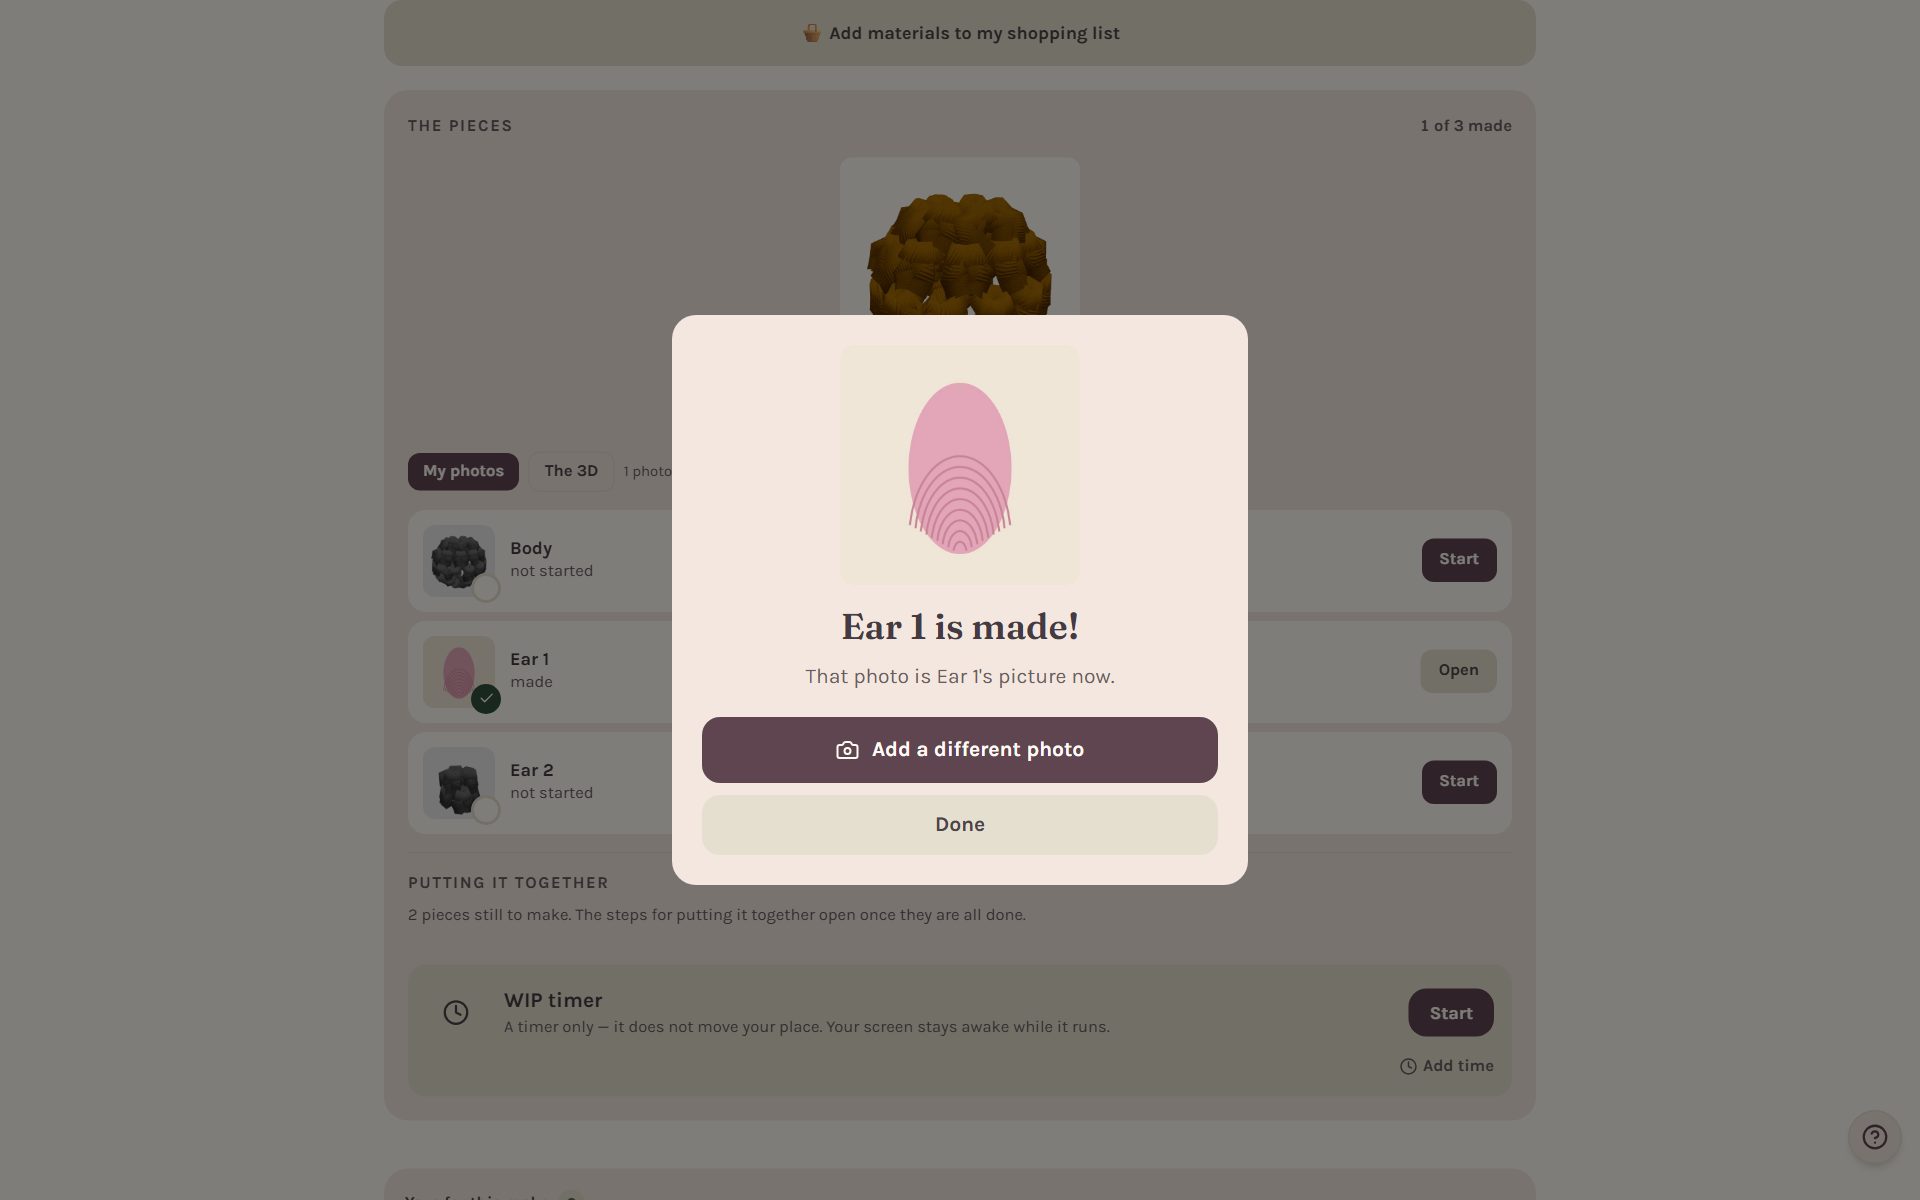
Tap Done to go back to the map.
Tip: until you add a photo, each piece shows a 3D picture of what it should look like. It's a handy way to check your piece has the right shape before you sew it on.
Sew it together
Once every piece is made, Putting it together opens under the map with the sewing steps.
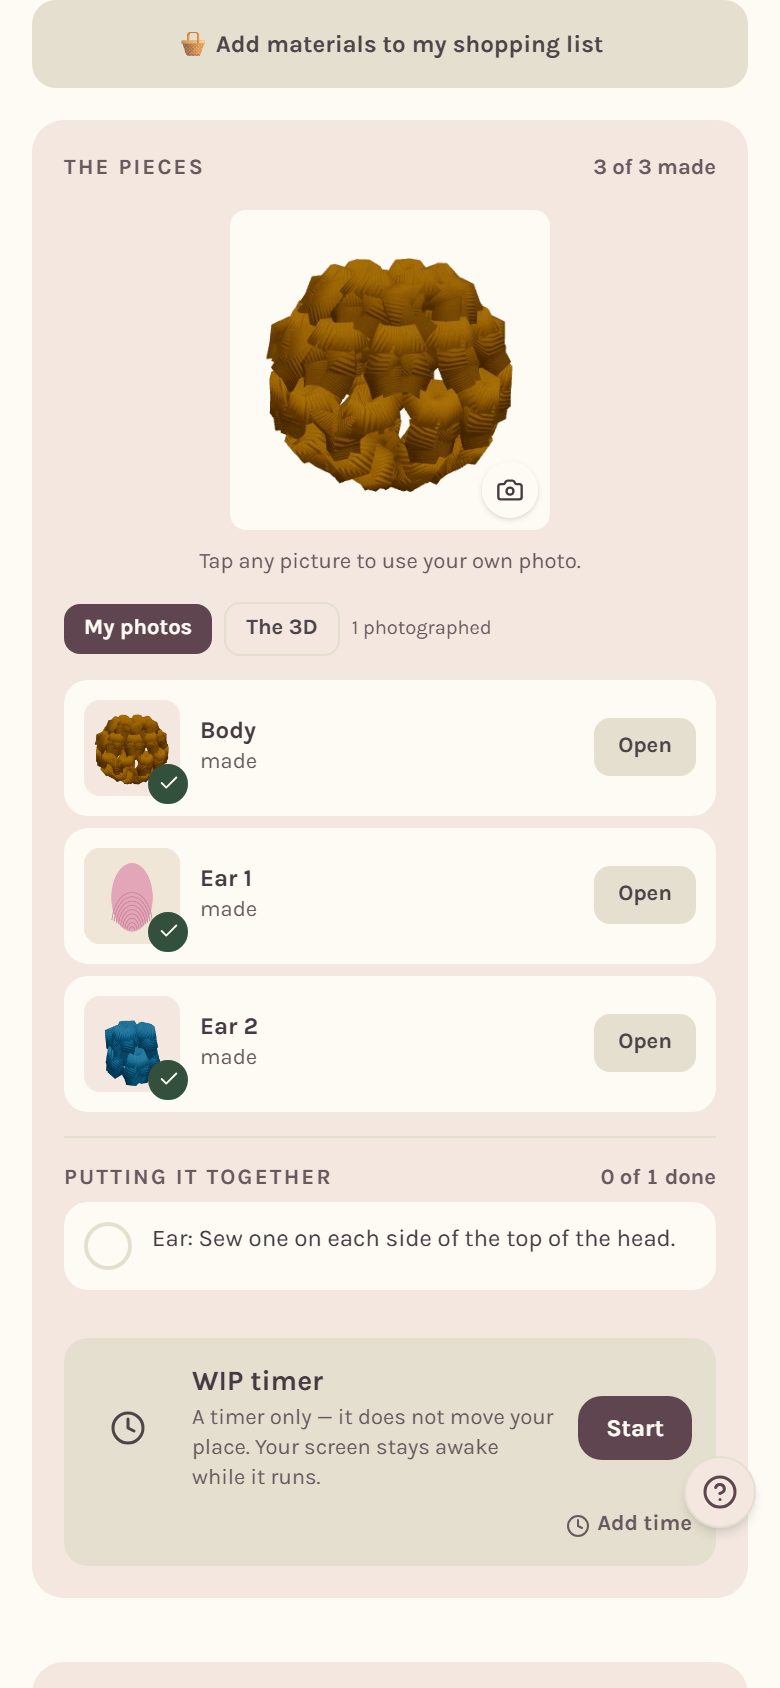
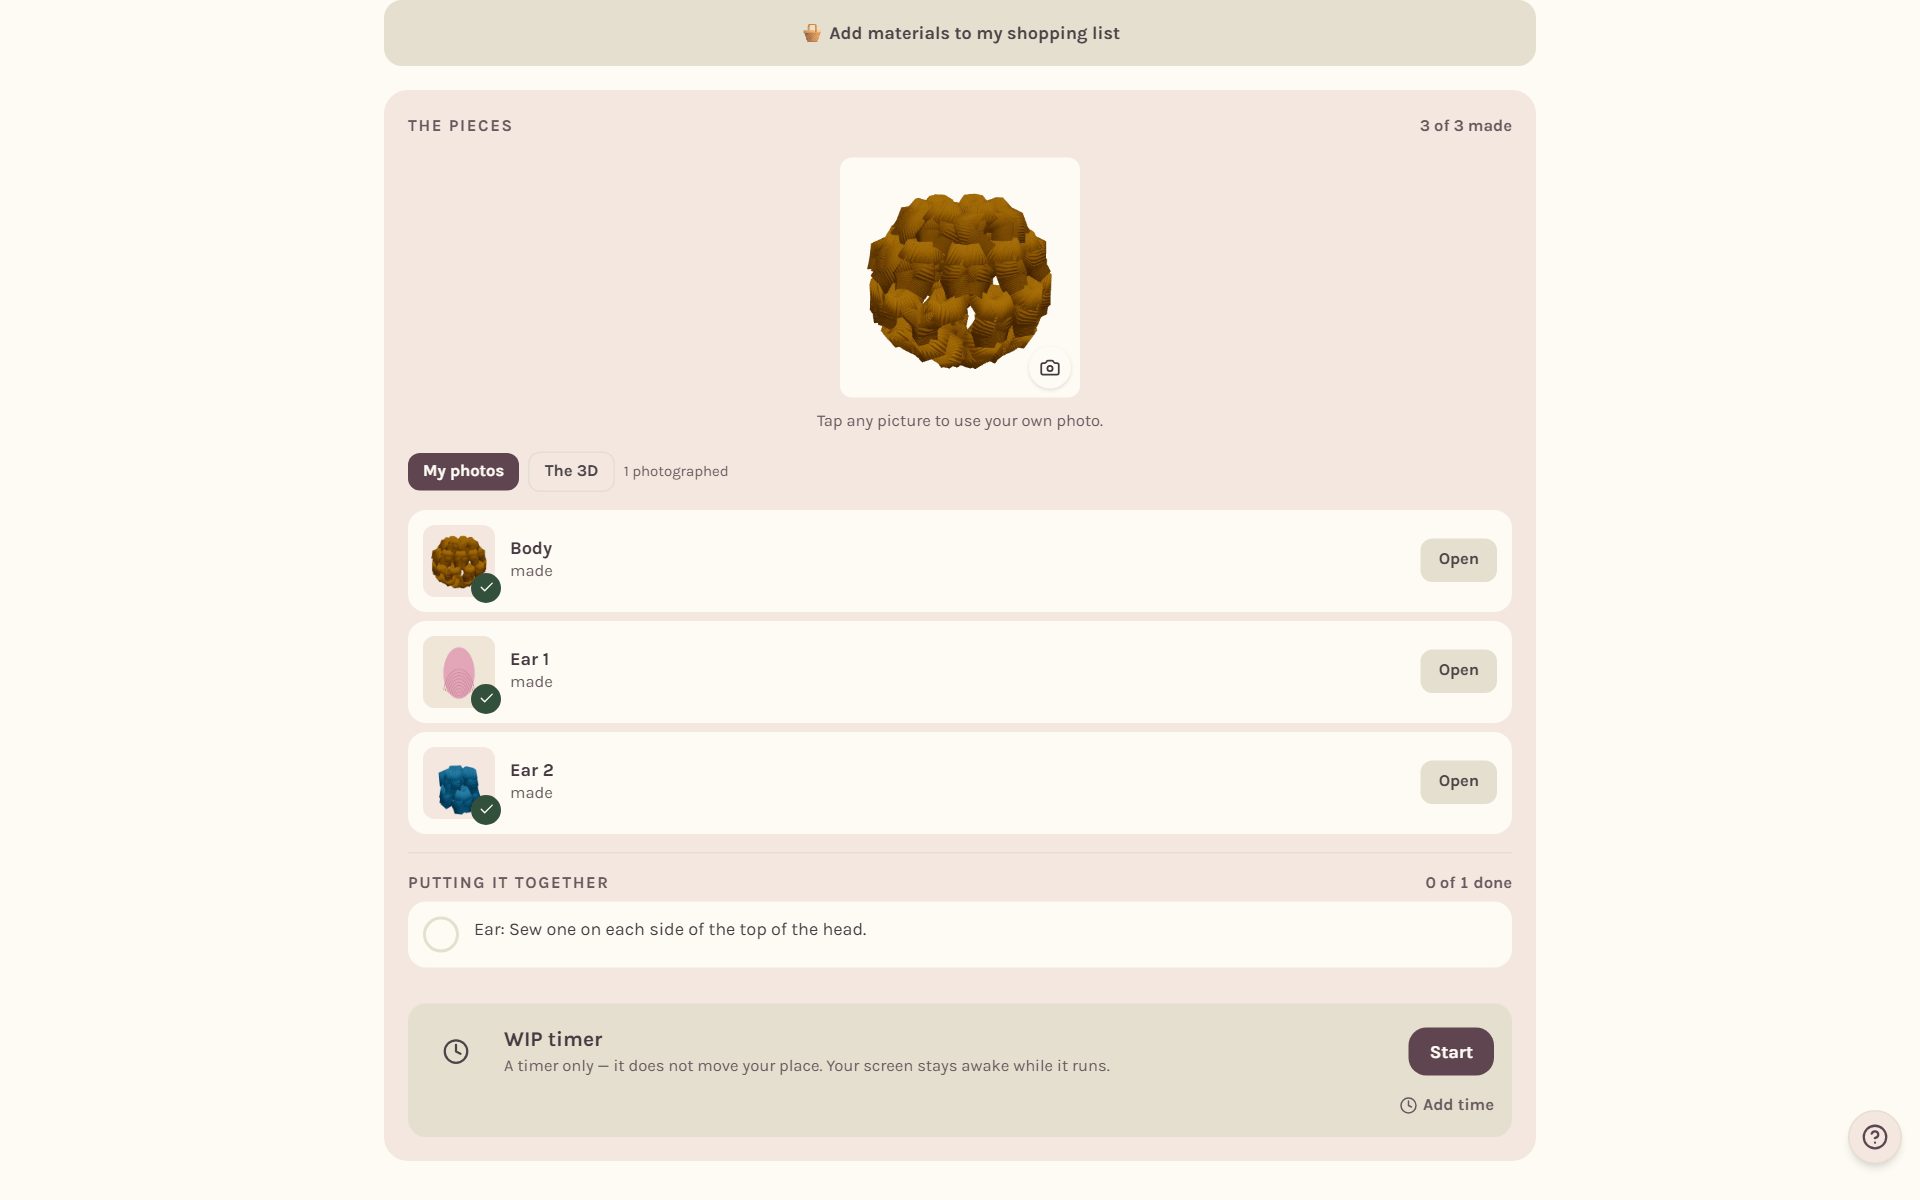
Tap the circle beside each step as you finish it. When the last step is ticked, the whole toy is finished.
Change any picture, or set one for the whole toy
Tap any picture on the map, a piece or the big one of the whole toy at the top, to choose it. You can take or choose a new photo, pick one you have already added to this make, or tap Use the 3D picture instead to go back to the 3D. The first photo you add to a piece becomes its picture on its own, so most of the time you never need to choose.
Once you have a photo, a switch above the pieces flips between My photos and The 3D, so you can compare what you made with the plan.
Frequently asked questions
Can I work two pieces at once? Yes. Each piece keeps its own place, so you can leave one halfway and start another. Tap Keep going to pick it back up at the same round.
Why can't I see the sewing steps yet? They open once every piece is marked made. Until then, the card says how many pieces are still to make.
Can I work a piece to a length? Yes. With the piece open, tick Worked to a length, not a row count. Each piece keeps its own length. See how to crochet until it measures.
Where do all my photos go? Into the make's photos further down the page. See your crochet project journal.
Ready to try it? Crochet Bobble opens right in your browser, on a phone or a computer.
Open Crochet Bobble