
Design an Amigurumi With Several Pieces: Assembly, Safety Eyes and Sewing Steps
Build a multi-piece amigurumi in Crochet Bobble's Shape Studio. Draw each piece where it goes on the main piece, add safety eyes, wrap a scarf, see the whole toy in 3D and get the sewing steps written for you.
A snowman, a bunny or a doll is really several pieces sewn together. In Crochet Bobble you design each piece in the Shape Studio and draw it right where it goes on the main piece. The app works out which round to sew it on by, shows the whole toy in 3D, and writes the assembly steps into the pattern for you.
Start a pattern with several pieces
- Open Patterns, tap Sketch a shape, and tap Several pieces.
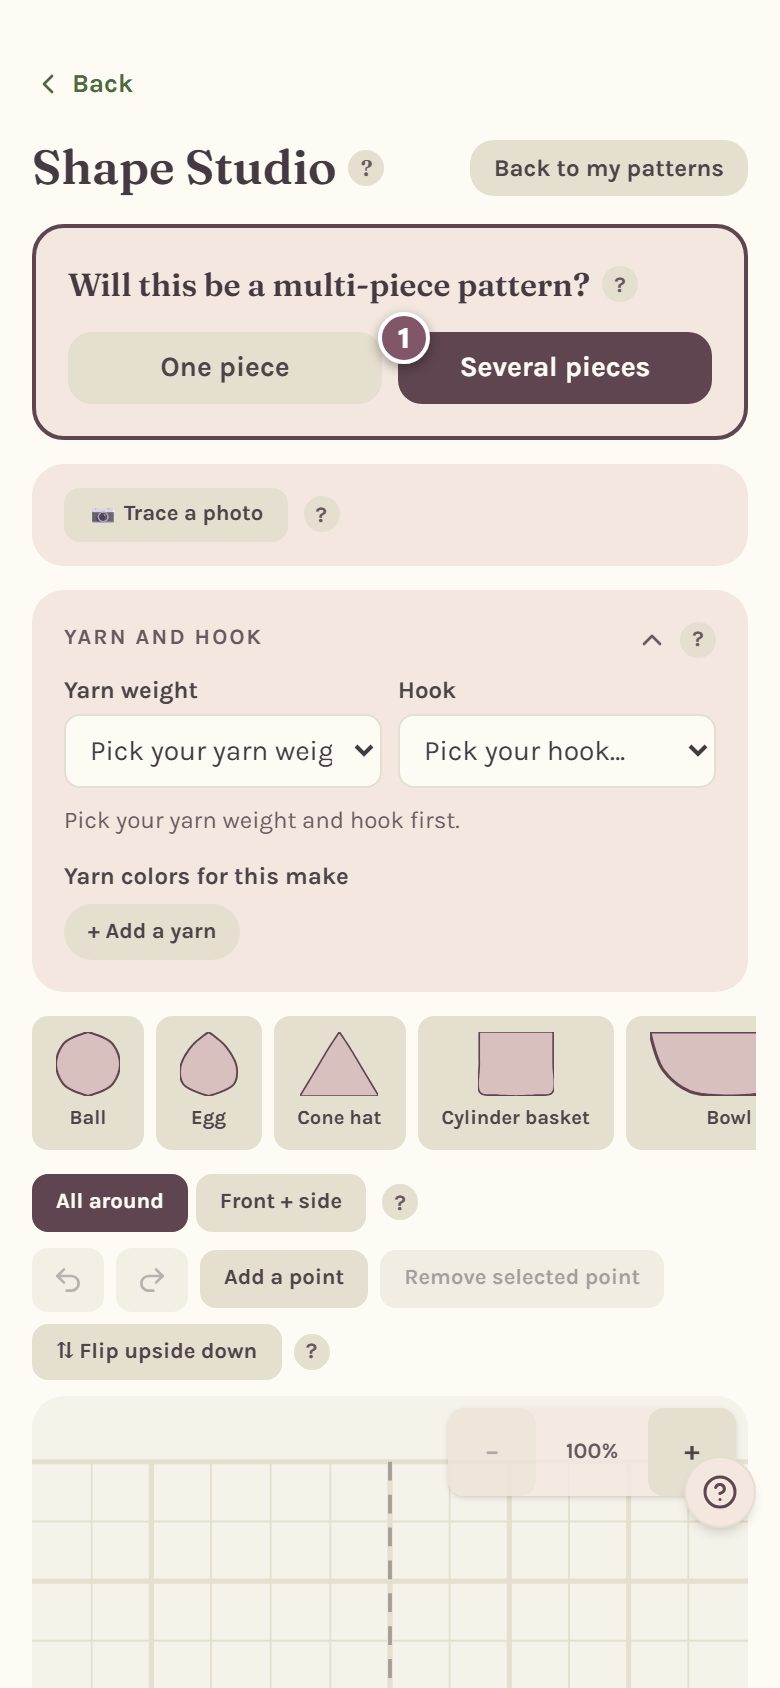
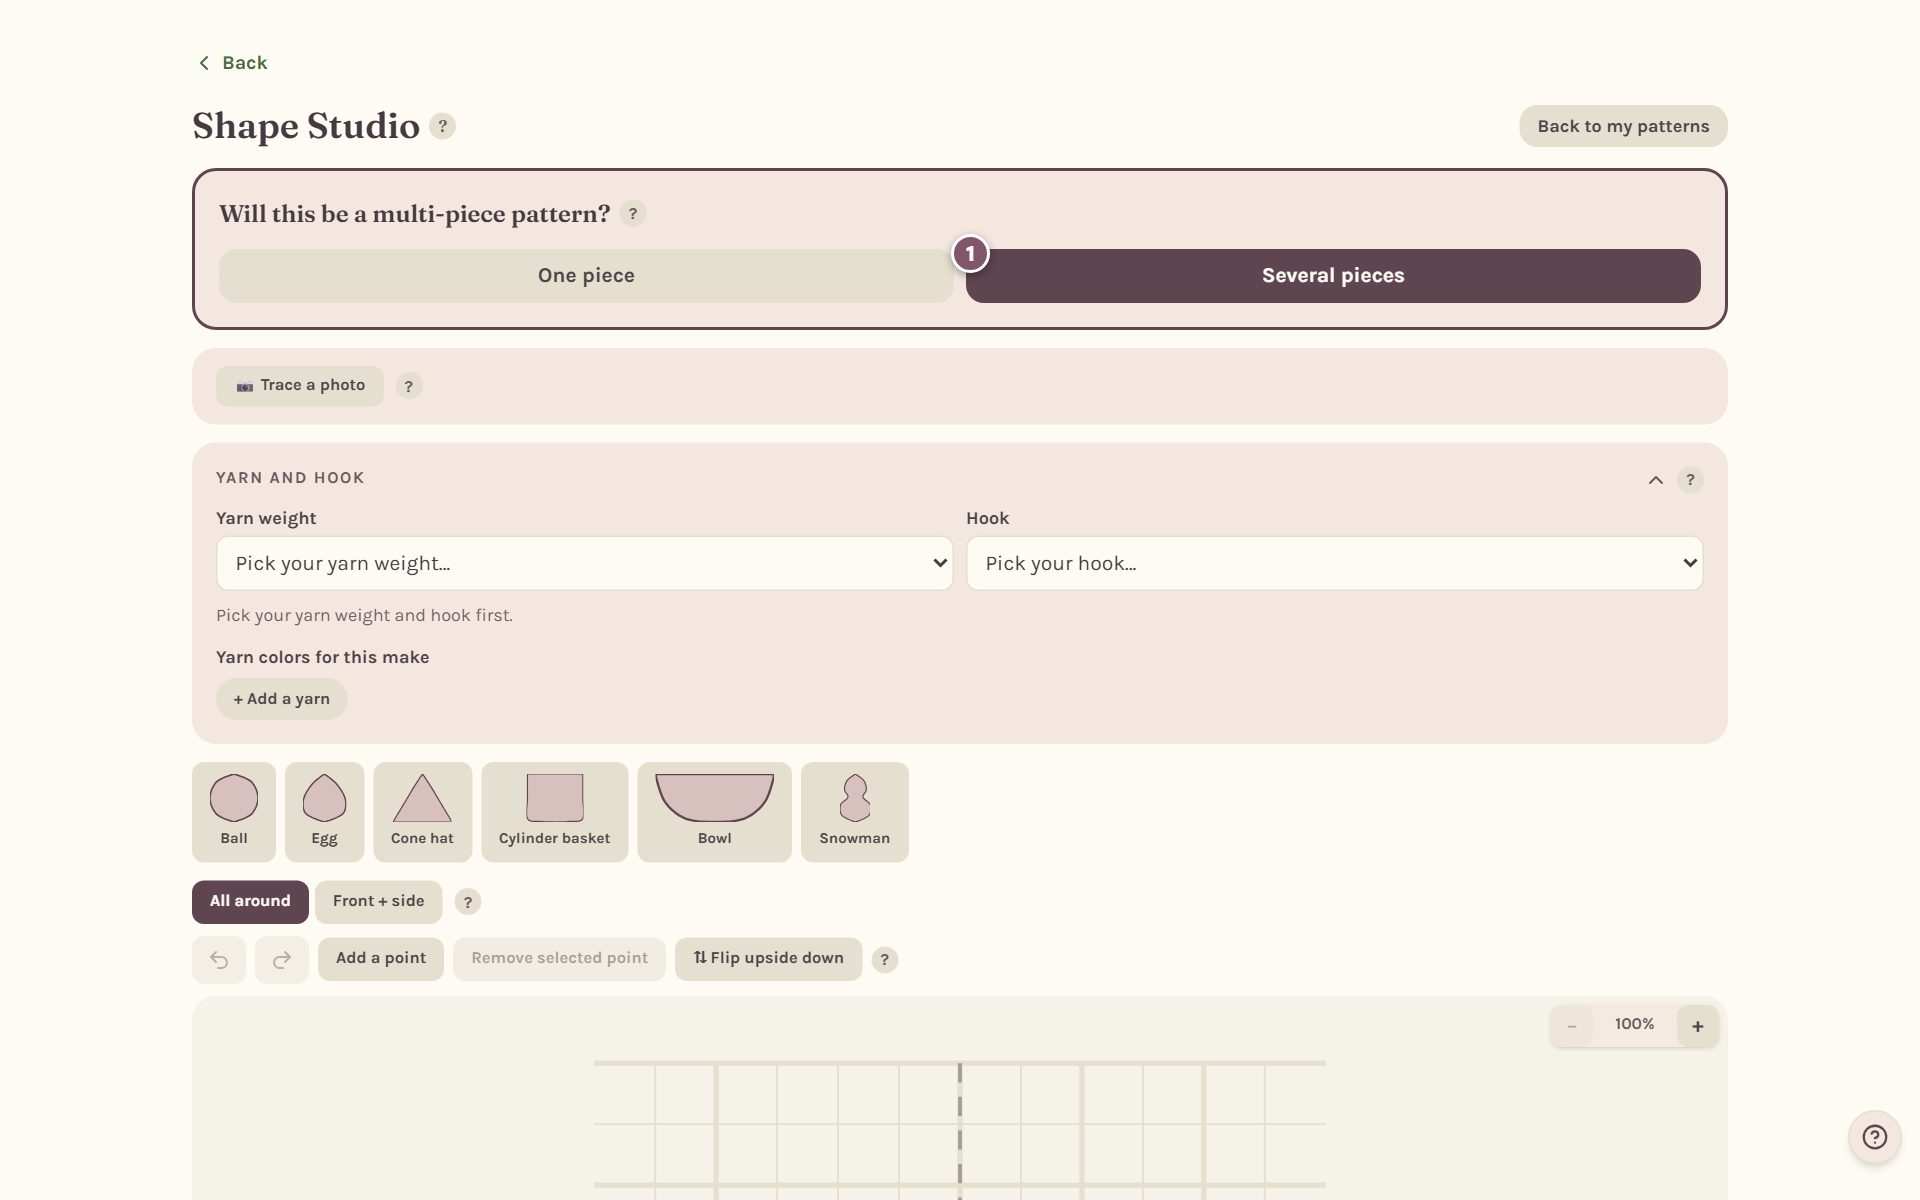
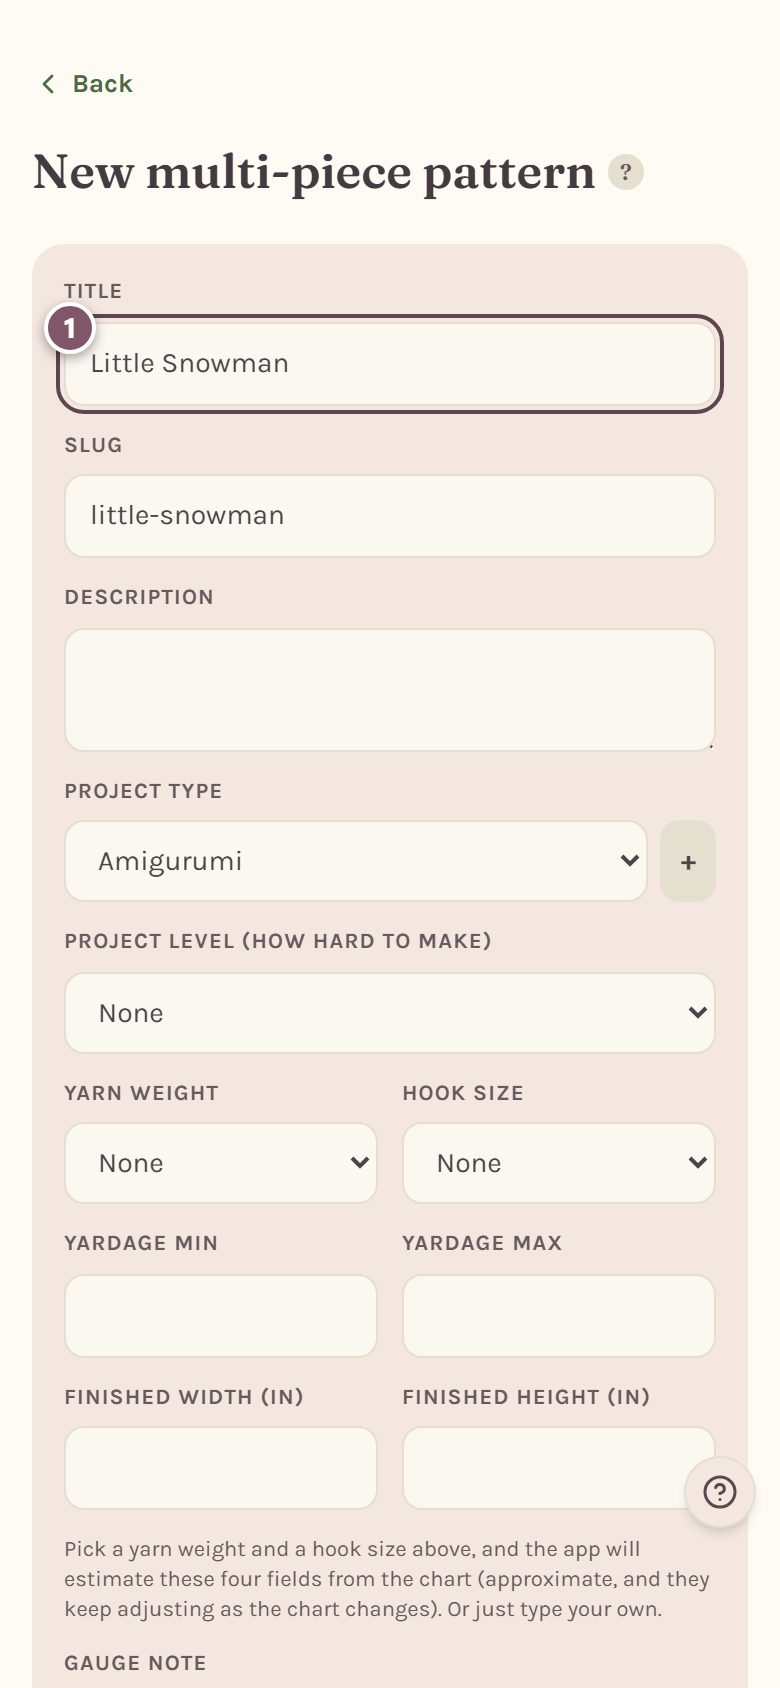
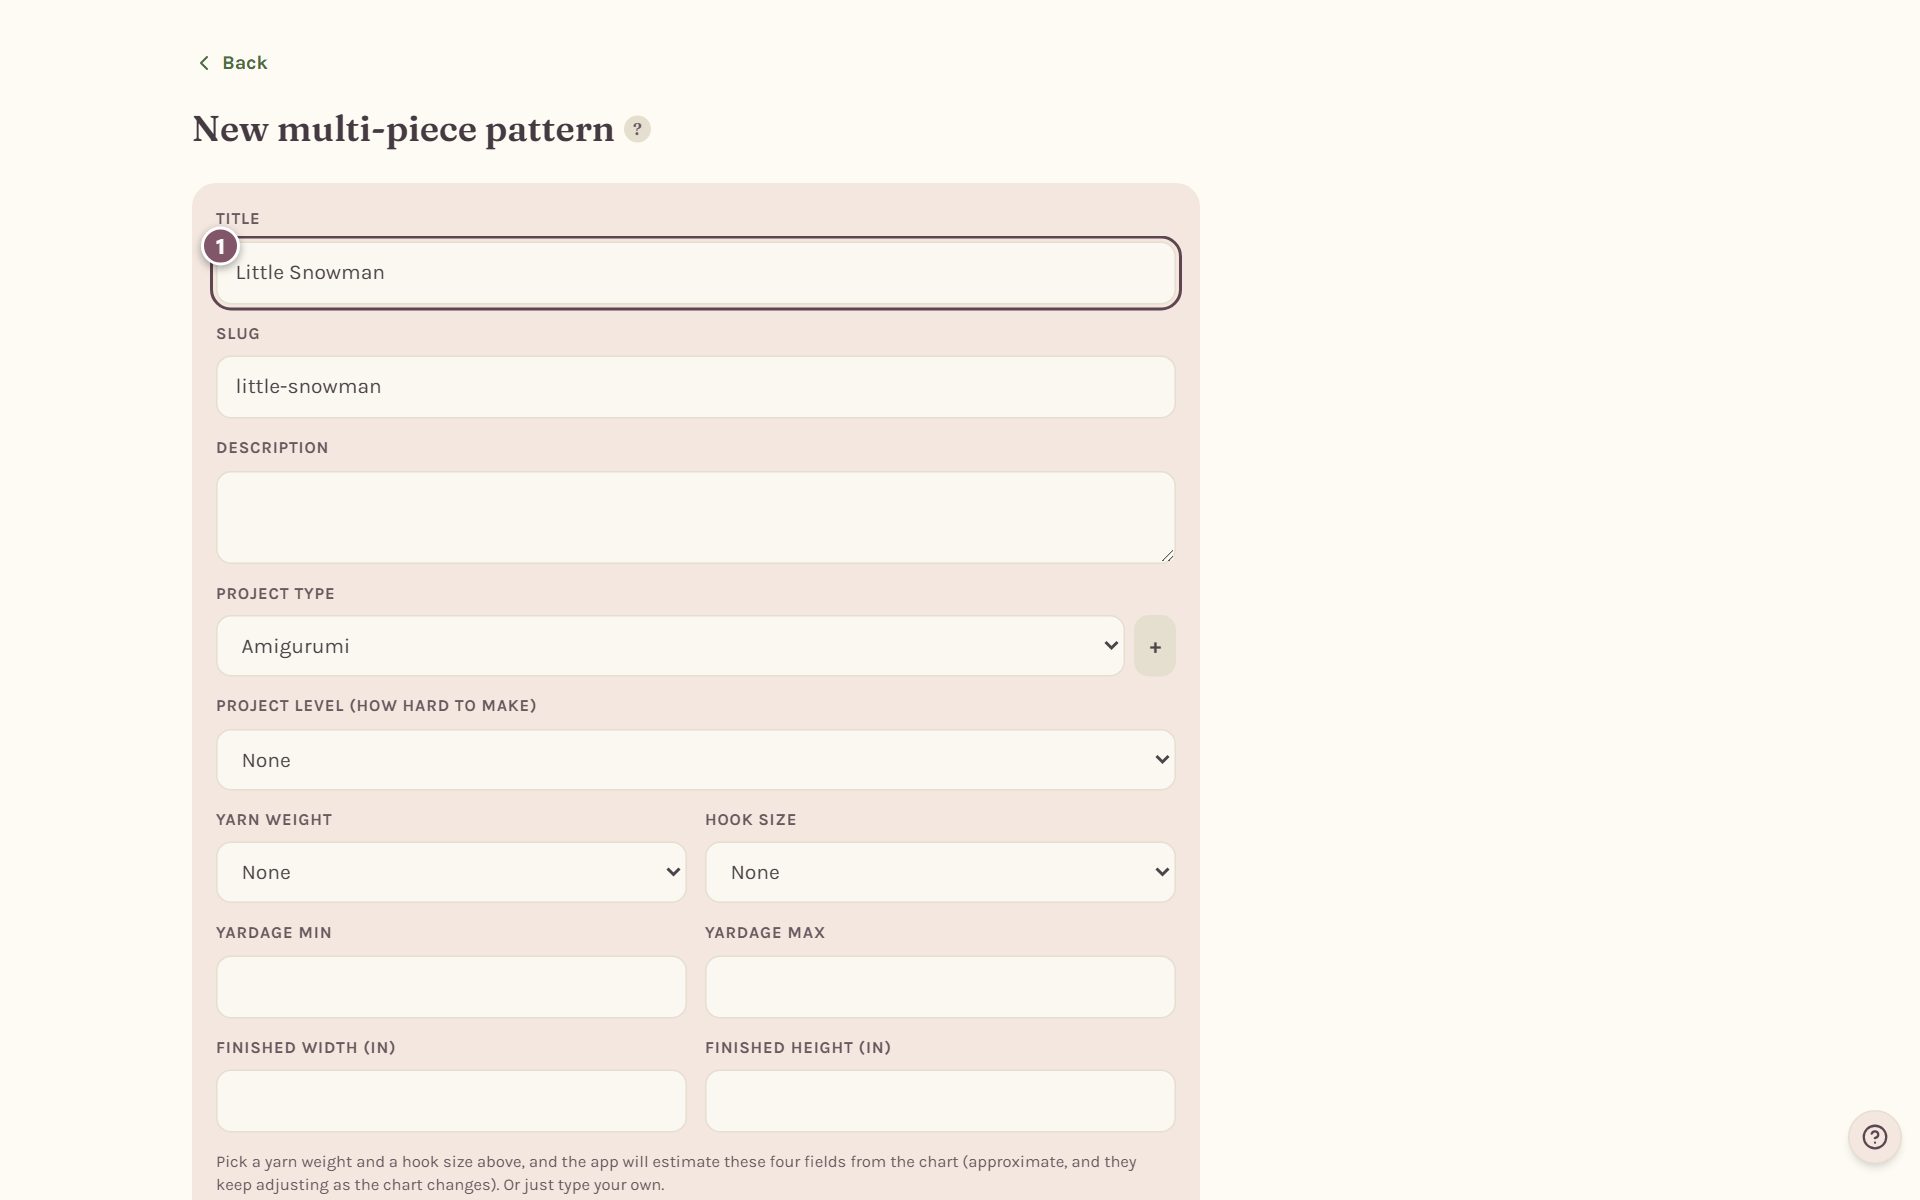
- Name the whole pattern, like "Little Snowman".
- Tap Create & add the main piece. Then name the main piece, the one the others sew onto, like "Snowman body", and draw it.
The pieces view
Tap ‹ All pieces from any piece to come back here. Every piece is listed with a small 3D picture of it.
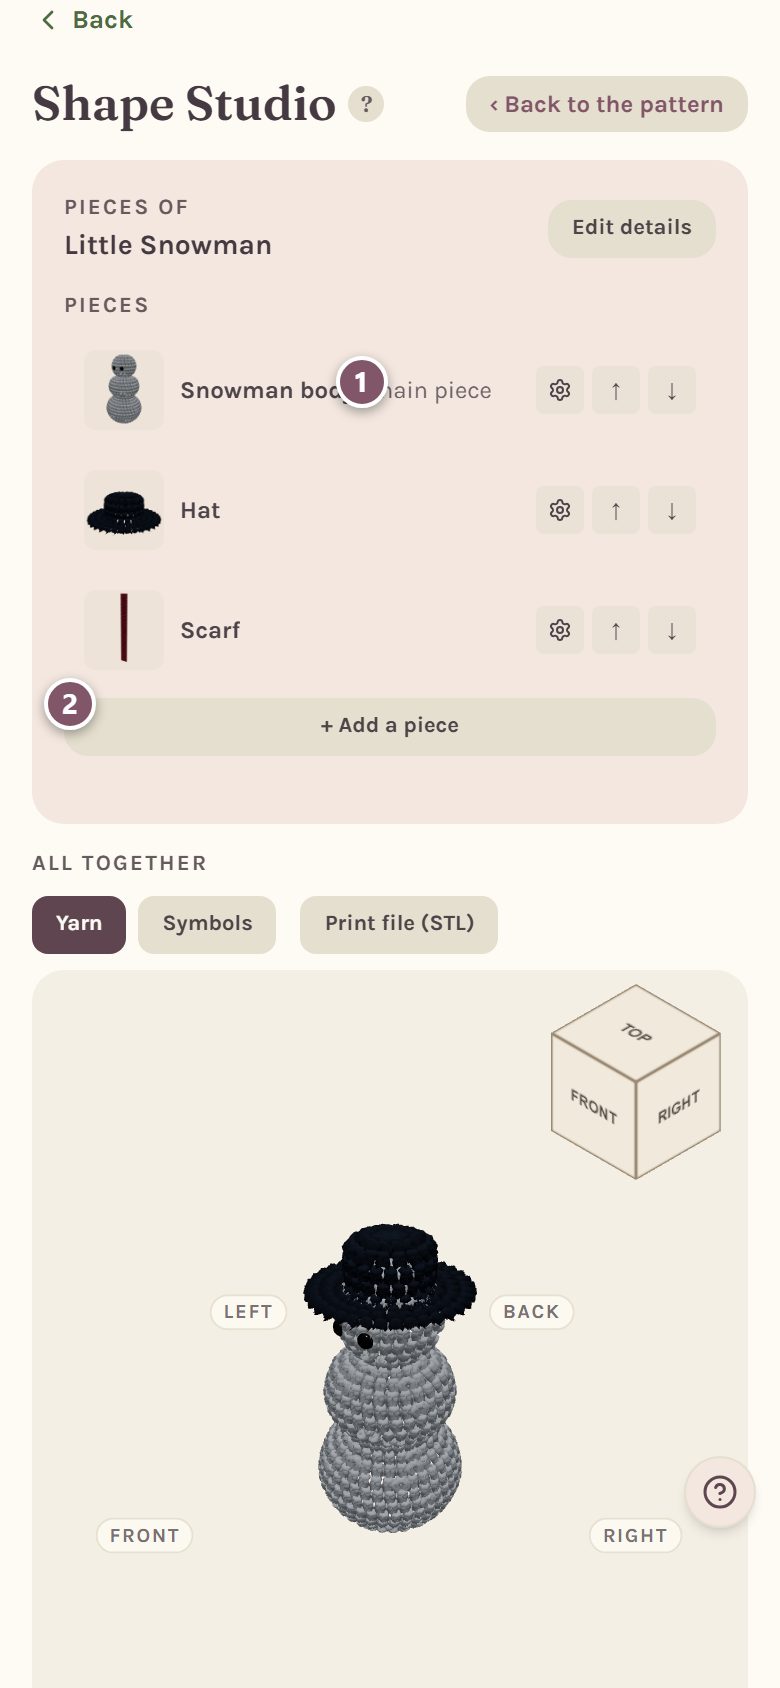
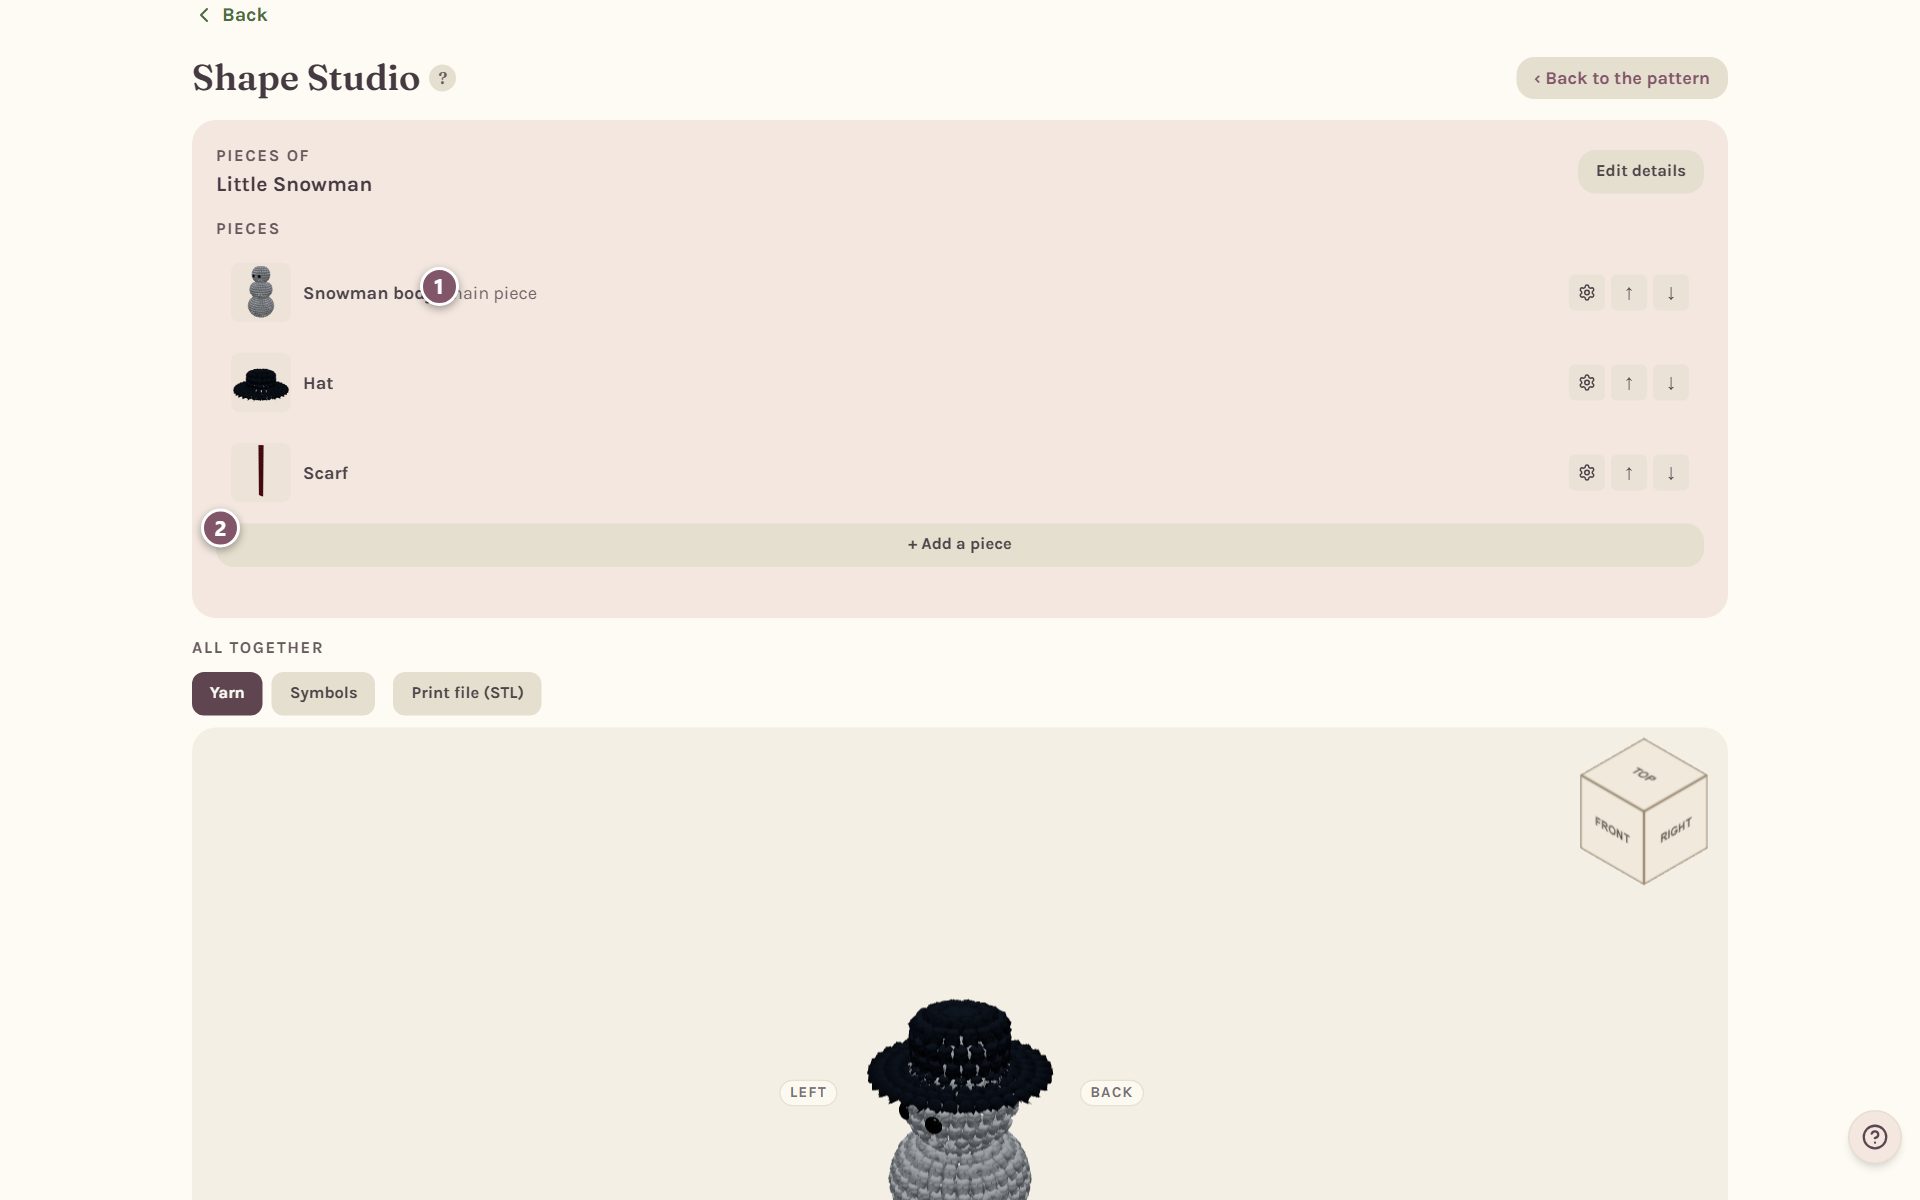
- The main piece is marked main piece. Tap any piece to open it and draw it. The gear beside it opens its settings, and the arrows change the order.
- + Add a piece adds a new one.
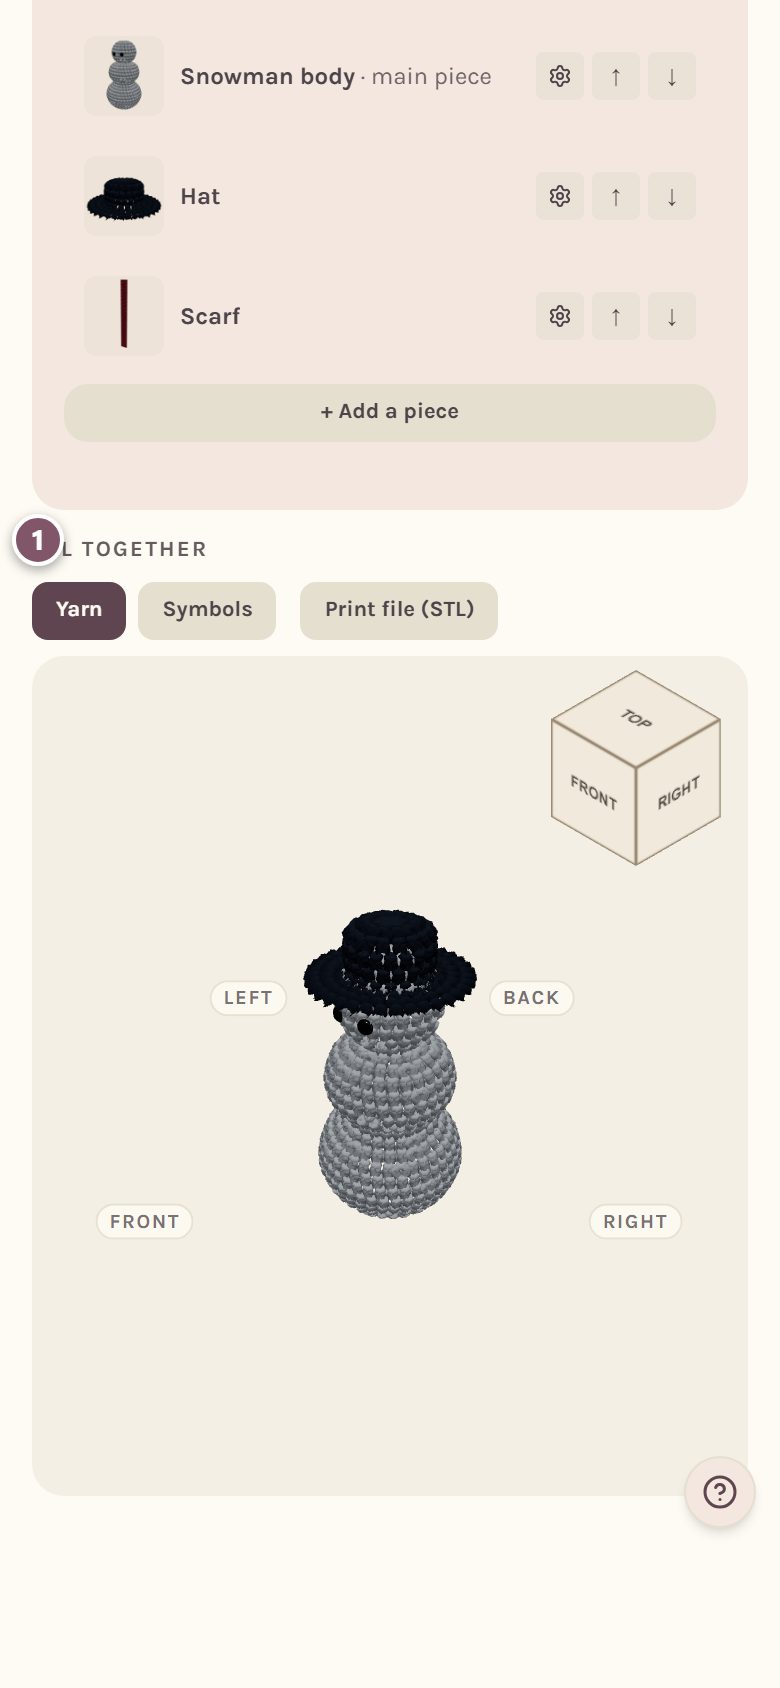
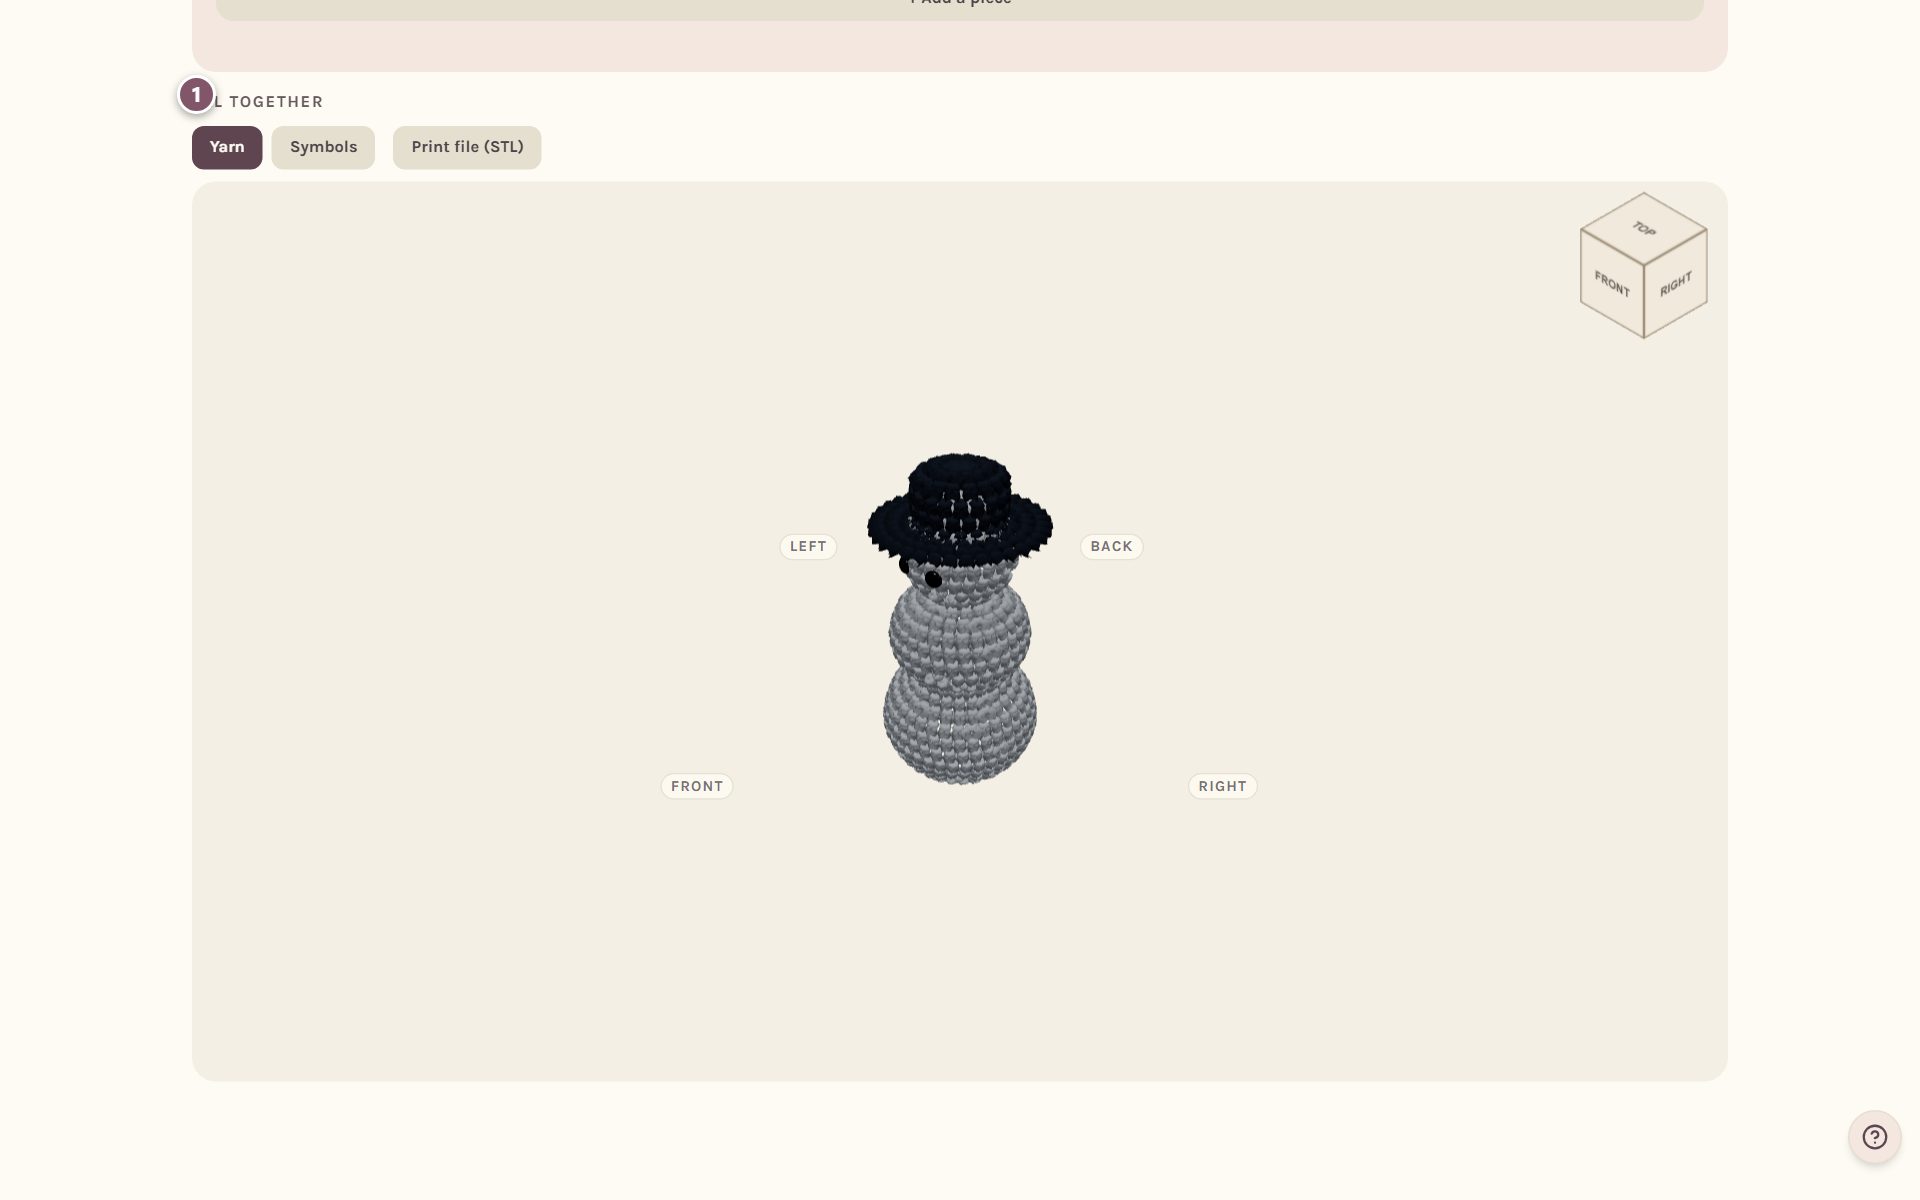
Under the list, All together shows the whole toy in 3D, every piece where you put it.
Add a piece
- Tap + Add a piece and type its name, like "Nose".
- Tap Add. The new piece opens straight away with its own drawing.
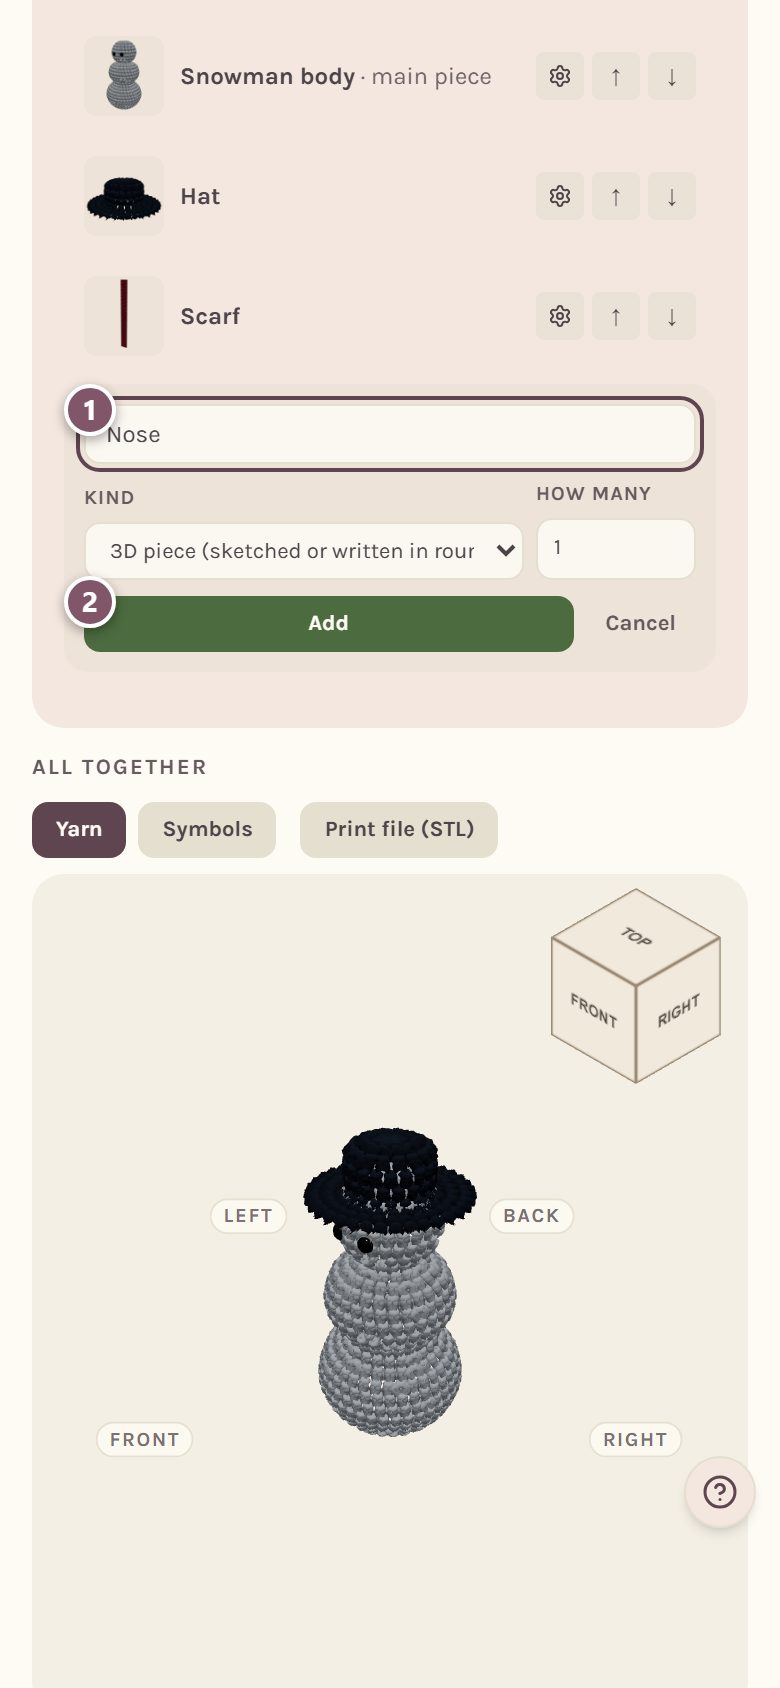
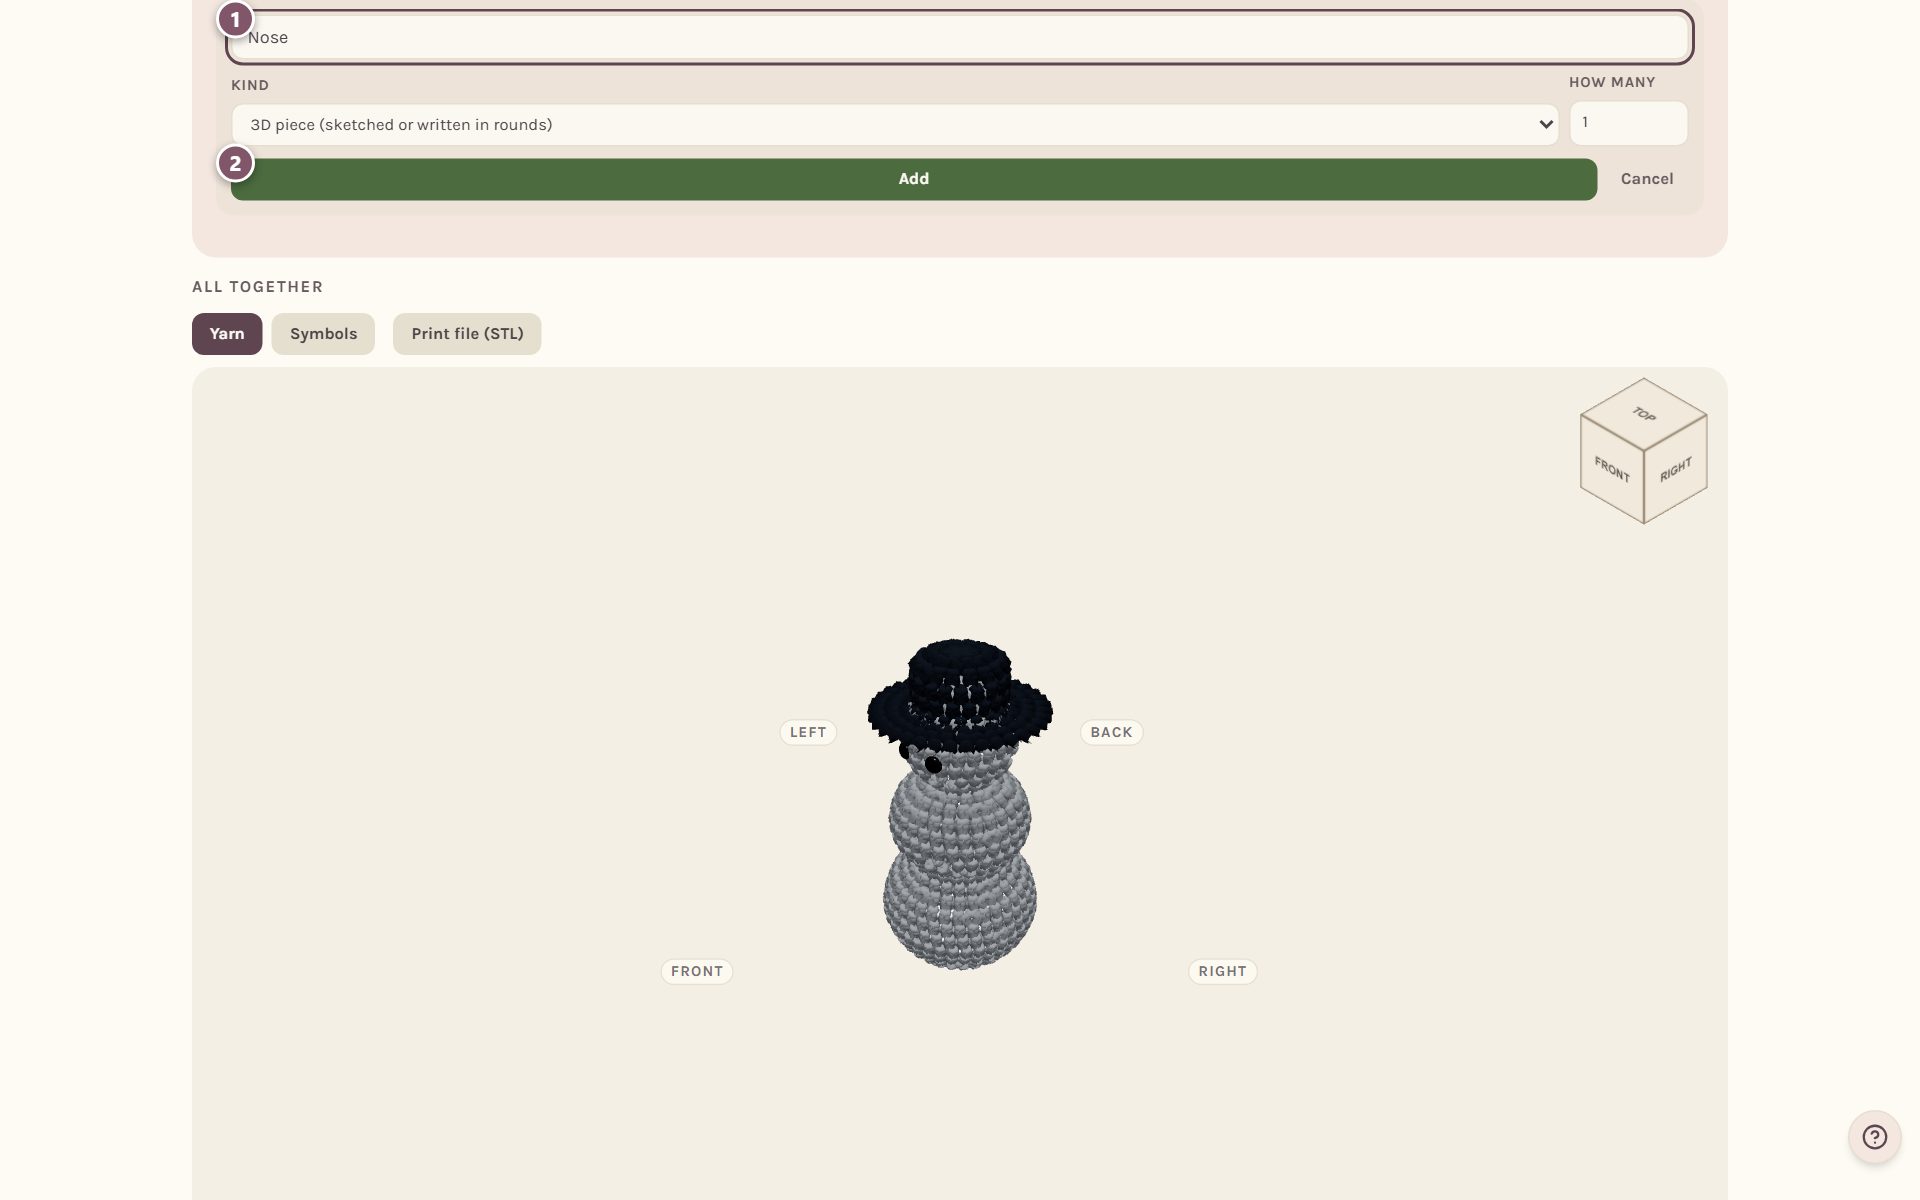
A piece is drawn at the main piece's scale and gauge, so it always fits.
Put the piece where it goes
- Tap Place it on Snowman body. The button names your main piece.
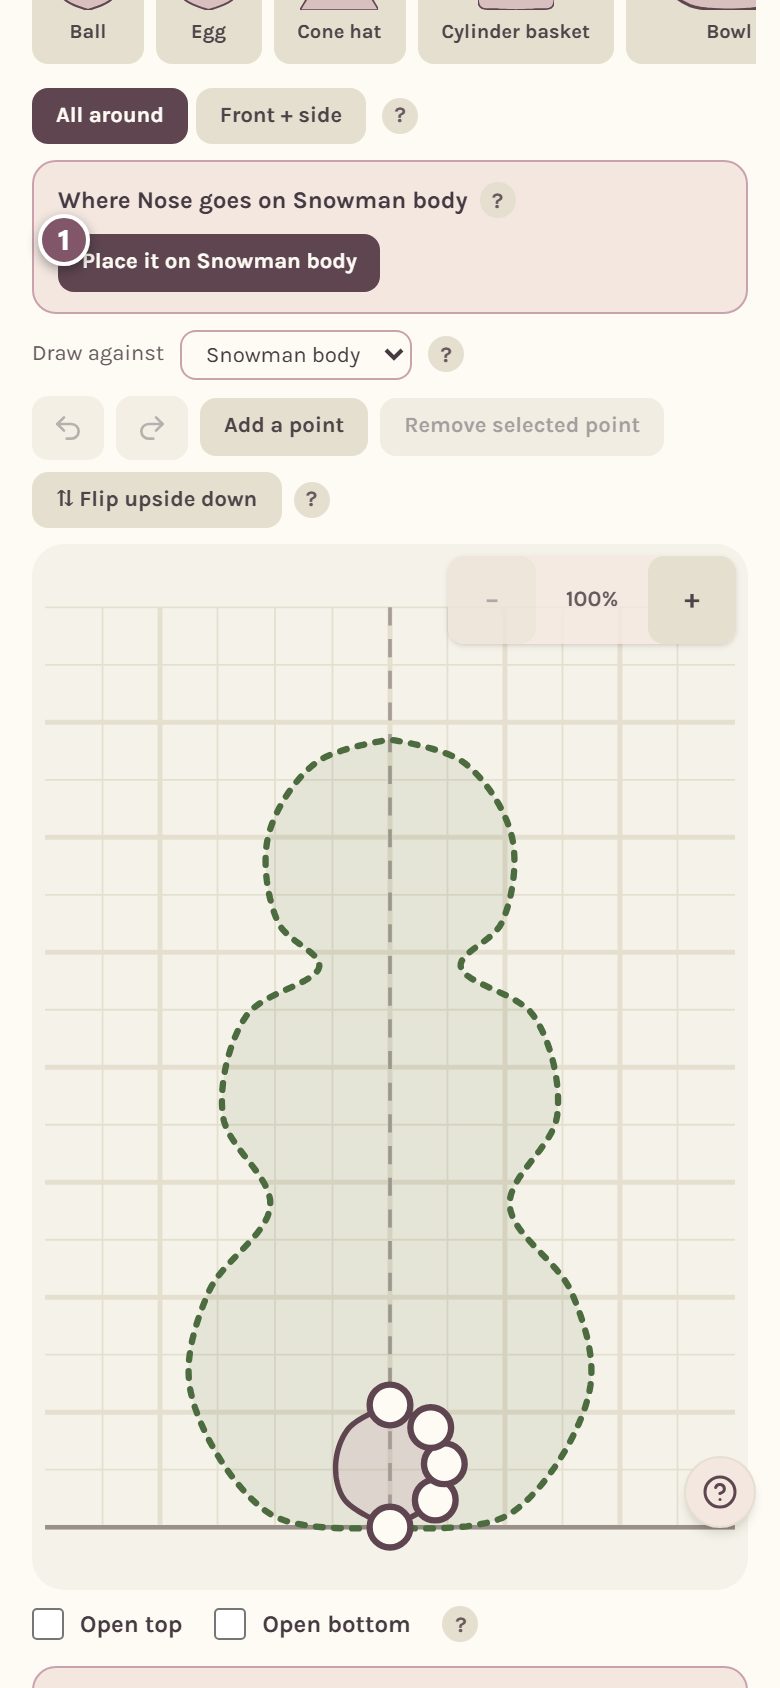
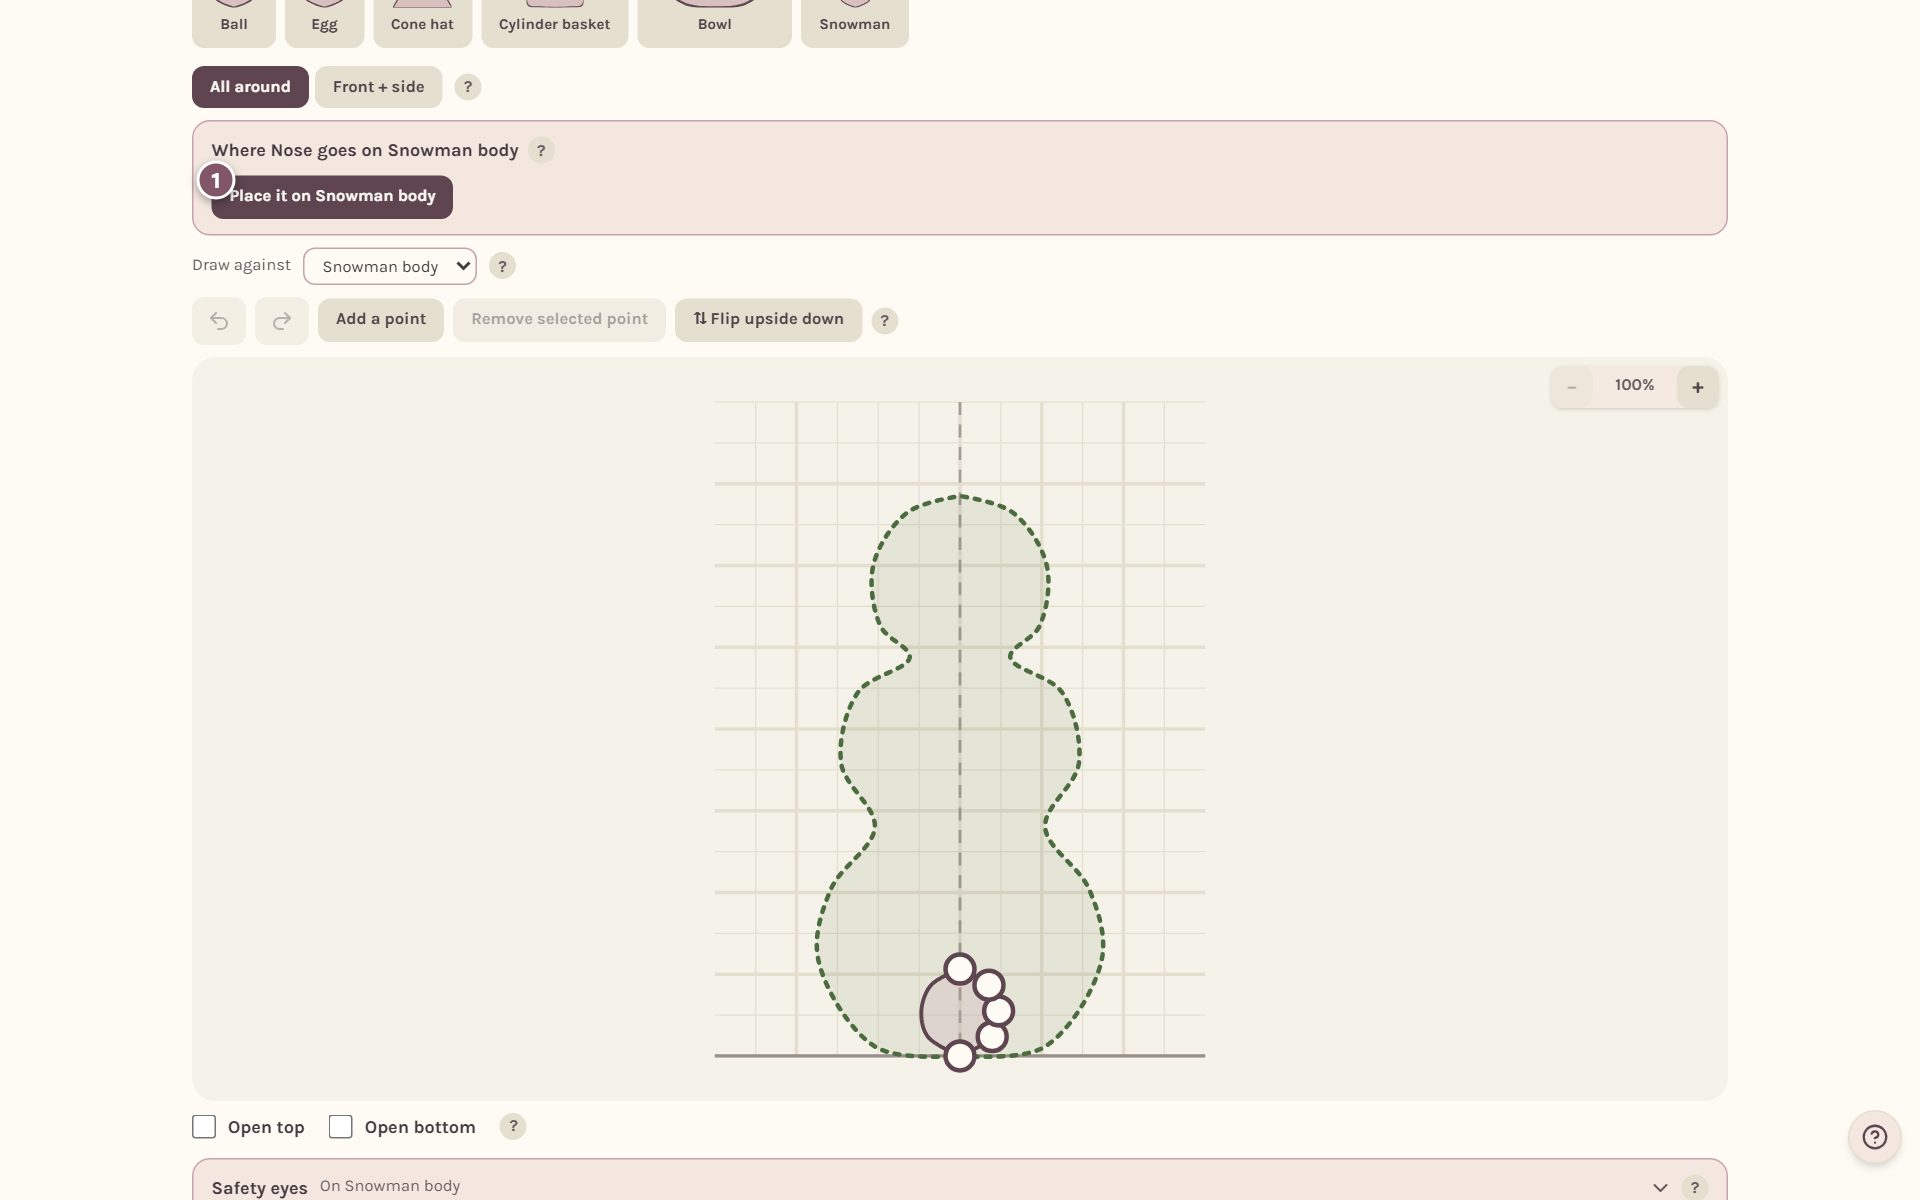
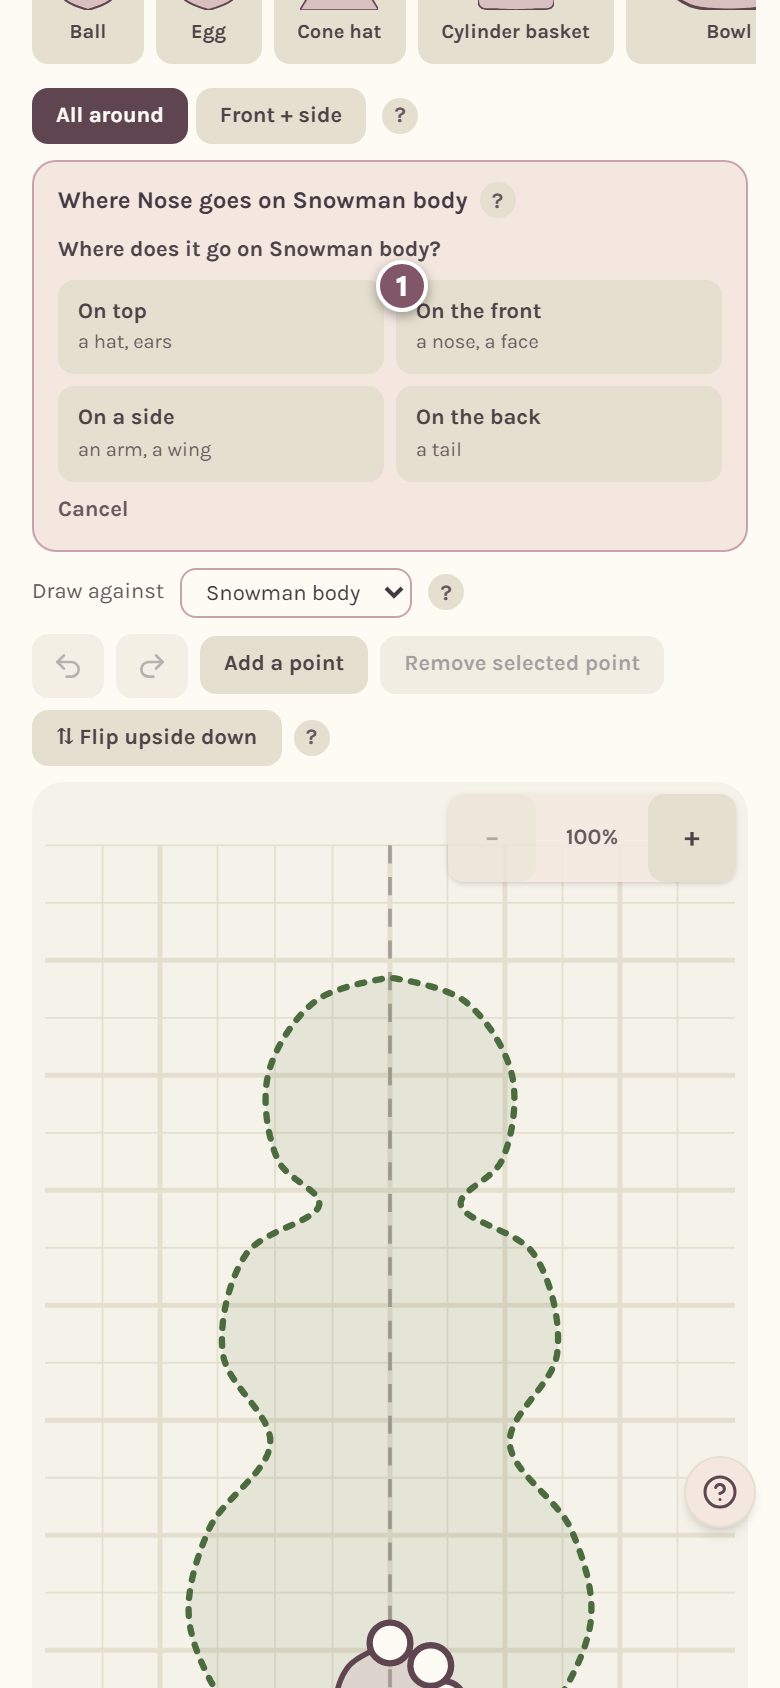
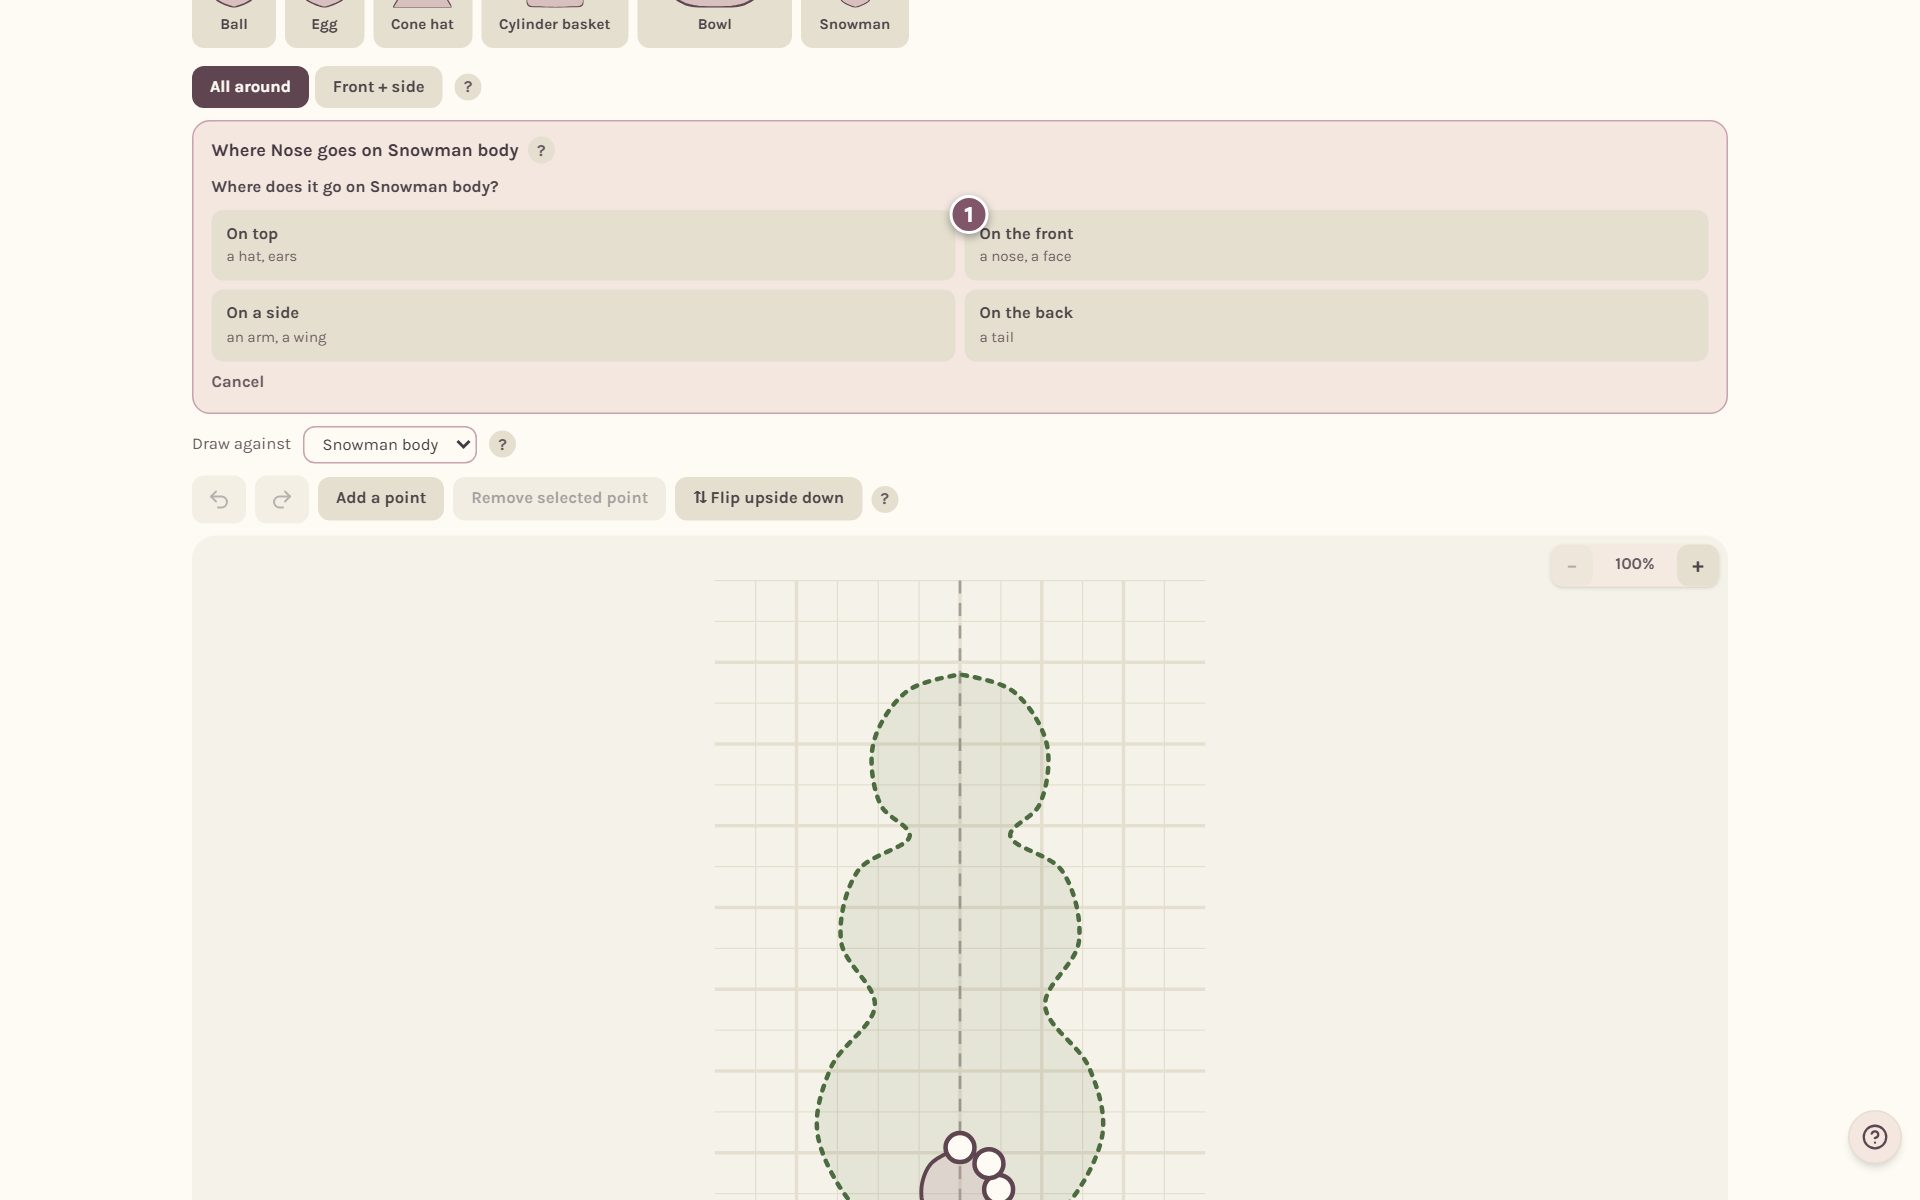
- Pick where it goes: On top (a hat, ears), On the front (a nose, a face), On a side (an arm, a wing) or On the back (a tail). The piece jumps onto the main piece, pointing outward.
- Drag the ring at its base to slide it along the main piece. It snaps onto the outline. Drag the dot at its tip to point it. Tap Done moving when it looks right. To move it again later, tap Move Nose (the button names the piece).
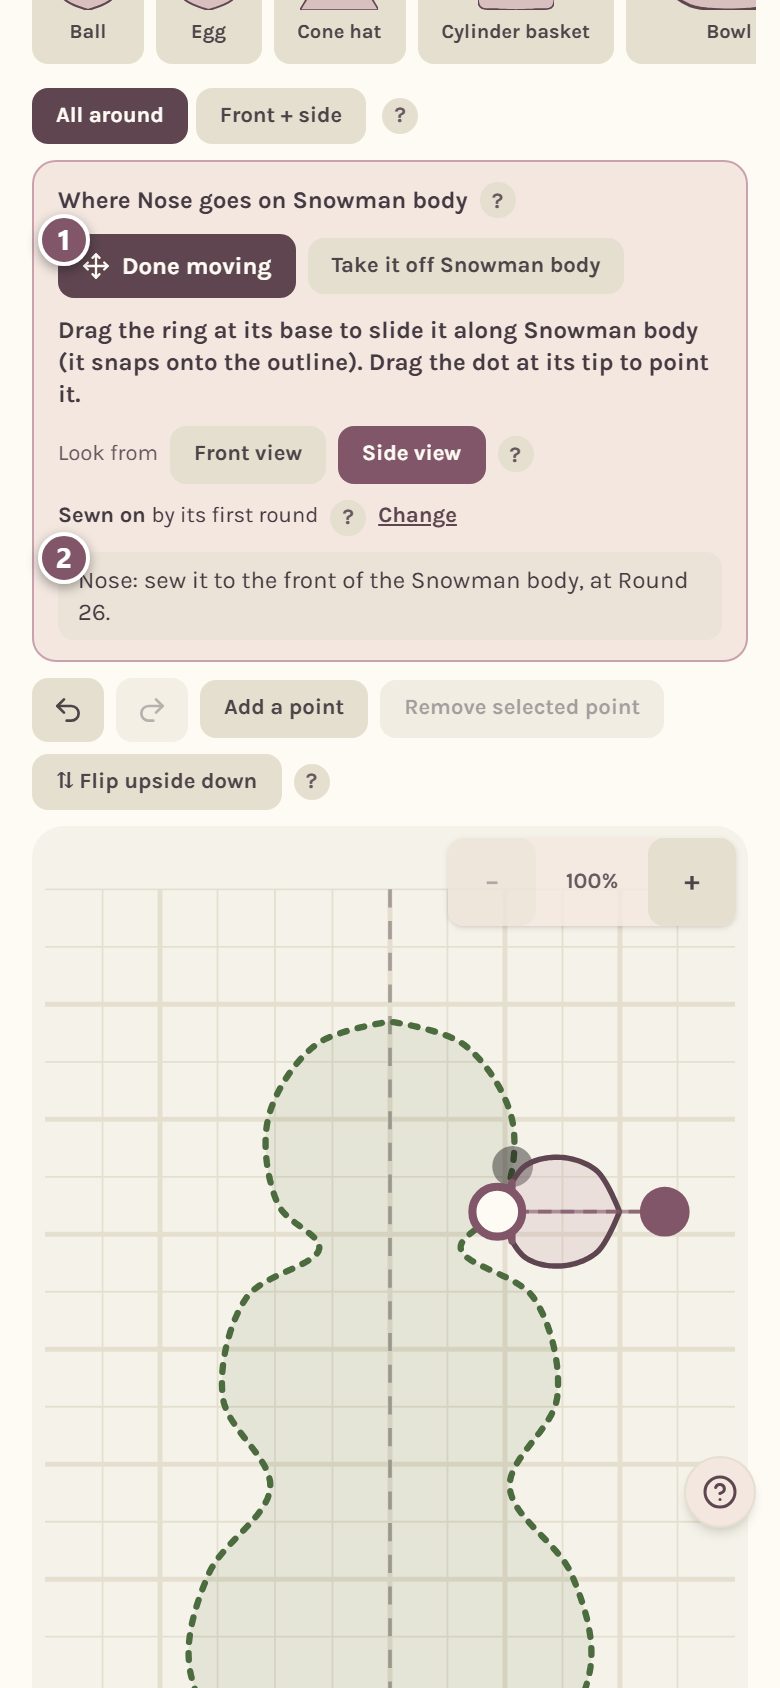
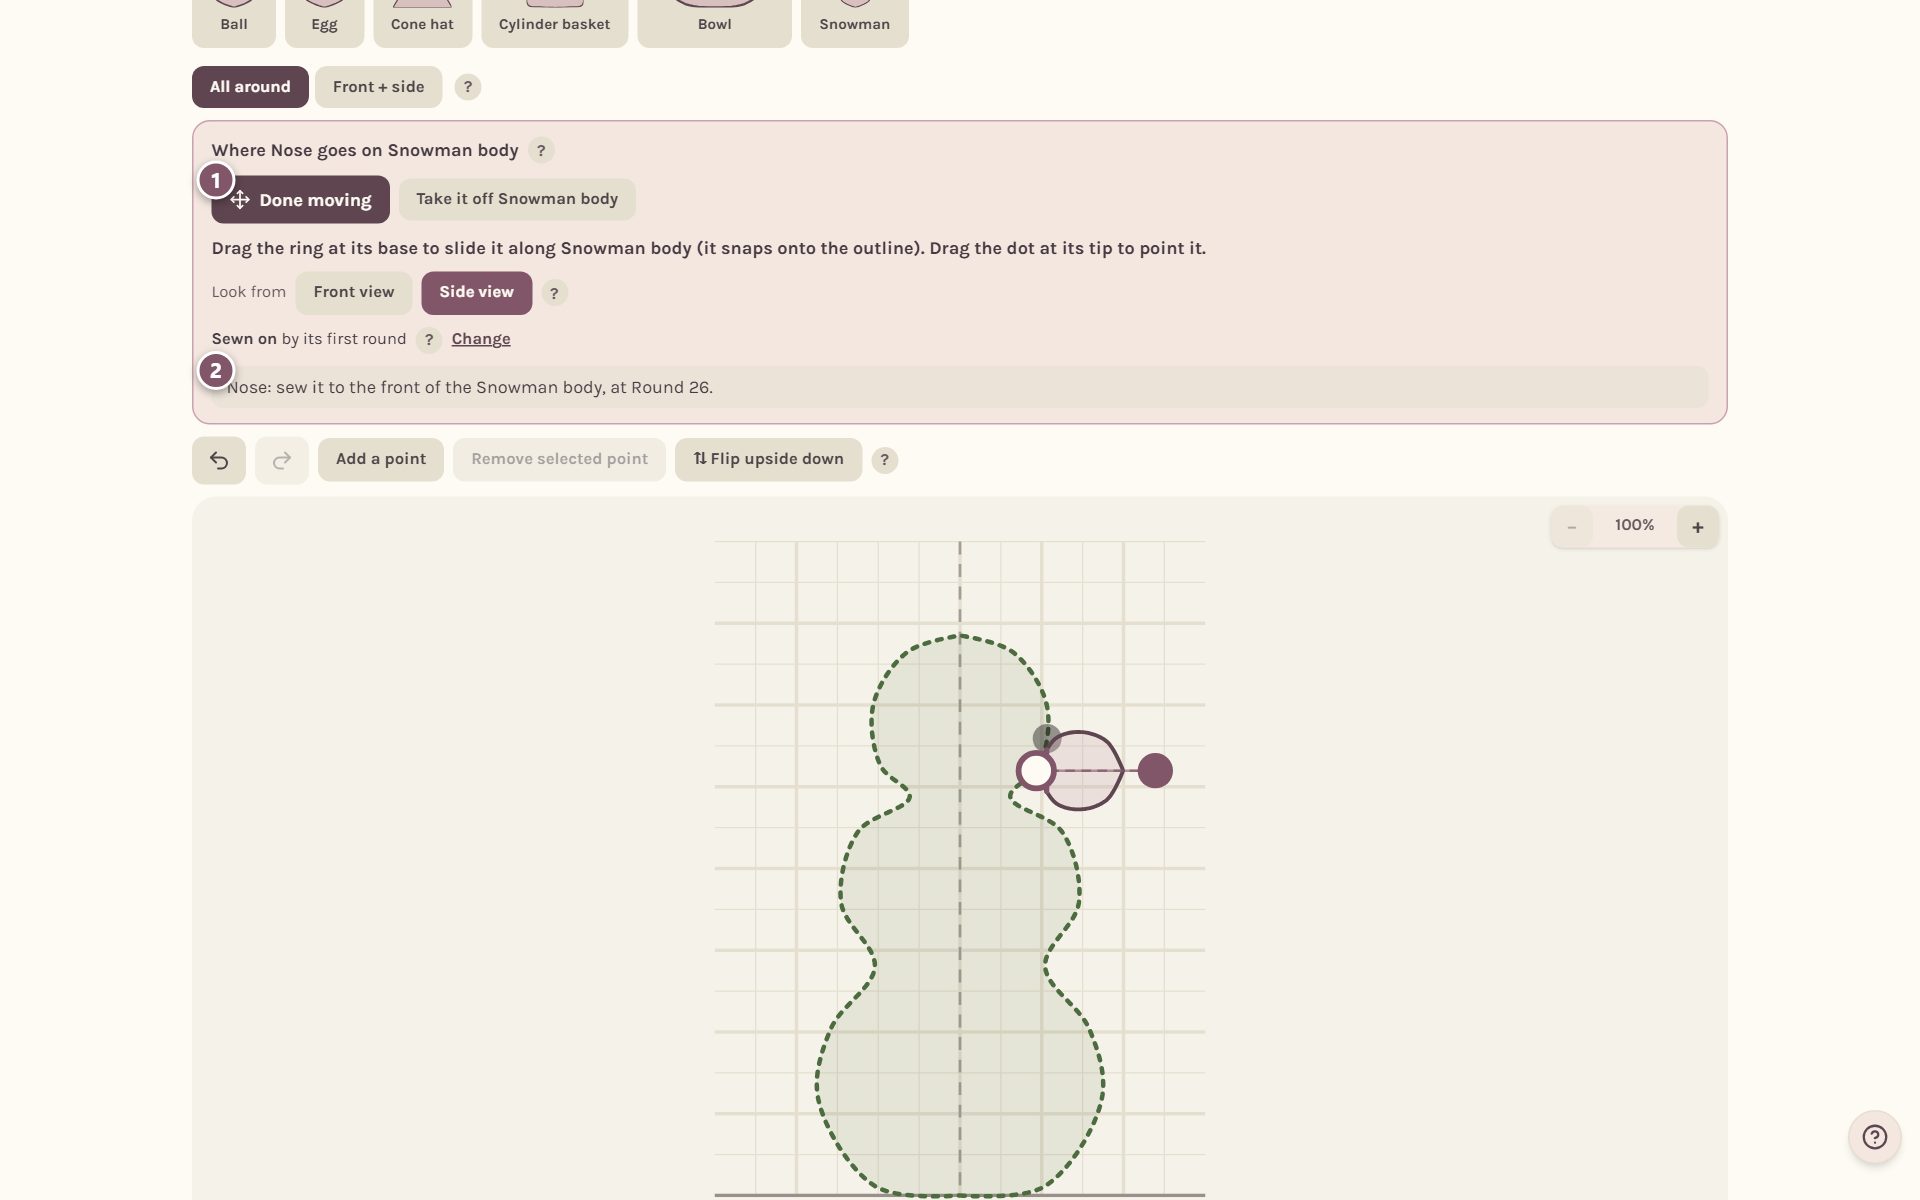
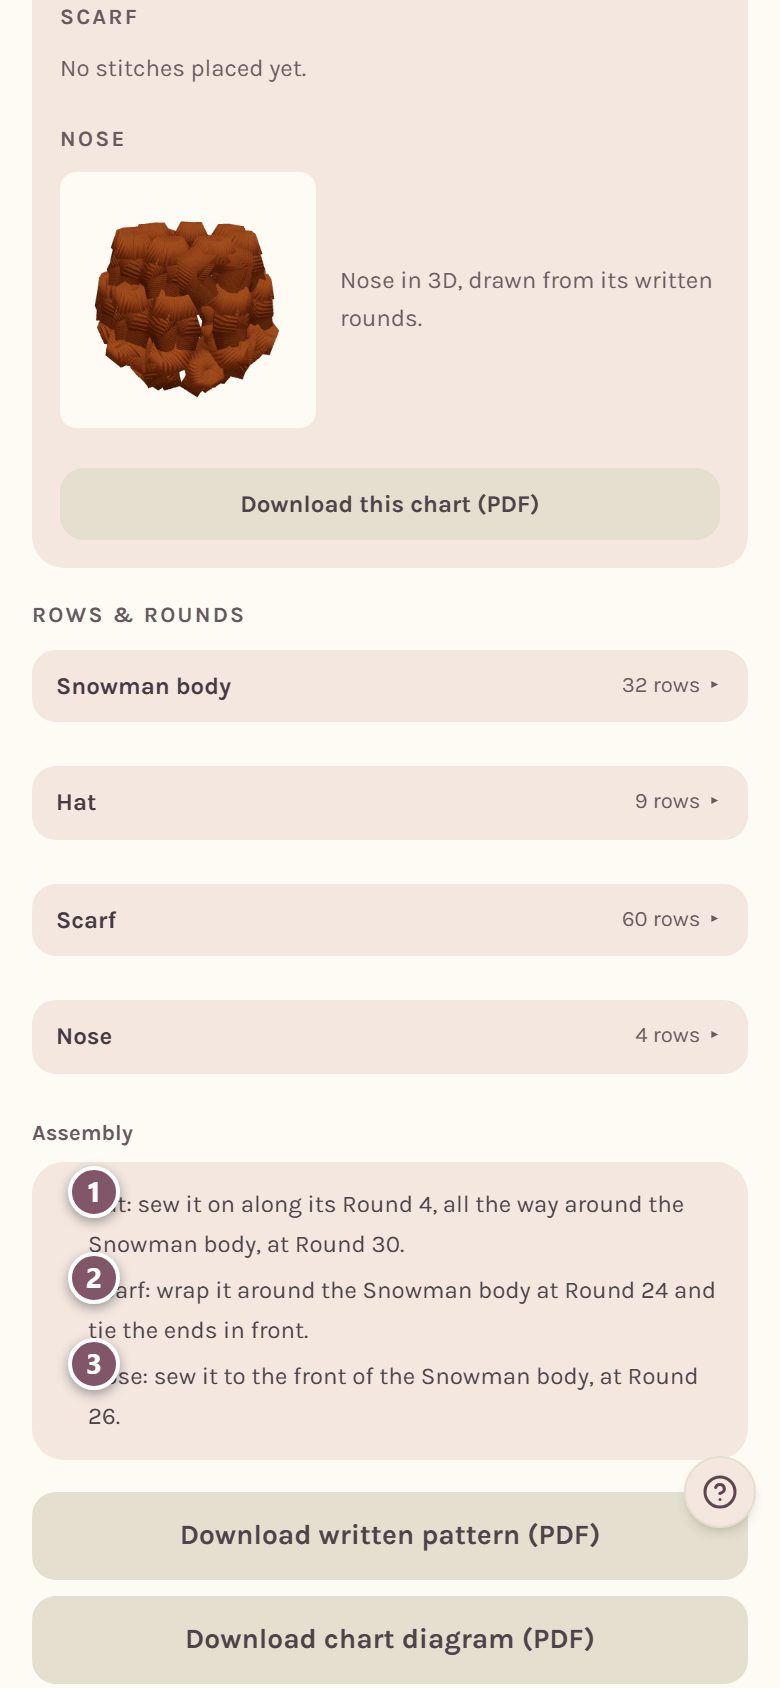
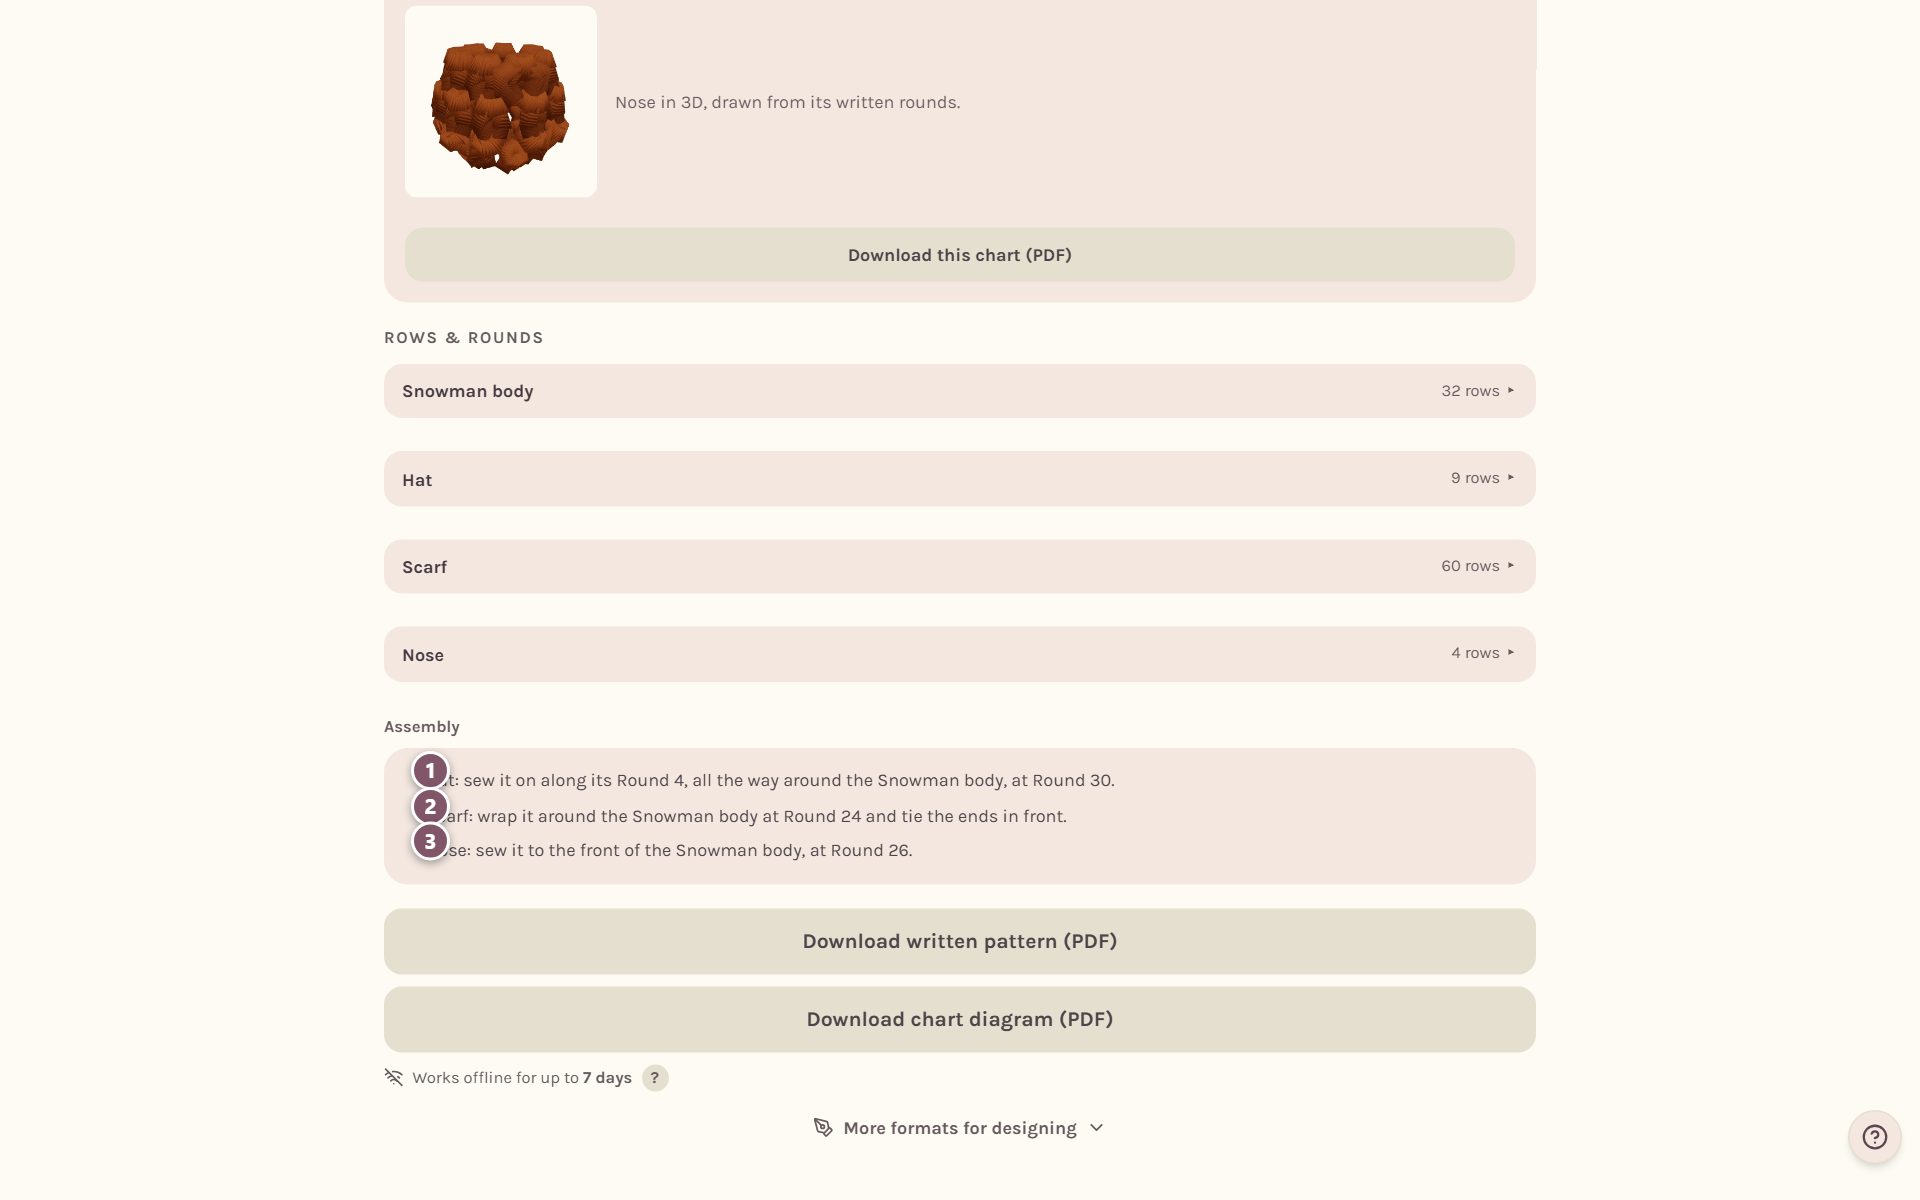
The card writes the sewing step as you move it, like "Nose: sew it to the front of the Snowman body, at Round 26." Tap Save to keep it.
Tip: Look from switches between the Front view and the Side view. Use the side view for anything on the face or the back, like a nose or a tail, and the front view for things on the top or sides, like a hat or arms.
Which round is it sewn on by?
A hat isn't sewn on by its first stitch. It's sewn on along the round that touches the head. The app finds that round on its own and shows it as a dashed line.
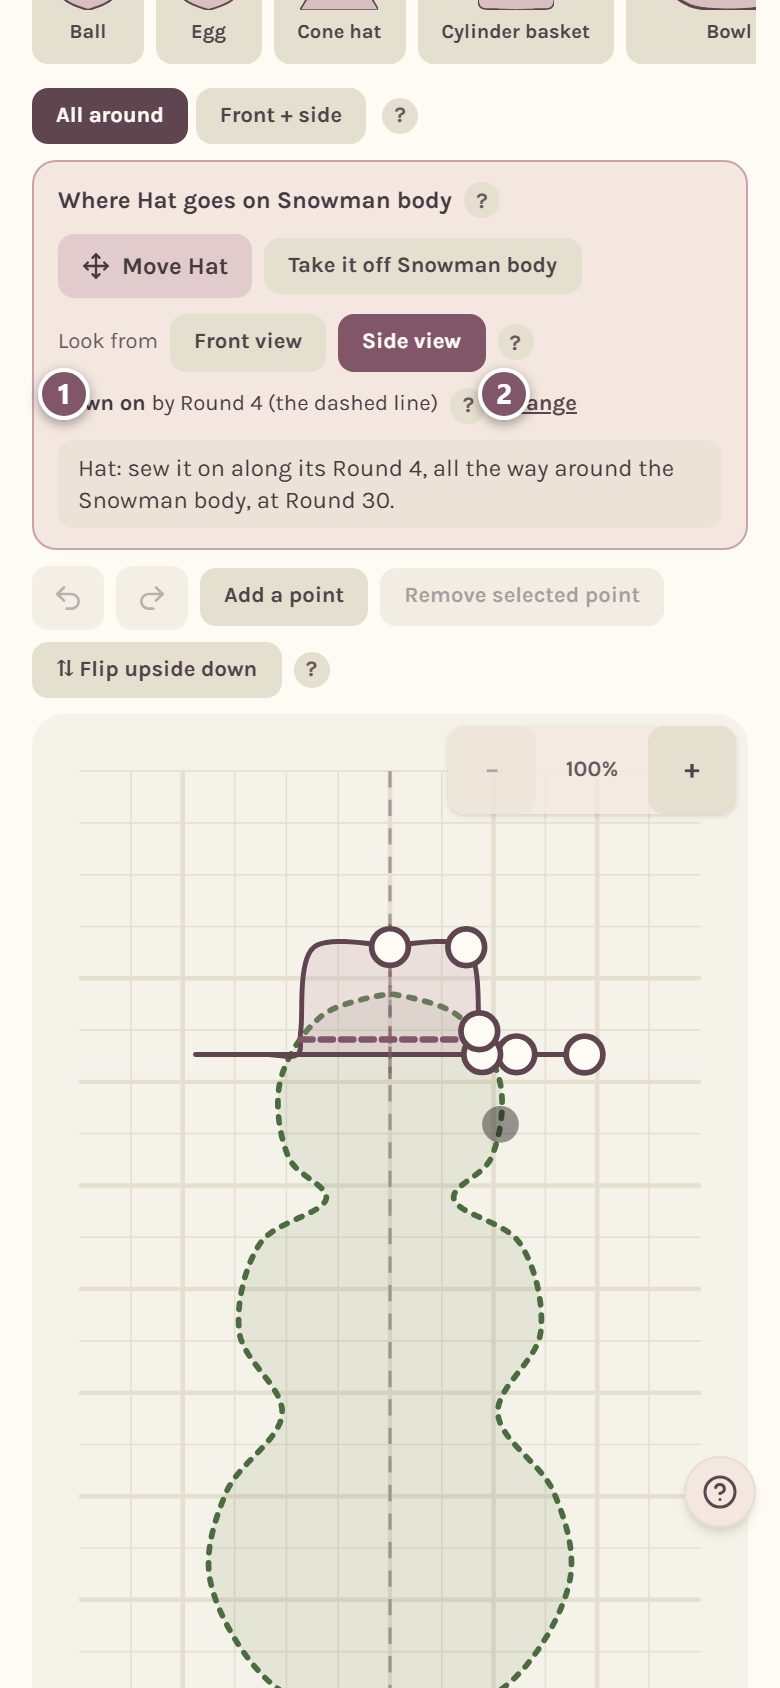
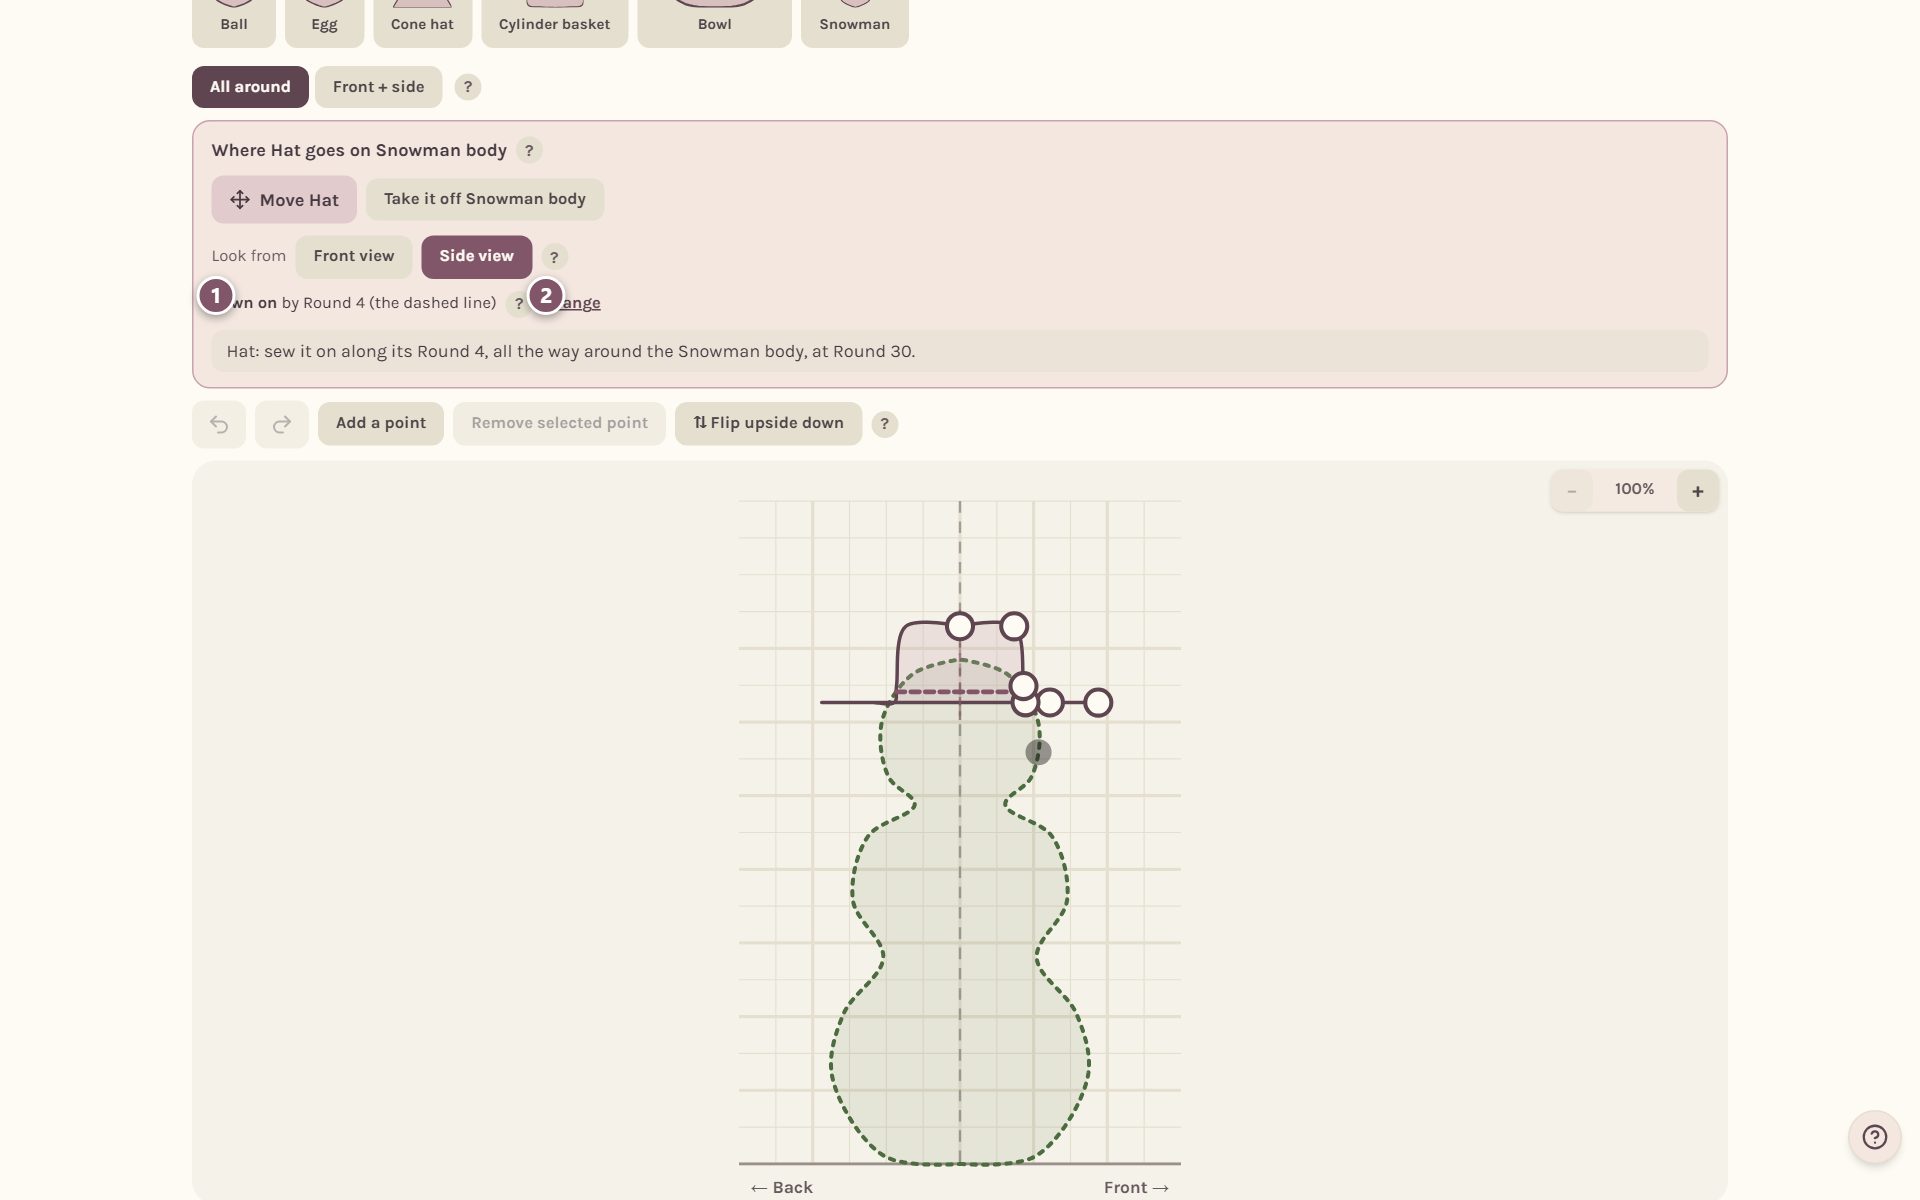
- The round the piece is sewn on by.
- Change lets you pick an earlier or later round yourself. Use the round that touches hands the choice back to the app.
Add safety eyes
Open the piece the eyes go on and open Safety eyes.
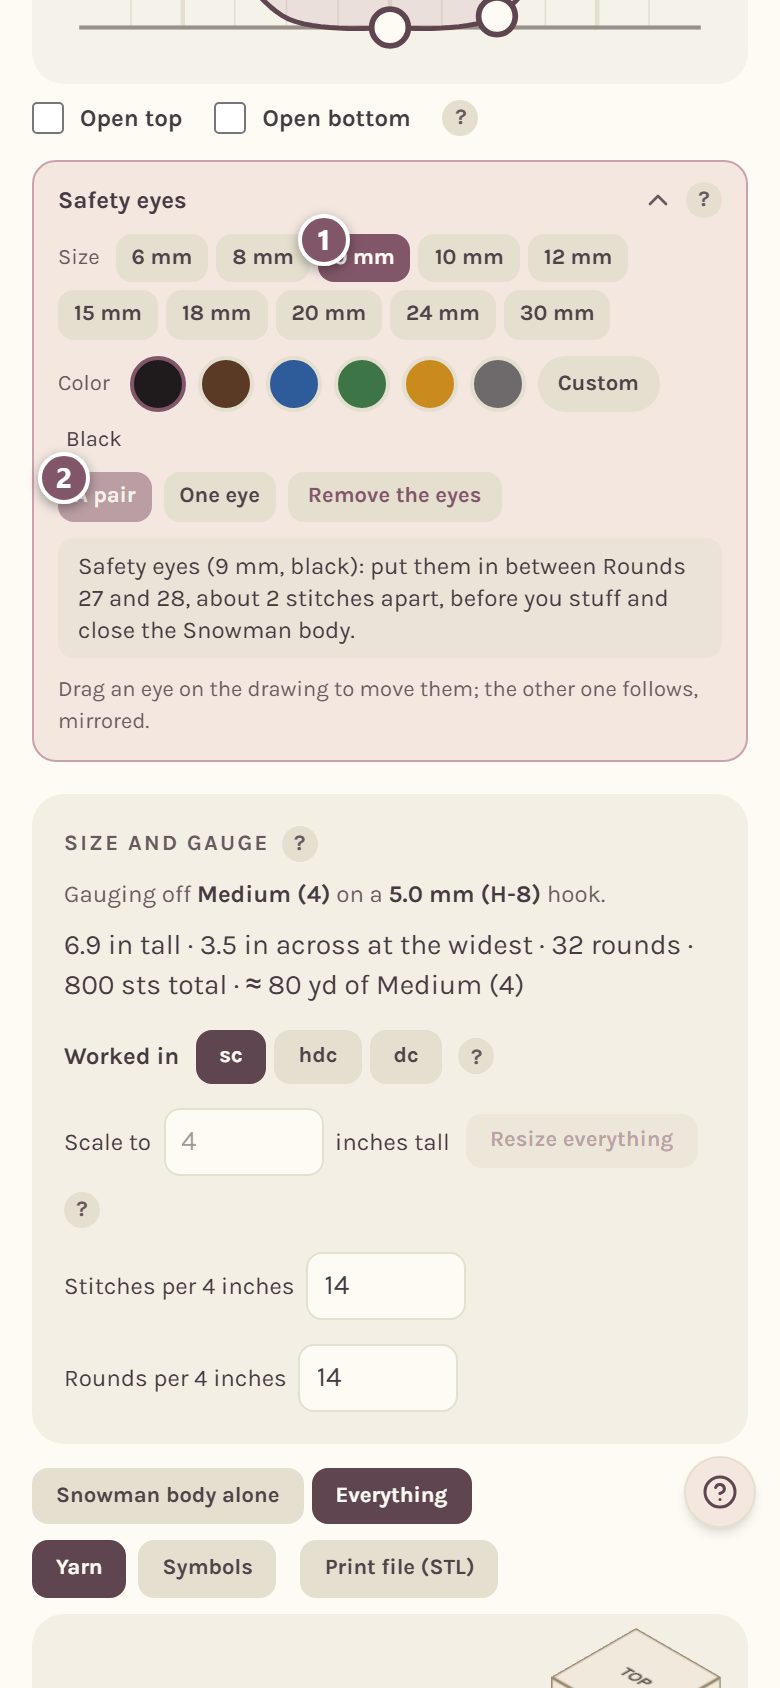
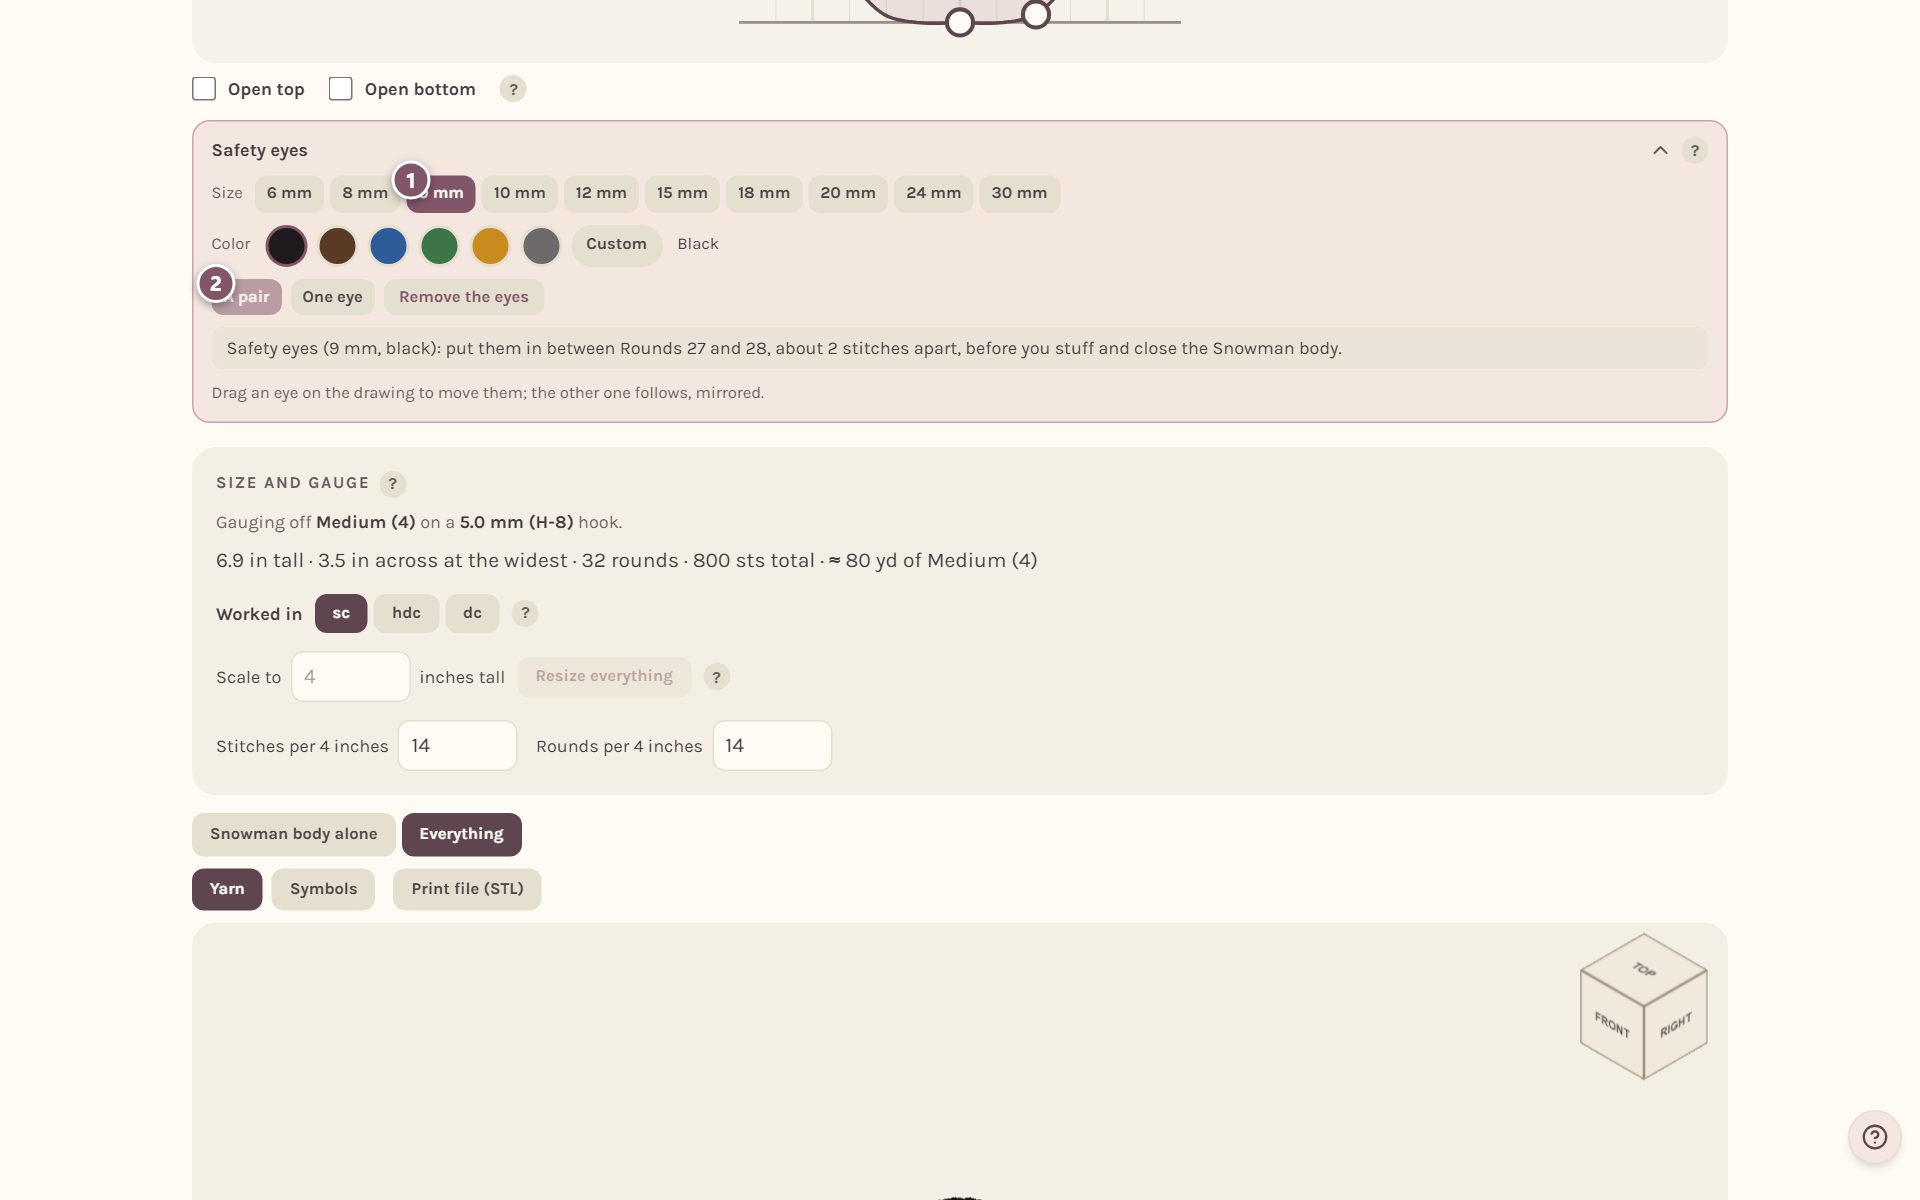
- Pick the size. They're drawn at their true size on your piece.
- Pick A pair or One eye, and a color.
Drag an eye on the drawing to move them, and the other one follows. The card tells you where they go, like "put them in between Rounds 27 and 28, about 2 stitches apart, before you stuff and close the Snowman body". The eyes are added to the pattern's materials too.
Wrap a scarf around
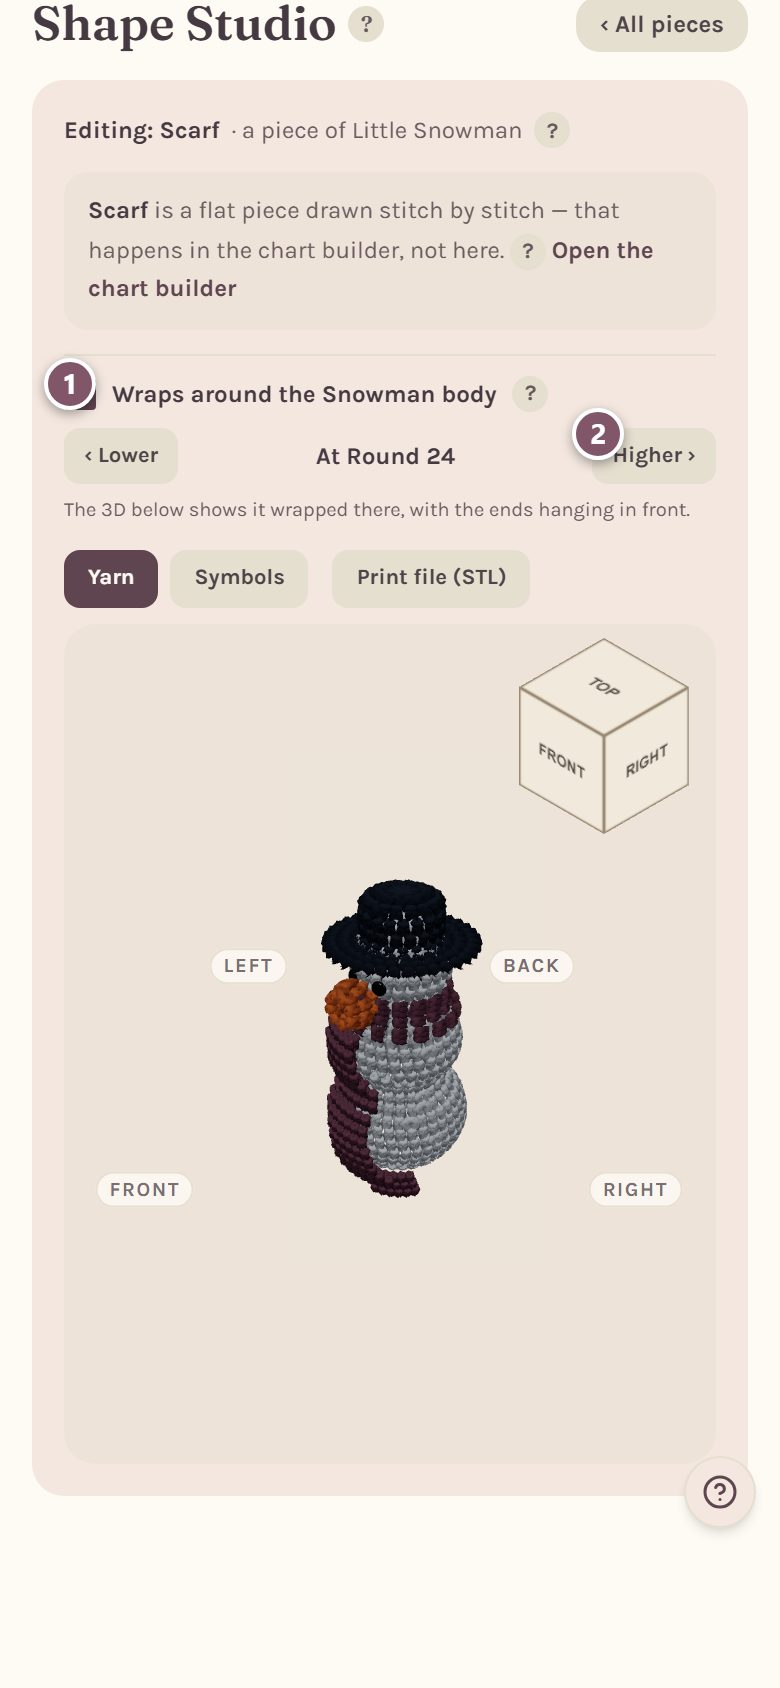
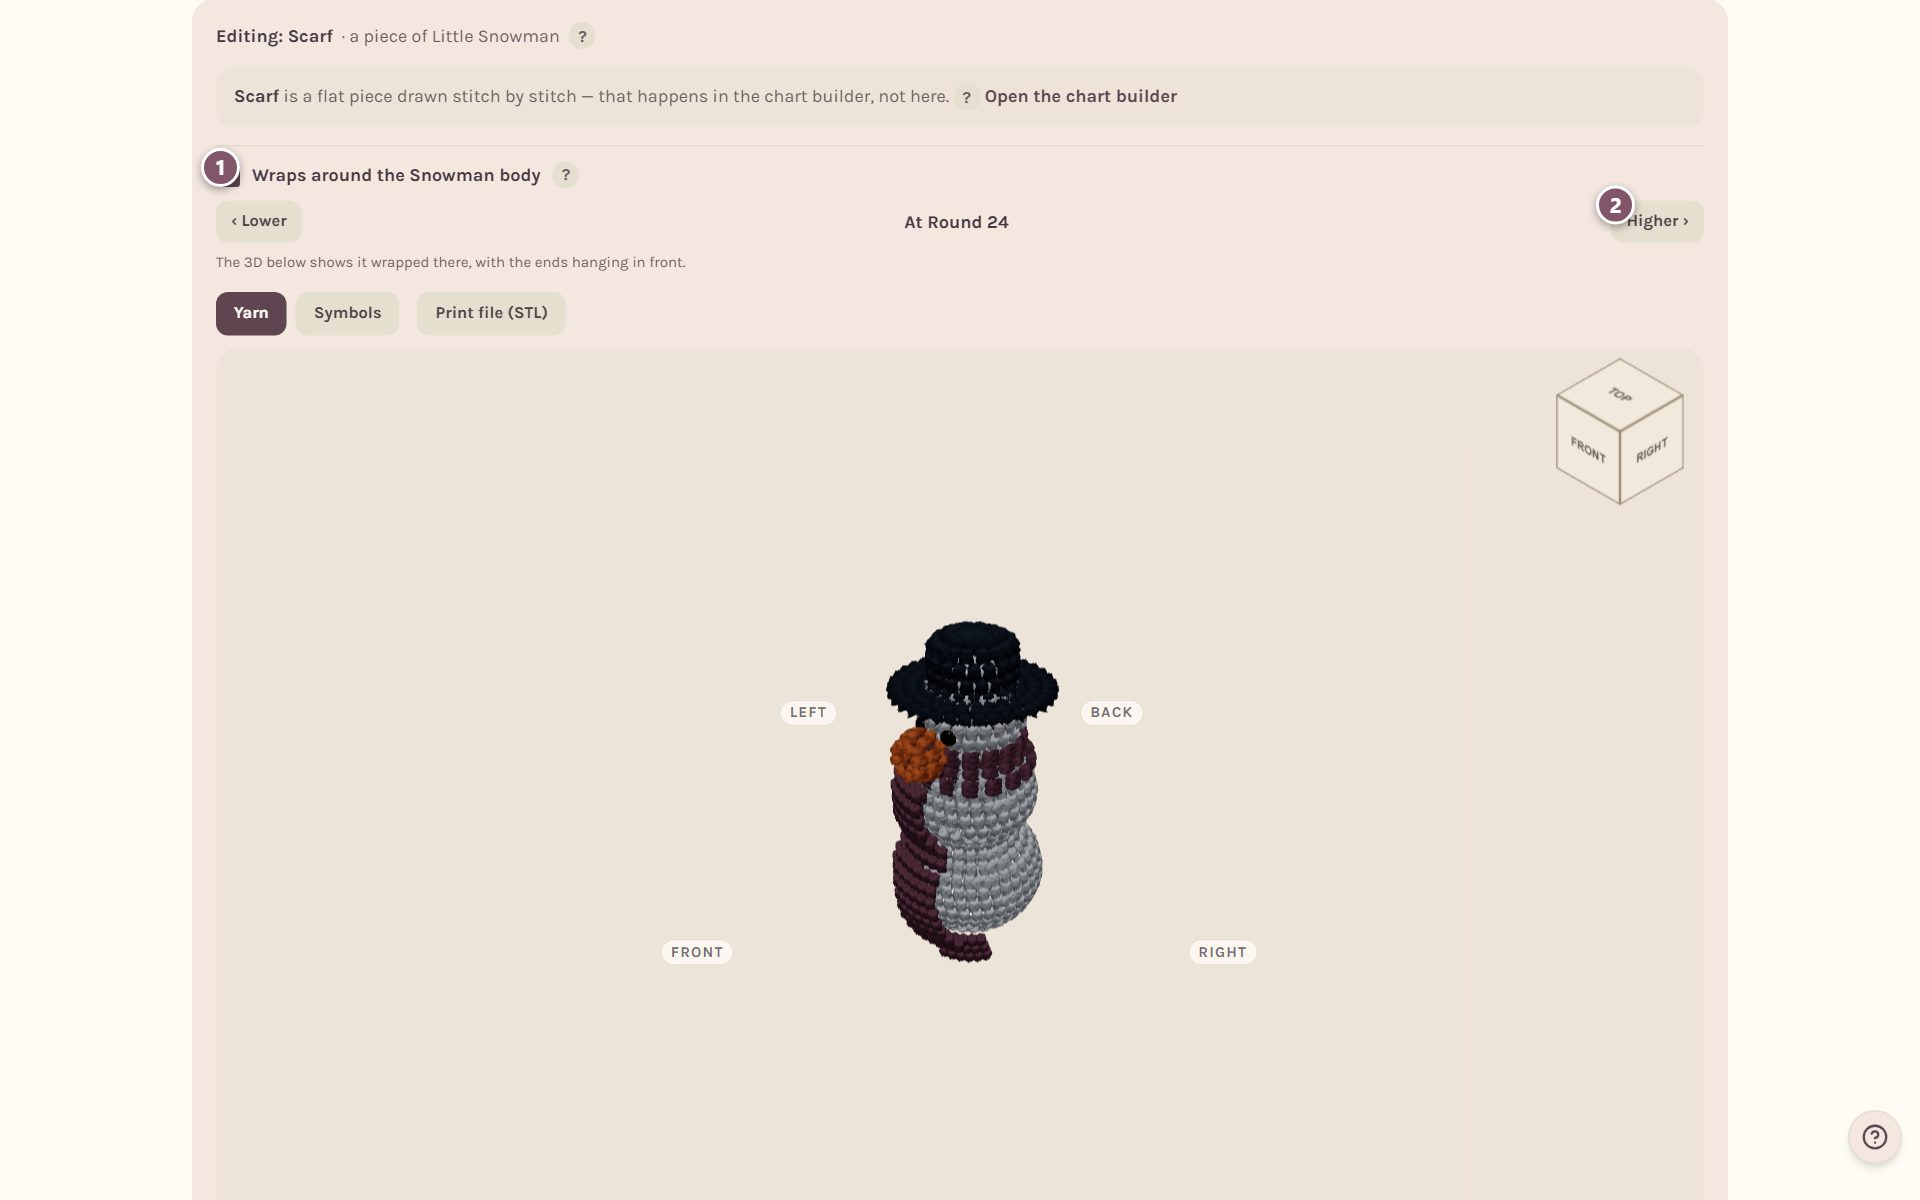
A flat piece, like a scarf, can wrap around the main piece instead of being sewn on. Add it with + Add a piece and set Kind to Flat piece (a chart, like a scarf). Its rows are drawn in the chart builder, and Open the chart builder takes you there.
- Open the flat piece and tick Wraps around the Snowman body (it names your main piece).
- Tap ‹ Lower or Higher › to move it to the right round. The 3D view underneath shows it wrapped there.
The assembly steps in your pattern
On the pattern's page, the Assembly section lists how every piece goes on, in order. It prints in the PDF too.
Frequently asked questions
Can I make every piece with a different yarn color? Yes. Each piece picks its own yarn in the Shape Studio, and the 3D view draws it in that color.
What if I resize the main piece? Use Resize everything in the main piece's Size and gauge. The pieces drawn on it resize with it, and the app warns you before any piece gets too small to crochet.
Can I track the pieces separately while I make it? Yes. A pattern with several pieces is tracked piece by piece in WIPs. See track your amigurumi pieces.
Can I see the whole toy in 3D or print it? Yes. All together has Yarn, Symbols and Print file (STL). See 3D preview and 3D printing.
Ready to try it? Crochet Bobble opens right in your browser, on a phone or a computer.
Open Crochet Bobble