
How to Edit a Crochet Blanket Chart: Paint, Stamps and Letters
Draw your own crochet blanket chart from scratch, or fix a photo chart stitch by stitch. Paint, fill, erase, add and merge colors, and stamp on hearts, flowers and names.
You don't need a photo to make a blanket chart. The photo blanket maker opens on an empty chart you can paint square by square, like coloring in graph paper. The same tools also fix a chart made from a photo: tidy a stray stitch, add a name, or fold two nearly-matching colors into one yarn.
Start with a blank chart
Open Patterns and tap Photo blanket. The maker opens on an empty chart, ready to paint. You don't need to choose a picture at all.
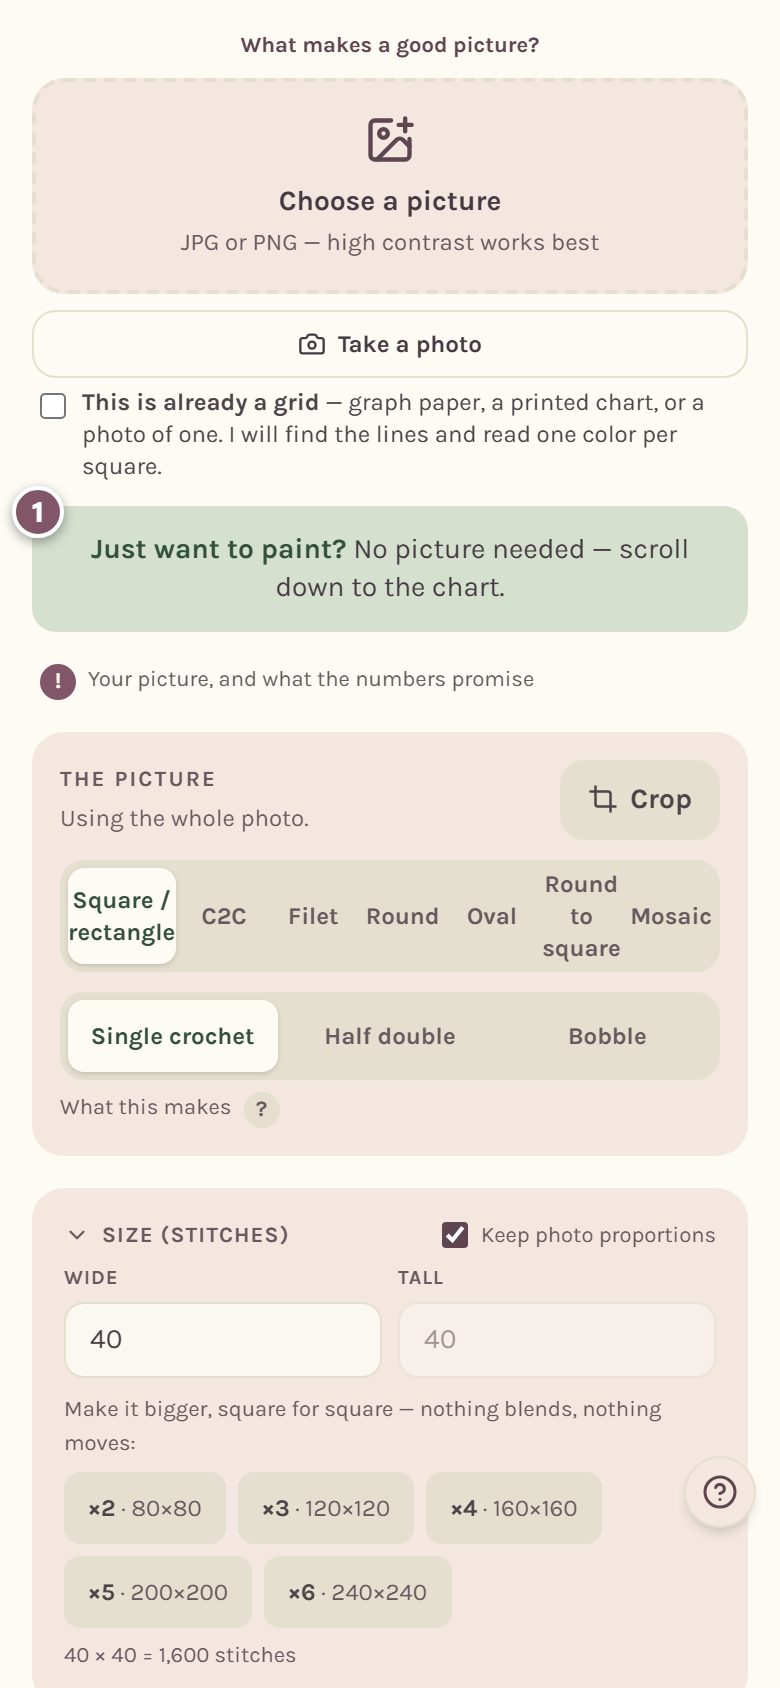
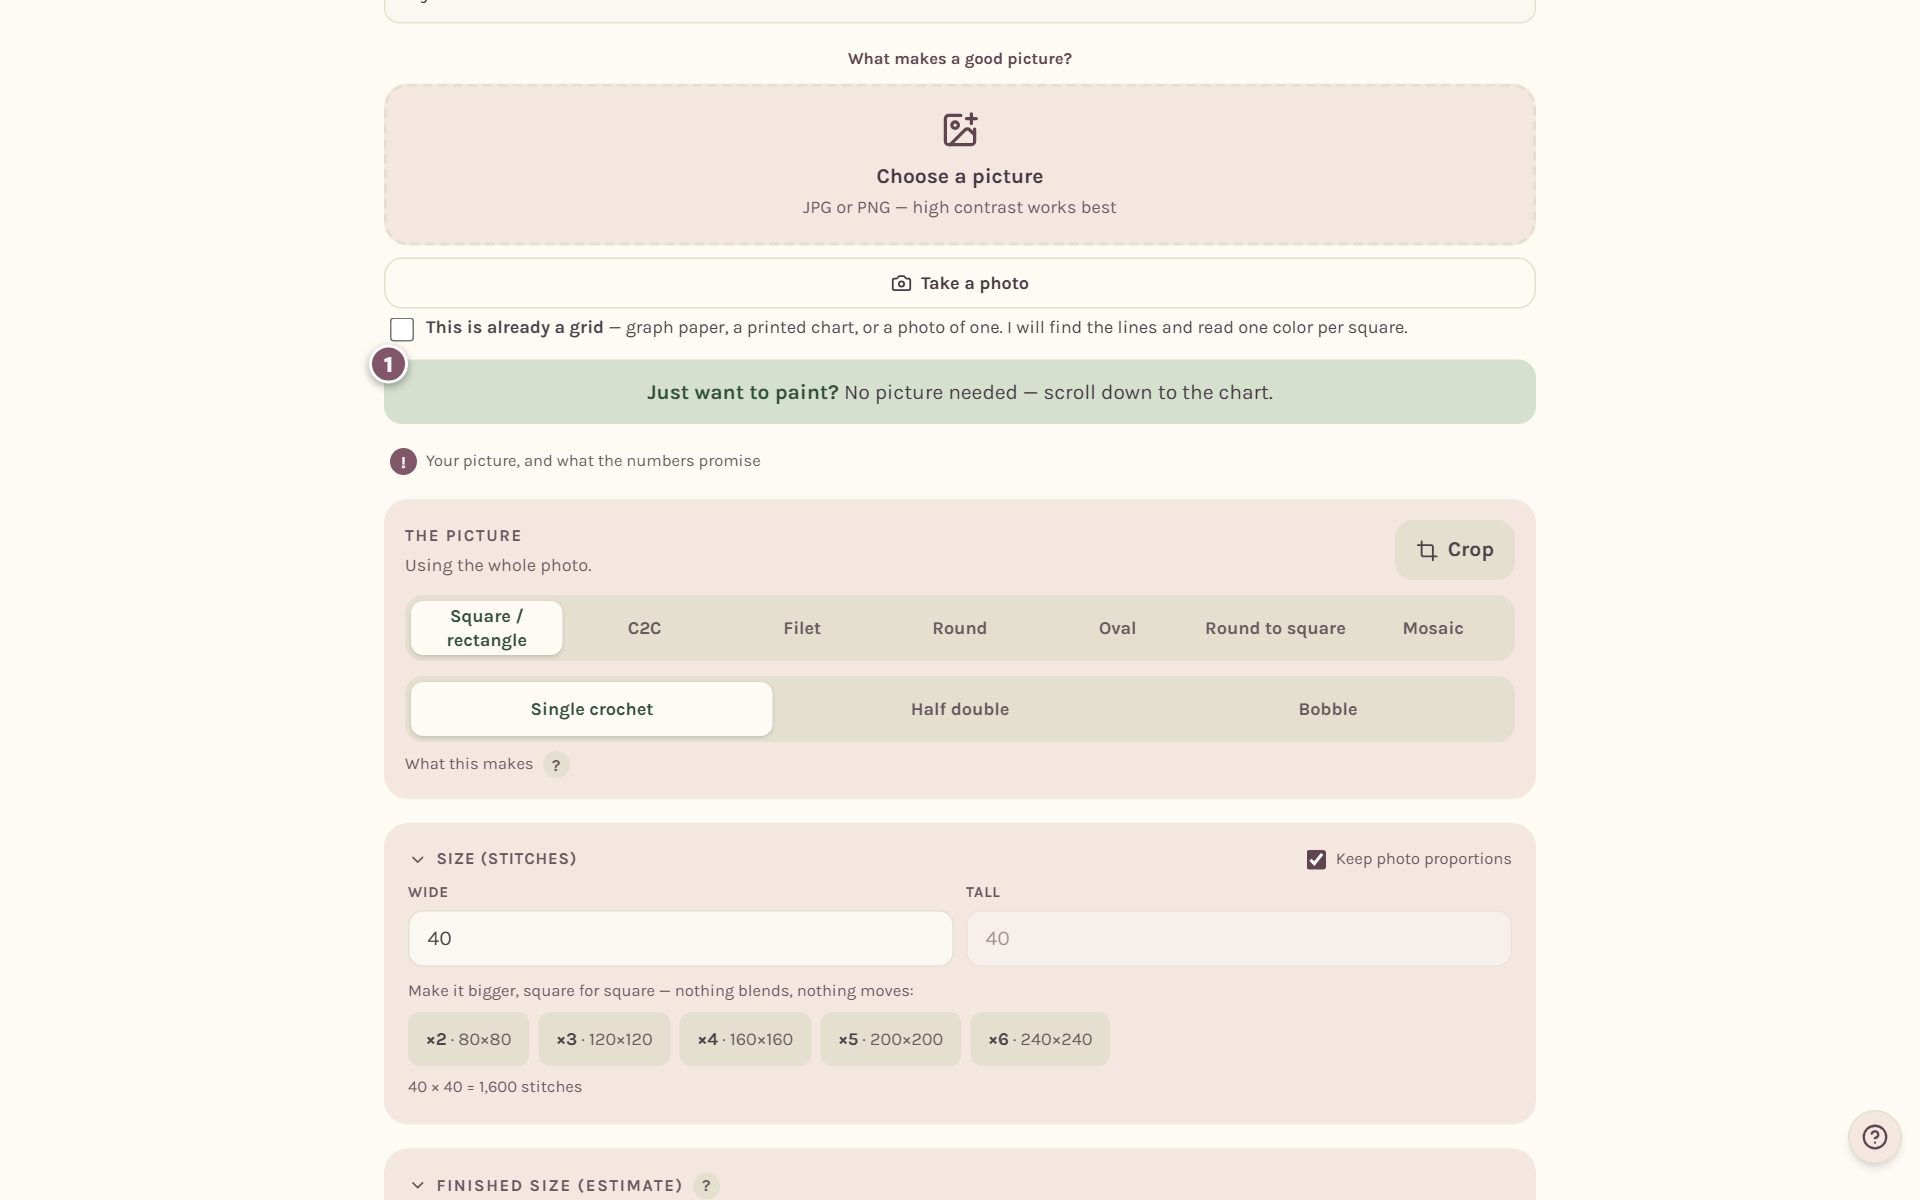
Set the size first, in the Size card. You can change it later and your painting scales to fit, but it's easiest to start at the size you want.
Open the paint tools
Scroll down to the chart and tap Paint, stamps & letters.
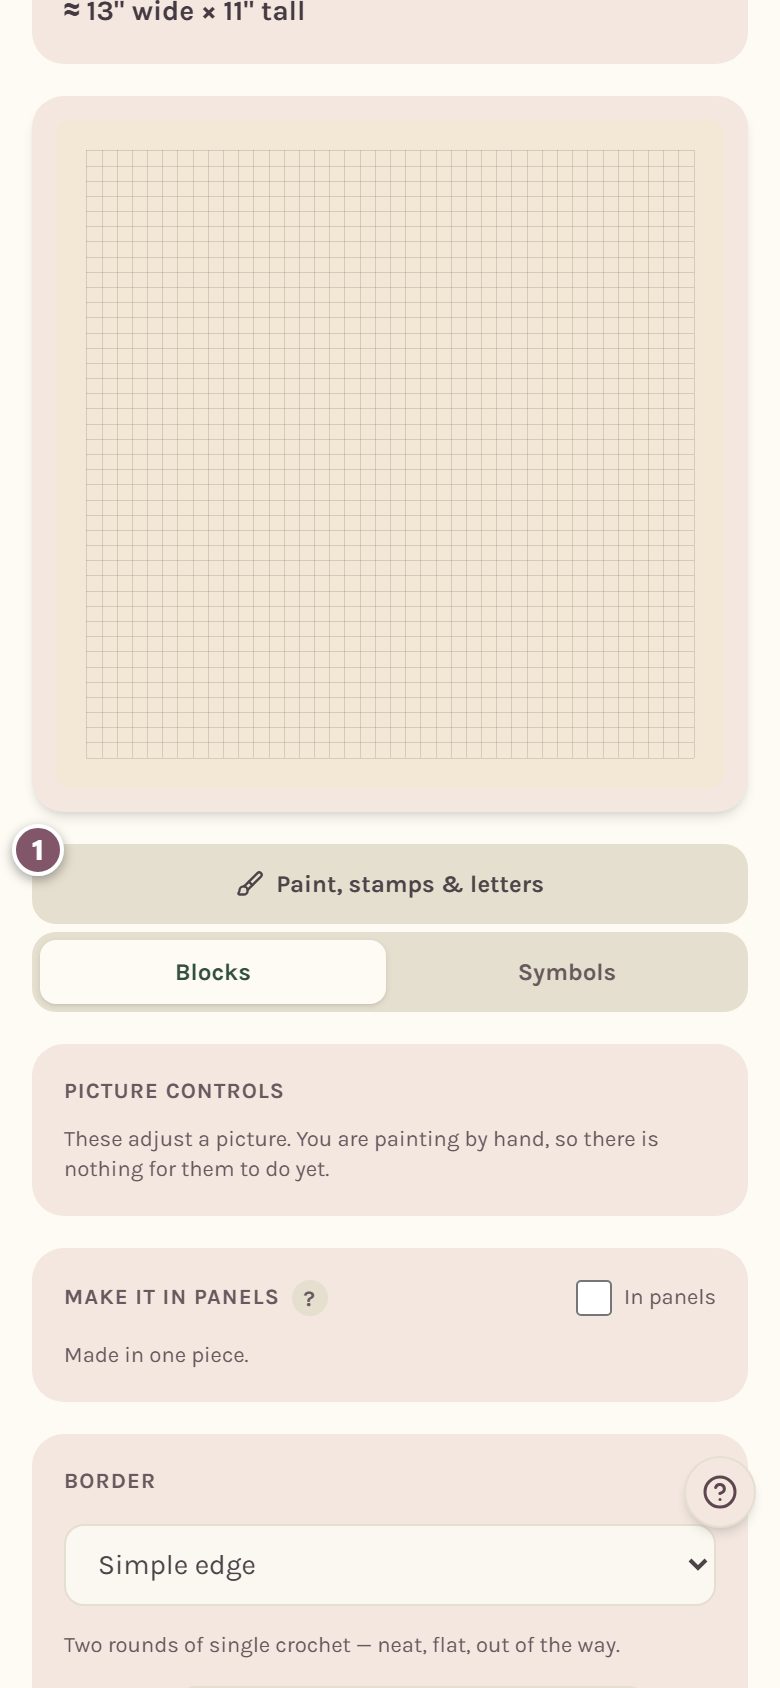
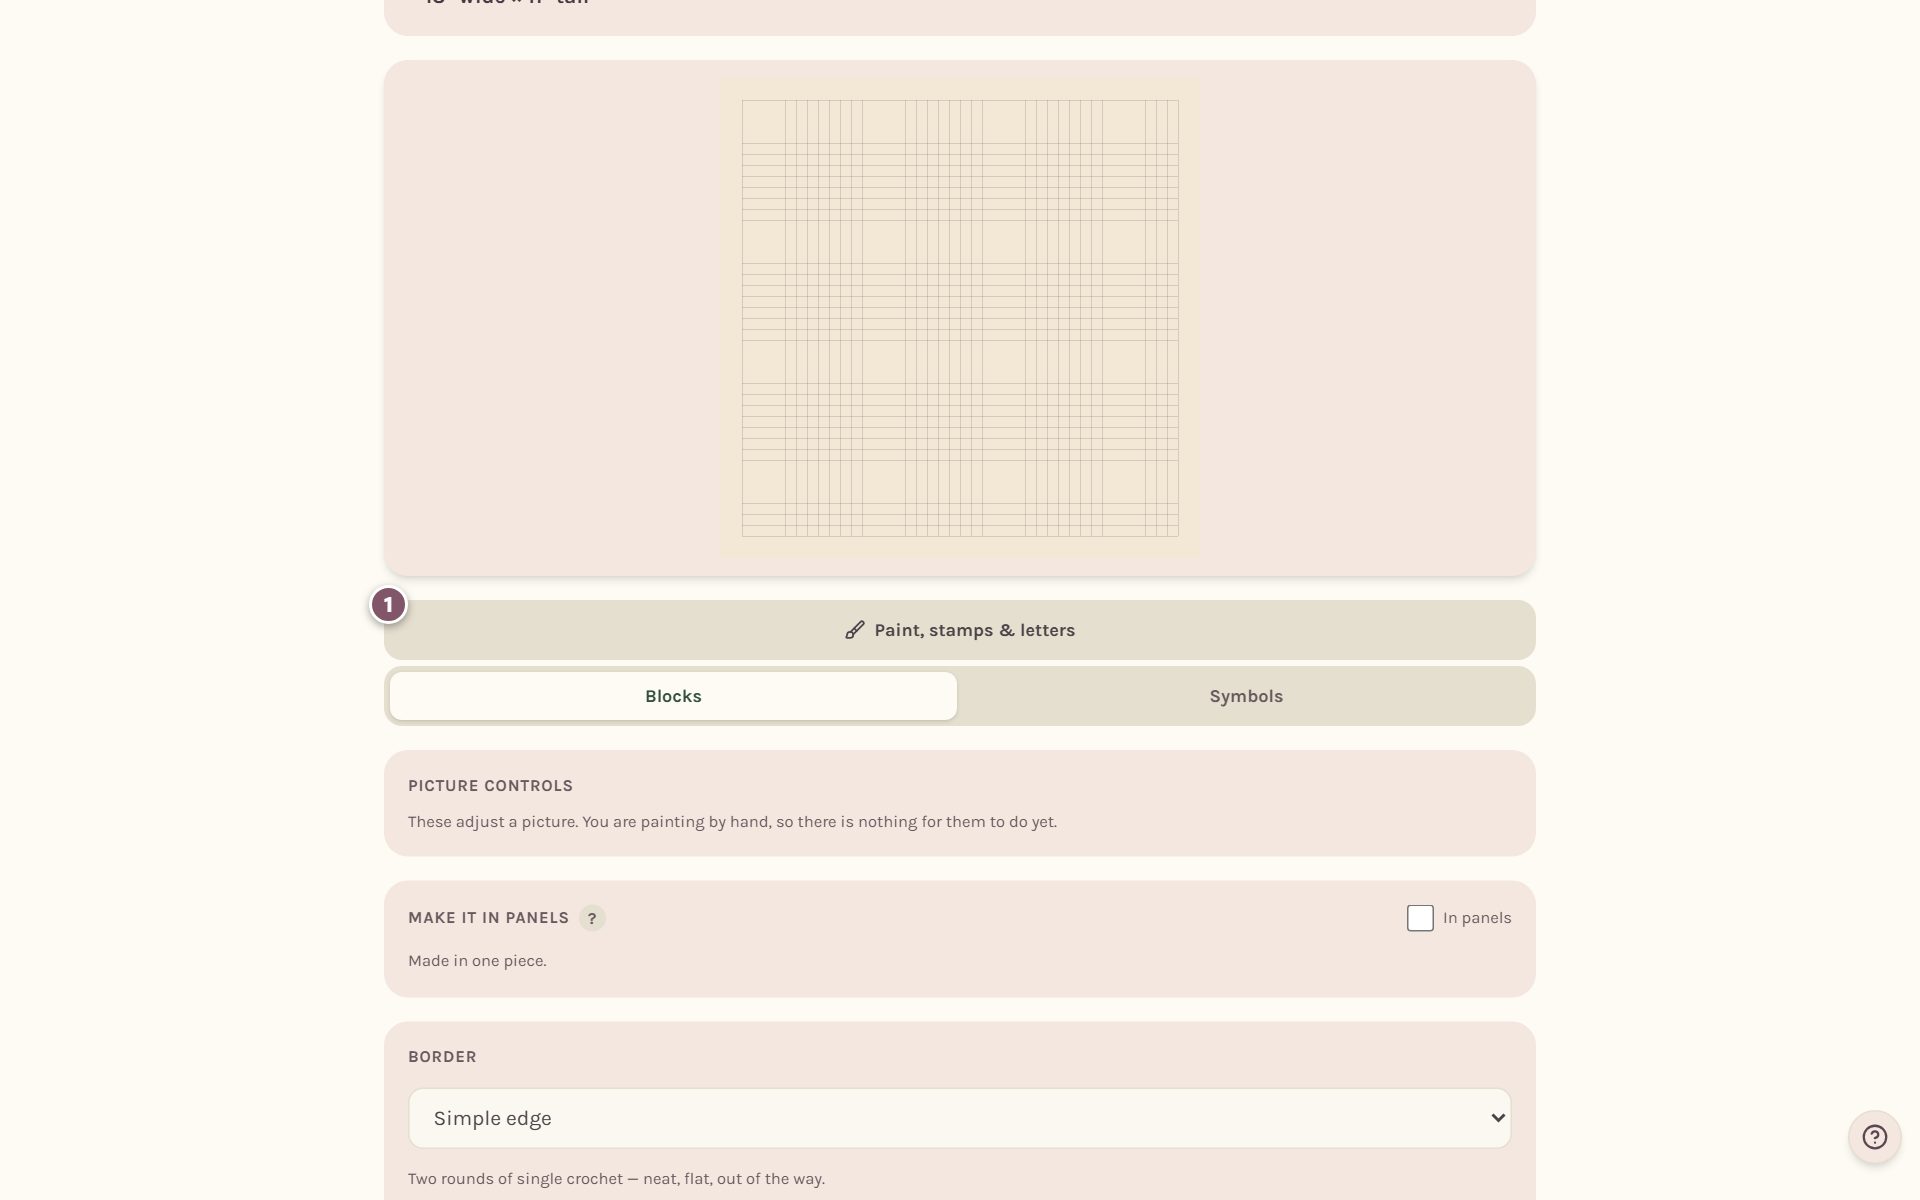
The chart moves to the top of the screen and stays there while the tools sit underneath. When you're done, tap Done painting.
Tip: When the chart already holds a picture or a painting, the tools open on Move, so a stray tap can't mark anything. Pick Paint when you're ready.
Paint, fill, erase and pick colors
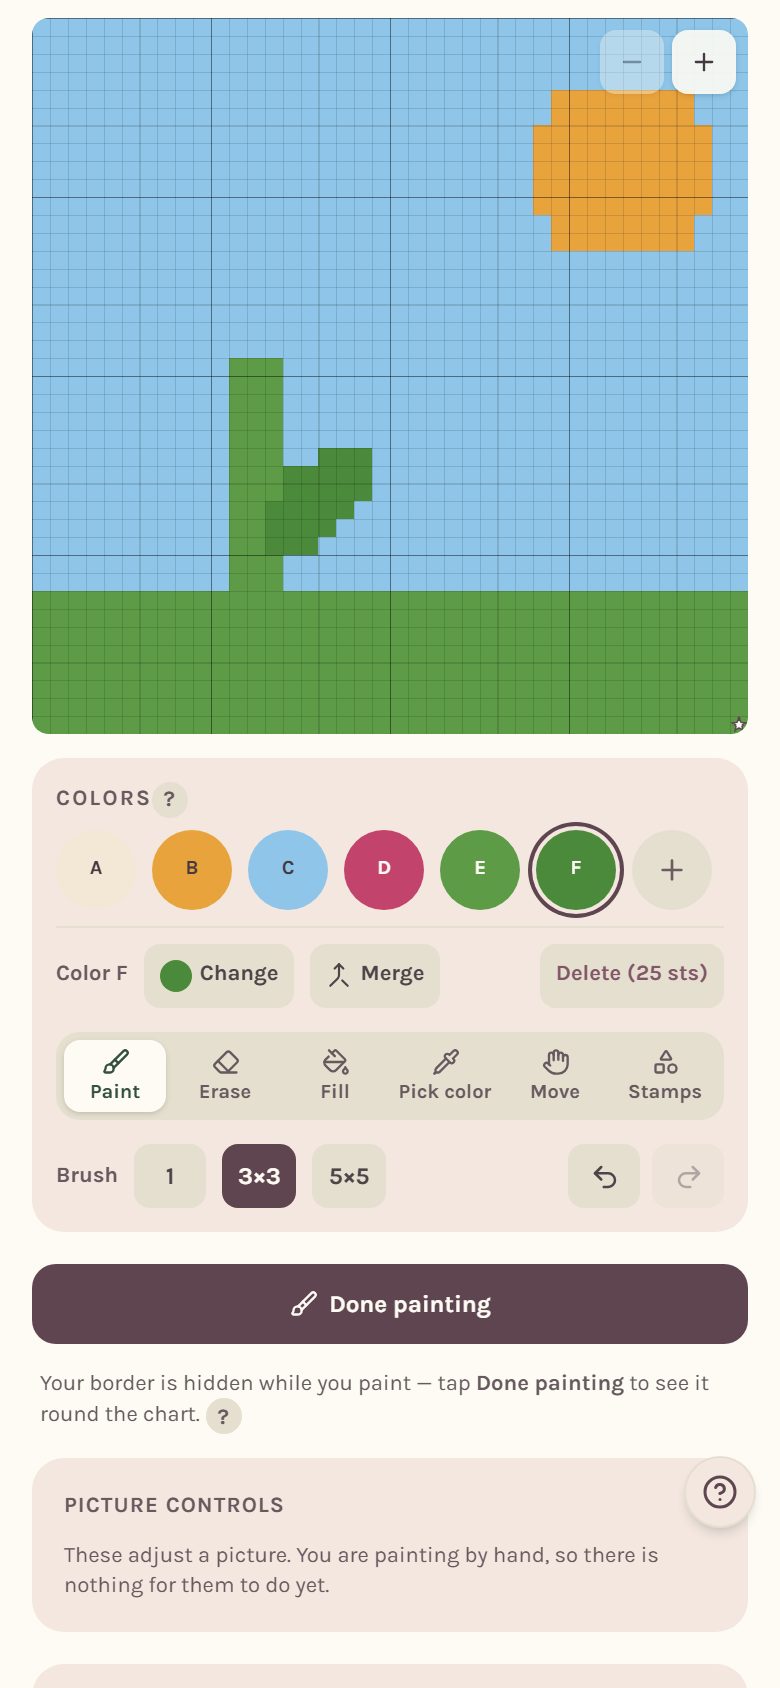
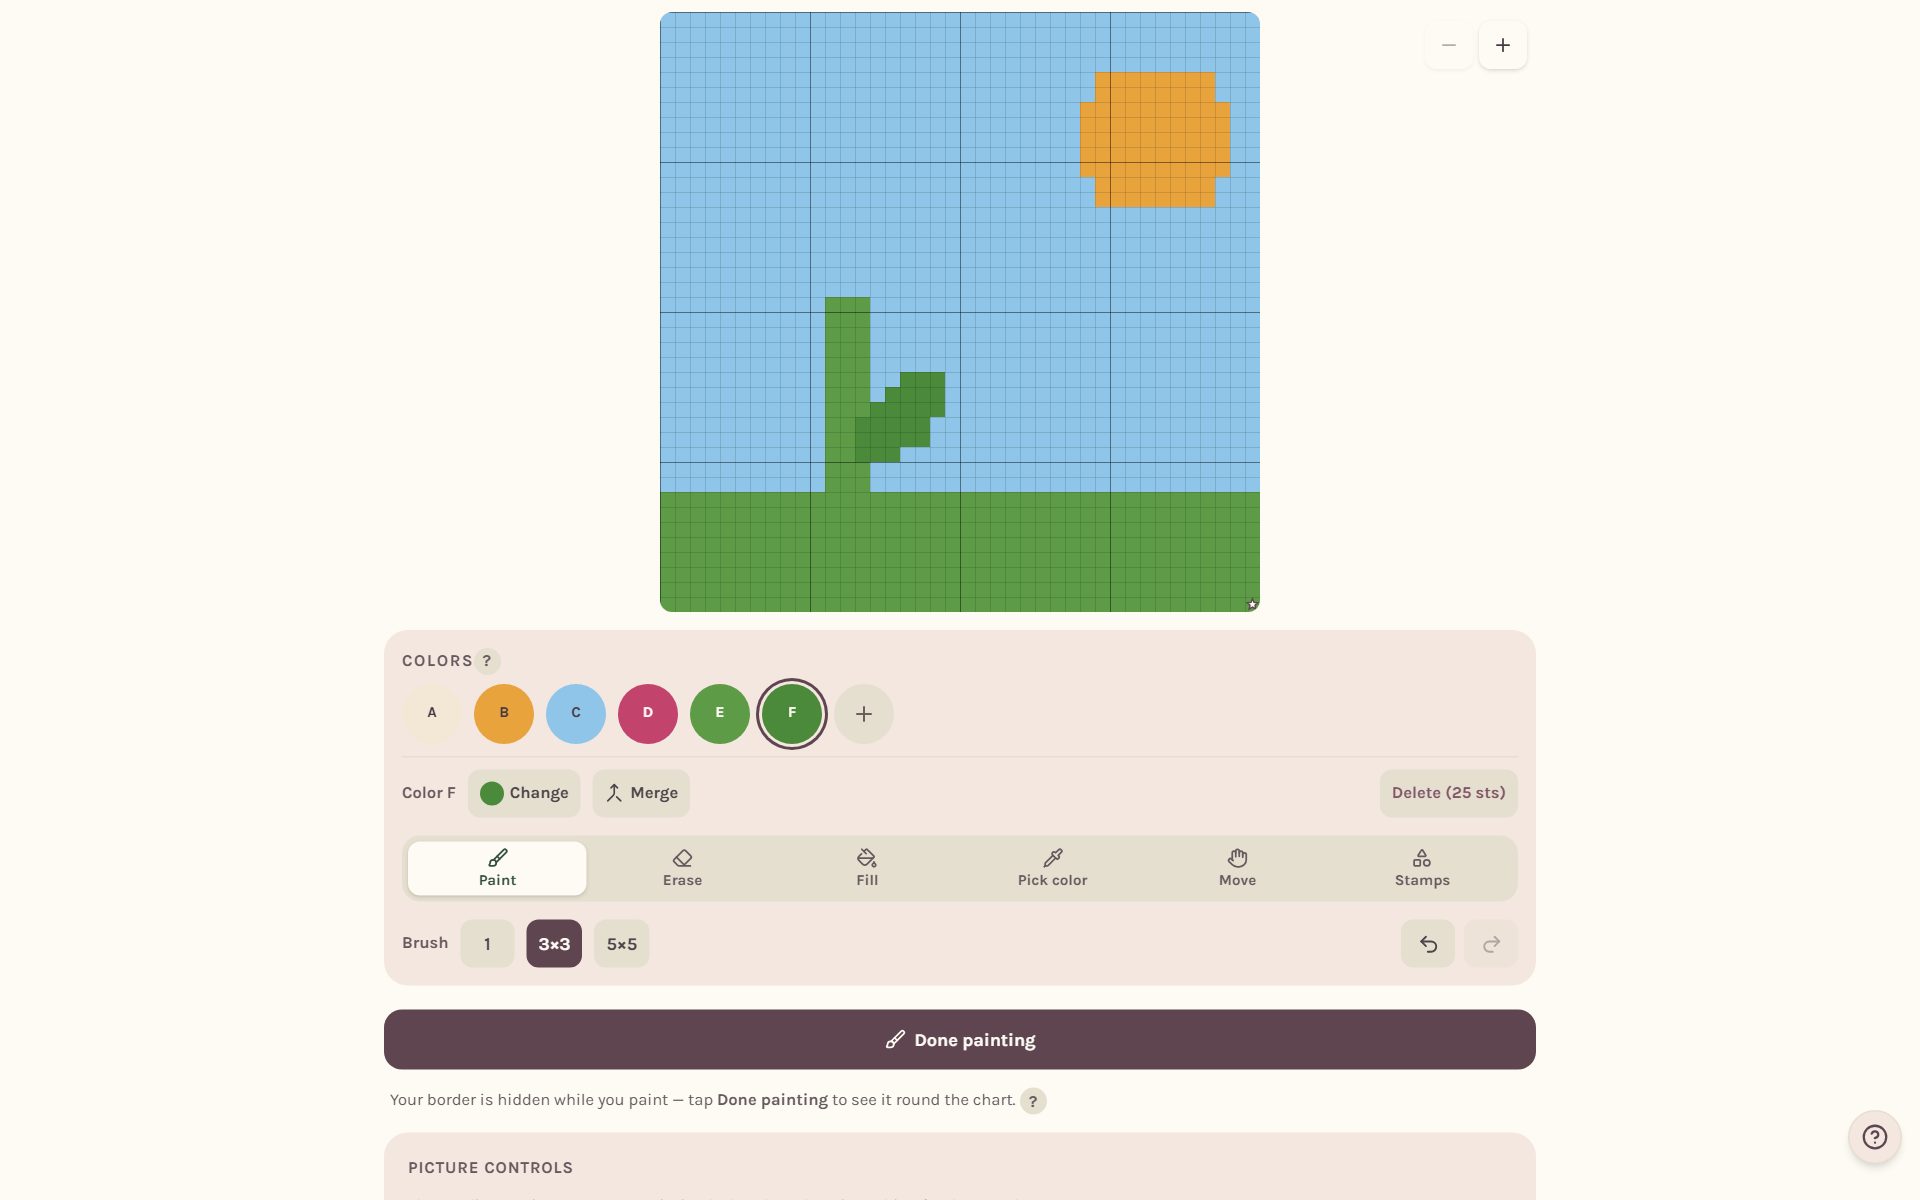
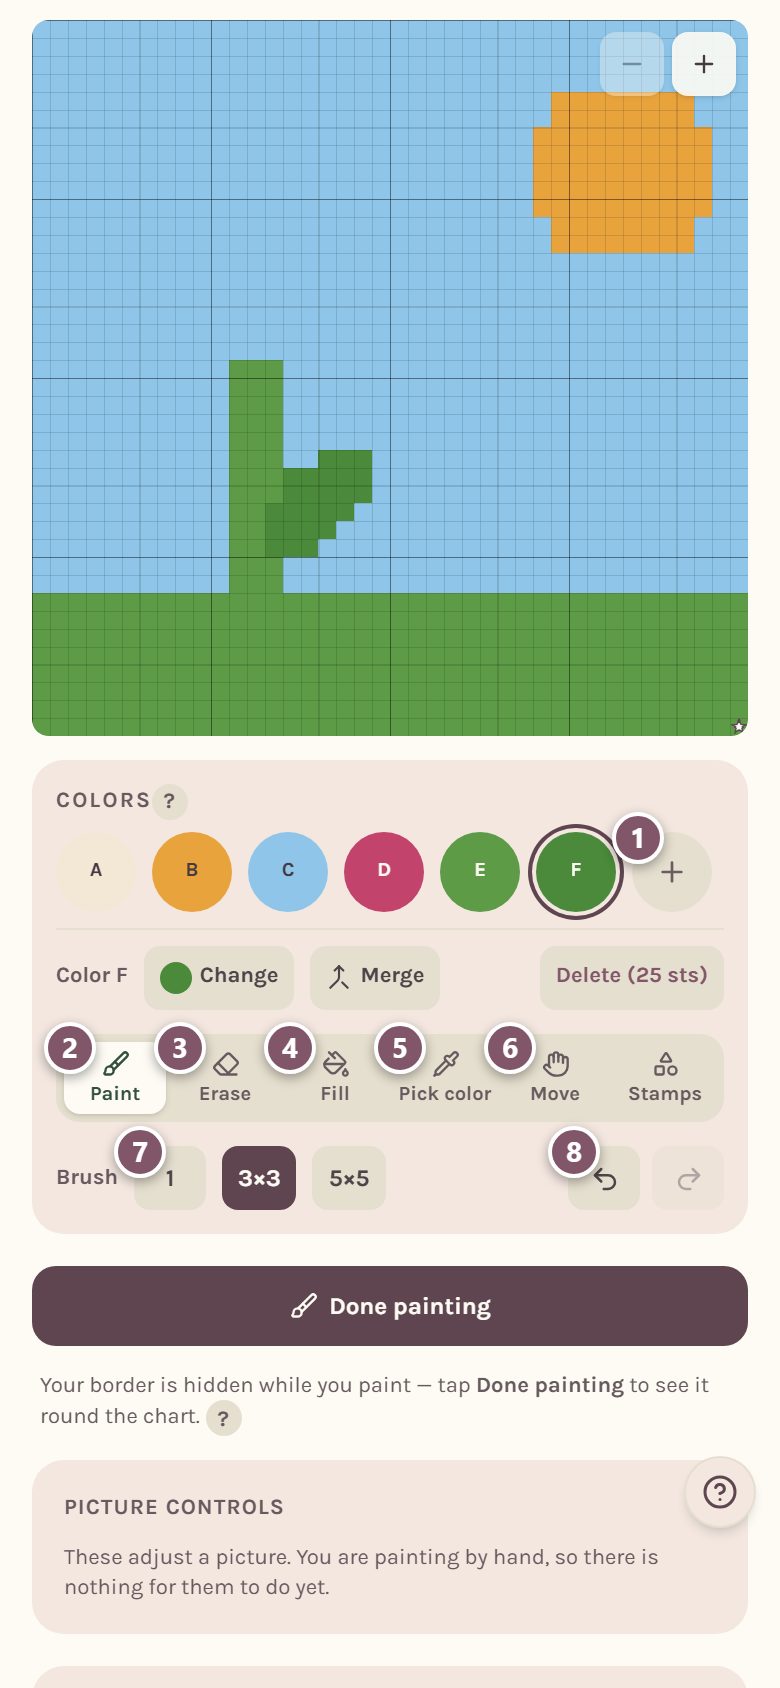
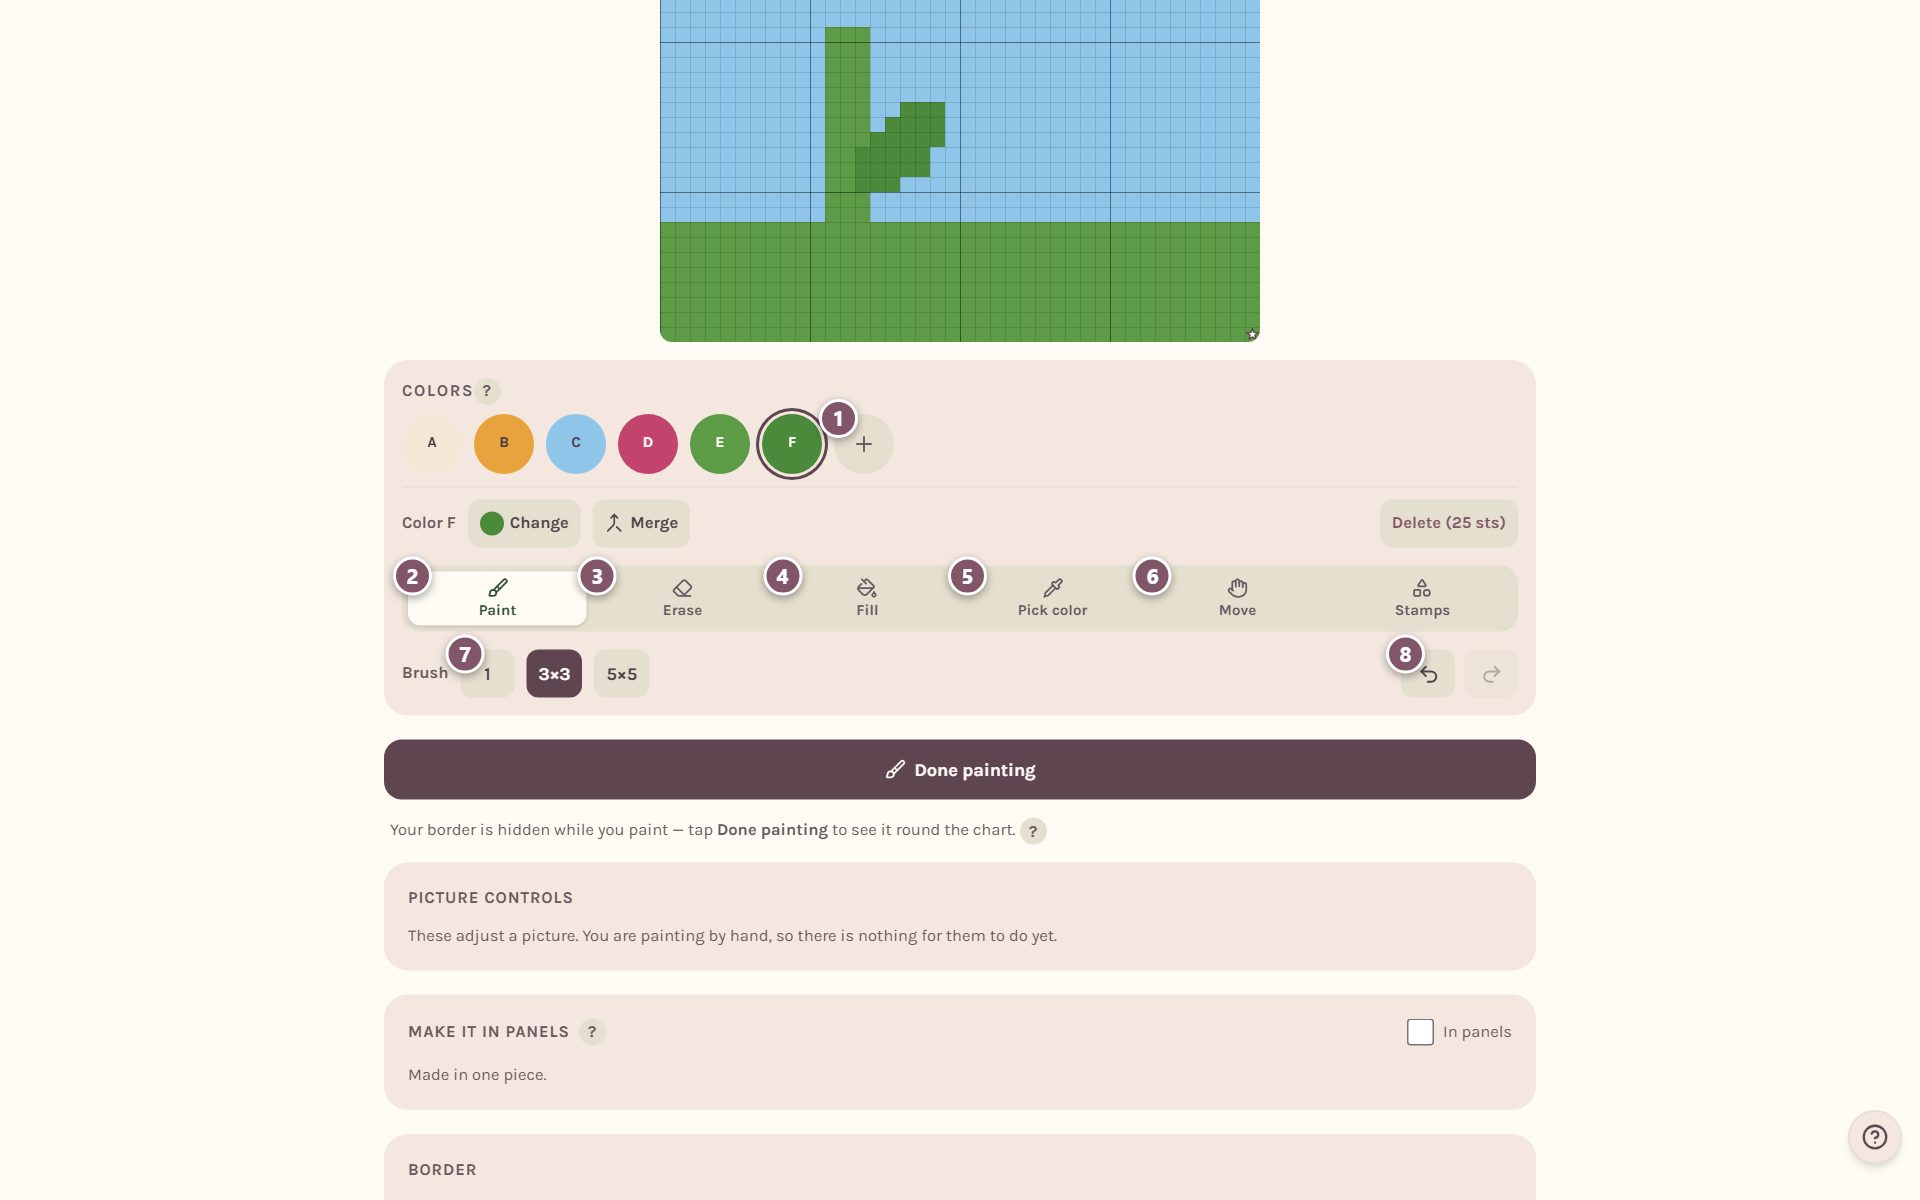
- + adds a new color. Your device's color picker opens. The new color gets its own letter, and it becomes a yarn you can match later.
- Paint colors every square your finger or mouse passes over, in the color you've selected.
- Erase puts squares back the way they were before you painted them.
- Fill floods one area with the selected color. On a round blanket it says Fill round and colors that whole round.
- Pick color selects the color of any square you tap.
- Move lets you scroll and look around without marking anything.
- Choose a brush size for Paint and Erase: 1, 3×3 or 5×5 squares.
- Undo takes back your last change. Redo puts it back.
Tap a colored dot to paint with that color. Use the − and + zoom buttons on the chart to see small stitches up close. On a phone, two fingers zoom and move the chart too.
Change, merge or delete a color
Tap a color dot and its options appear underneath.
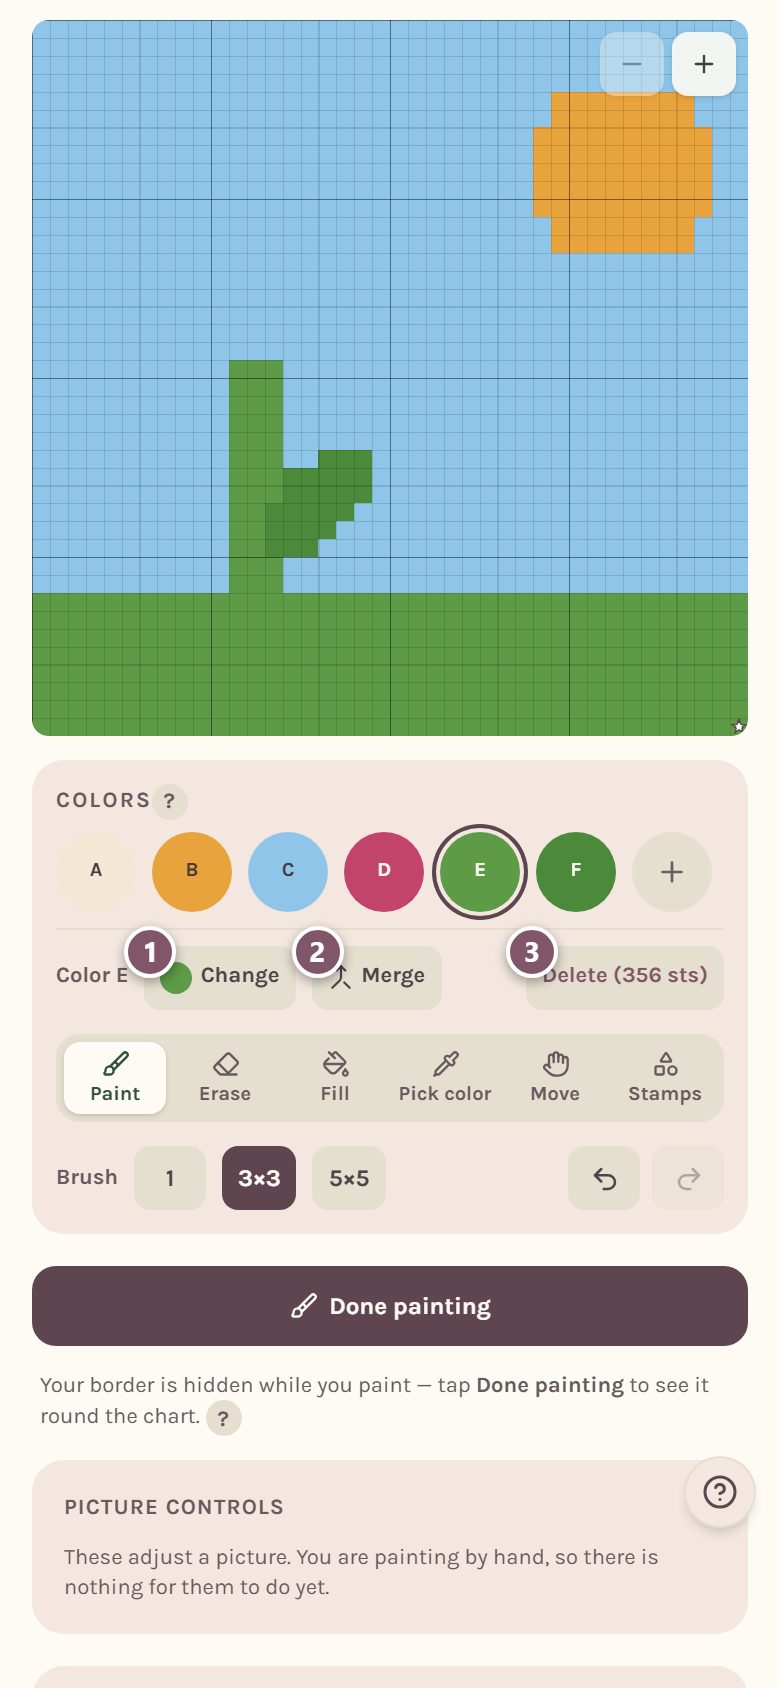
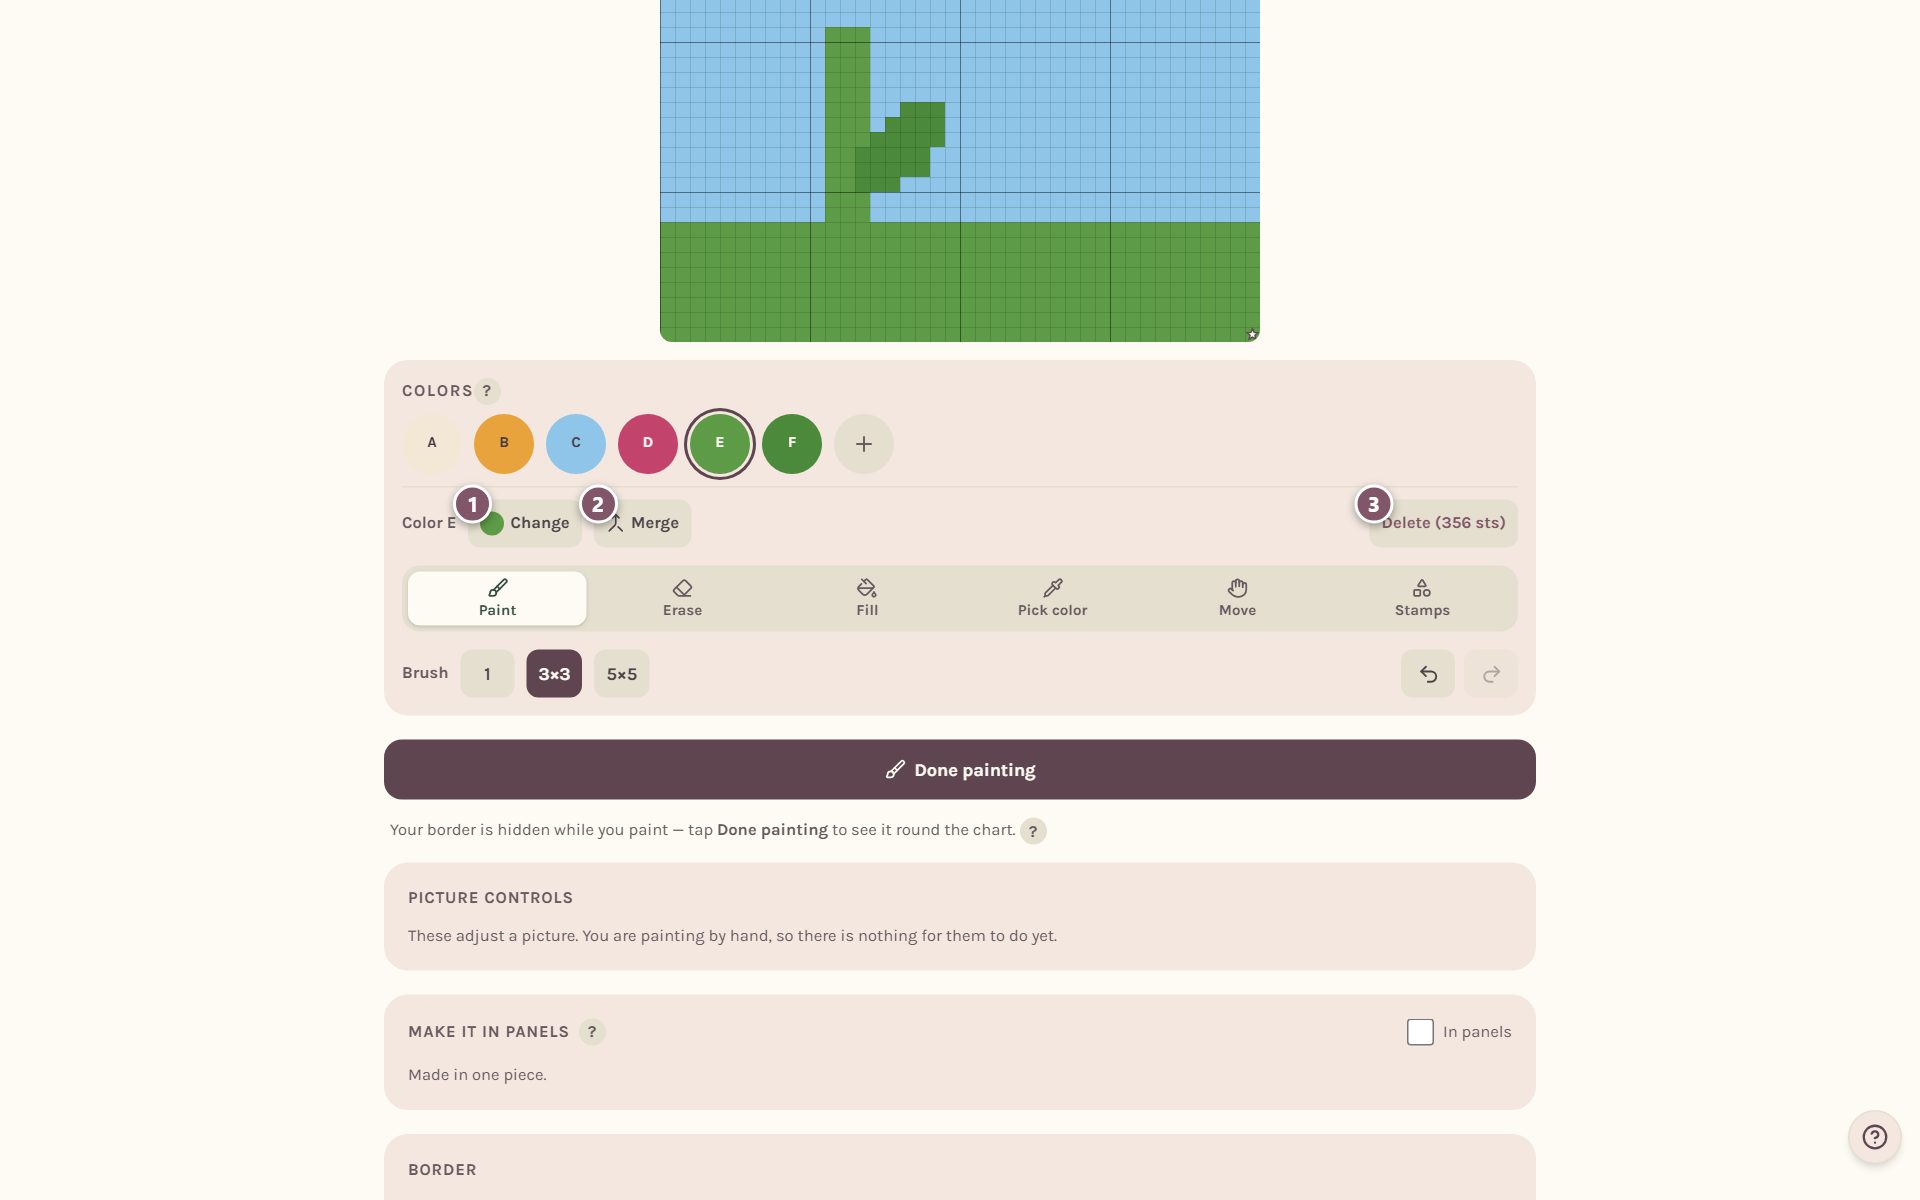
- Change swaps the color everywhere it's used, without repainting anything.
- Merge folds two or more colors into one. That's one less yarn to buy.
- Delete removes a color. If stitches use it, the button tells you how many first, and those stitches go back to the first color, A. Colors that came from your photo can't be deleted here; use the Colors count instead.
To merge, tap Merge, then tap the colors. The first one you tap is the one that stays.
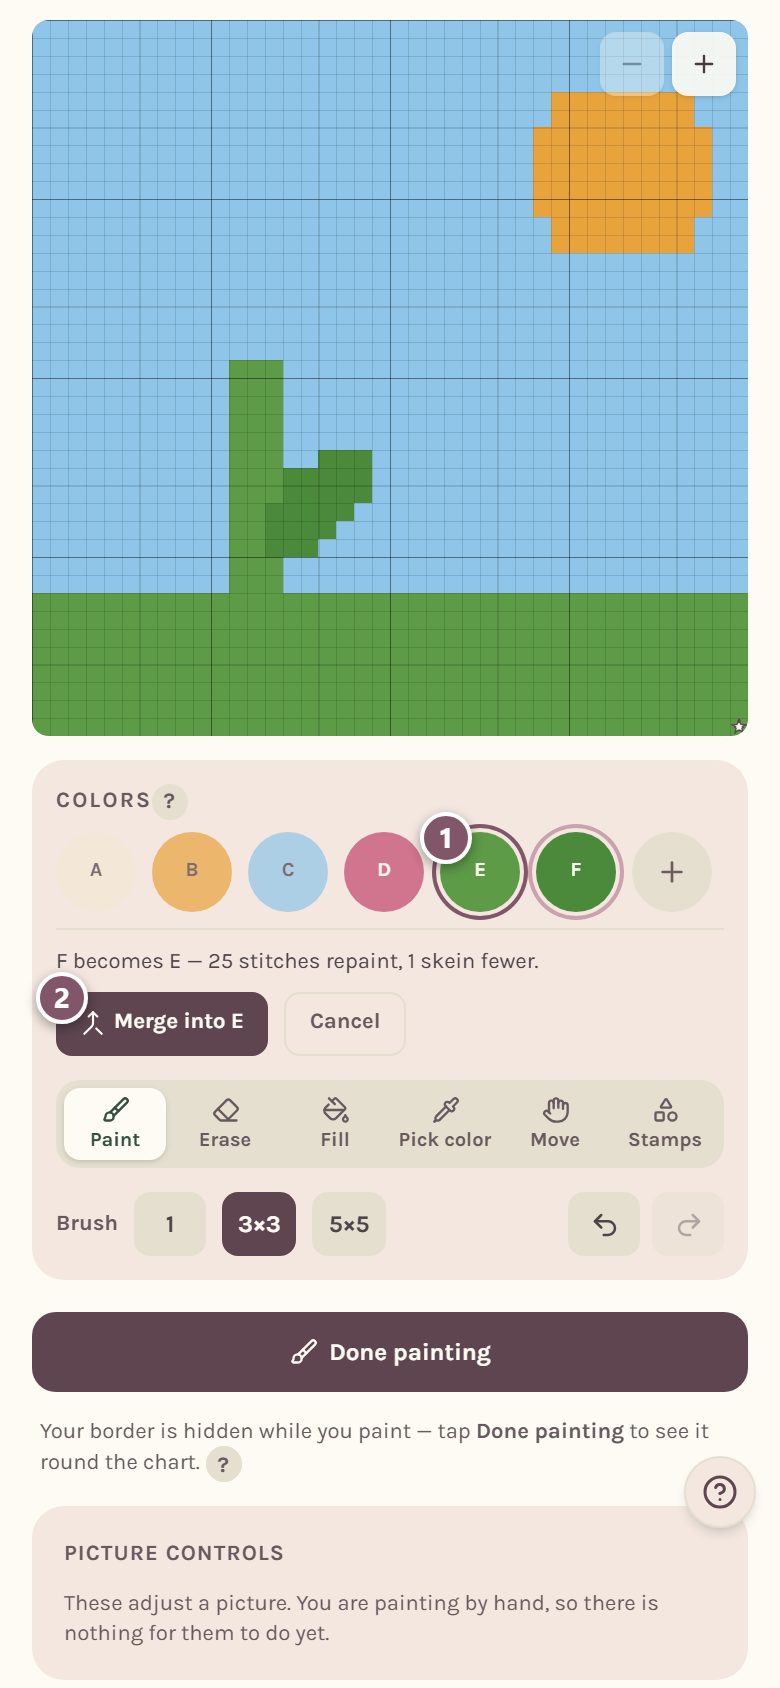
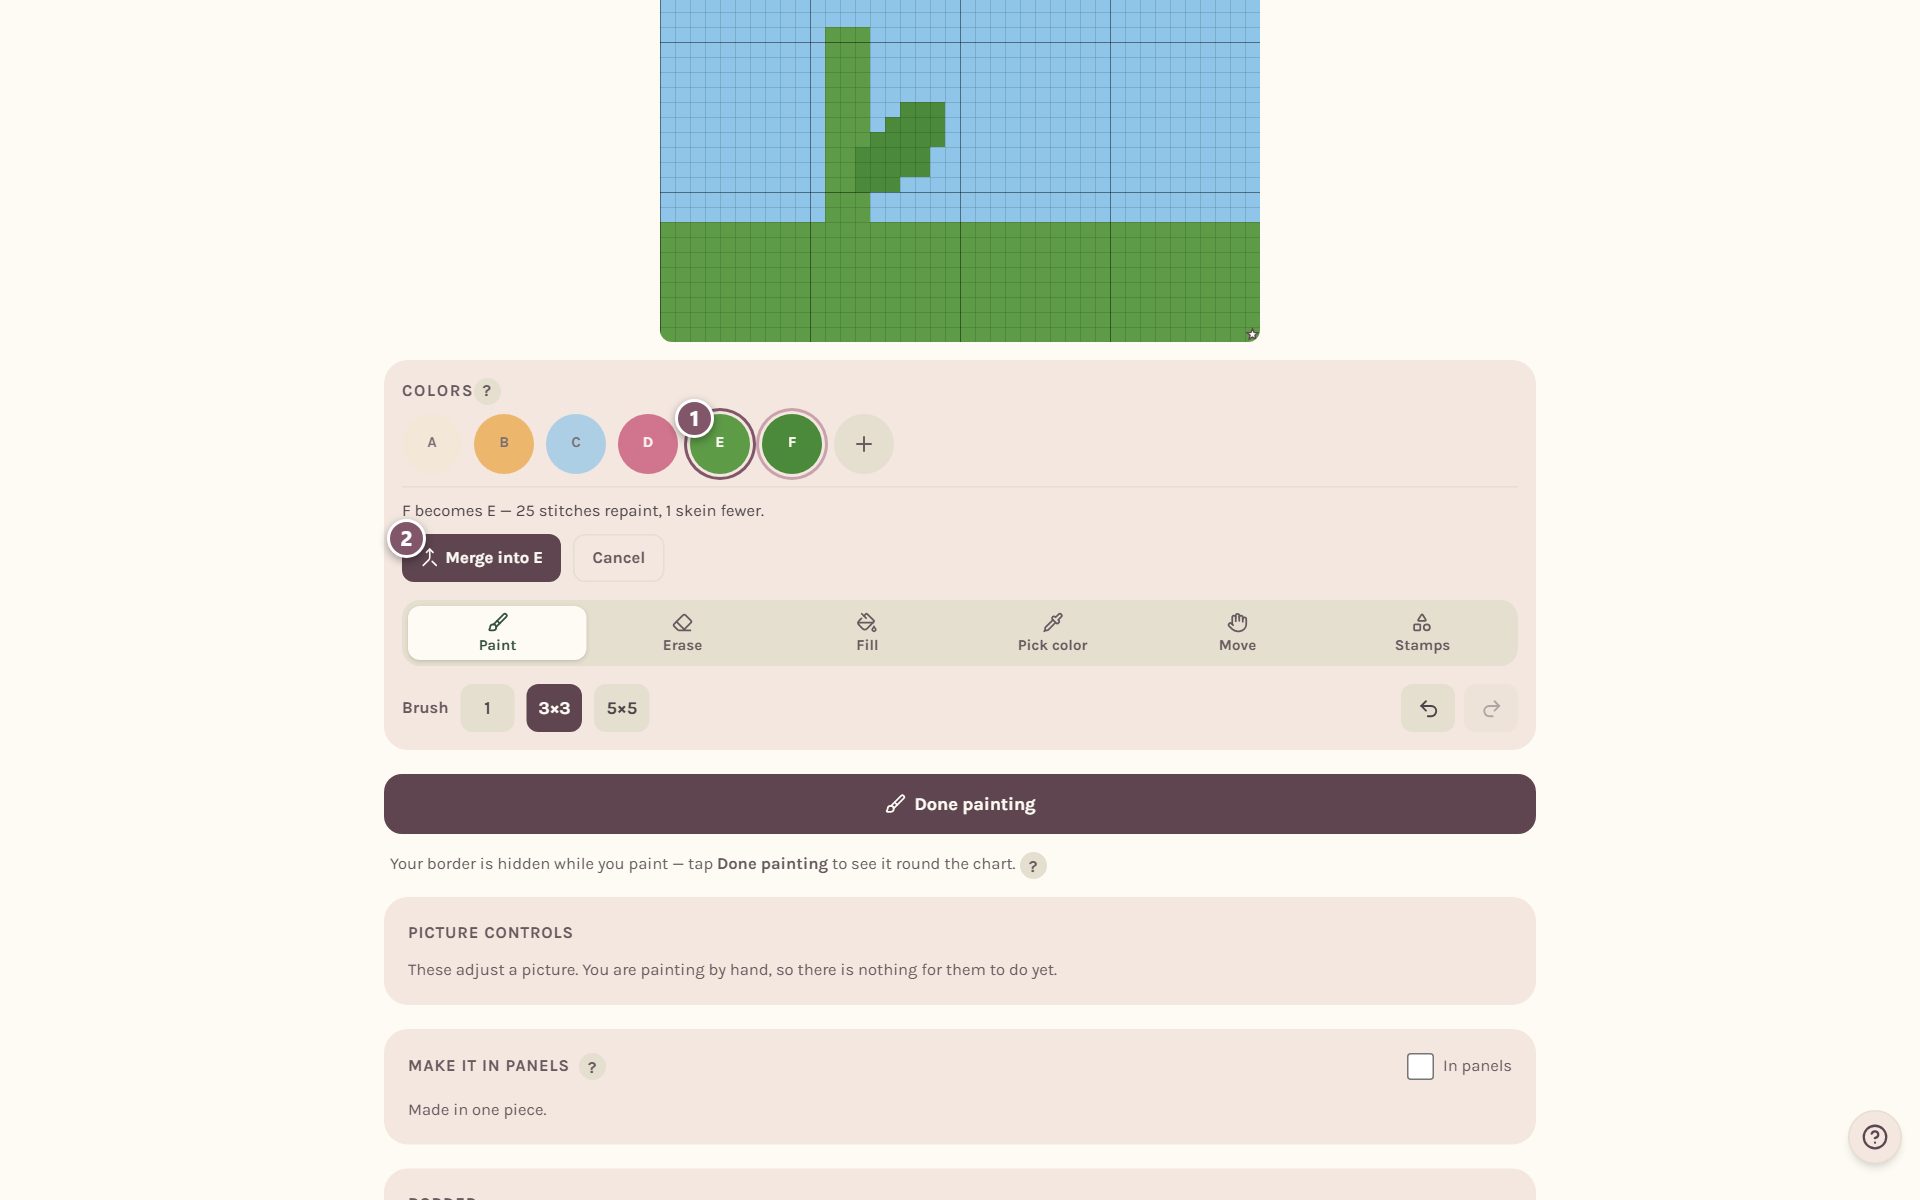
Tap Merge into to do it, or Cancel. If you merge a color that came from your photo, the app asks first, because after that the photo sliders stop changing the chart.
Add hearts, flowers and other stamps
Tap Stamps in the tool row. Pick a group, then a shape, and it appears on the chart in your selected color.
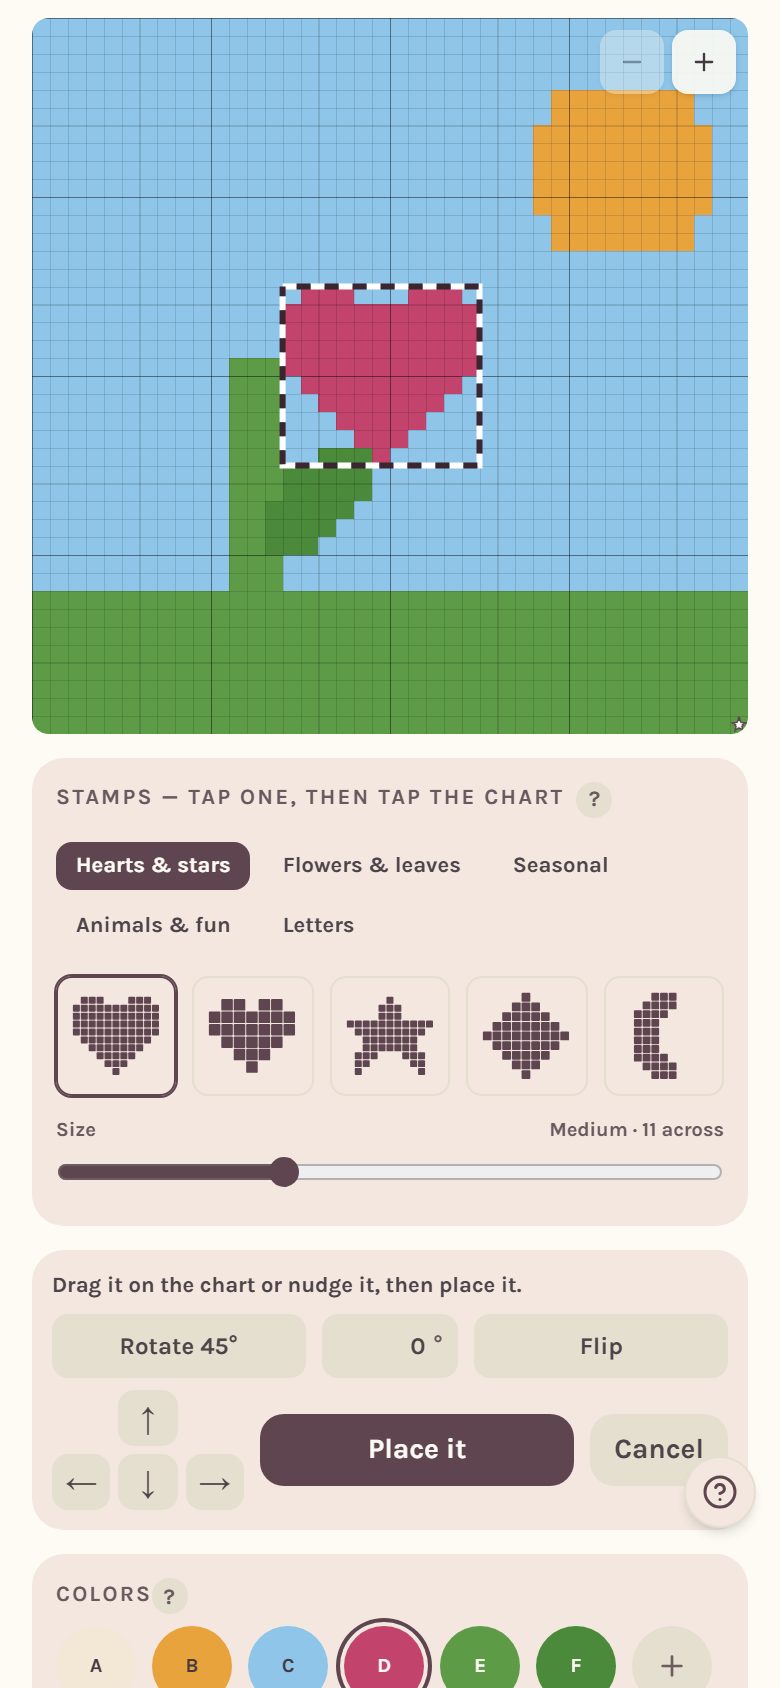
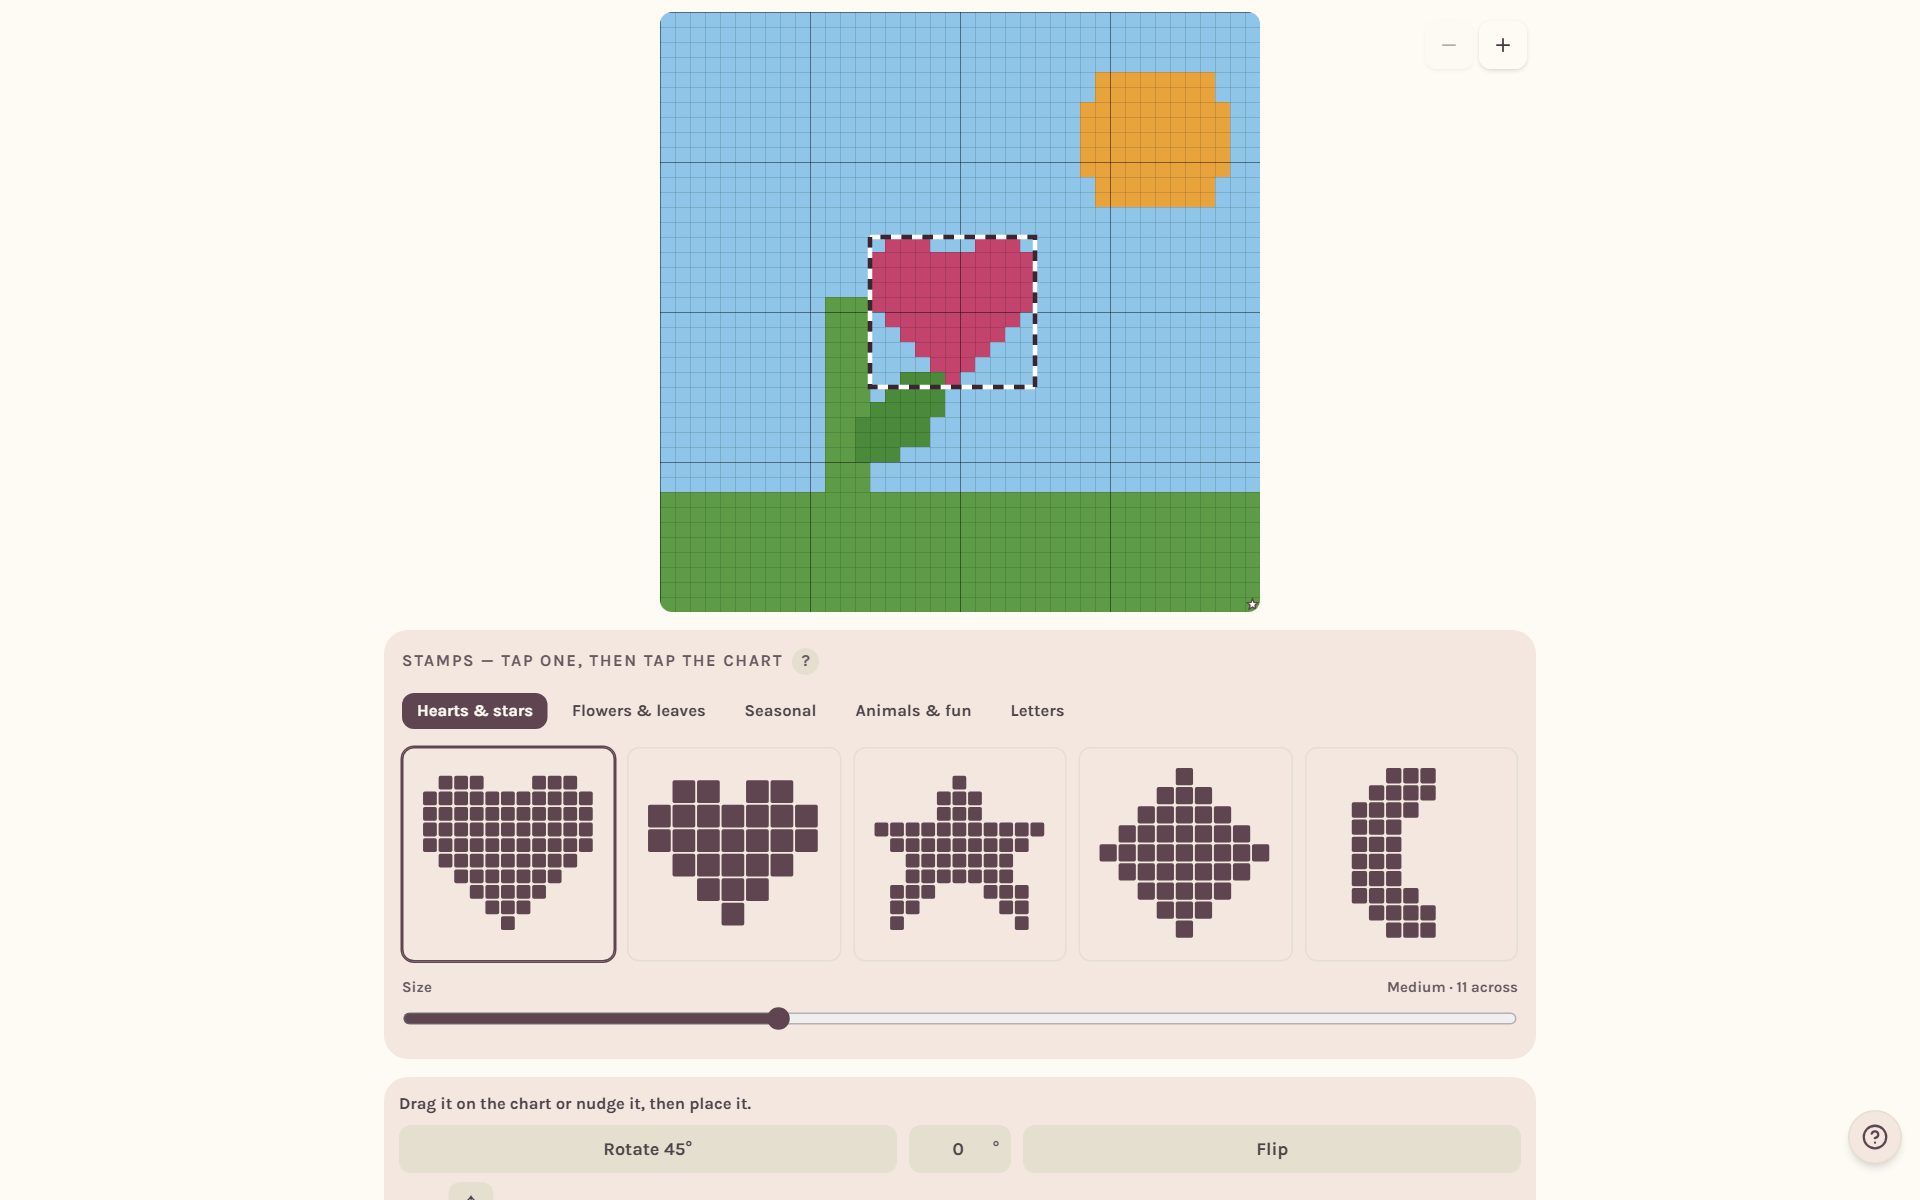
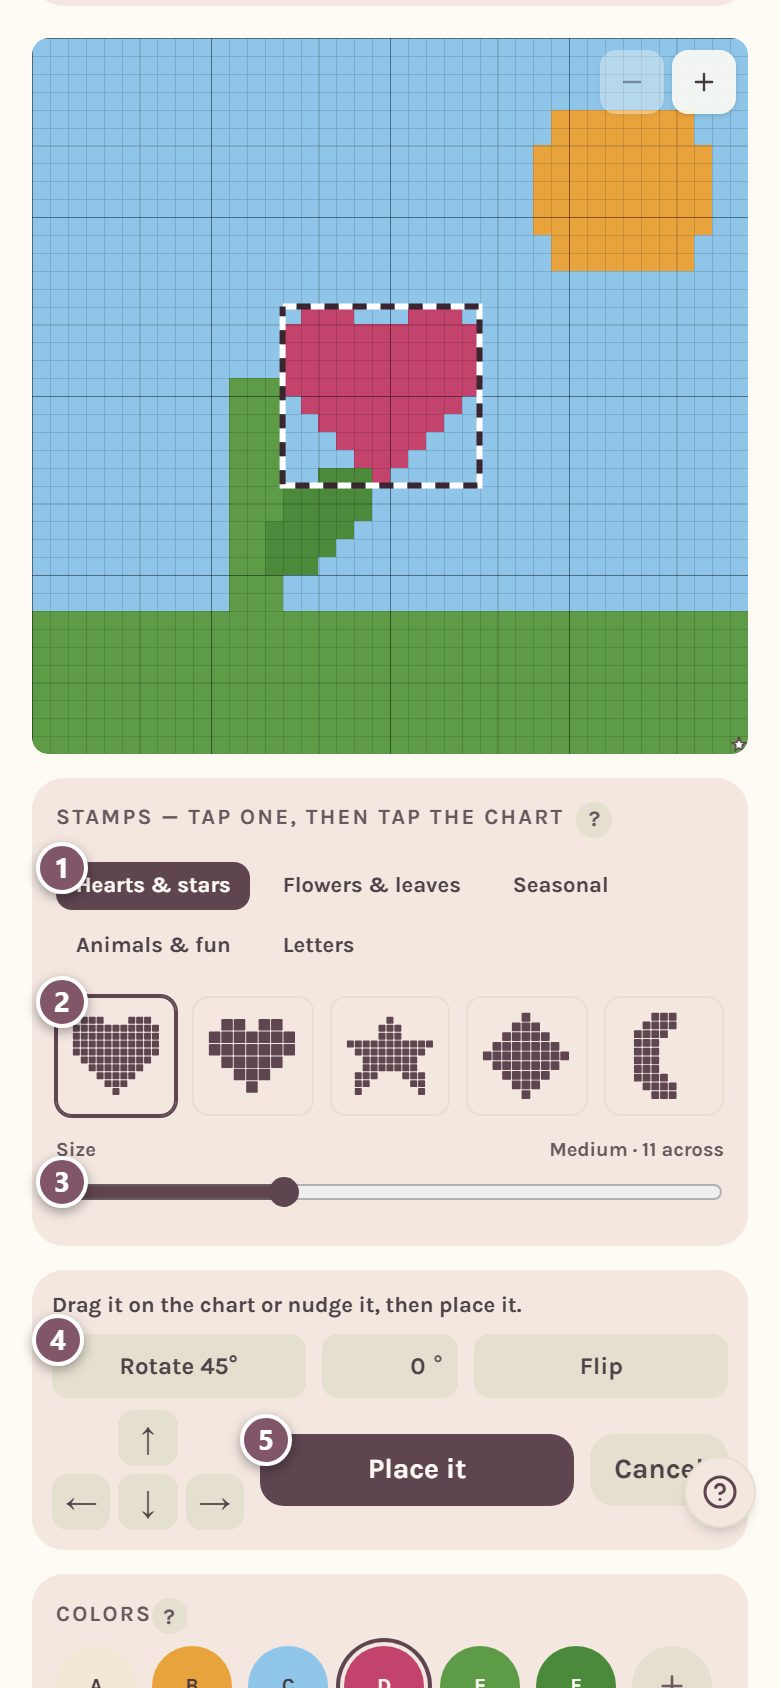
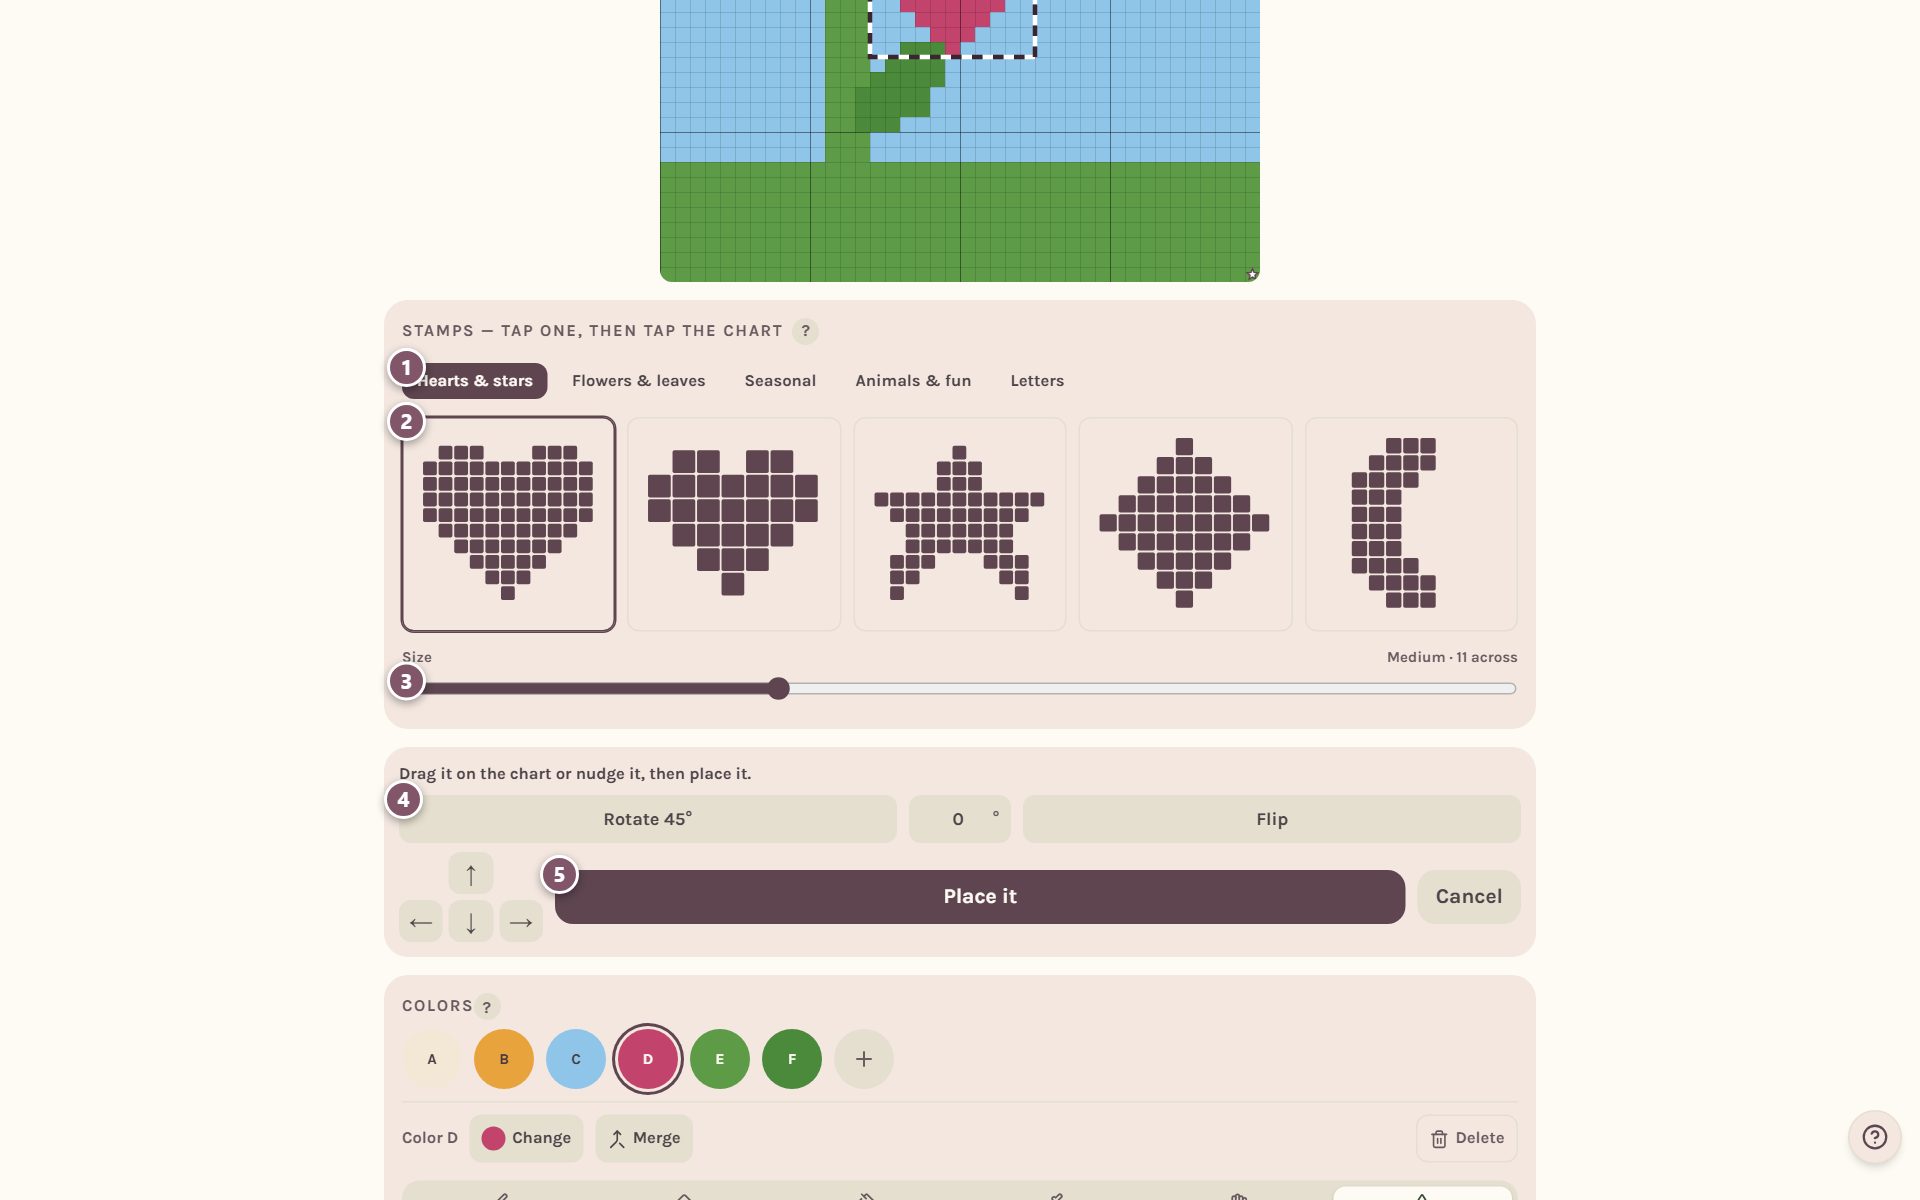
- Choose a group: Hearts & stars, Flowers & leaves, Seasonal or Animals & fun.
- Tap a shape.
- Slide Size from Small to X-large.
- Drag the stamp on the chart, or use the arrow buttons to nudge it. Rotate 45° and Flip turn it.
- Tap Place it. Cancel throws it away.
Put a name or word on your blanket
Open Stamps, then the Letters tab.
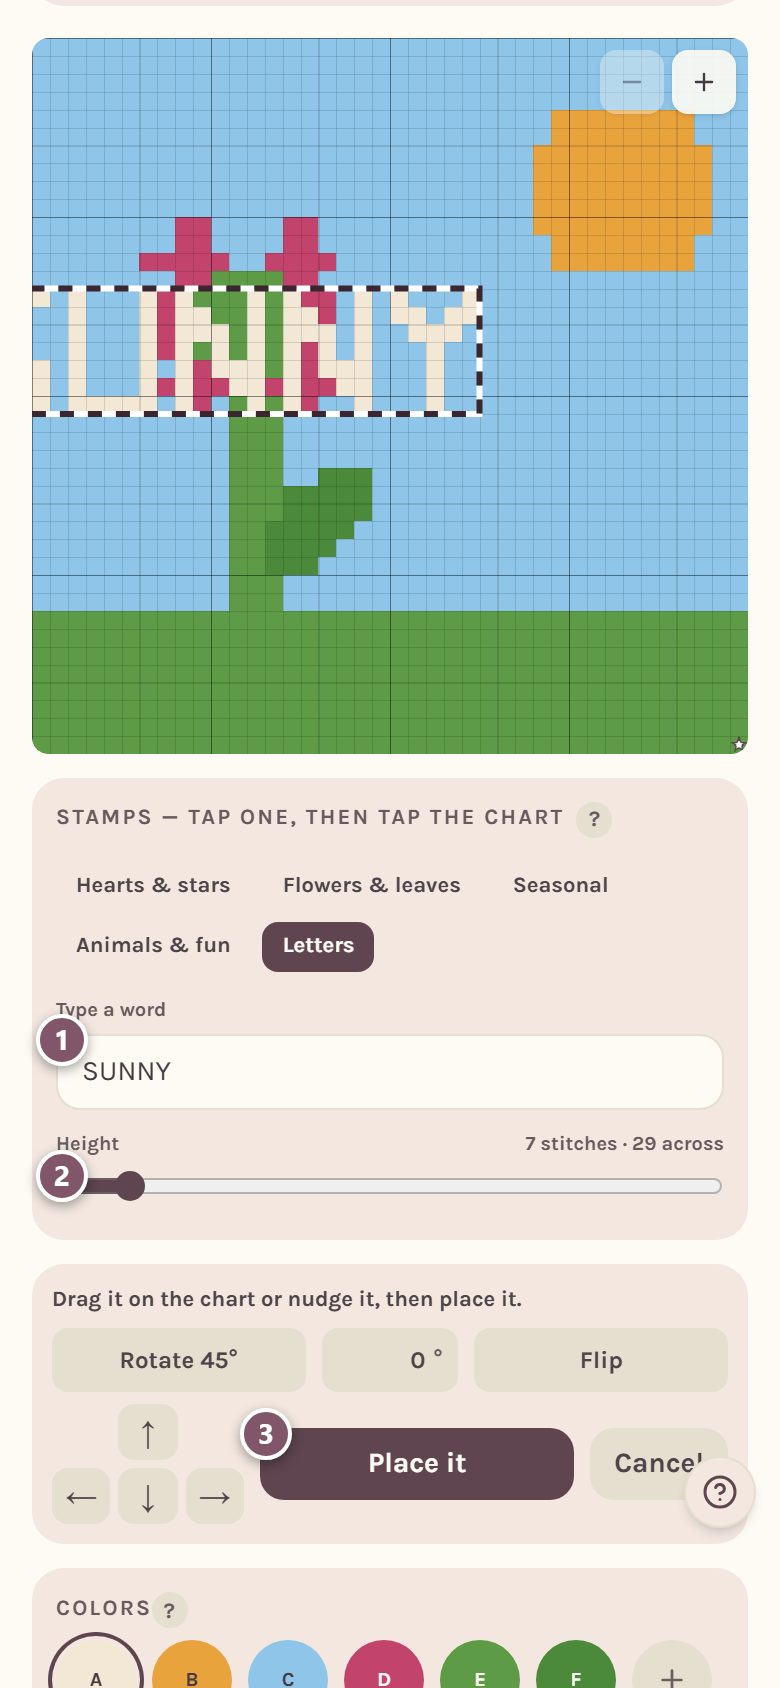
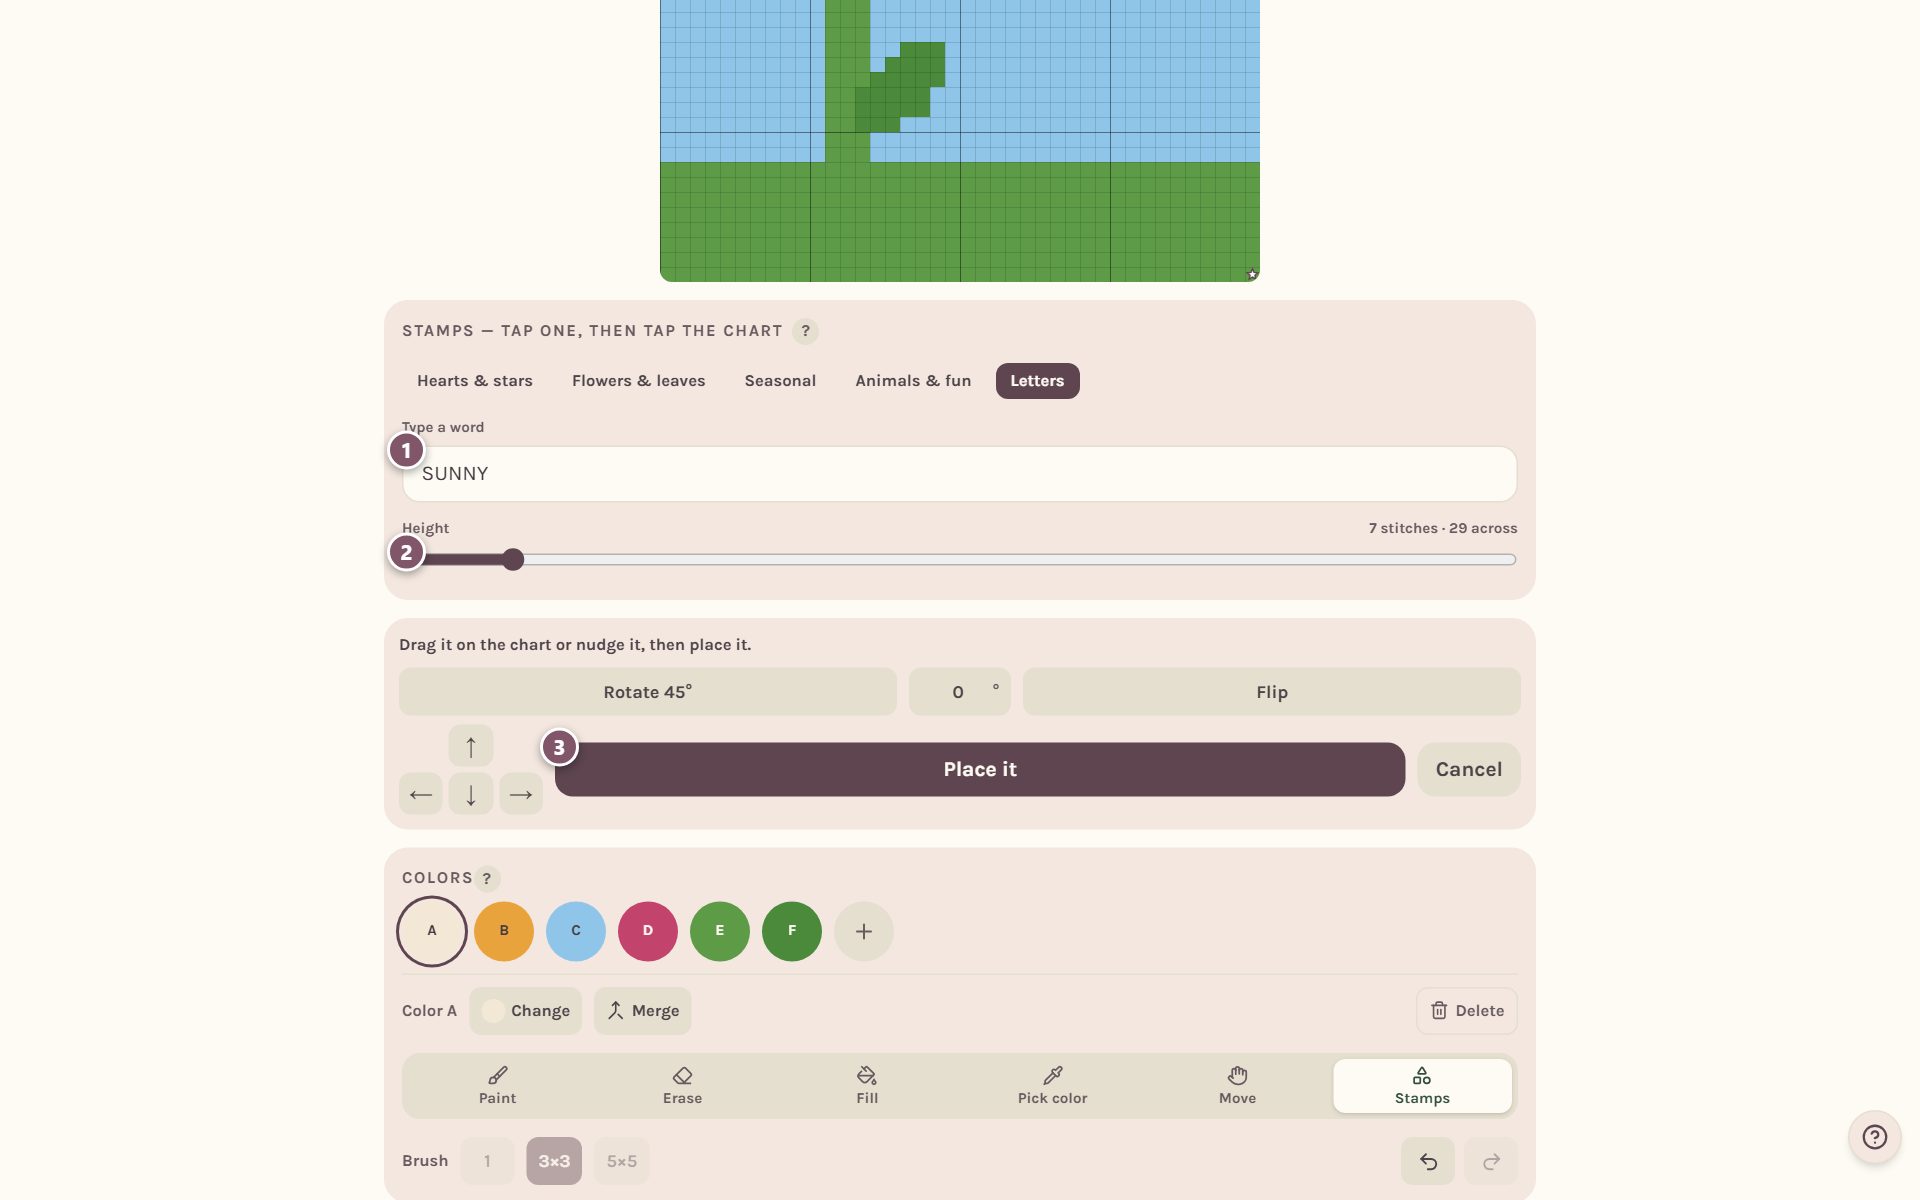
- Type your word. Names, dates and short words all work.
- Slide Height to set how many stitches tall the letters are, from 5 to 27. The tray tells you how many stitches across the word will be, and warns you if it's wider than your blanket.
- Move it into place and tap Place it.
On a round blanket, a word curves along the round you drop it on.
Finish up
Tap Done painting to see your whole chart, with its border, again. The button now says Keep painting whenever you want to go back.
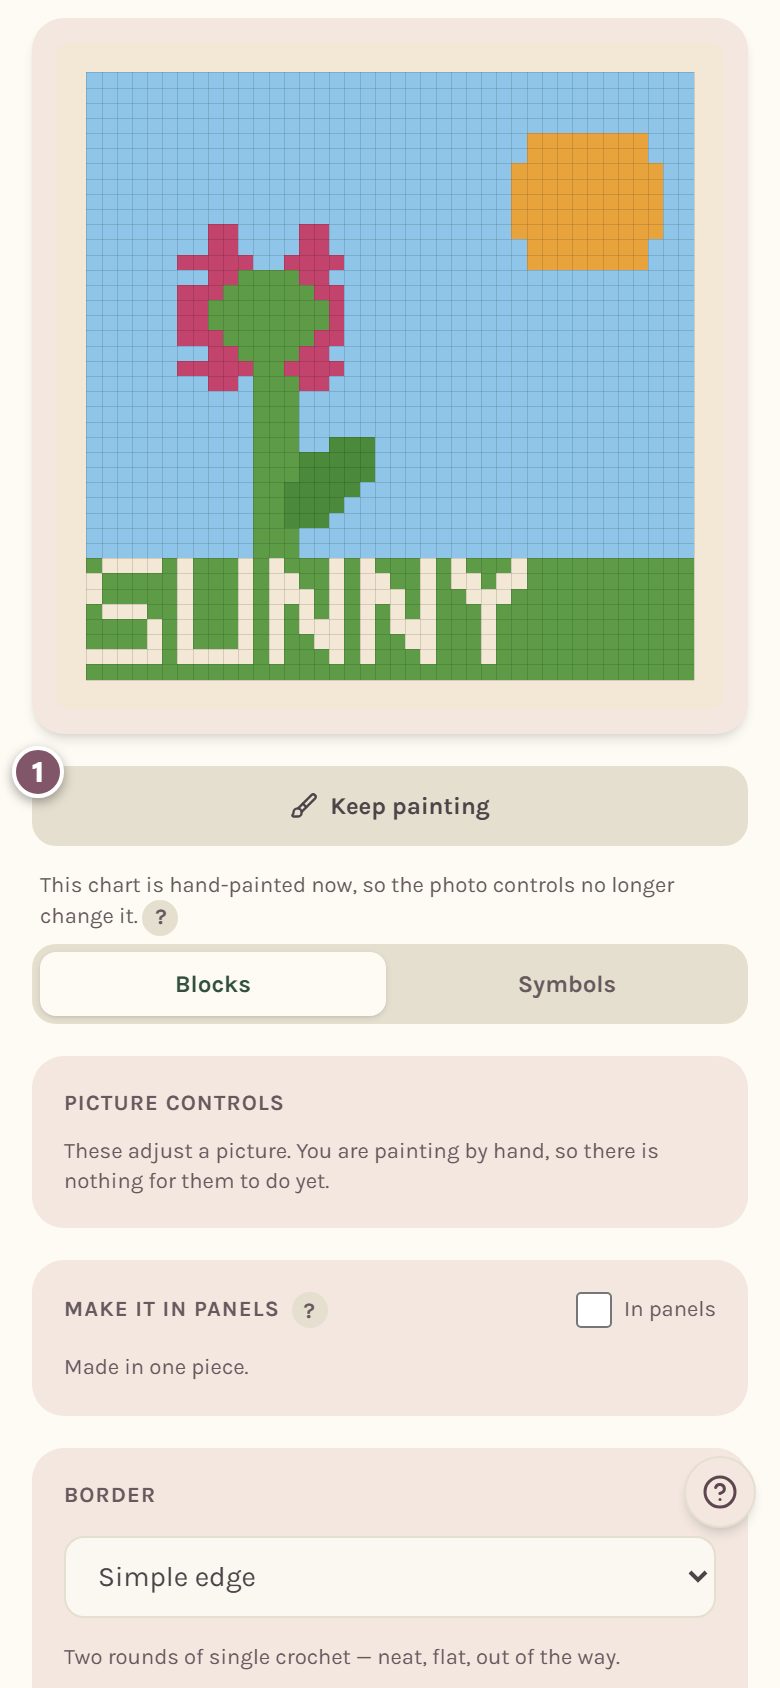
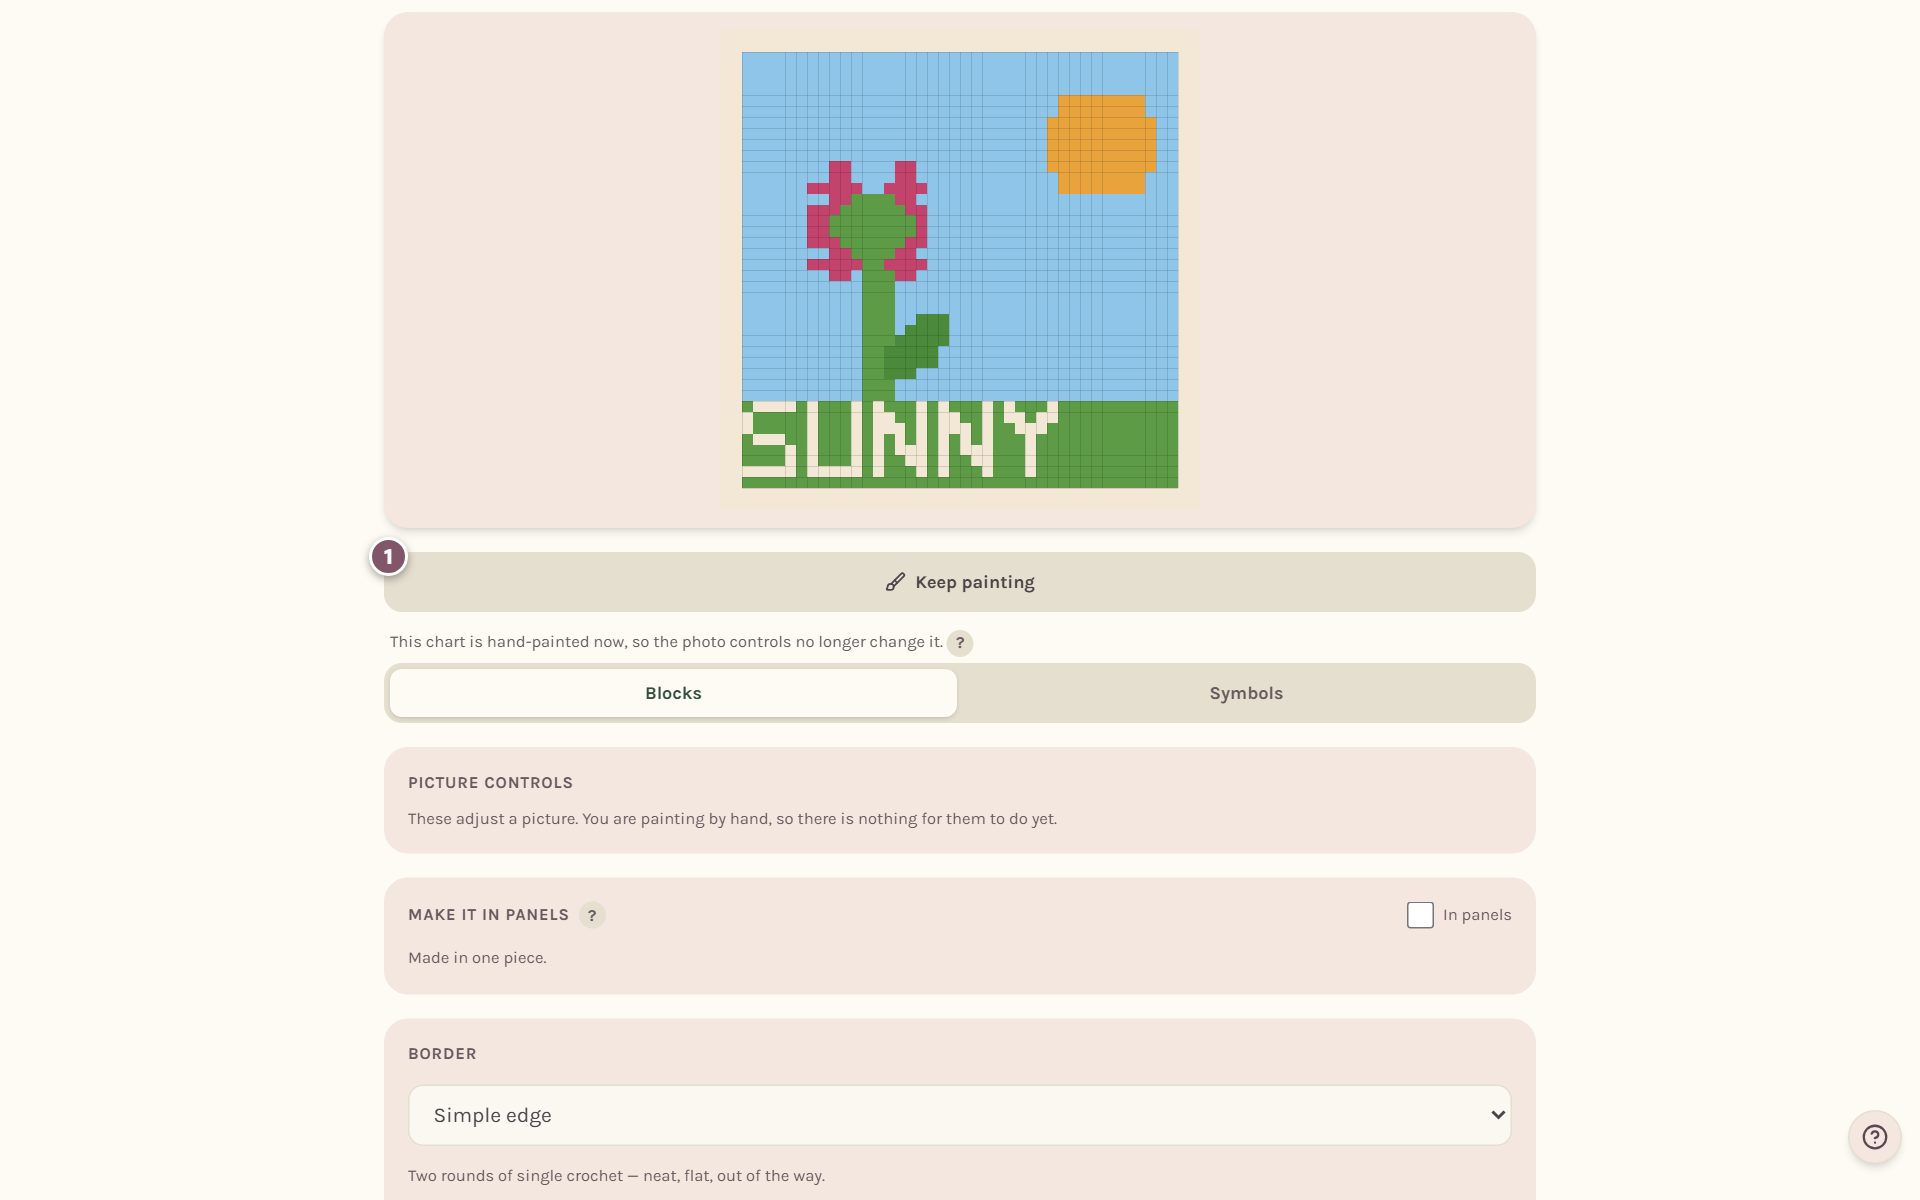
Name it and save it the same way as a photo blanket. See how to turn a photo into a crochet blanket pattern.
Tip: Your border hides while you paint, so every tap lands on the stitch under your finger. It comes back when you tap Done painting.
Frequently asked questions
Can I paint on a chart made from a photo? Yes. Paint, stamps and letters sit on top of the photo, so you can still adjust the photo sliders afterwards and your painting stays put.
What happens to my painting if I change the size? It scales with the blanket. The whole picture gets bigger or smaller; nothing gets cut off.
Can I edit a blanket I already saved? Yes. Open it and tap Edit this chart in the studio, then Keep painting. The photo sliders don't work on a saved blanket, but painting always does.
Where do I go next? Pick real yarn for your colors in how to pick yarn for a crochet blanket.
Ready to try it? Crochet Bobble opens right in your browser, on a phone or a computer.
Open Crochet Bobble