
How to Turn a Photo Into a Crochet Blanket Pattern
Turn any picture into a crochet blanket chart and a row-by-row written pattern. Pick a photo, choose the shape, stitch, size and colors, then save it as a pattern you can track and print.
The photo blanket maker turns a picture into a crochet blanket pattern: a color chart you can see, plus every row written out stitch by stitch. You choose the shape, the stitch, how big it is and how many colors it uses, and the pattern updates as you go.
What you need
- A Crochet Bobble membership. The photo blanket maker is part of the paid plan.
- A picture you took yourself, or one you have permission to use.
Open the photo blanket maker
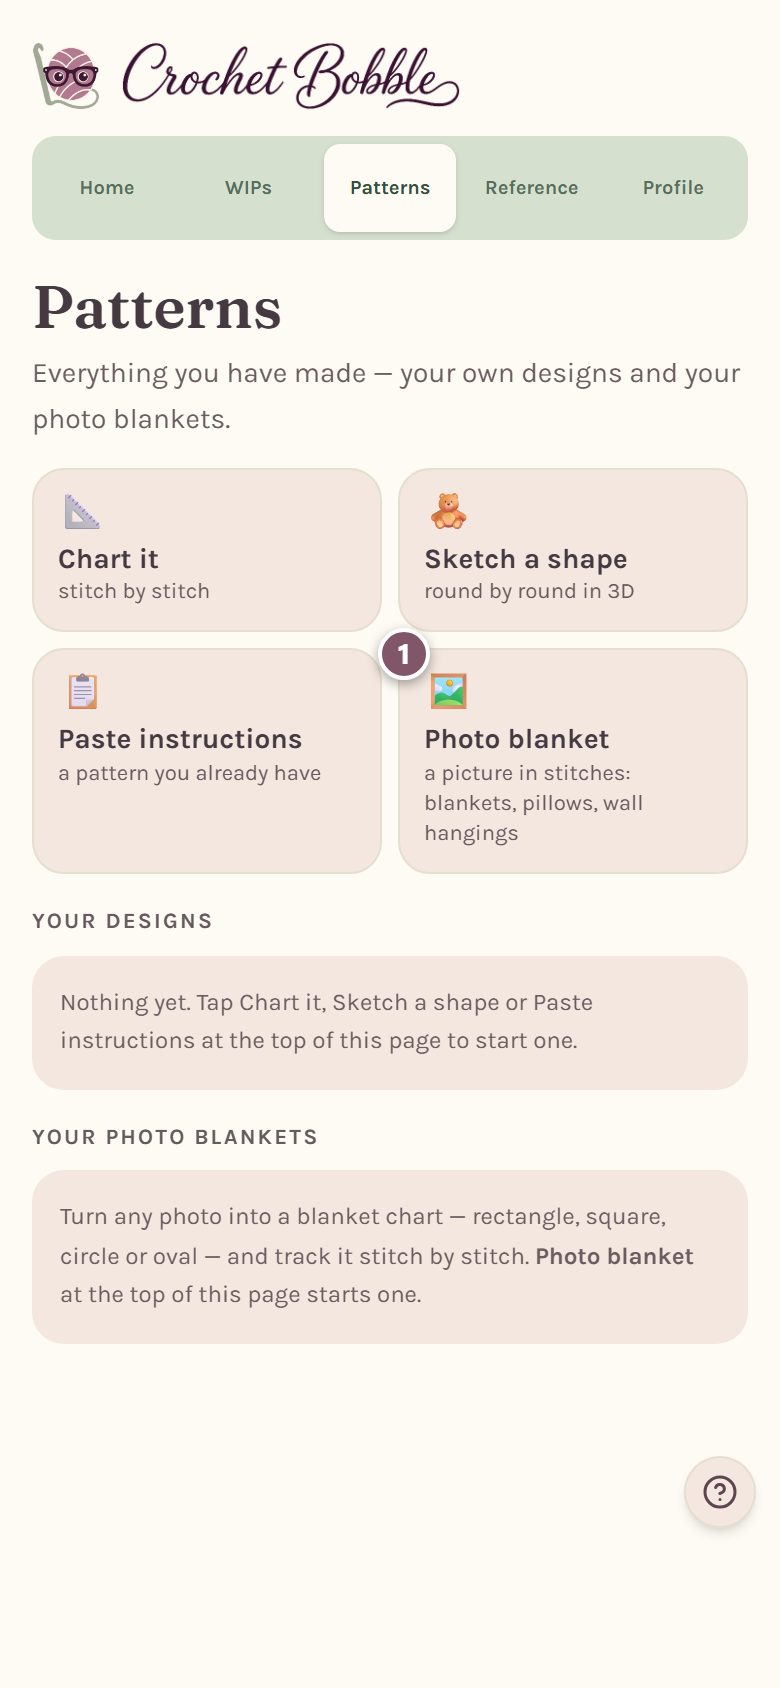
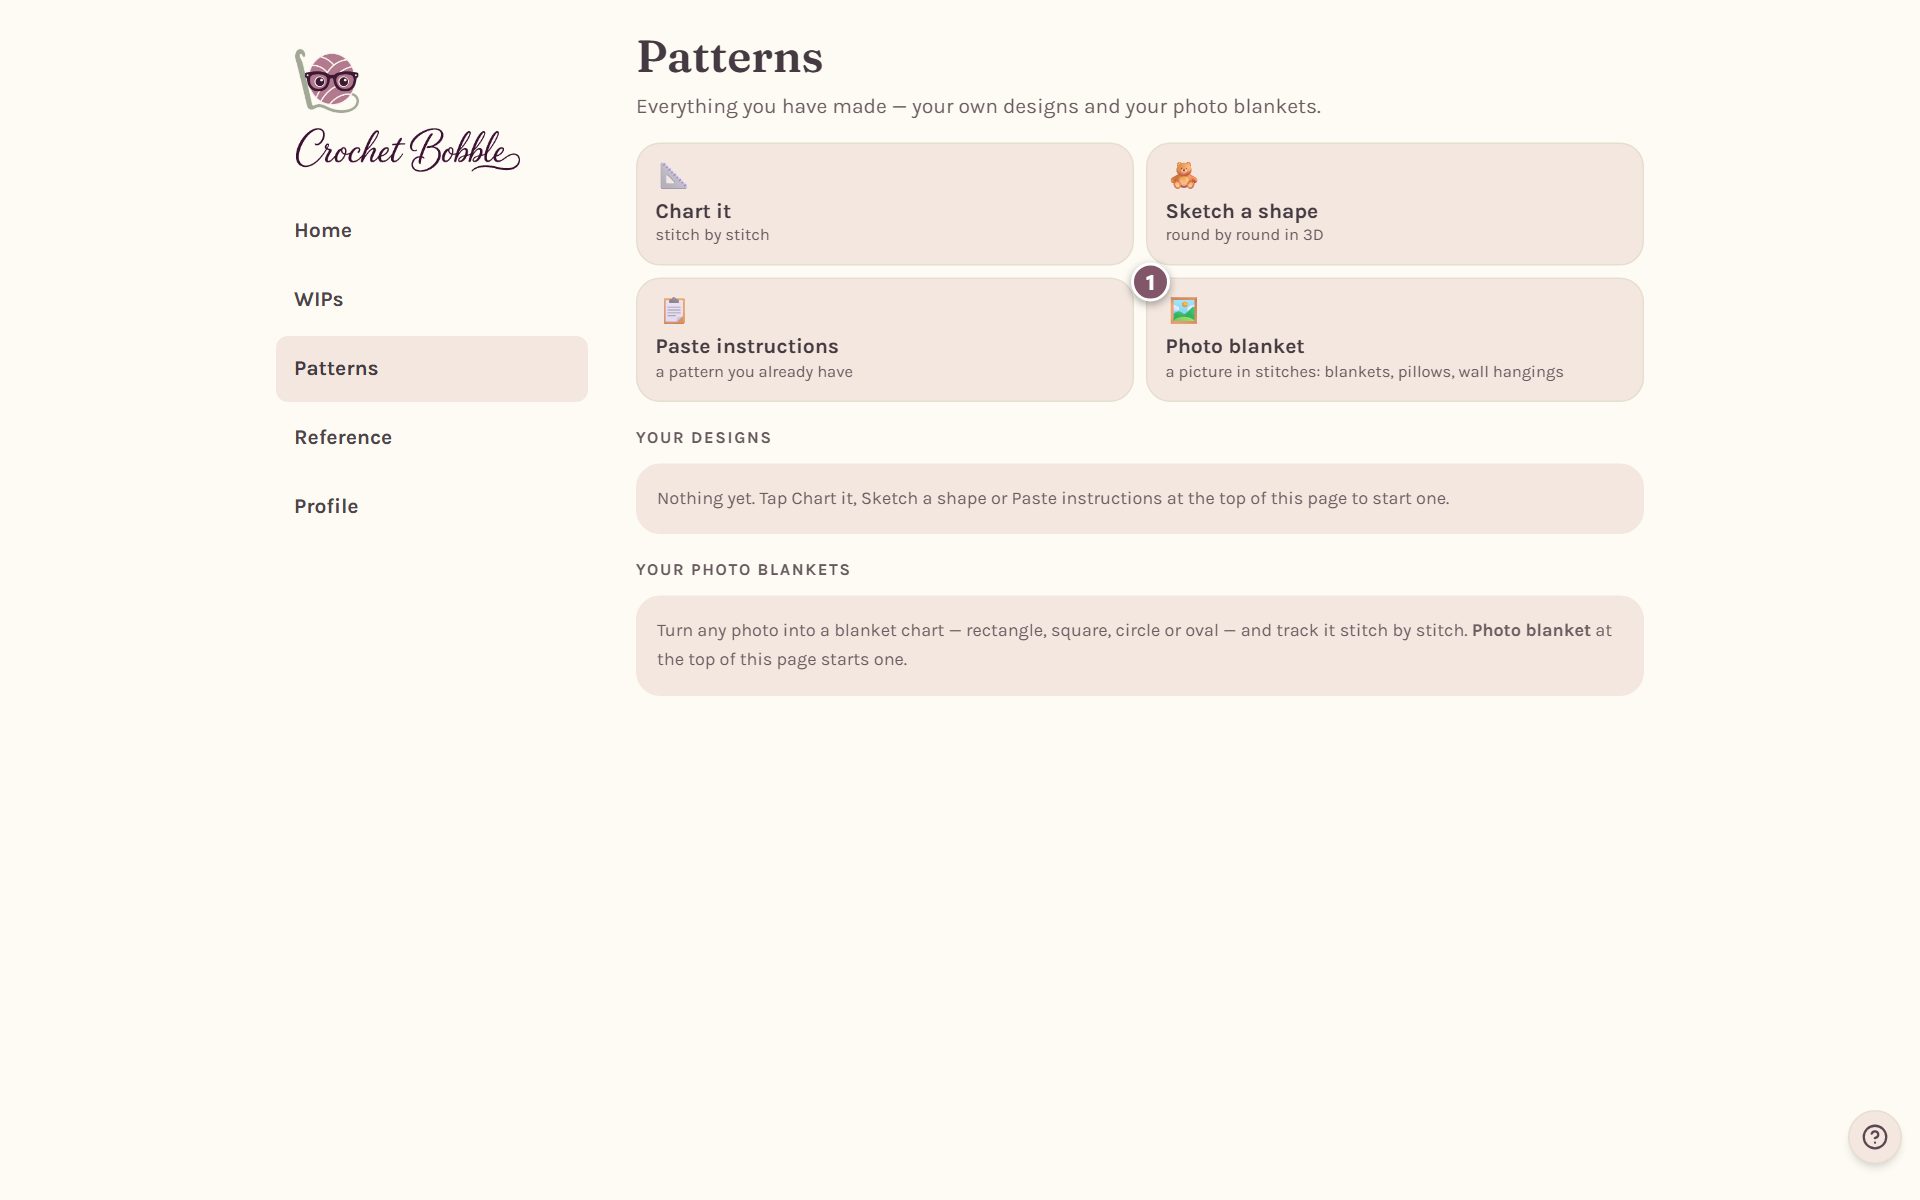
Tap Patterns, then tap the Photo blanket box at the top of the page.
Pick a picture that will chart well
The first time you open the maker, Bobble shows you what makes a good picture. Your chart is only a few dozen squares across, so bold shapes and a few strong colors work best. A pet's face, a simple silhouette or a cartoon all chart beautifully. Busy backgrounds and soft shading don't.
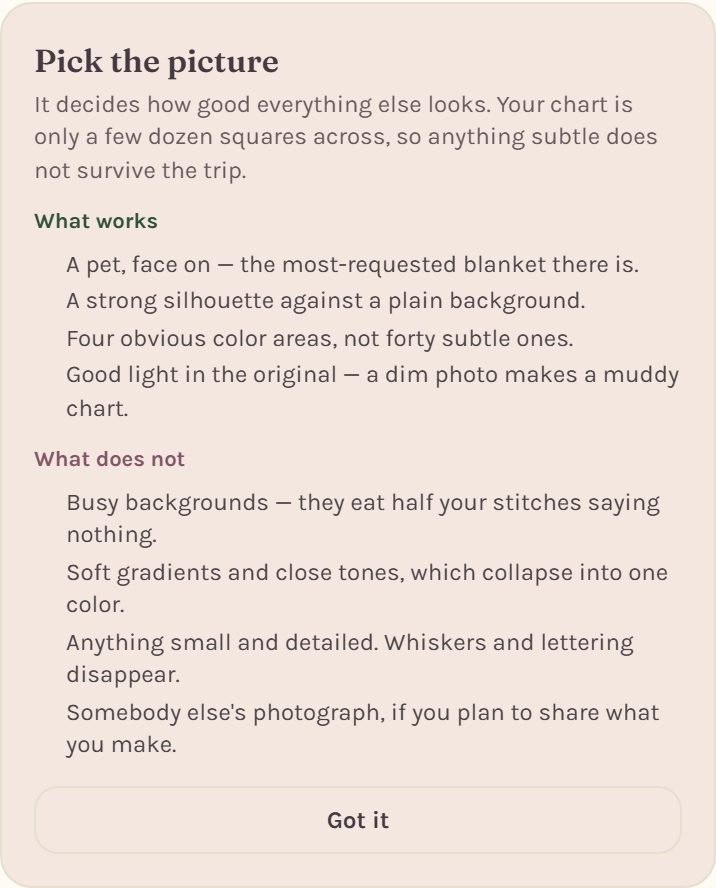
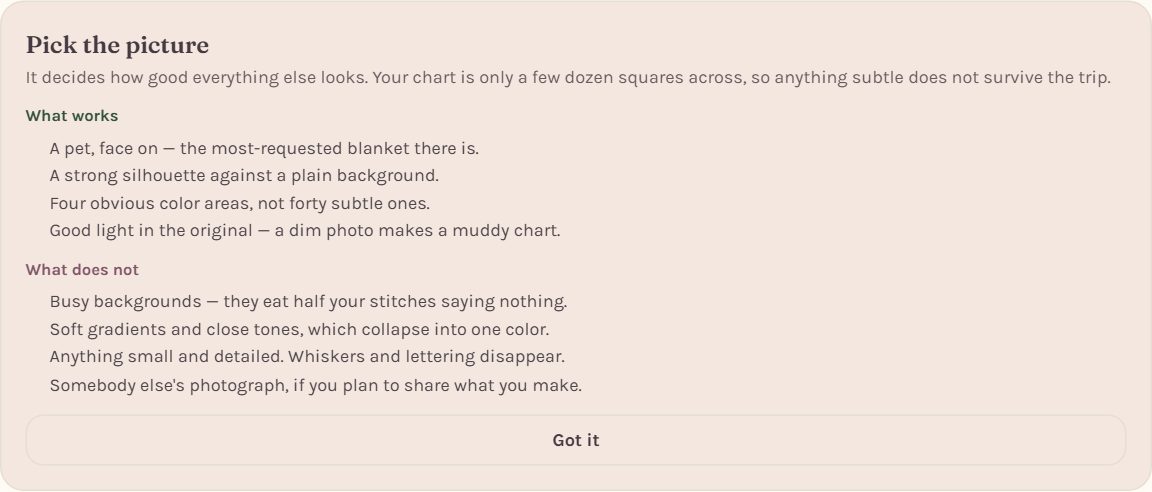
Tap Got it to put the card away. Until you choose a picture, What makes a good picture? brings it back.
Choose your picture or take a photo
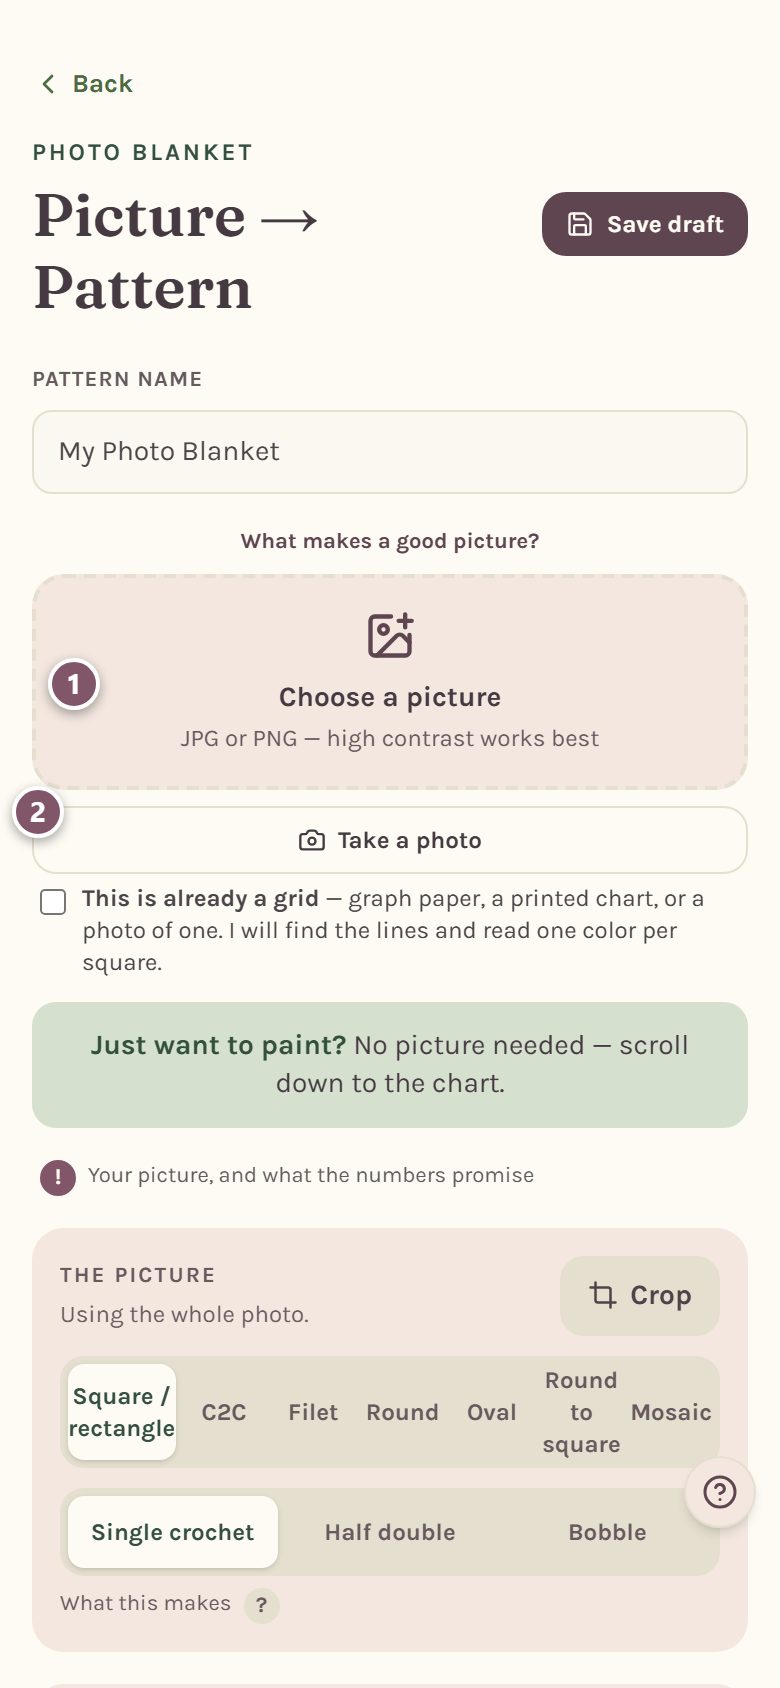
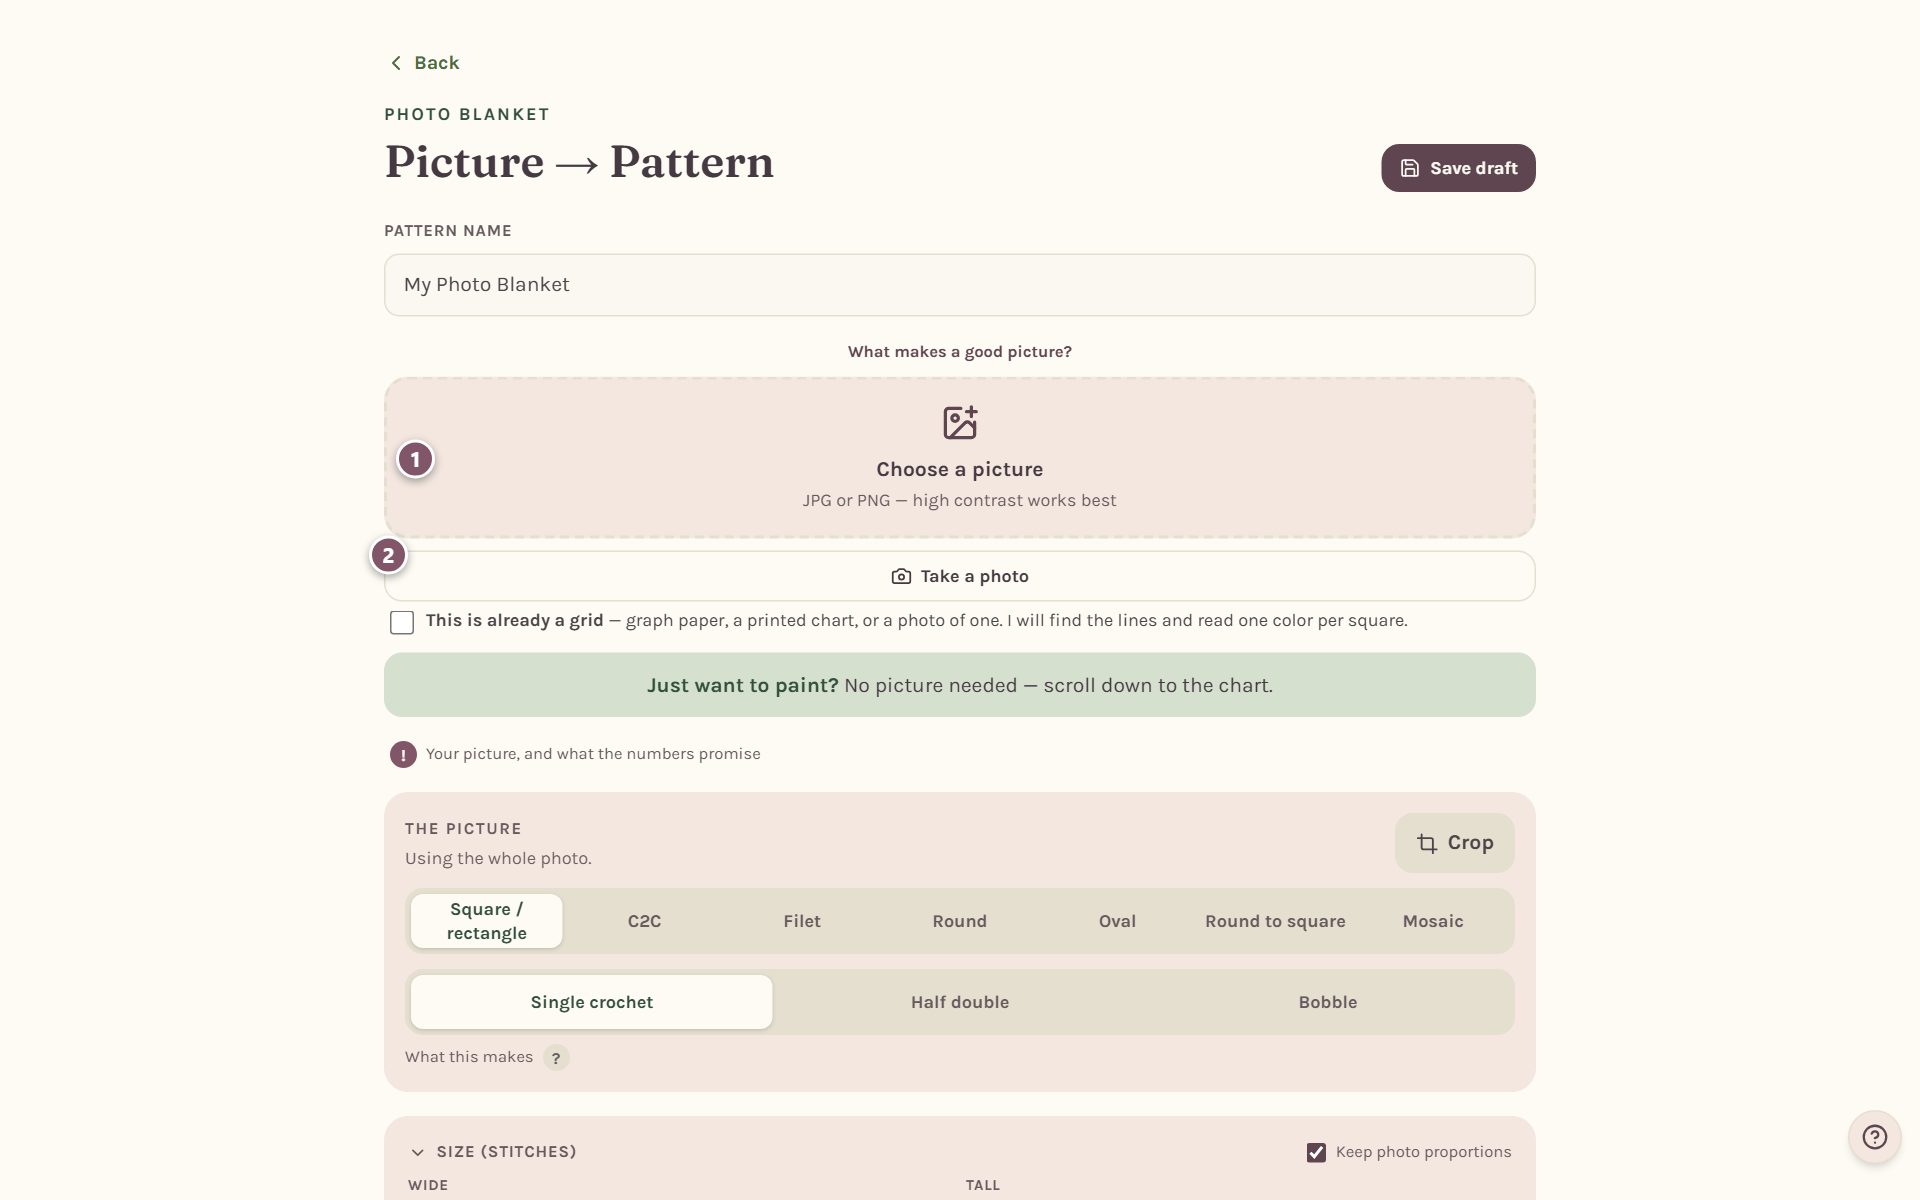
- Tap Choose a picture to pick one from your phone or computer.
- Or tap Take a photo to use your camera right now.
Your picture is read right on your device. It isn't uploaded anywhere.
Tip: If your picture is already a chart on graph paper, tick This is already a grid first. See turn a graph paper chart into a crochet pattern.
Choose the blanket shape and stitch
The chart appears as soon as the picture loads. Now choose what kind of blanket it will be.
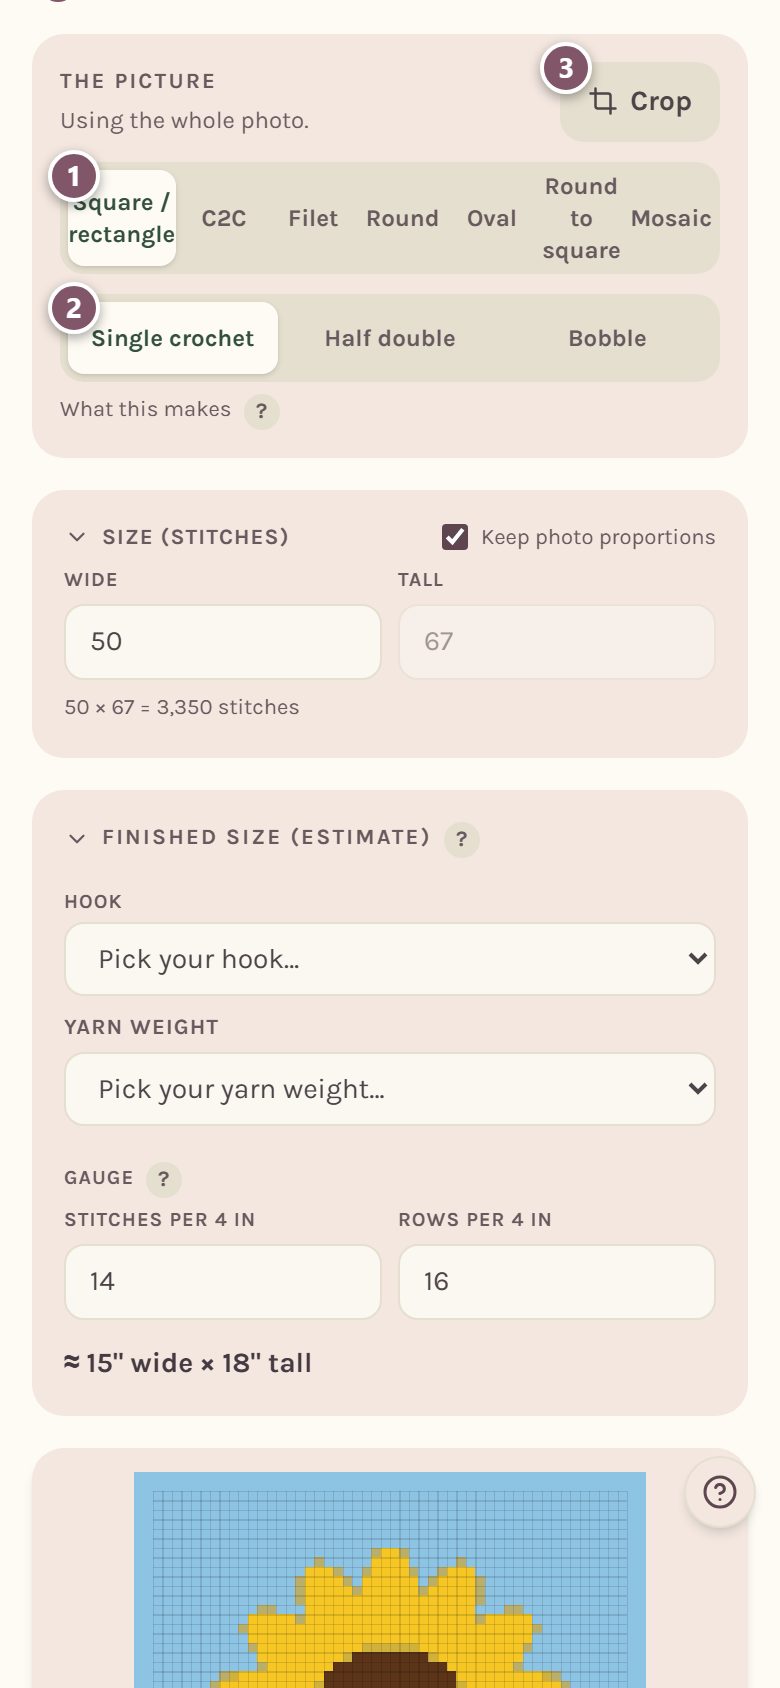
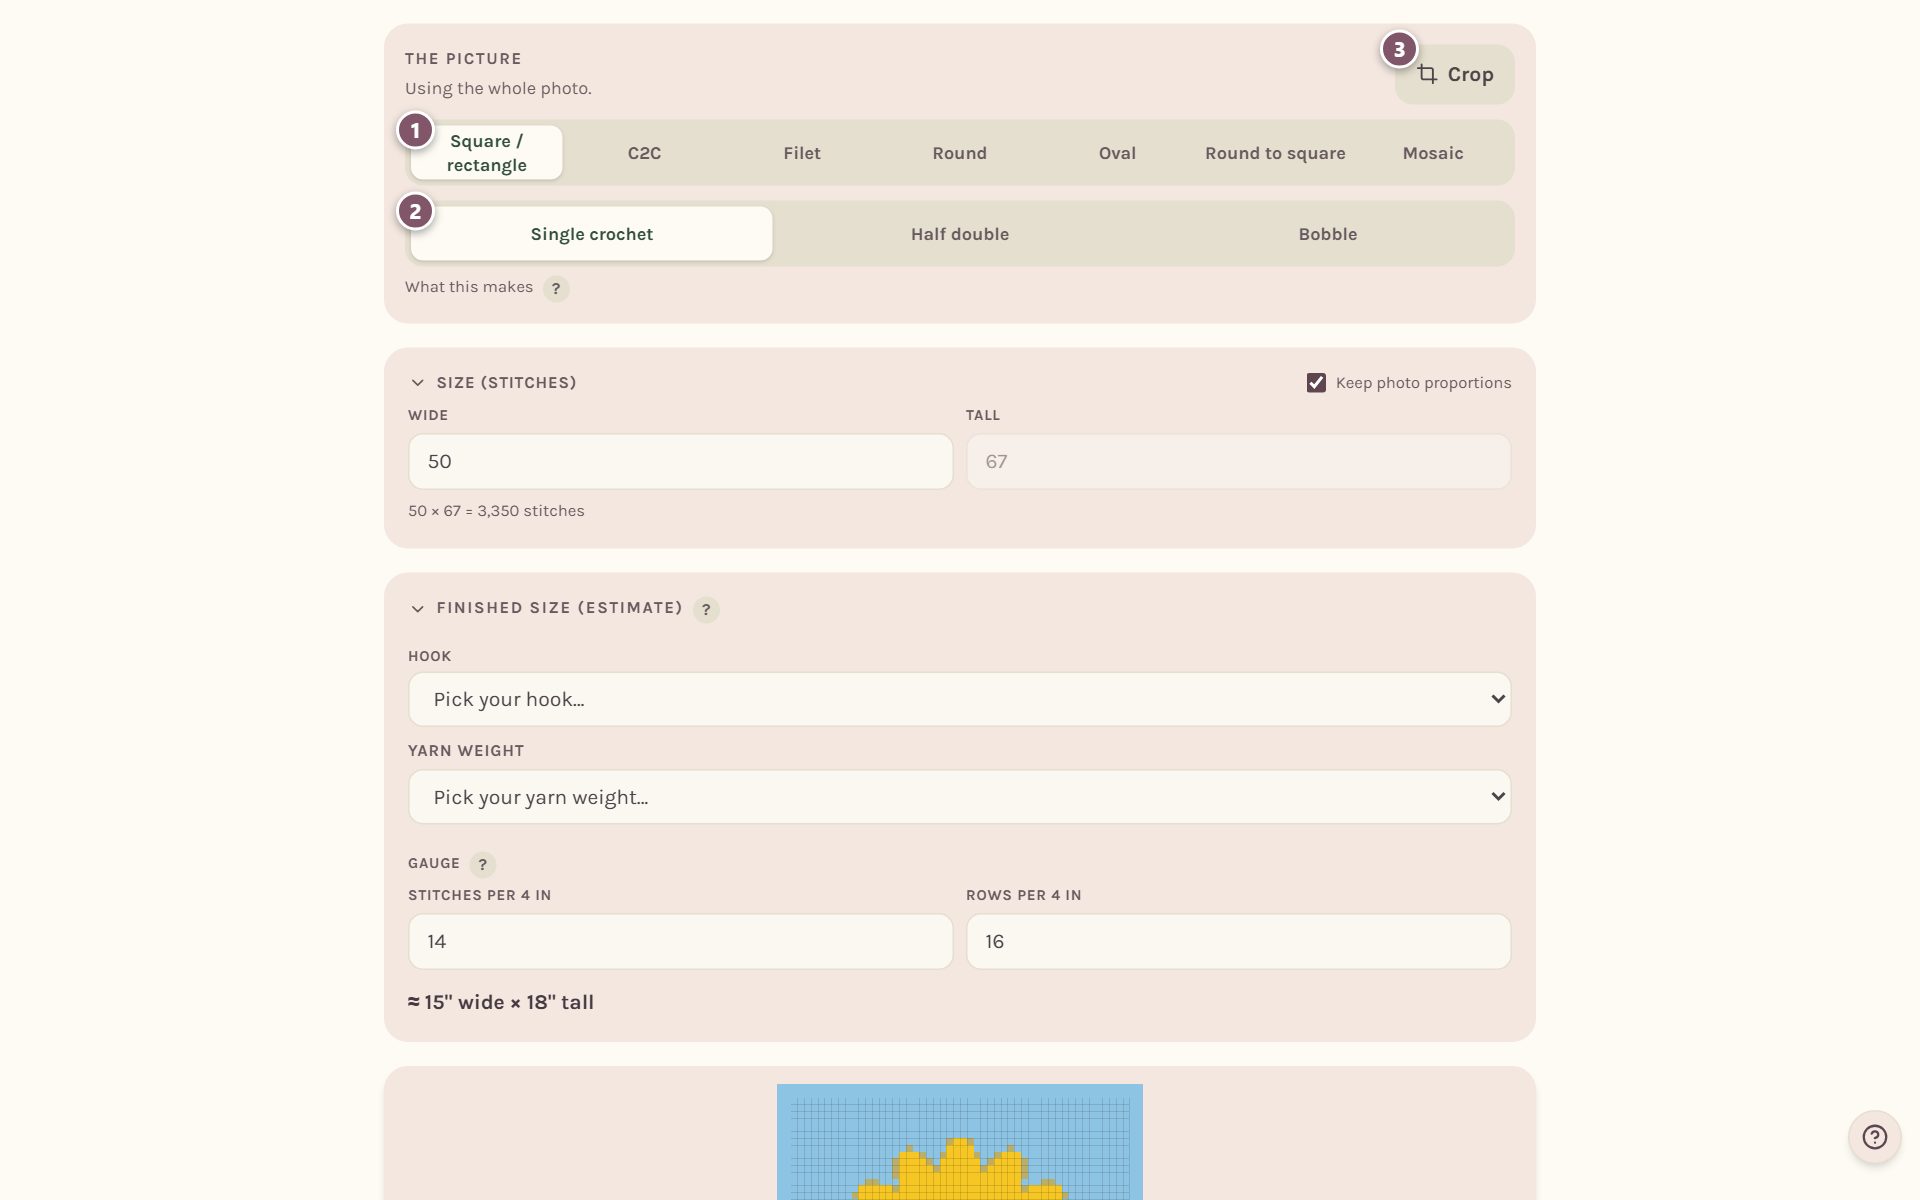
- The shape. Pick Square / rectangle, C2C (corner to corner), Filet, Round, Oval, Round to square or Mosaic. You can switch any time.
- The stitch. For most shapes, pick Single crochet, Half double or Bobble. Bobble is offered for square and rectangle blankets only.
- Crop. Tap it to use just part of your picture. Drag the box to move it, drag a corner to resize it, then tap Use this part.
Tap the ? beside What this makes for a short description of the shape and stitch you picked.
Set the blanket size
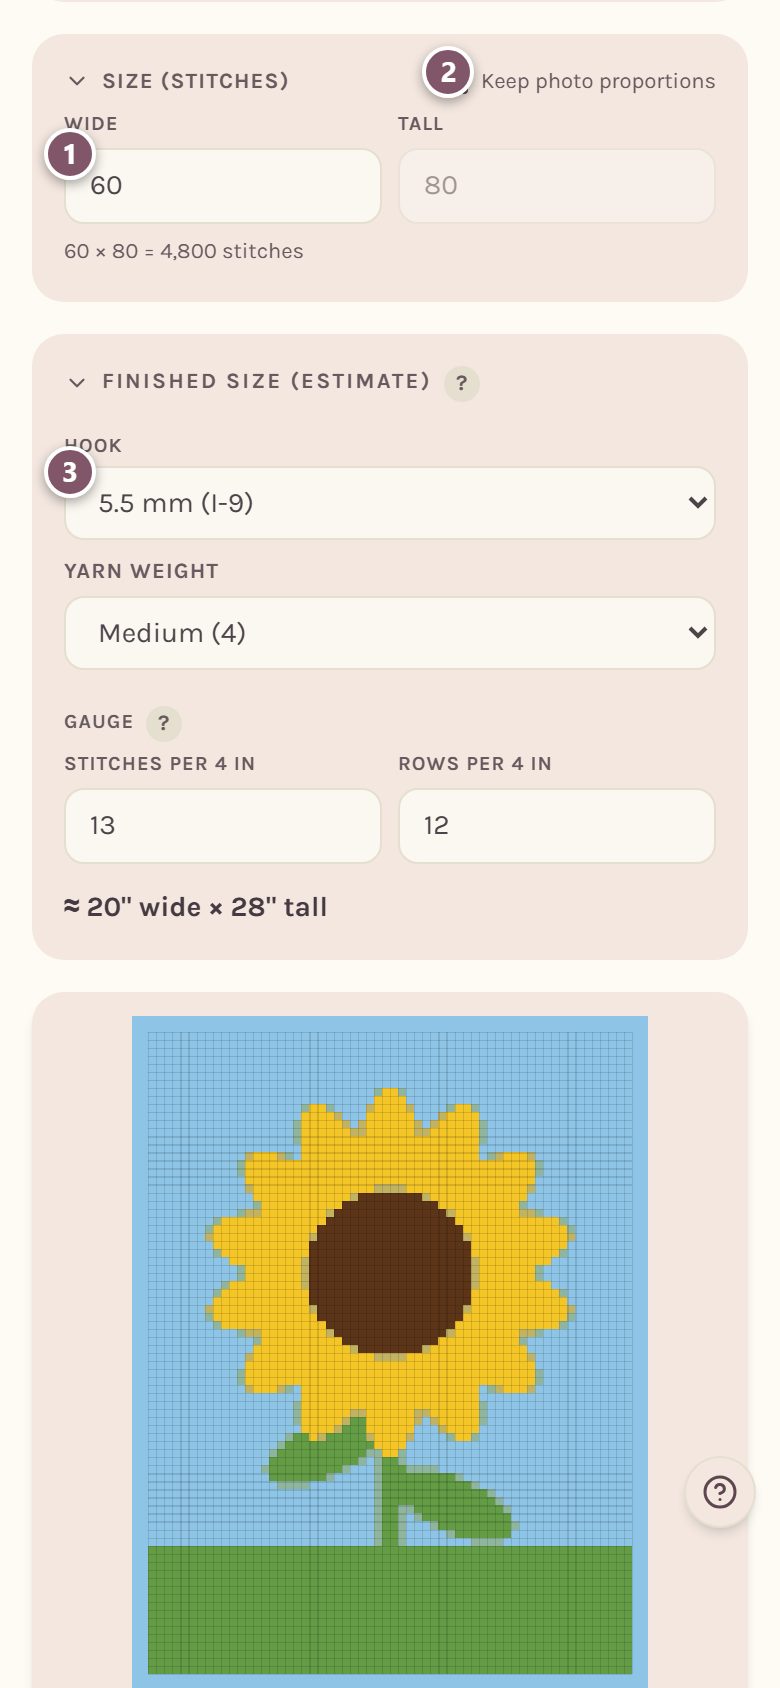
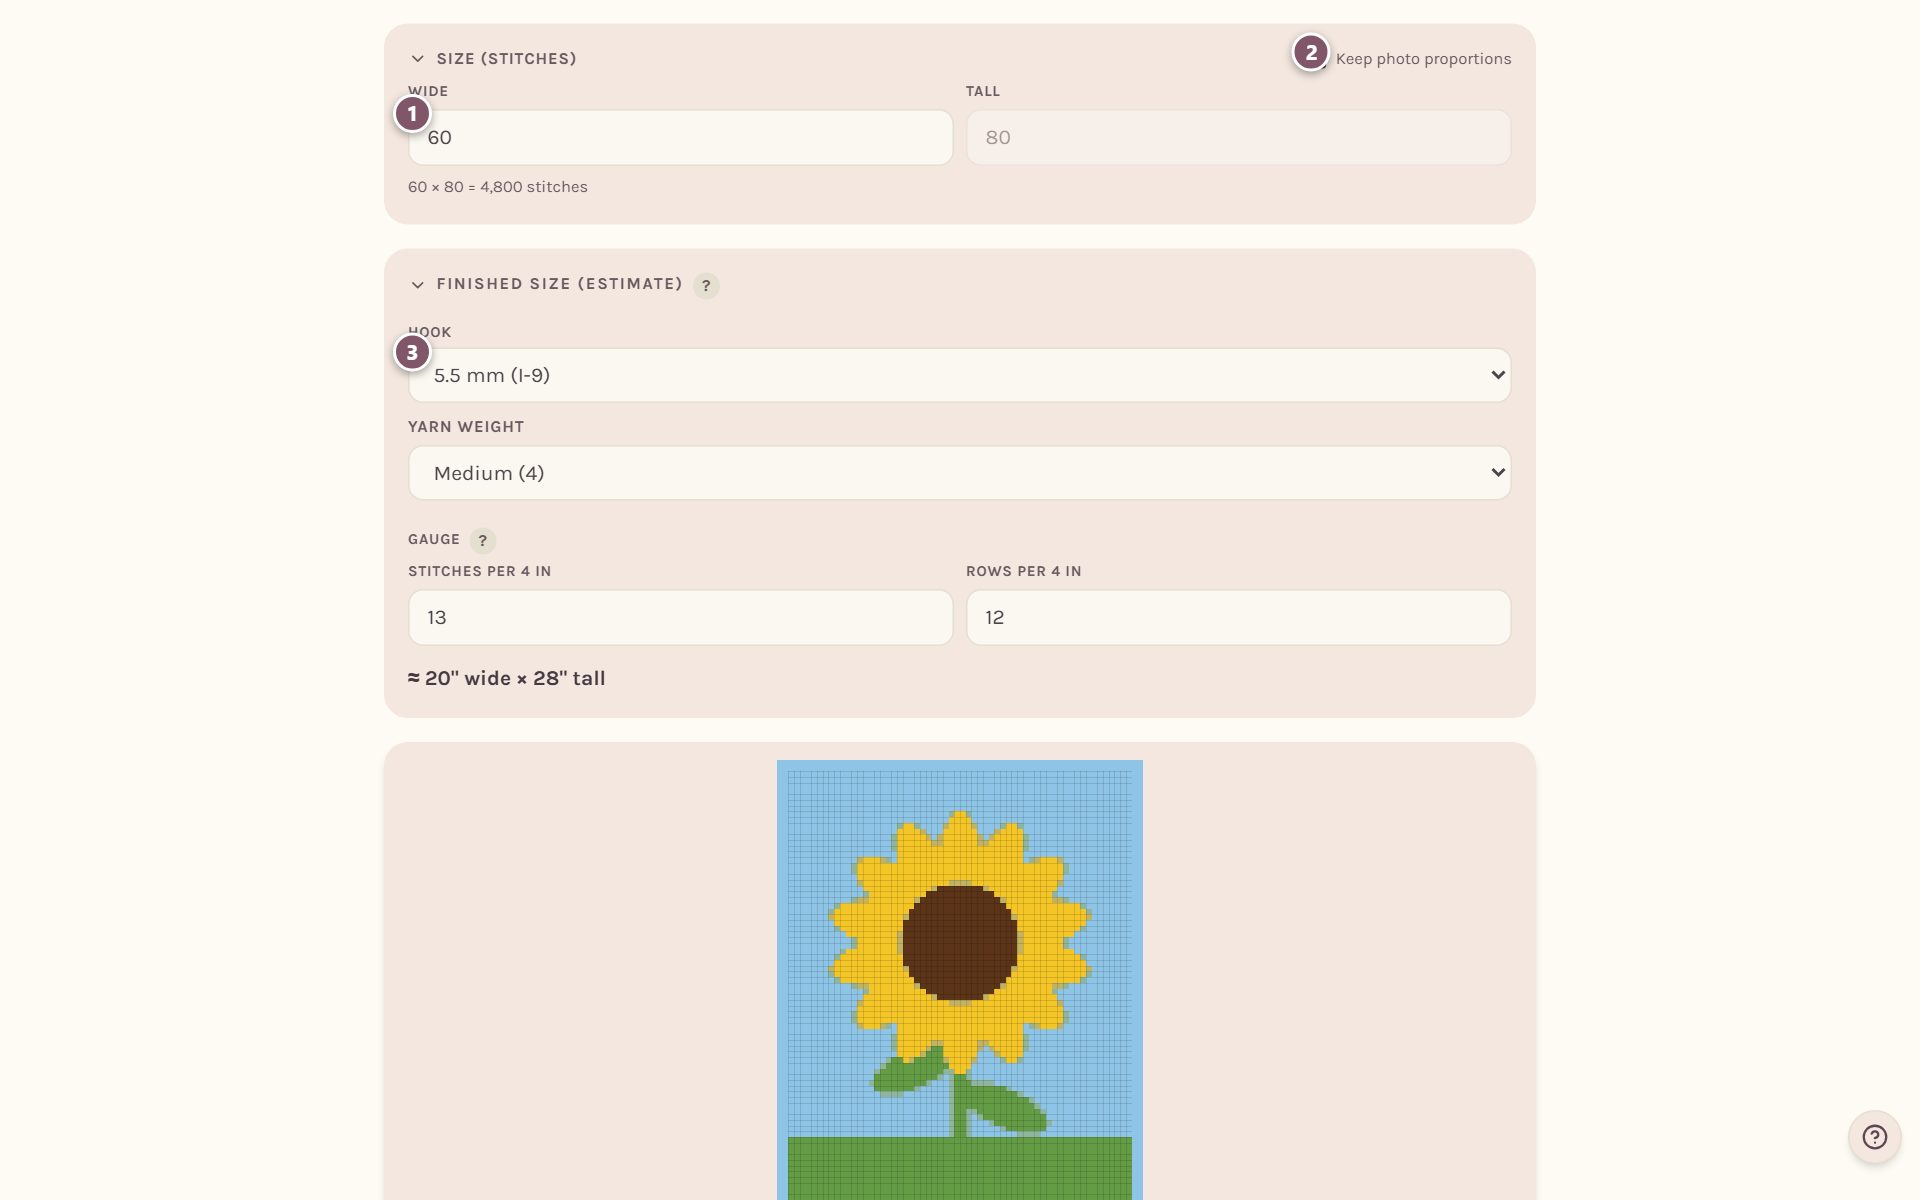
- Type how many stitches Wide you want. The Tall number follows on its own.
- Keep photo proportions keeps your picture from stretching. Untick it to set the height yourself. Back to the photo's shape puts it right again.
- Pick your Hook and Yarn weight in the Finished size (estimate) card. It shows how big the finished blanket will be, in inches or centimeters.
For more on hooks, gauge and the finished size, see how to pick yarn for a crochet blanket.
Adjust the colors and contrast
Scroll down past the chart to Picture & colors. The chart stays pinned at the top of the screen, so you see every change as you make it.
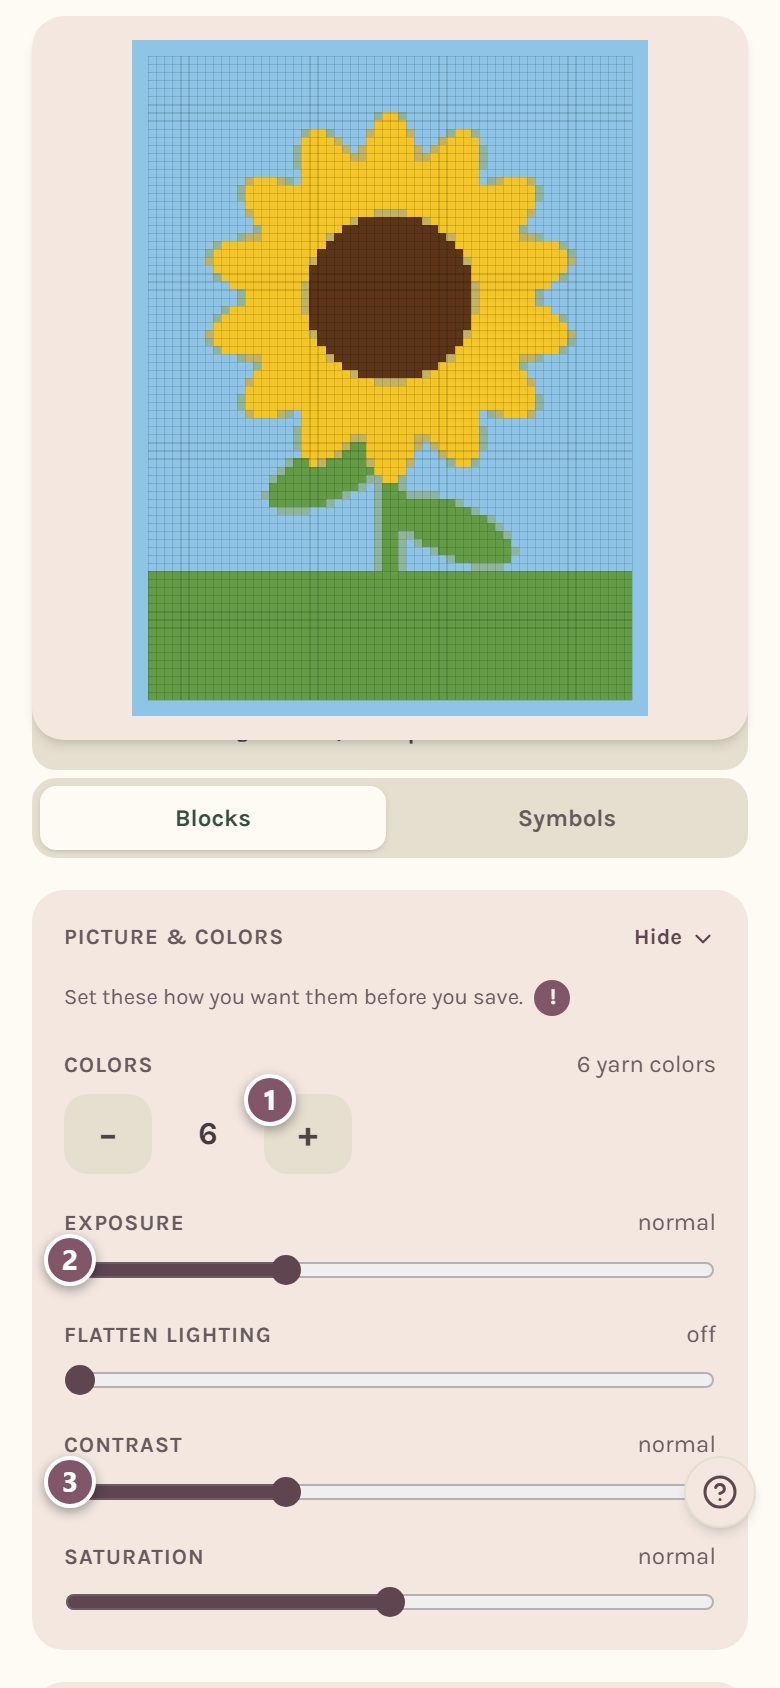
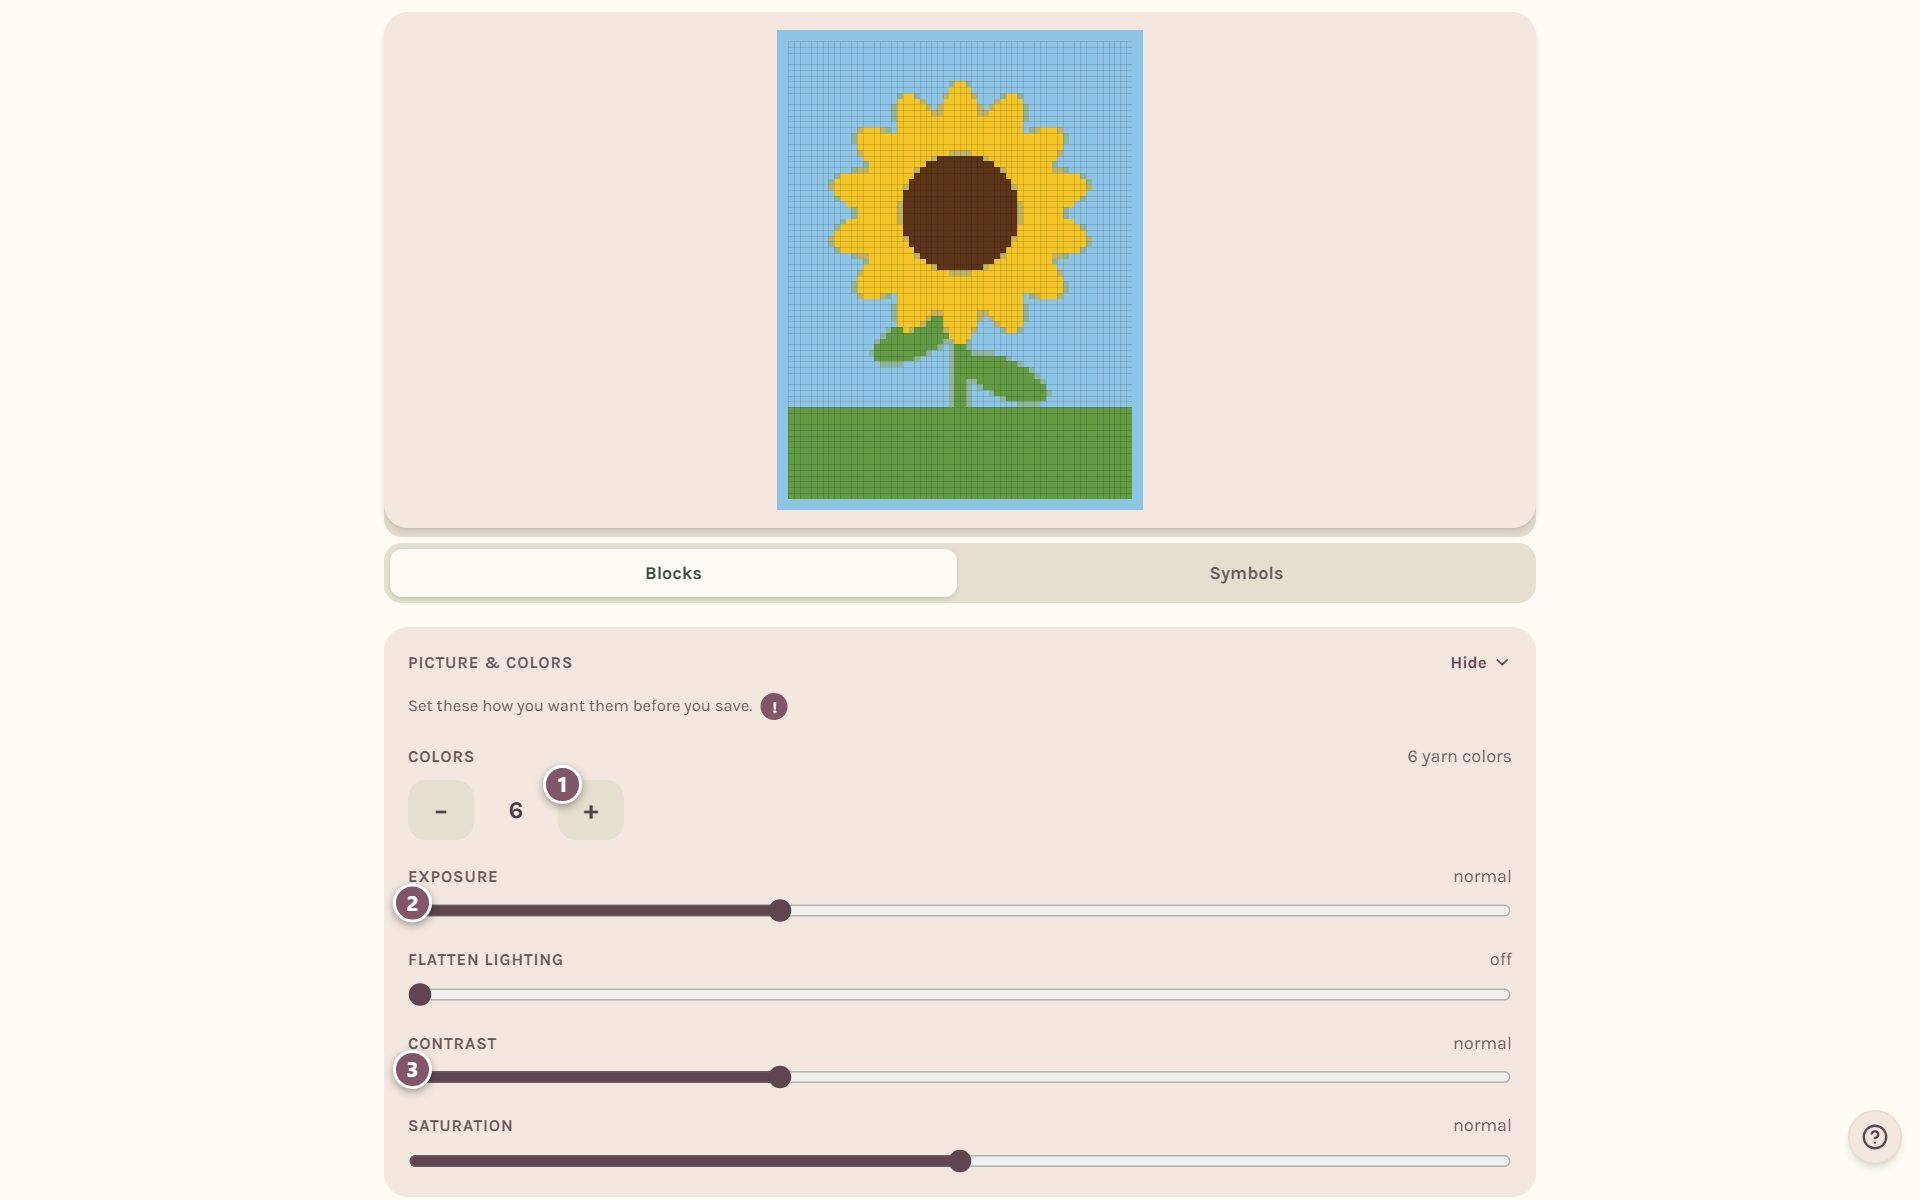
- Colors sets how many yarn colors the blanket uses, from 2 to 12. Tap − or +.
- Exposure makes the picture brighter or darker. Flatten lighting evens out shadows and bright spots.
- Contrast and Saturation make the colors stand apart more, or blend more.
Set these how you want them before you save. A saved blanket keeps the chart, not the photo, so these dials can't change it later. You can still paint any stitch by hand, forever. See how to edit a crochet blanket chart.
Under the chart, Blocks and Symbols switch between colored squares and crochet stitch symbols.
Name your pattern and save it
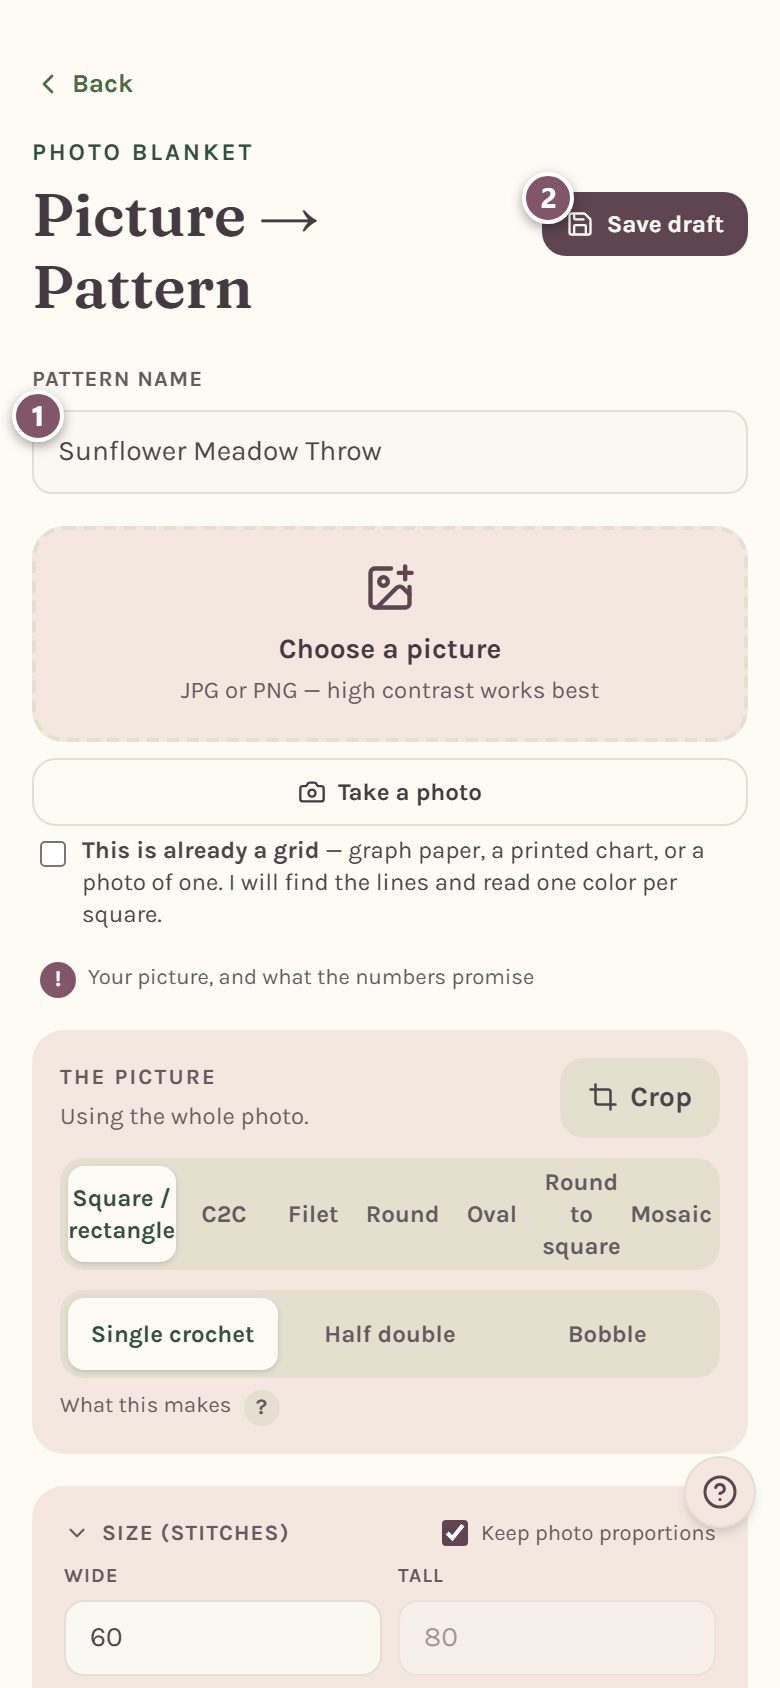
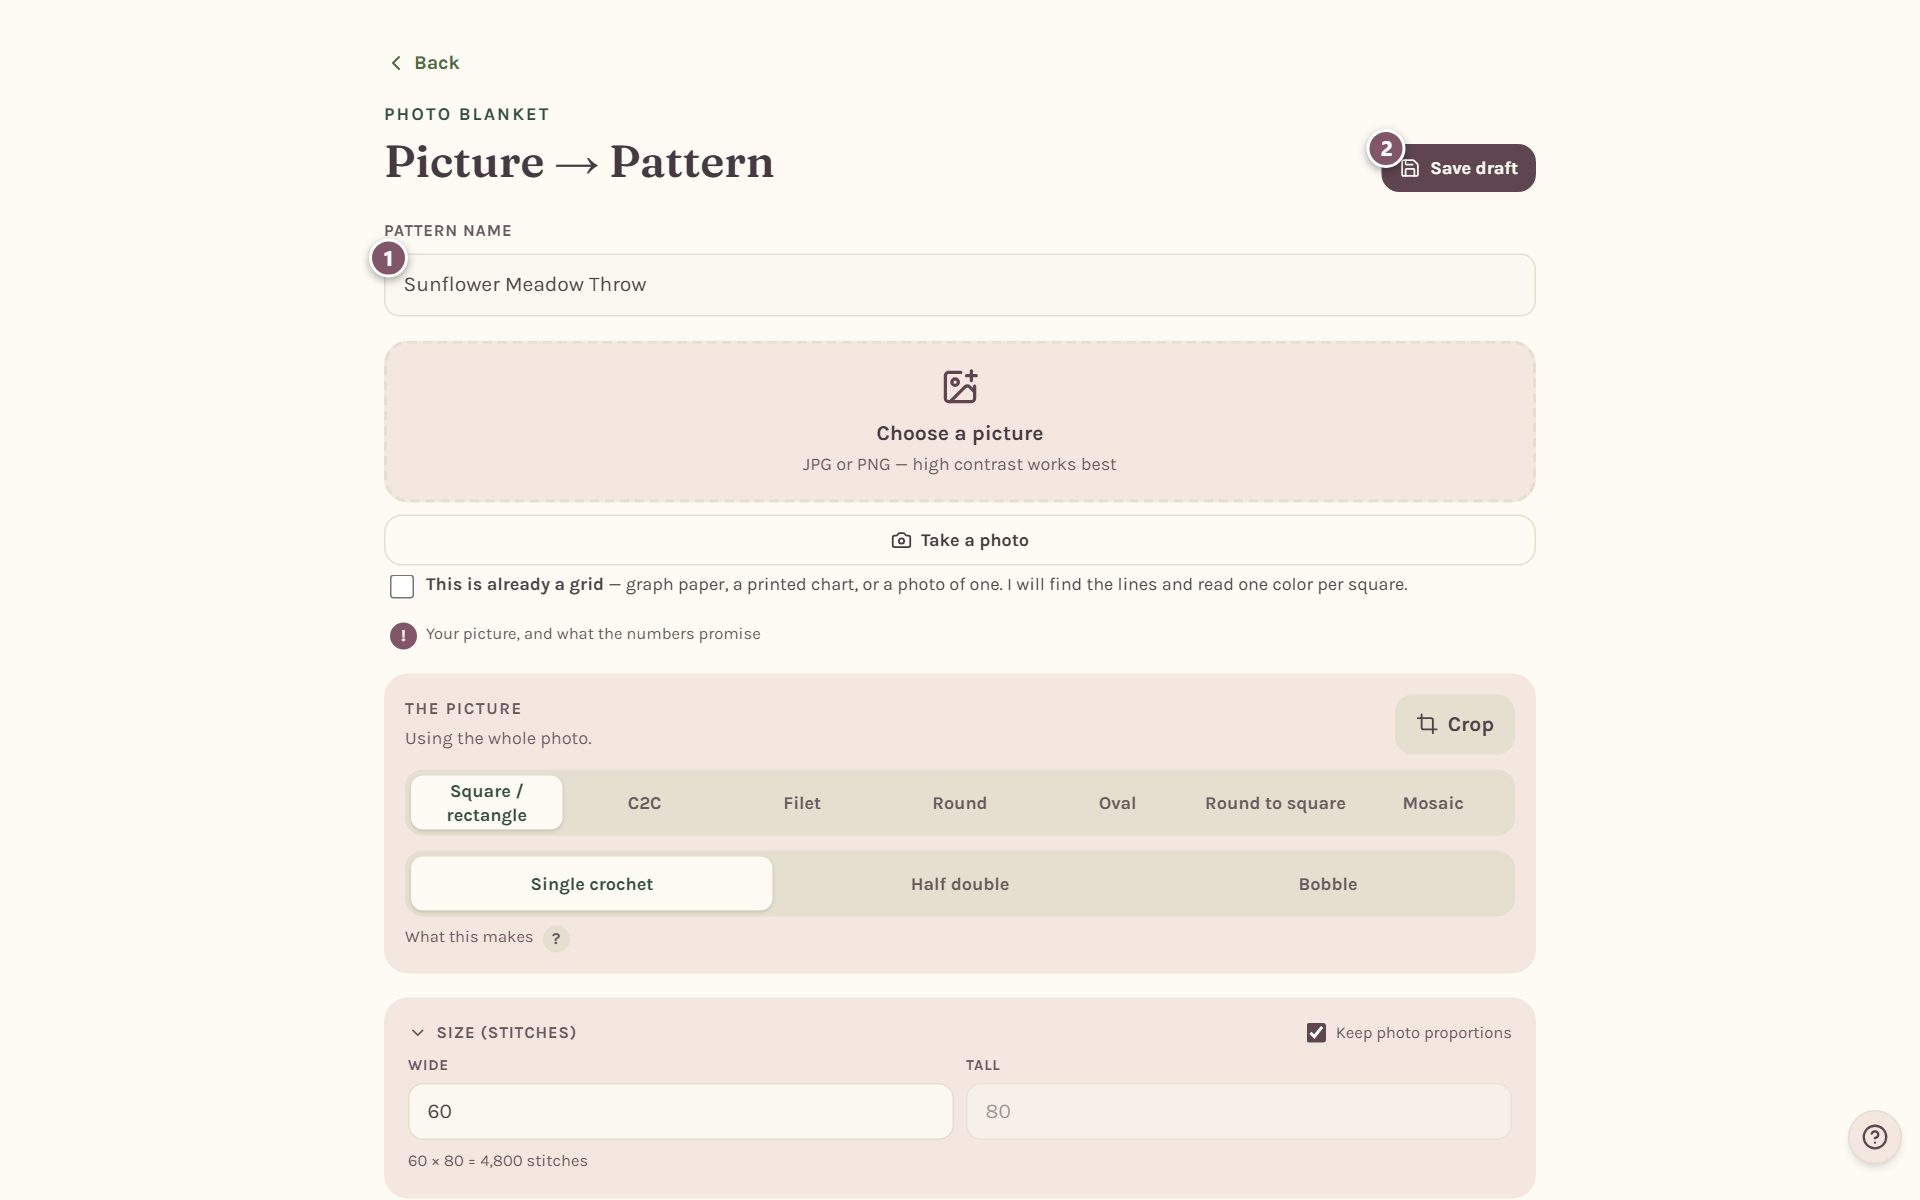
- Type a name in Pattern name at the top of the page.
- Save draft saves the blanket to your account and keeps you in the maker, so you can keep designing.
Everything else on the page, the panels, border, yarn colors and written rows, is covered in the other photo blanket guides. When you're happy, scroll to the very bottom.
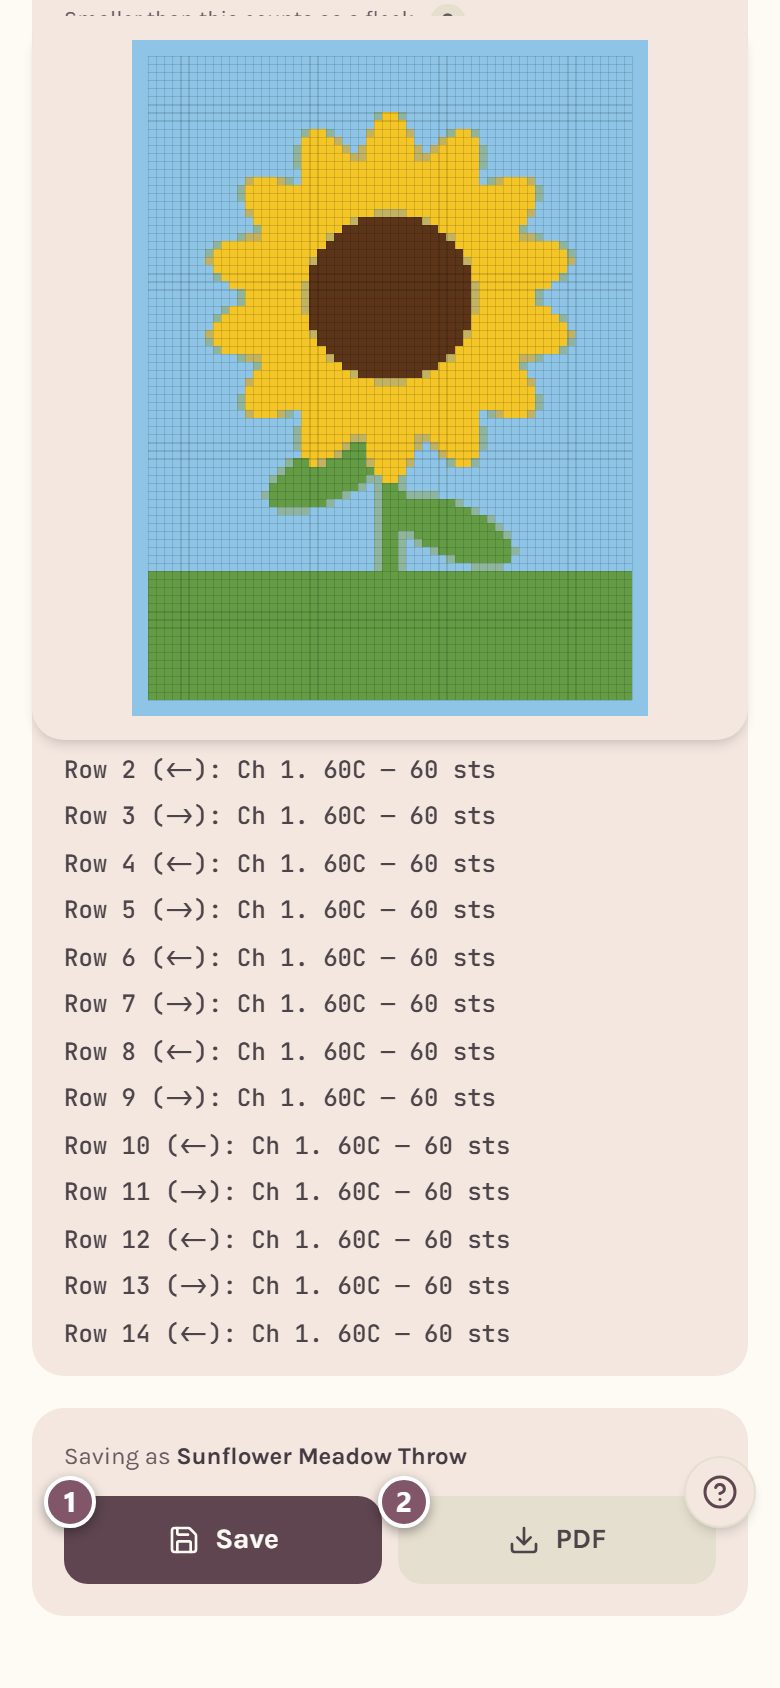
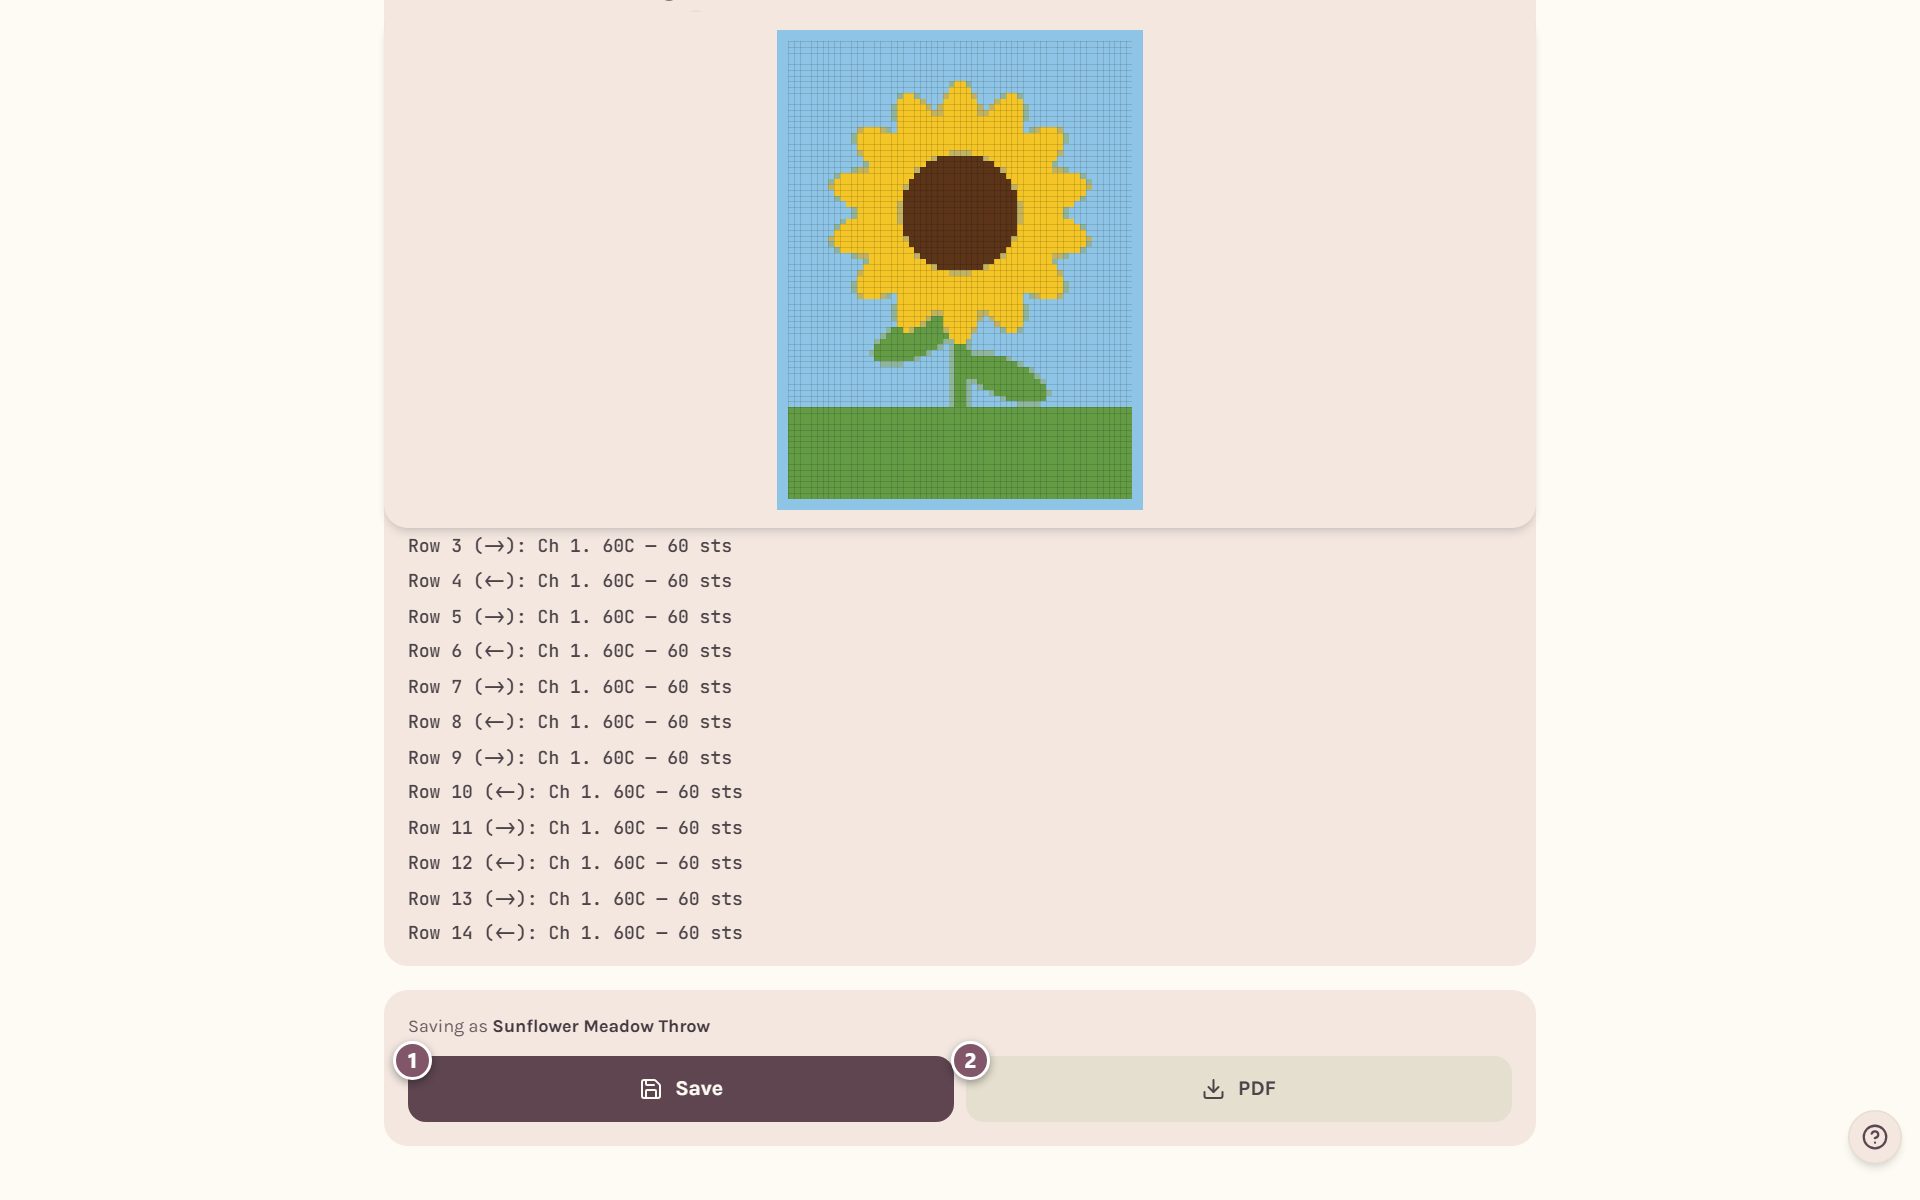
- Tap Save. Your blanket opens as a pattern.
- PDF downloads the pattern right away. See how to print a crochet blanket pattern.
Tip: If you leave the maker before saving, the app remembers your work. Next time you open it, tap Bring it back to carry on.
Your new blanket pattern
Your saved blanket has its own page. You'll find it again under Patterns, in Your photo blankets.
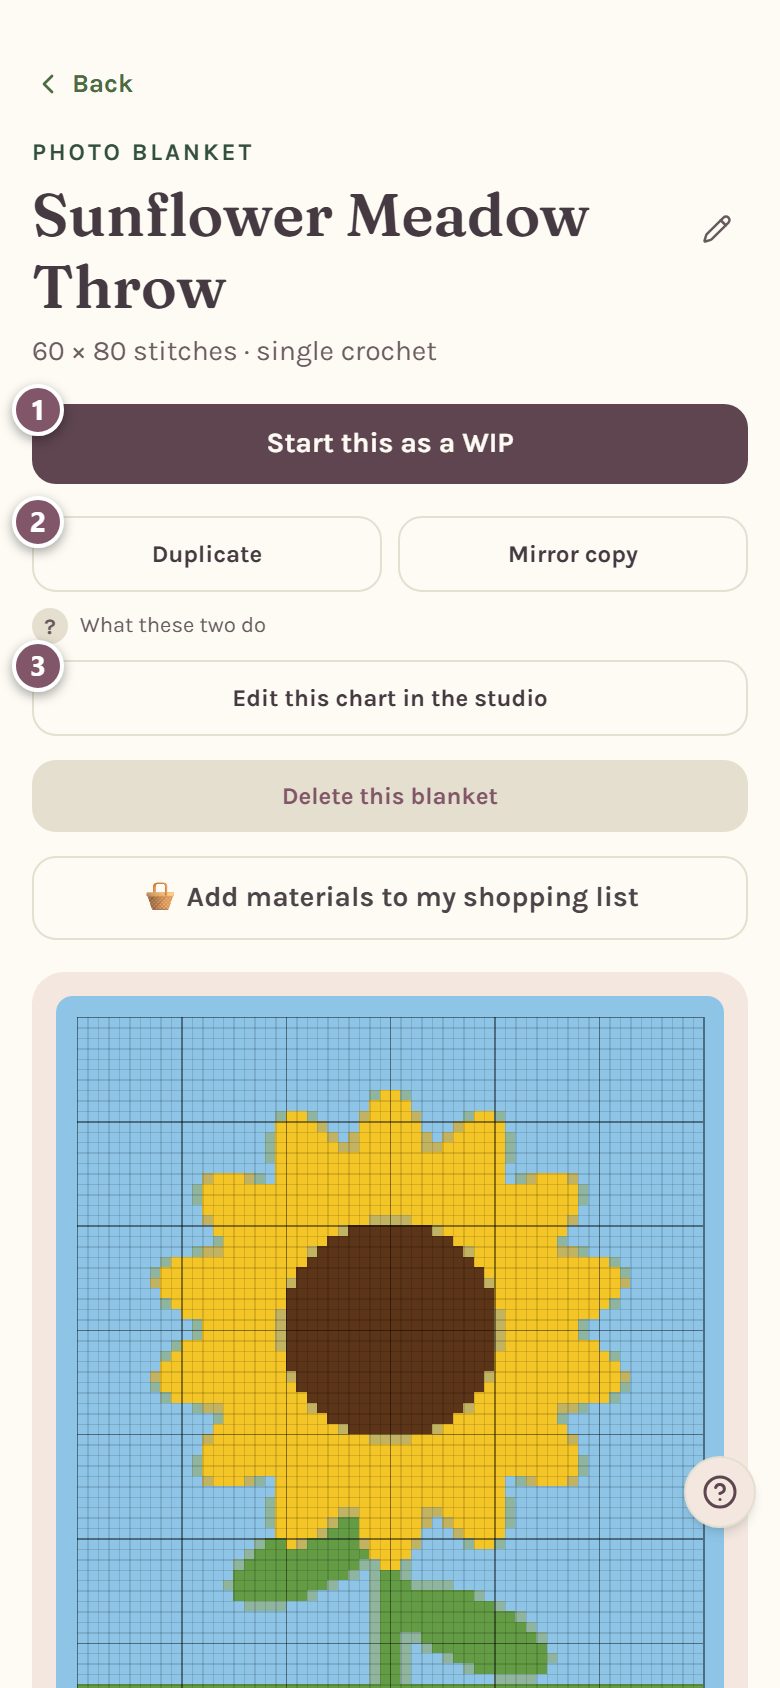
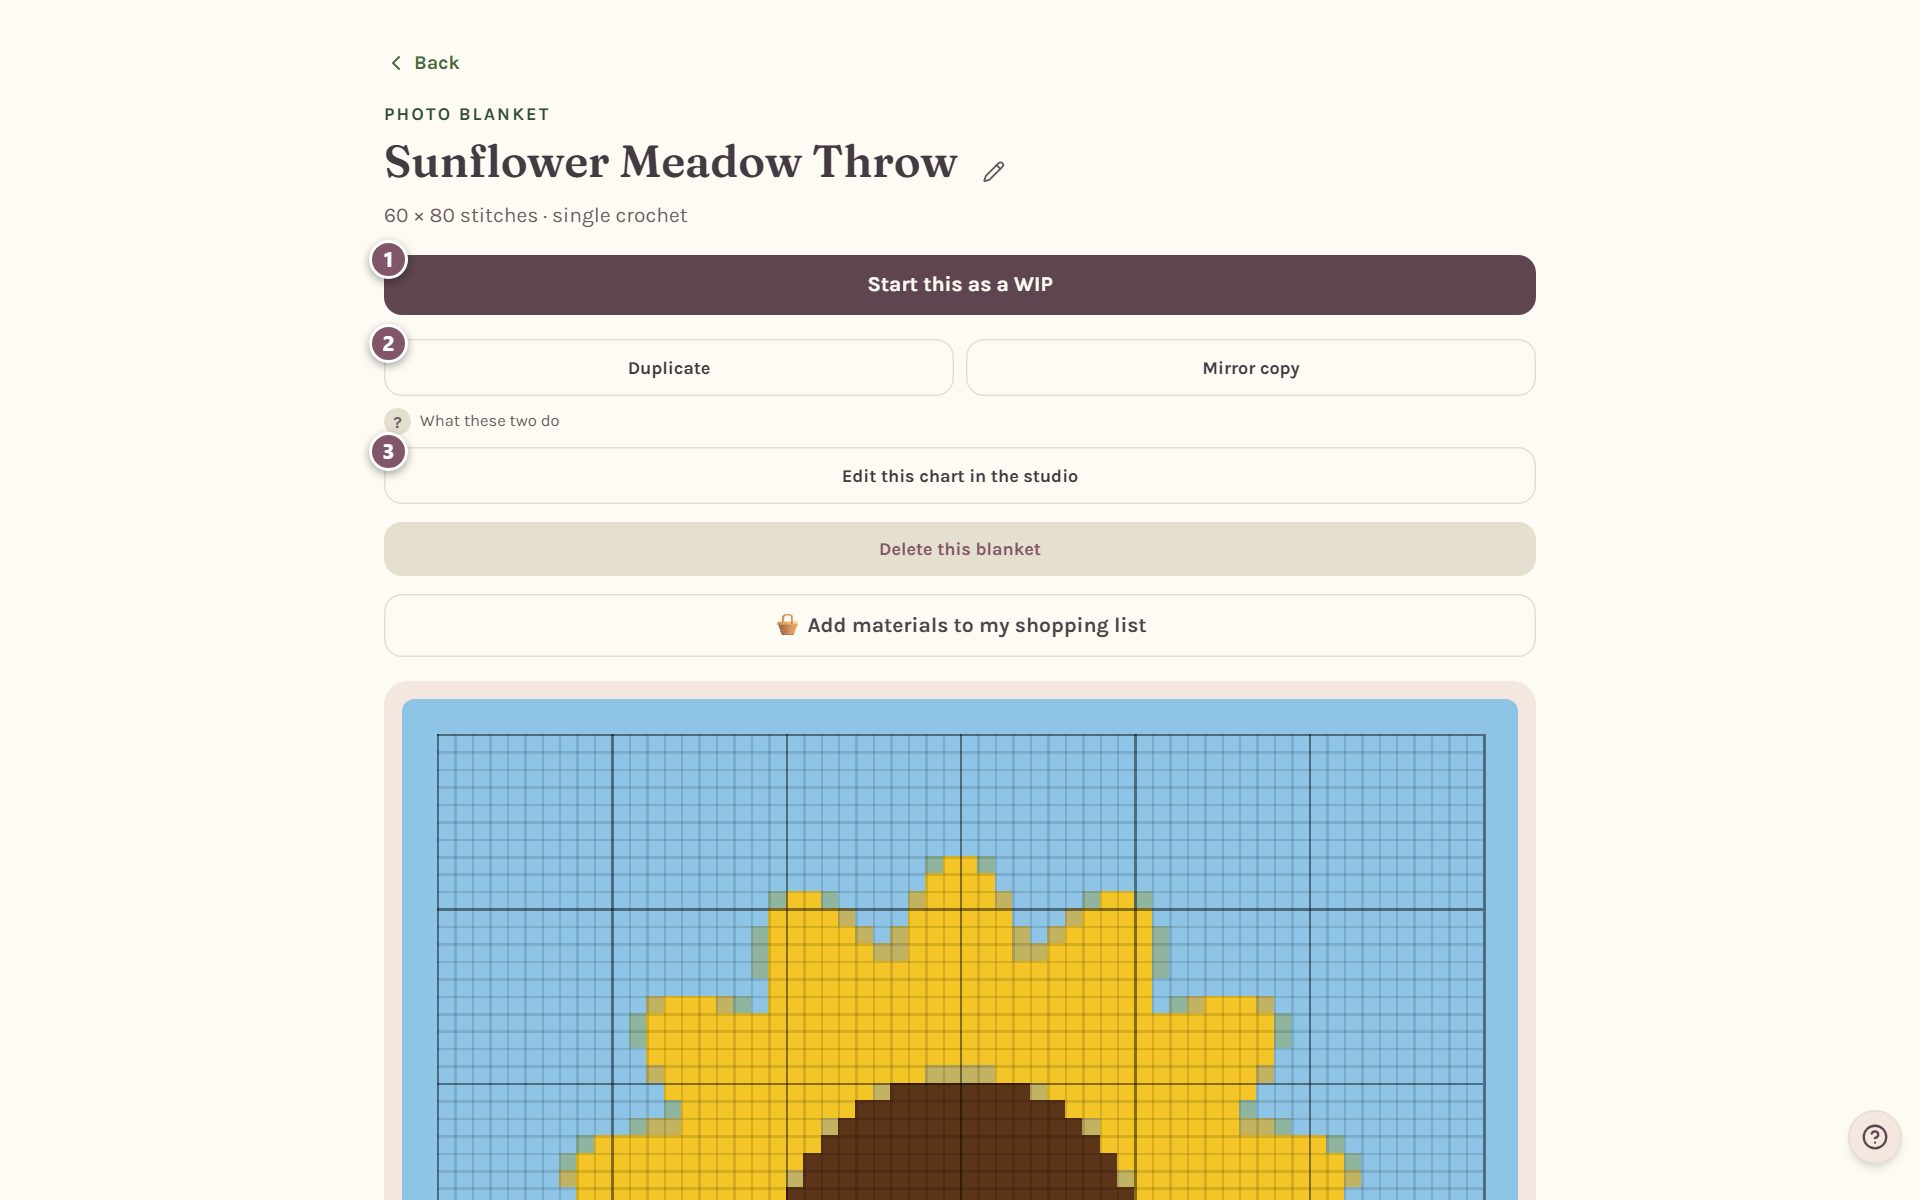
- Start this as a WIP adds it to your WIPs, where you can track it stitch by stitch. See the crochet row counter for blankets.
- Duplicate makes a copy. Mirror copy makes a copy flipped left to right, handy for the back of a pillow.
- Edit this chart in the studio opens it in the maker again.
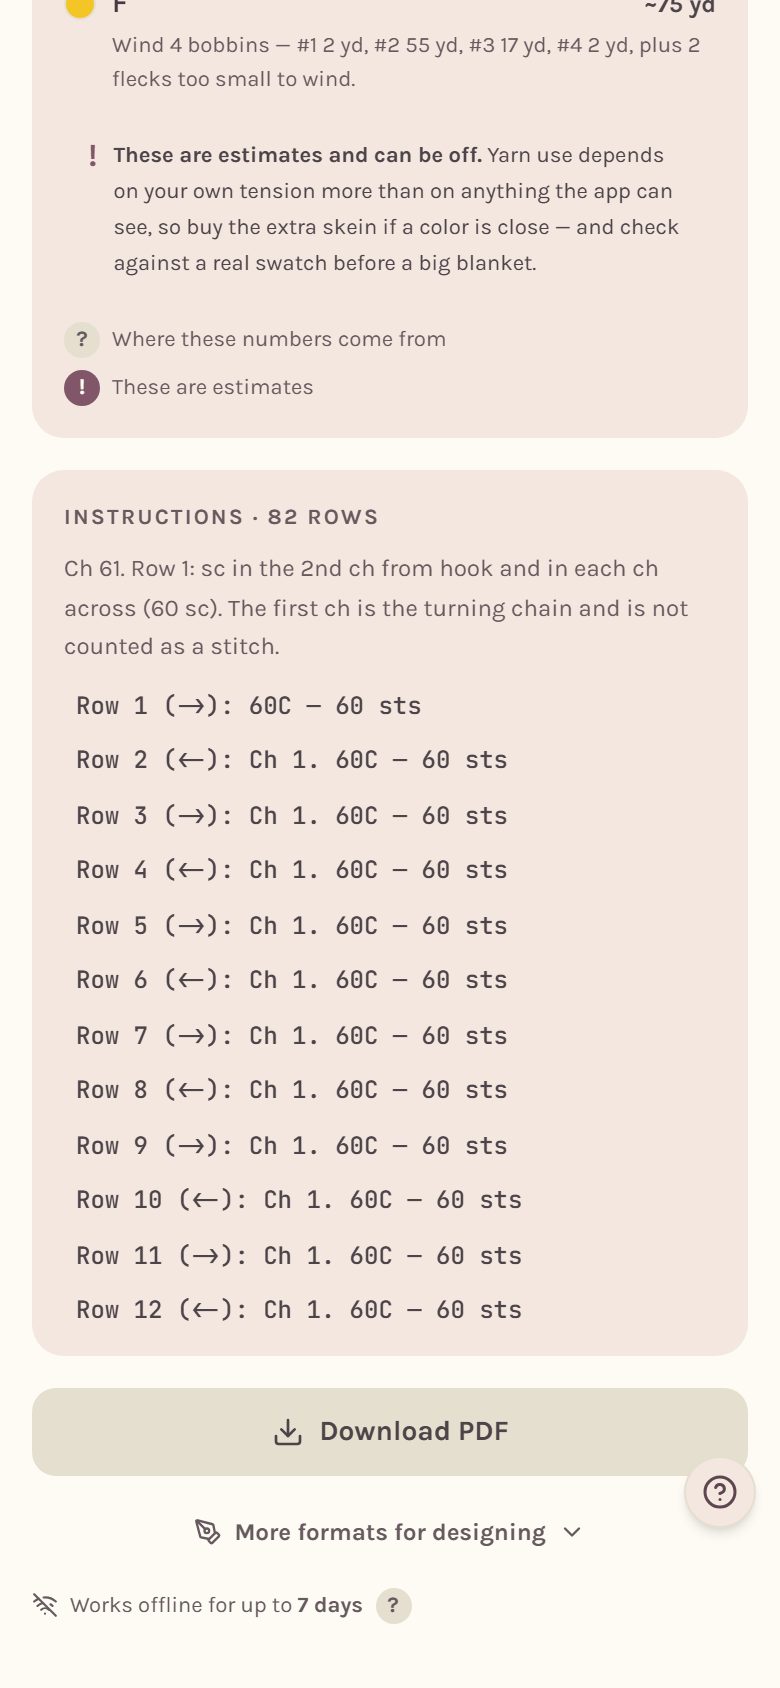
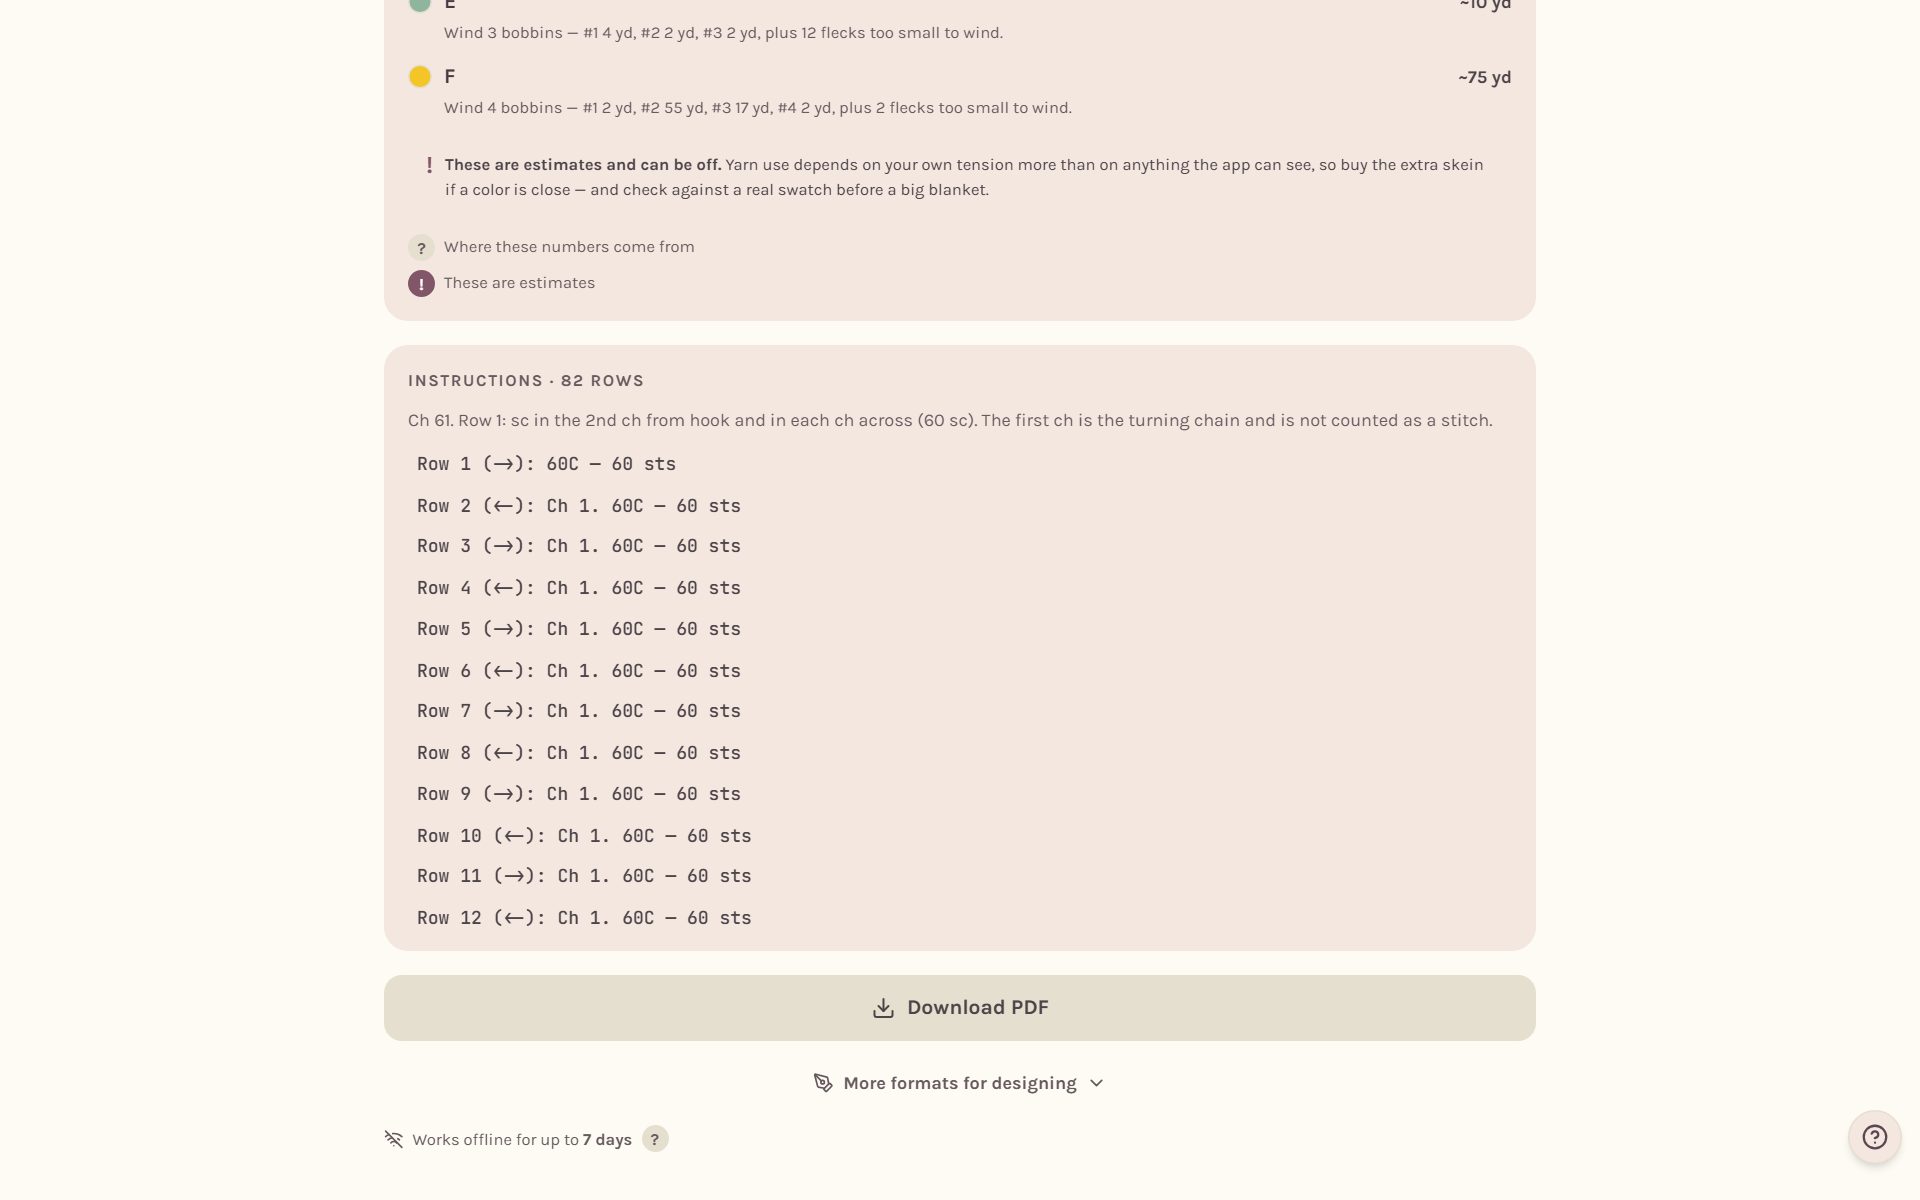
Further down you'll find the yarn colors, the border, a yarn plan and every row written out.
Frequently asked questions
Is my photo uploaded anywhere? No. The picture is read right on your device, and only the finished chart is saved to your account.
Can I change the chart after I save it? Yes. Tap Edit this chart in the studio. Once you've started working on it, the app asks first and offers Copy it and edit the copy, so your place in the pattern stays safe.
How big can a photo blanket be? Anywhere from 10 to 1,000 stitches wide. The maker tells you when you've made a really big project.
Why does my chart look muddy? The picture probably has too many soft shades. Try fewer Colors, more Contrast, or a picture with bolder shapes.
Where do I go next? Match real yarn to your colors in how to pick yarn for a crochet blanket, or fix any stitch by hand in how to edit a crochet blanket chart.
Ready to try it? Crochet Bobble opens right in your browser, on a phone or a computer.
Open Crochet Bobble