
Crochet a Photo Blanket in Squares or Panels
Split a big photo blanket into smaller squares you can carry and crochet one at a time, then sew together. Pick the square size, how to join them, and track each square on a map.
A big photo blanket is a lot to carry around, and a wide row can have a dozen colors hanging off it at once. Making it in panels fixes both. The photo blanket maker cuts your chart into smaller squares or rectangles, charts each one on its own, tells you how to join them, and gives you a map to track which ones you've made. Put together, the squares make the one picture.
Panels are for Square / rectangle blankets.
Turn on panels
Make your blanket as usual (see how to turn a photo into a crochet blanket pattern), then scroll to Make it in panels.
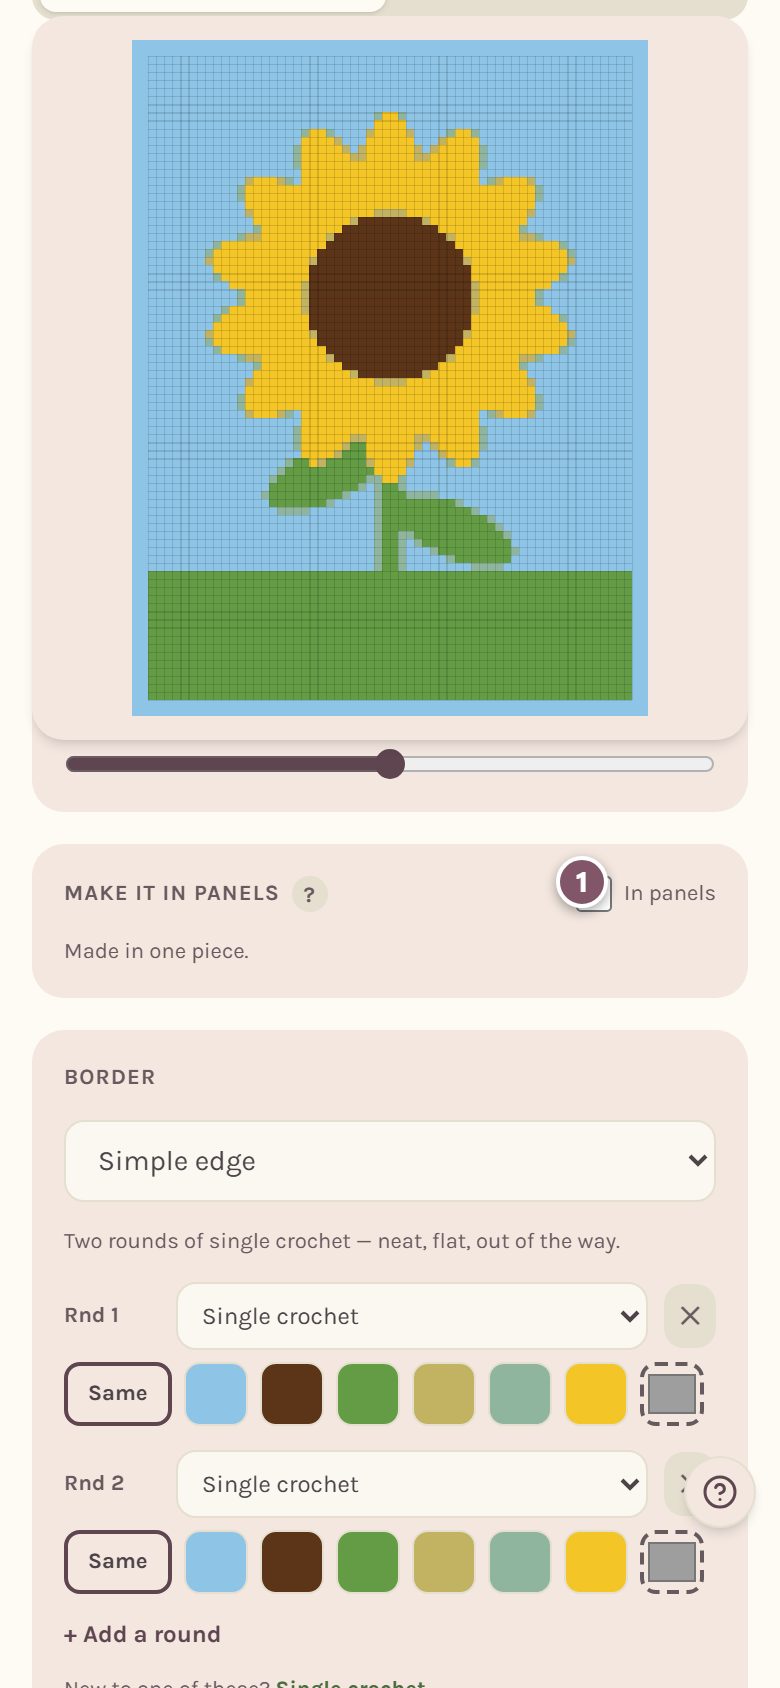
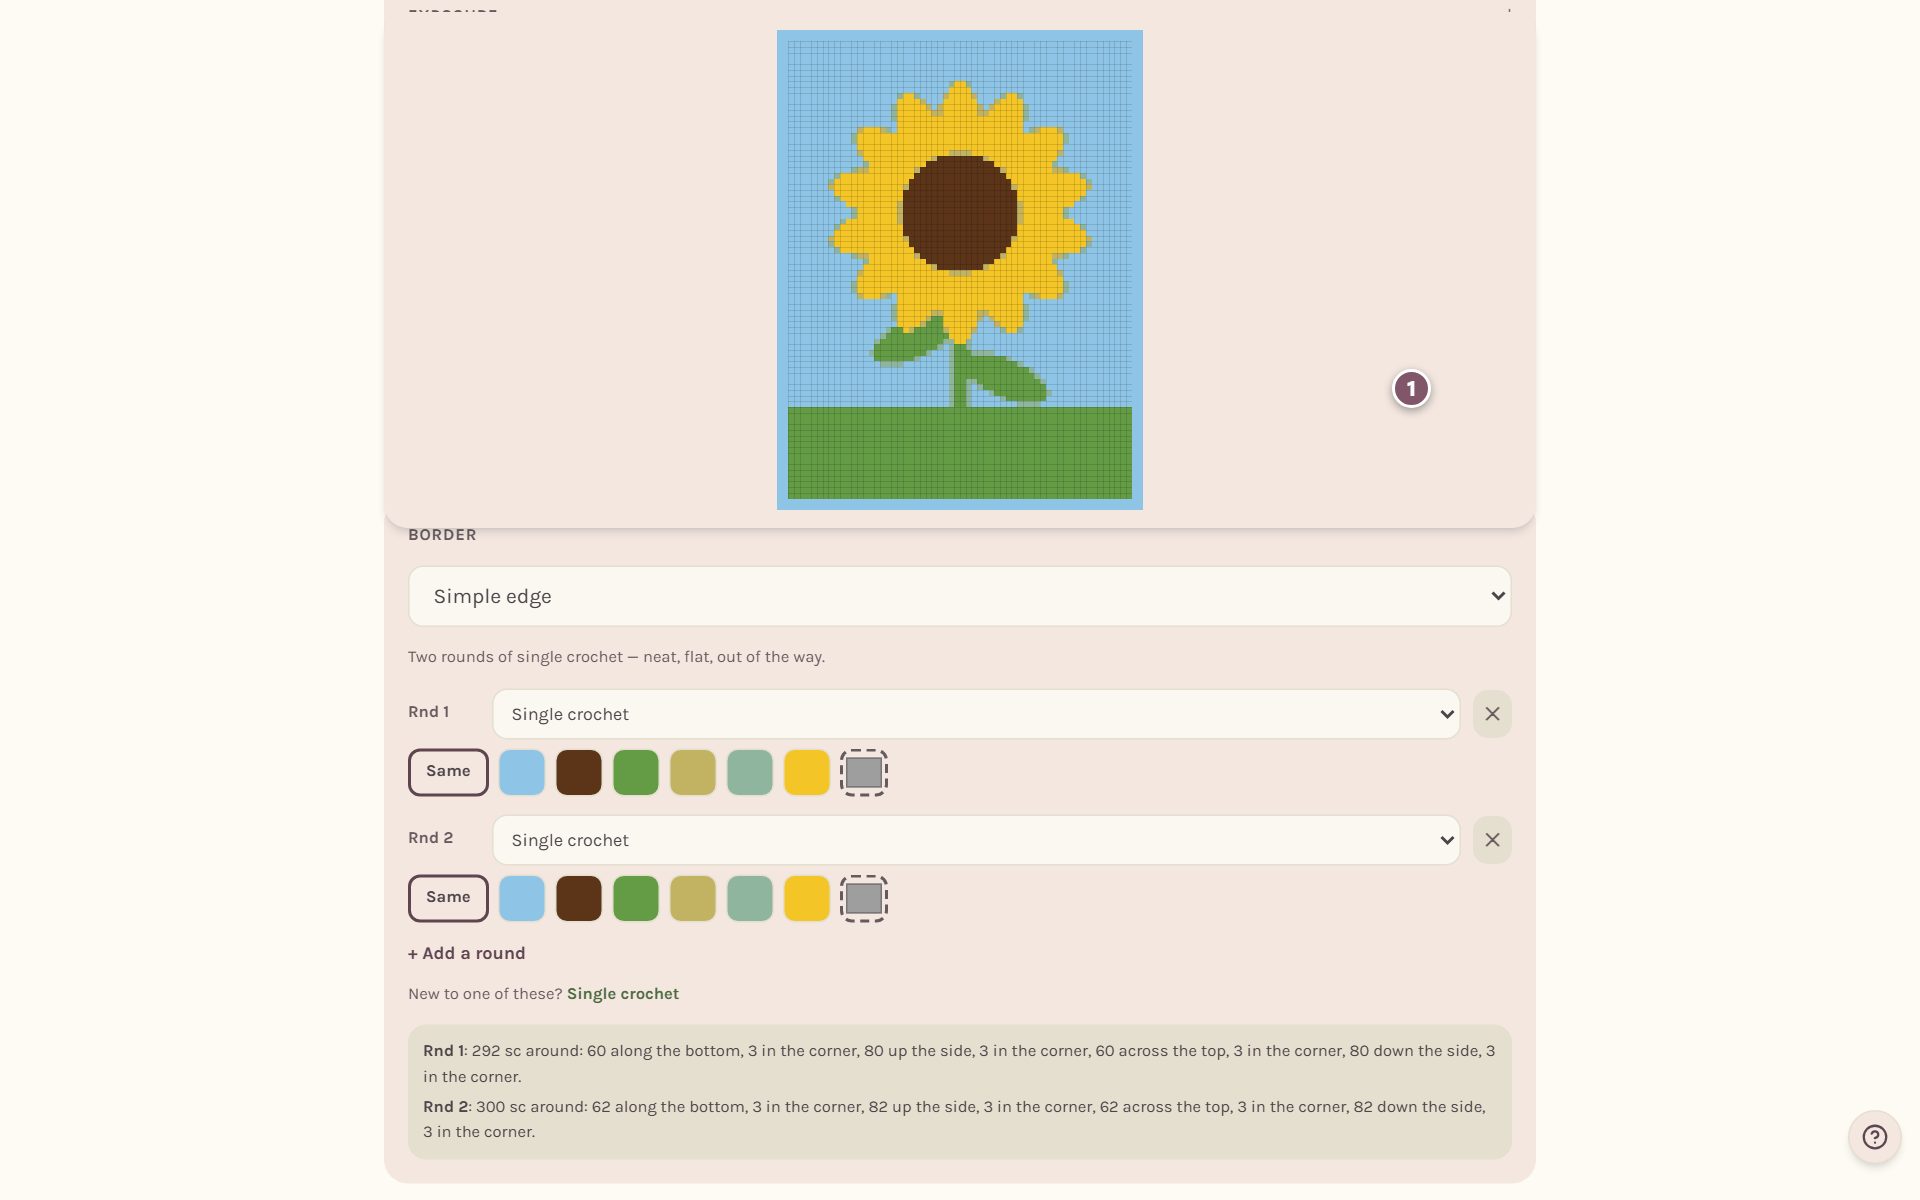
Tick In panels. The maker suggests a panel size to start you off.
Choose the panel size
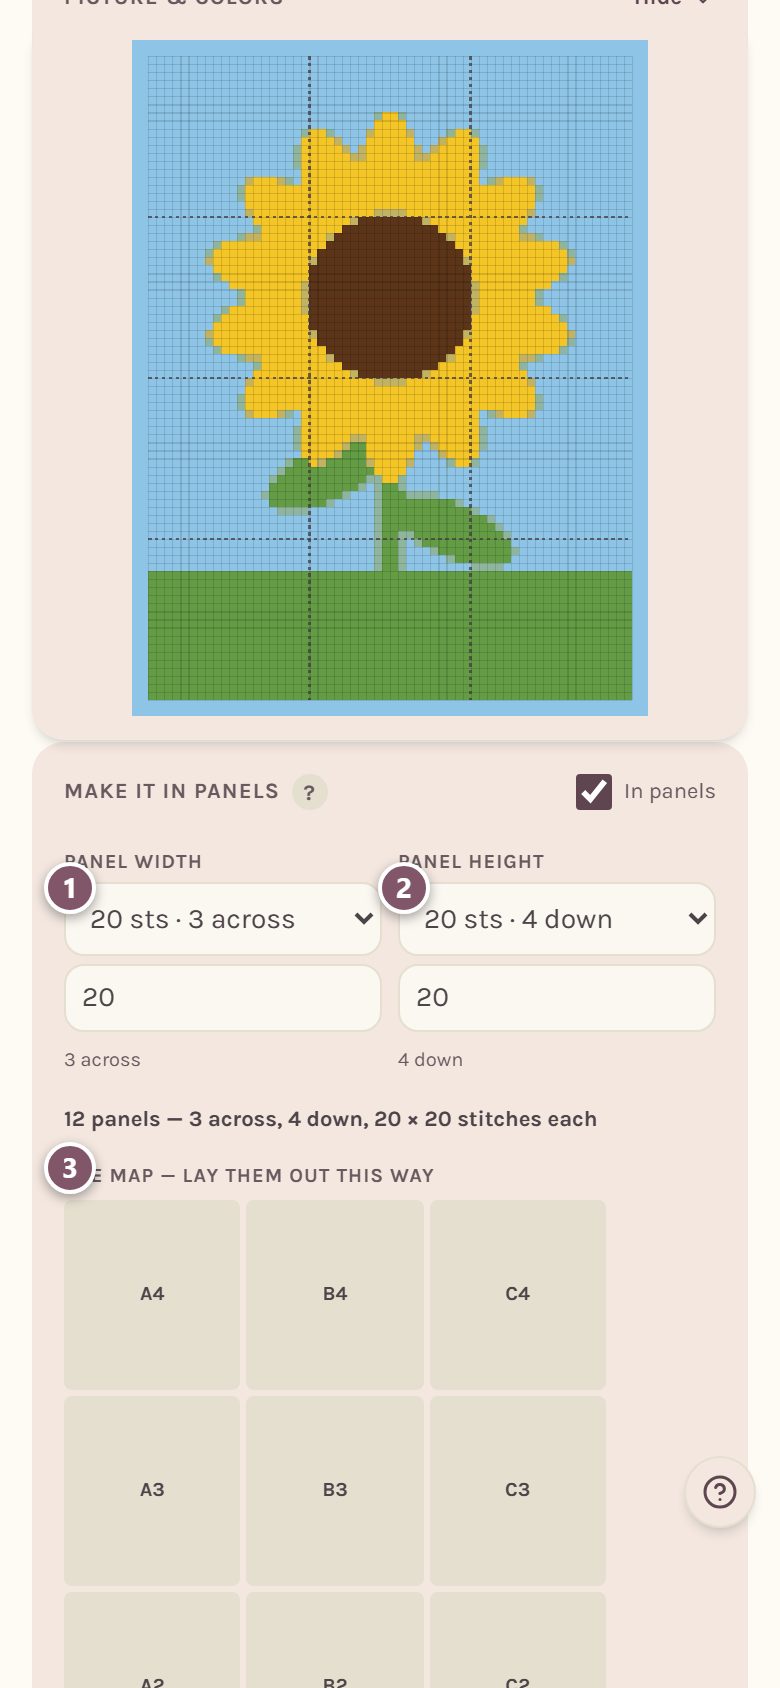
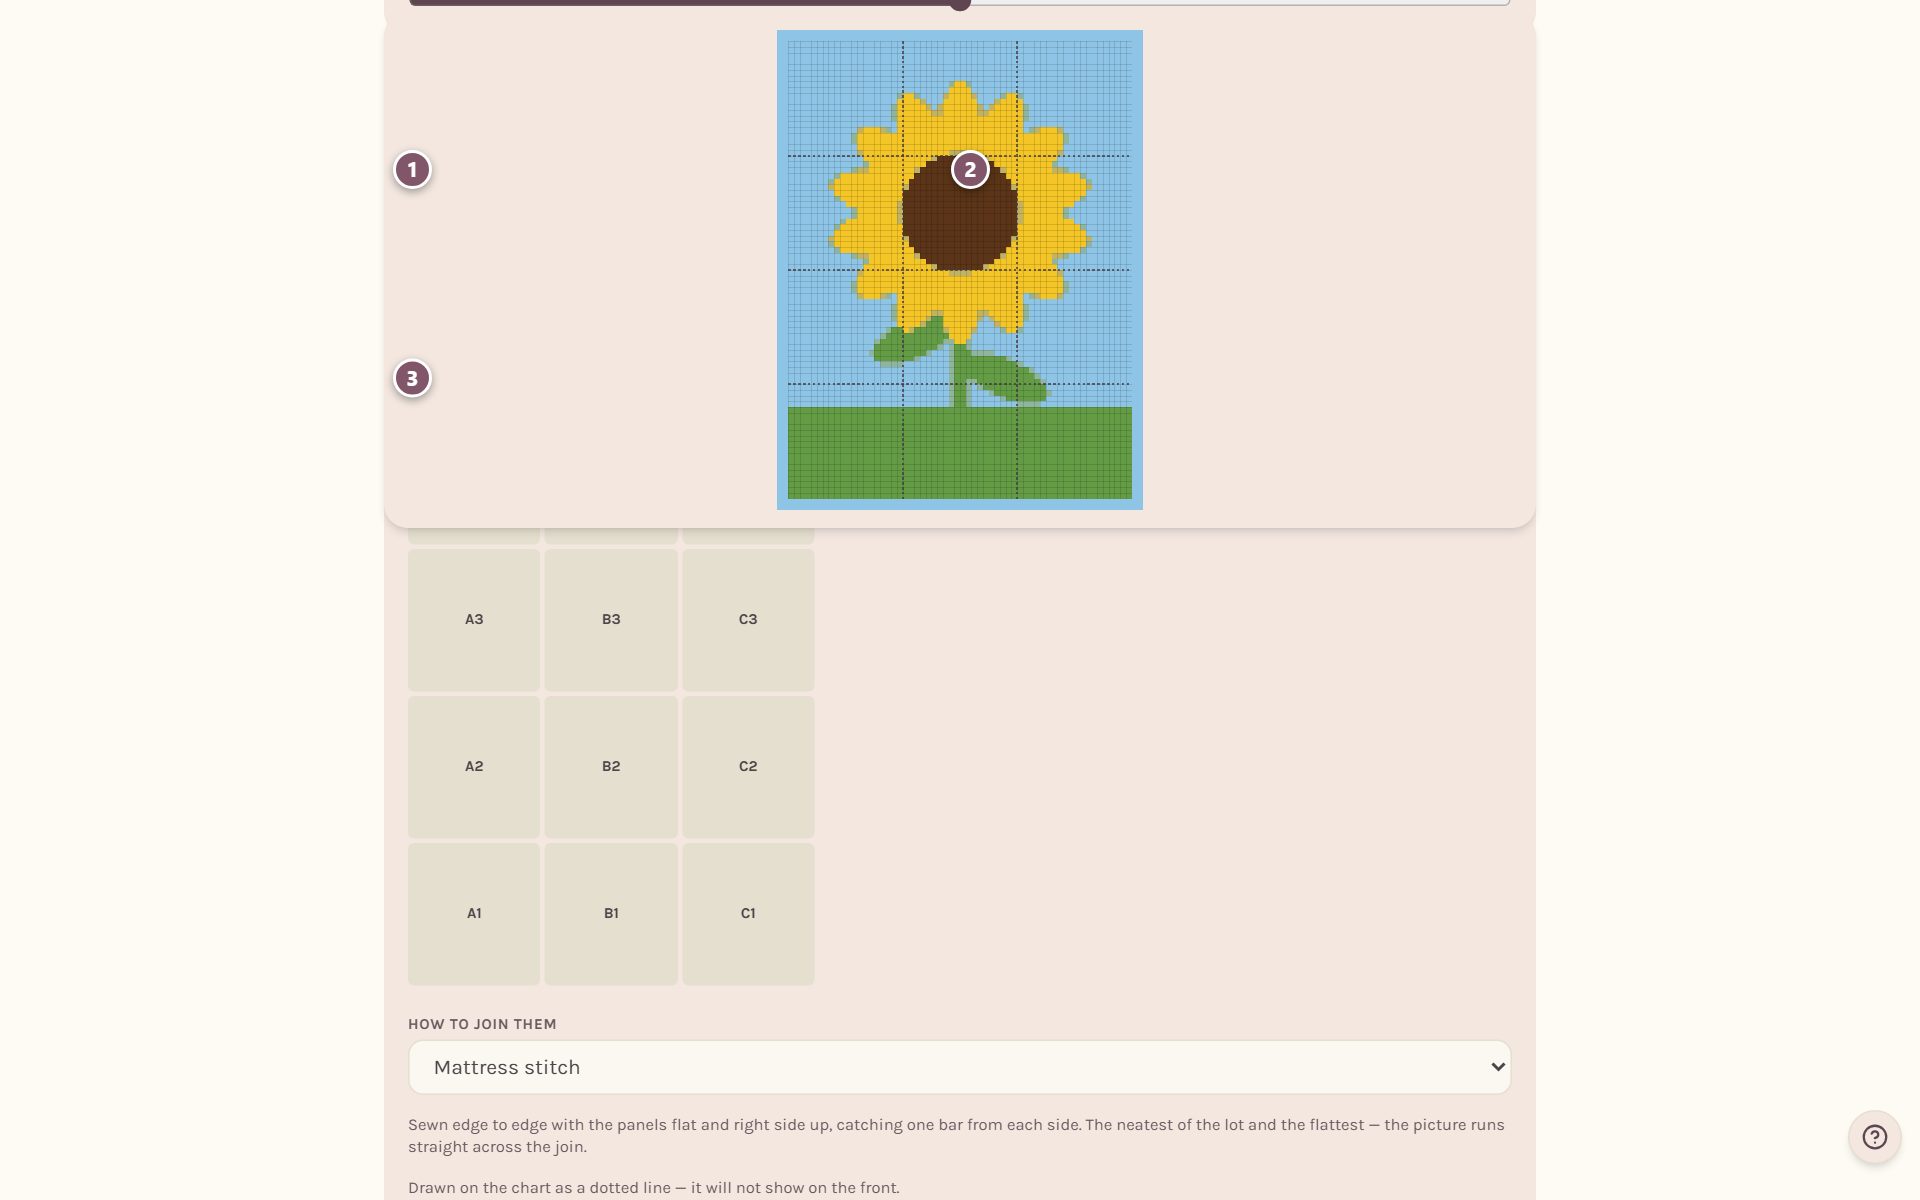
- Panel width lists every width that divides your blanket evenly. You can also type your own number in the box under it.
- Panel height works the same way, for how many rows tall each panel is.
- The map shows how the panels lay out, drawn in their real proportions, with each one named, like A1.
The line above the map says how many panels that makes and how big each one is. If your sizes don't divide evenly, the maker says so and offers a nearby blanket size that does, like Make it 60 wide. An uneven split is fine to make too: the short panels are simply charted at their real size.
Tip: Work every panel the same way up. If you turn some of them, the stitches lean opposite ways, and it shows across a photo.
Choose how to join them
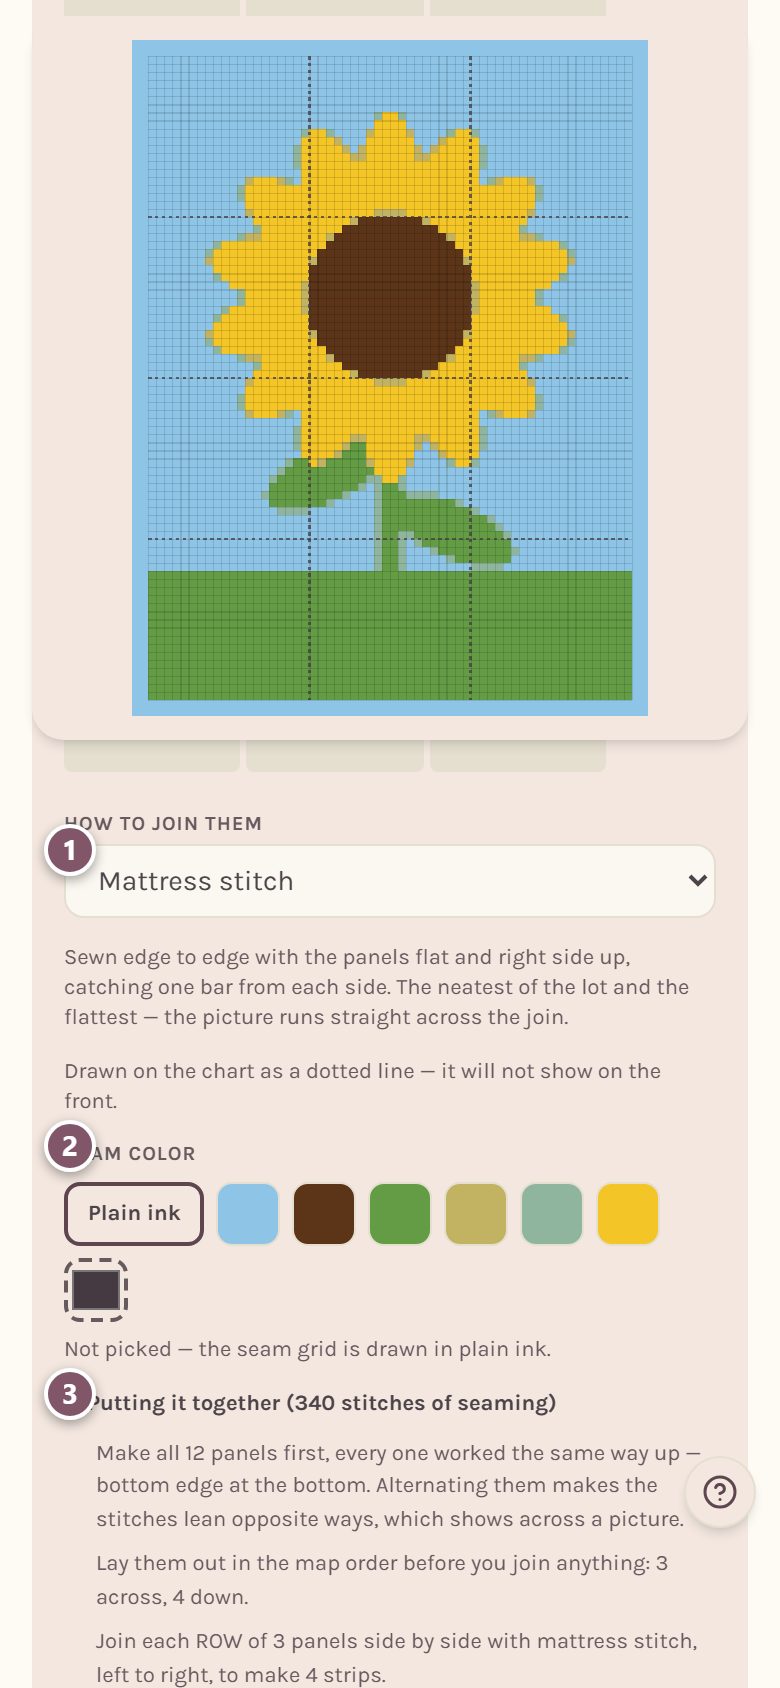
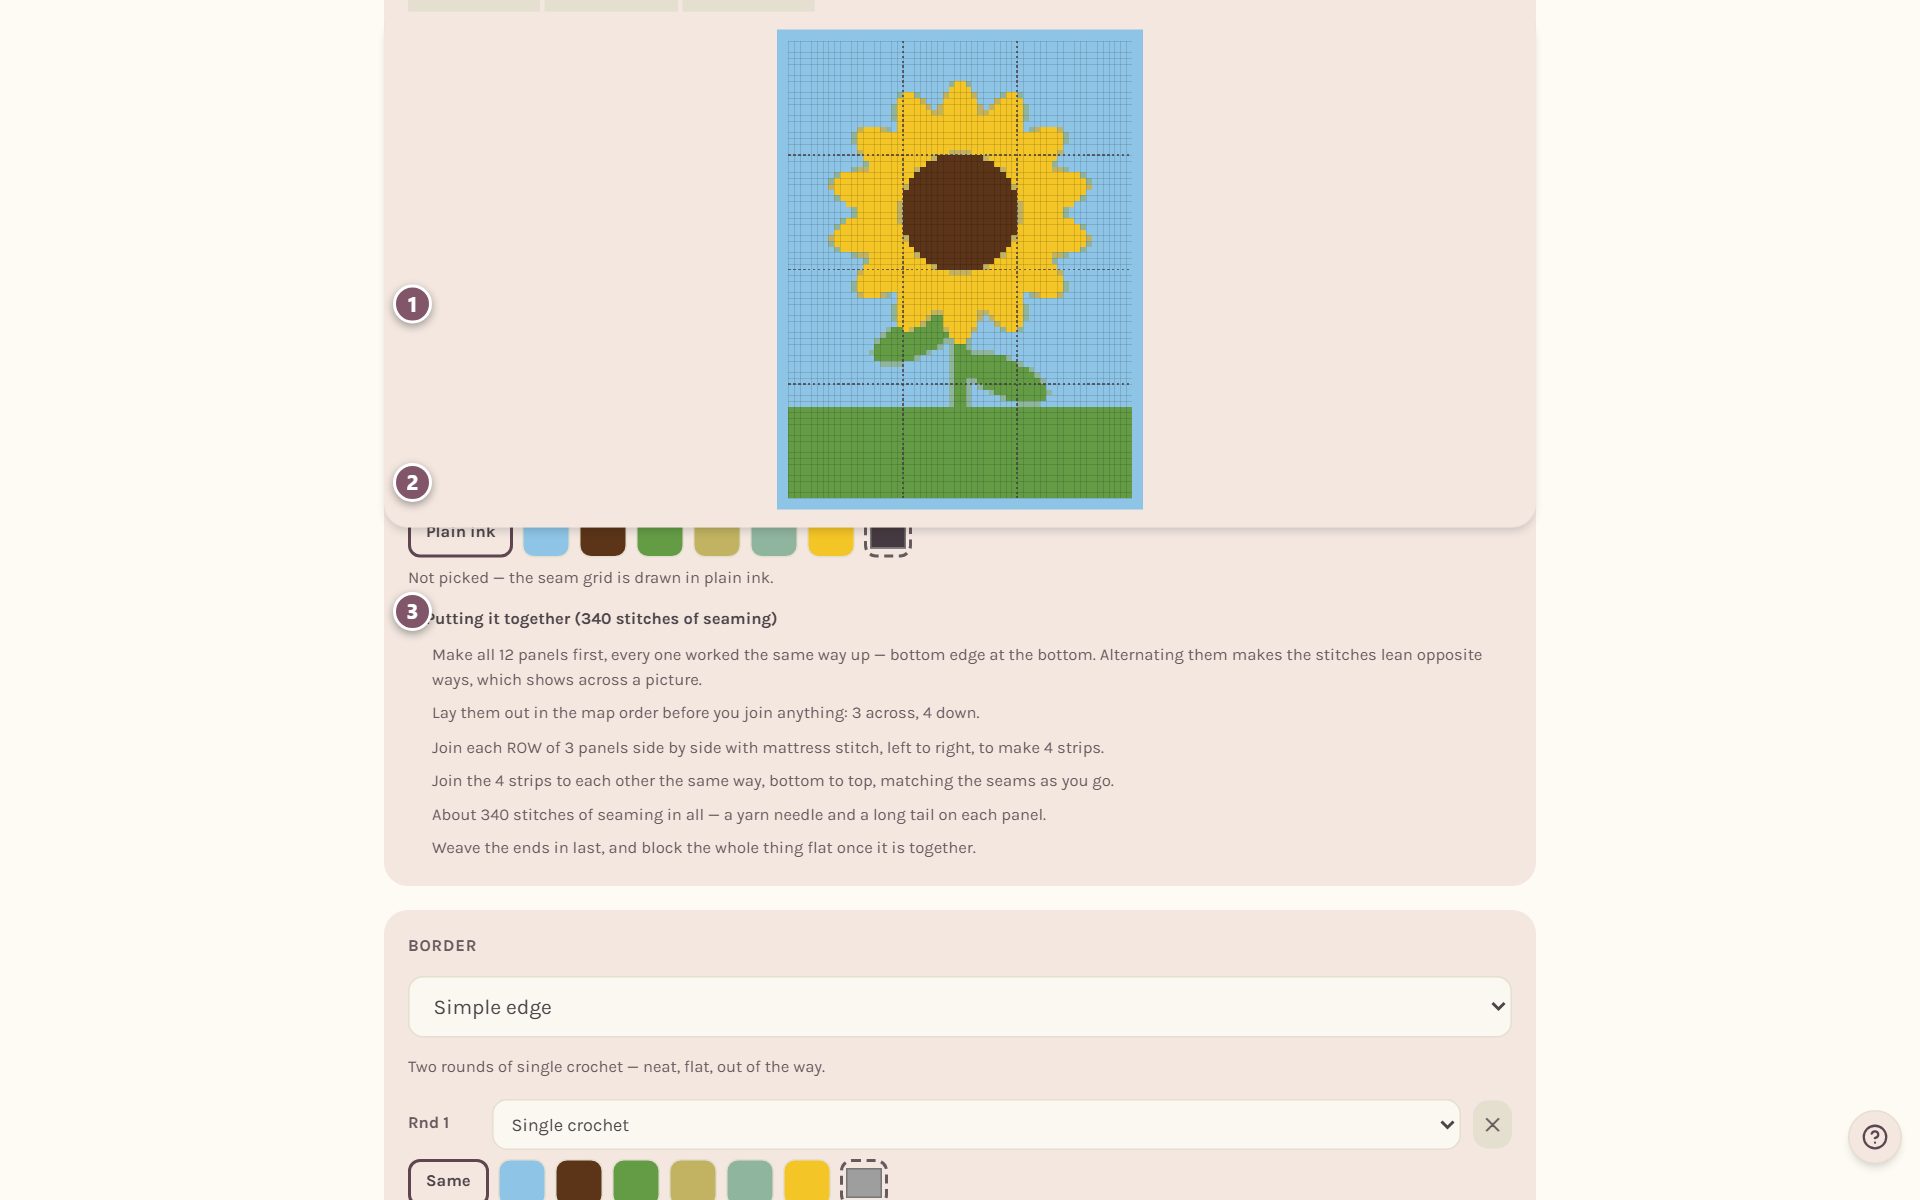
- How to join them. Hidden joins, where the picture runs straight across: Mattress stitch, Whip stitch, back loops only, Slip stitch on the wrong side or Back stitch. Joins that show on purpose, as a grid over the picture: Single crochet on the right side, Slip stitch on the right side or Join as you go. The chart draws a hidden join as a dotted line and a showing join as a solid one.
- Seam color. Tap one of your chart's colors, pick a color of your own, or leave it as Plain ink.
- Putting it together opens the joining steps in order, with how many stitches of seaming there are.
Your border goes around the whole blanket once the panels are joined.
Track your blanket square by square
Save your blanket and tap Start this as a WIP. When you track it, the page shows Your squares, a map of every panel.
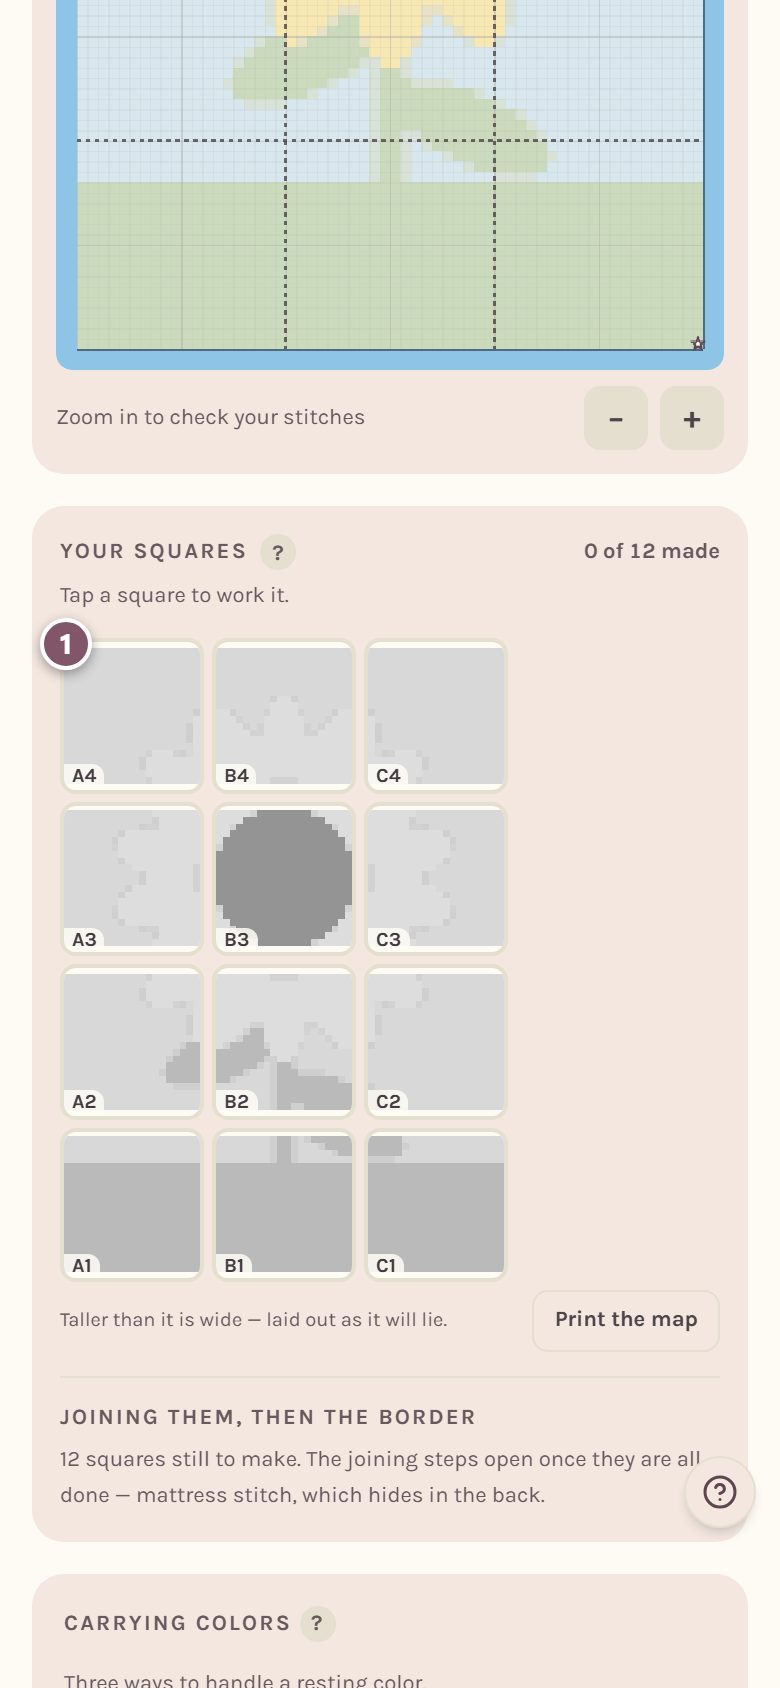
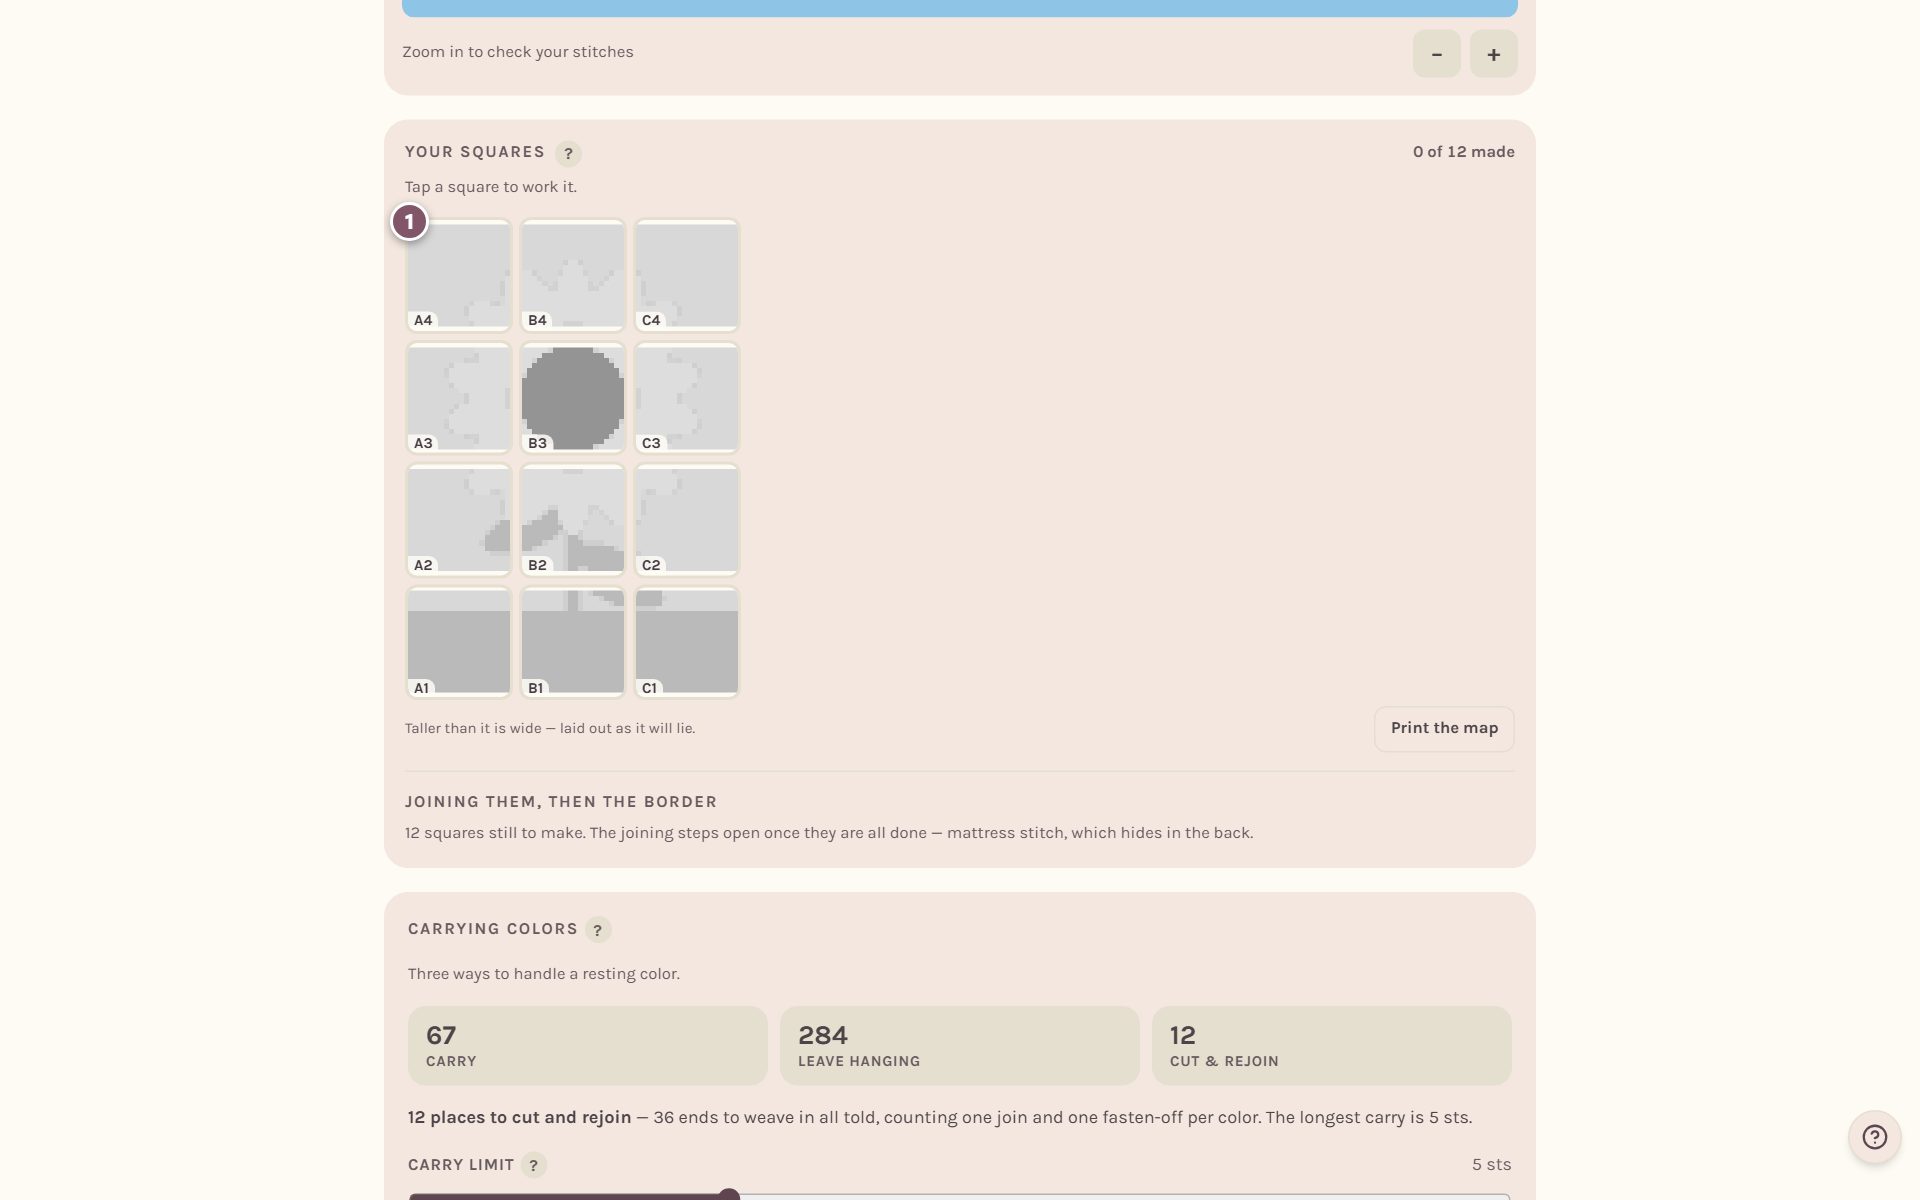
Each square is named by its column letter and its row number, counting up from the bottom, so A1 is the bottom-left corner. Tap a square to work it. The map fills in as you go: a square you've made is in color with a green tick, a square you haven't started is gray, and the one you're working on fills in row by row. It also rings the square you're on. Print the map makes a page to keep beside your pile of squares. Under the map, the joining steps and then the border open once every square is made.
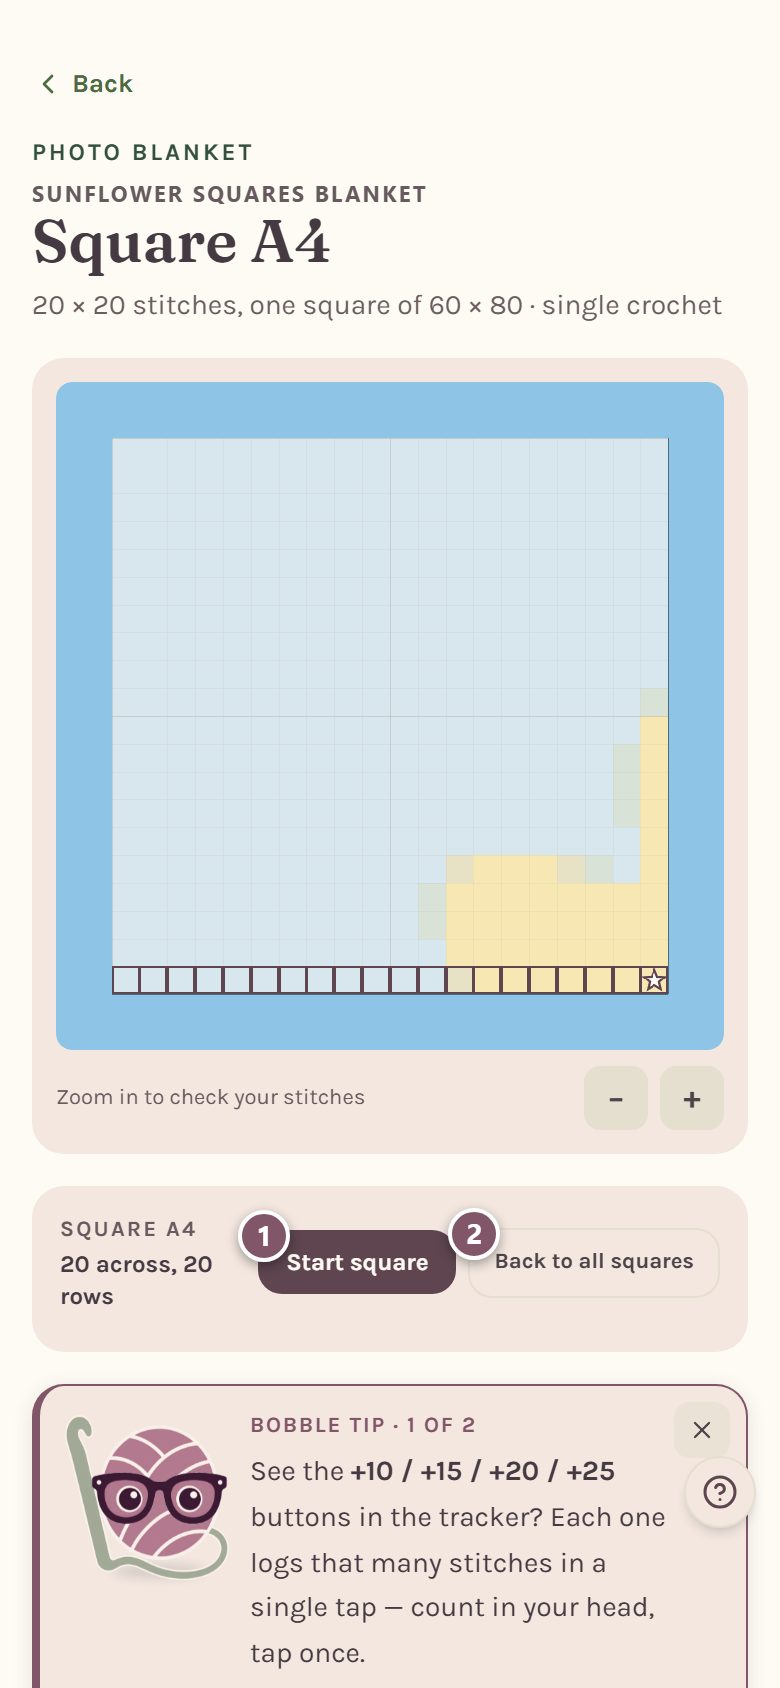
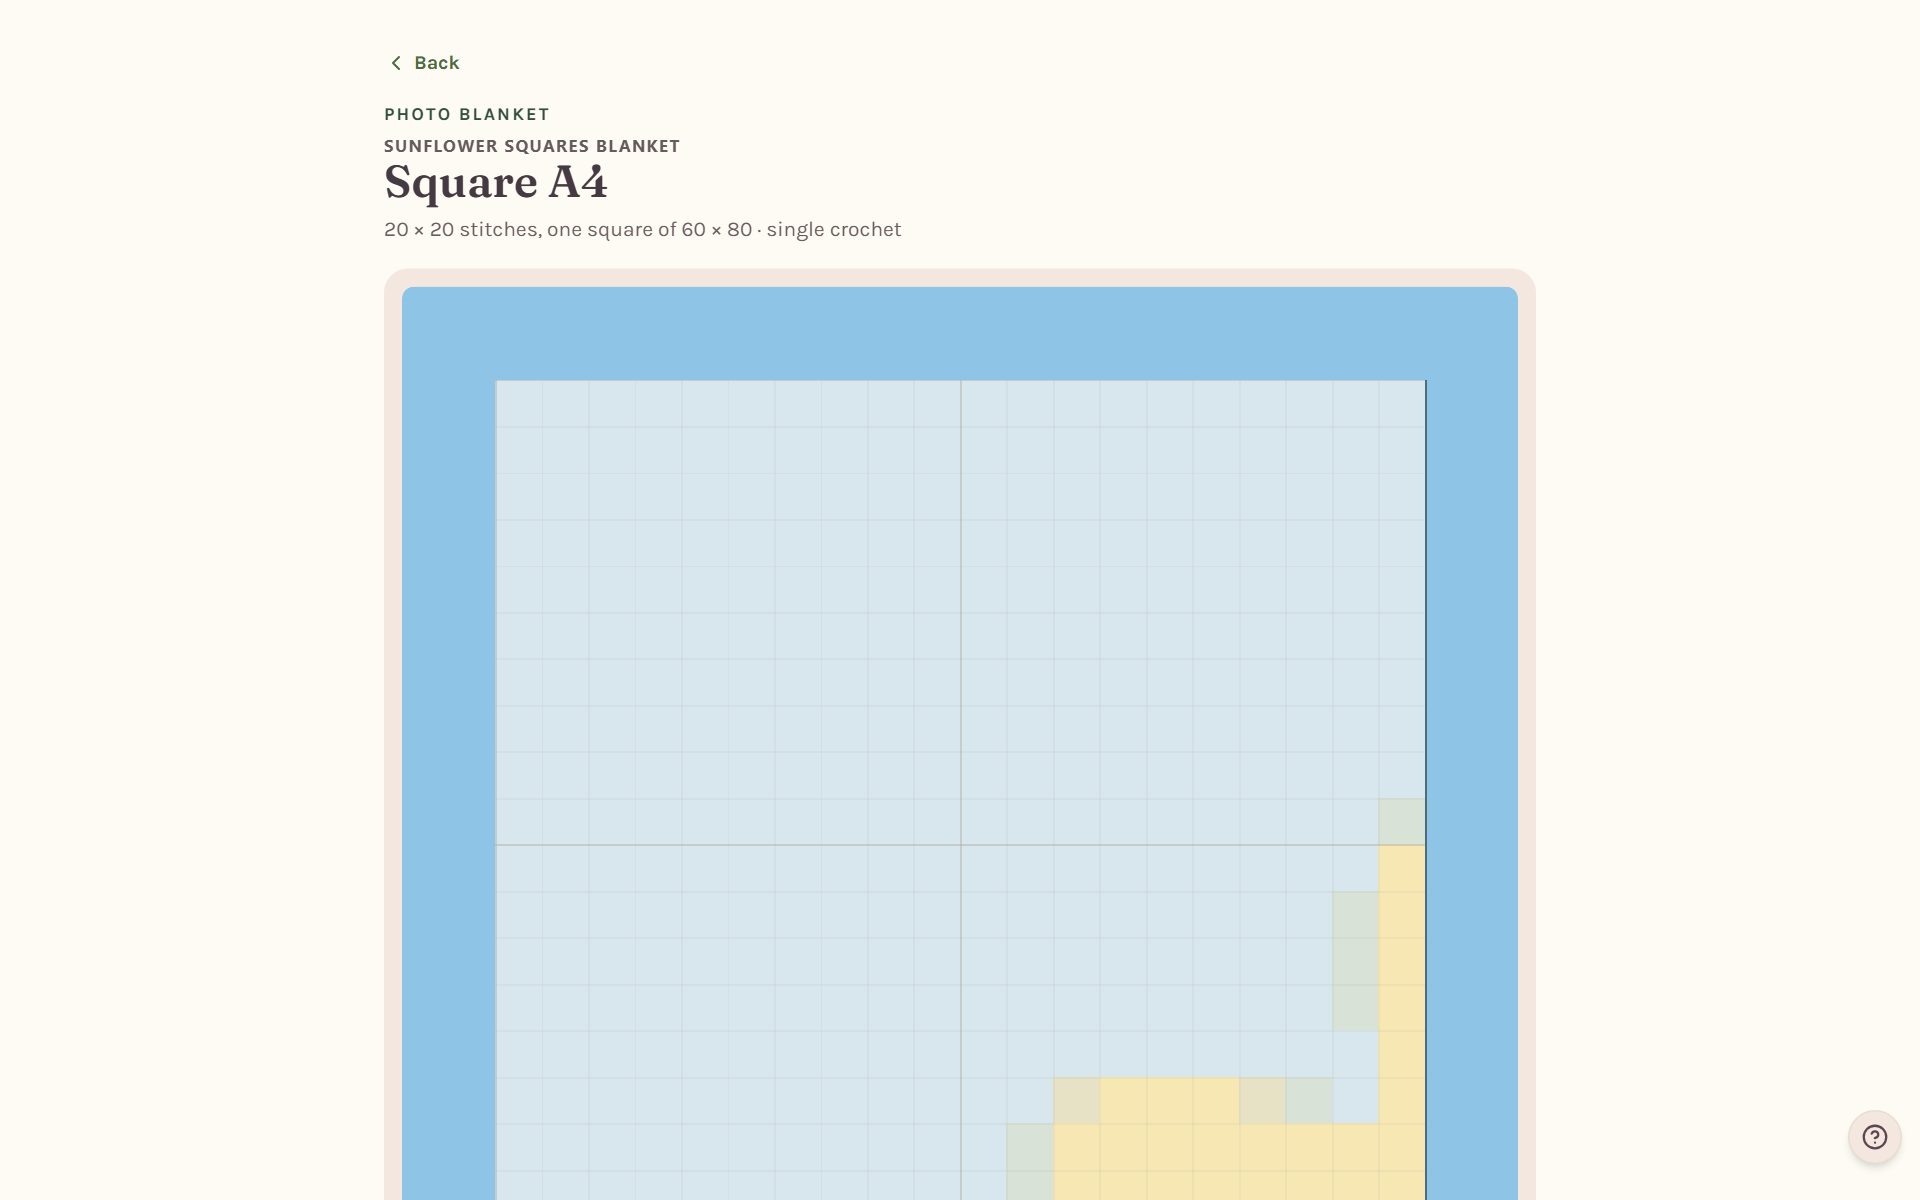
With a square open, the tracker, the chart and the photos are all for that square. Tap Start square to begin it, and Back to all squares to return to the map. A photo you add while a square is open is filed with that square.
Frequently asked questions
What size should my panels be? Small enough to carry, big enough that there aren't hundreds to join. The maker's first suggestion sits near 25 stitches a side.
Can I print one square at a time? Yes. Open a square and tap Download PDF to print just that square's pattern. The full blanket's PDF prints its hand-tracking sheets one square per page. See how to print a crochet blanket pattern.
Why make a blanket in panels at all? Besides being easy to carry, a narrow panel only touches a few colors per row, so far fewer bobbins hang off your work at once. See color changes and bobbins.
Where do I go next? Track each square with the crochet row counter for blankets.
Ready to try it? Crochet Bobble opens right in your browser, on a phone or a computer.
Open Crochet Bobble