
Design Your First Crochet Pattern: Where to Start
New to designing crochet patterns? Here's which Crochet Bobble tool to pick for blankets, dishcloths, granny squares, doilies and amigurumi, then a walk through a tiny first design from blank page to tracked and printed.
Designing your own pattern can feel like a lot when you first open the design tools. Take a breath. You only need one tool to start, and you can make something small and real in about ten minutes. I'll help you pick the right tool, and then we'll make a tiny dishcloth chart together, from a blank page to a pattern you can track and print.
What you need
- A Crochet Bobble toolbox membership.
- An idea, even a small one. A dishcloth, a coaster or a little square is a perfect first design.
Pick the right tool
Open the Patterns tab. Four boxes at the top are the four ways to make something.
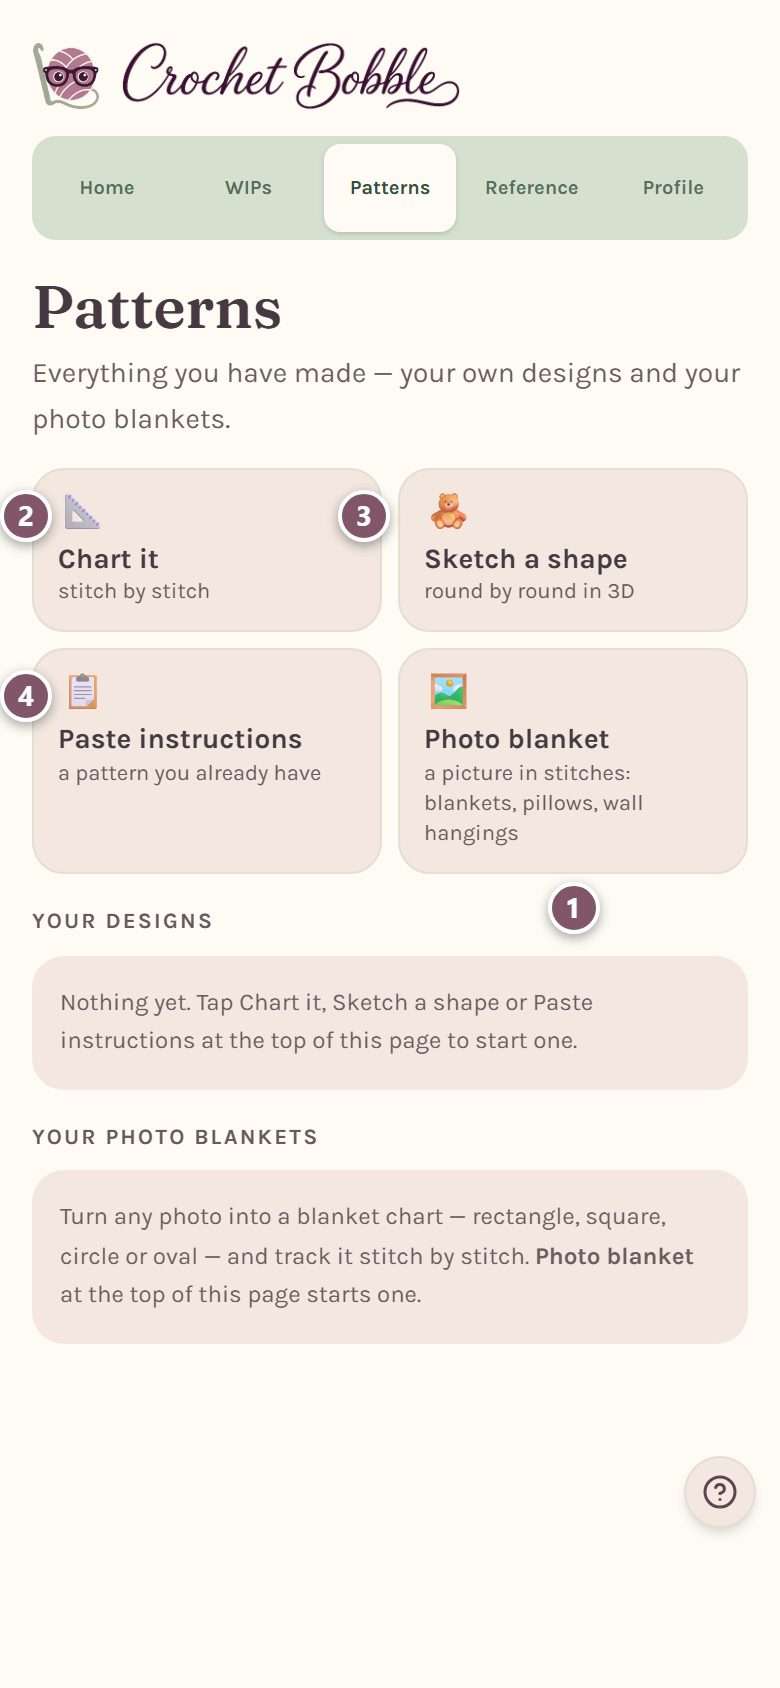
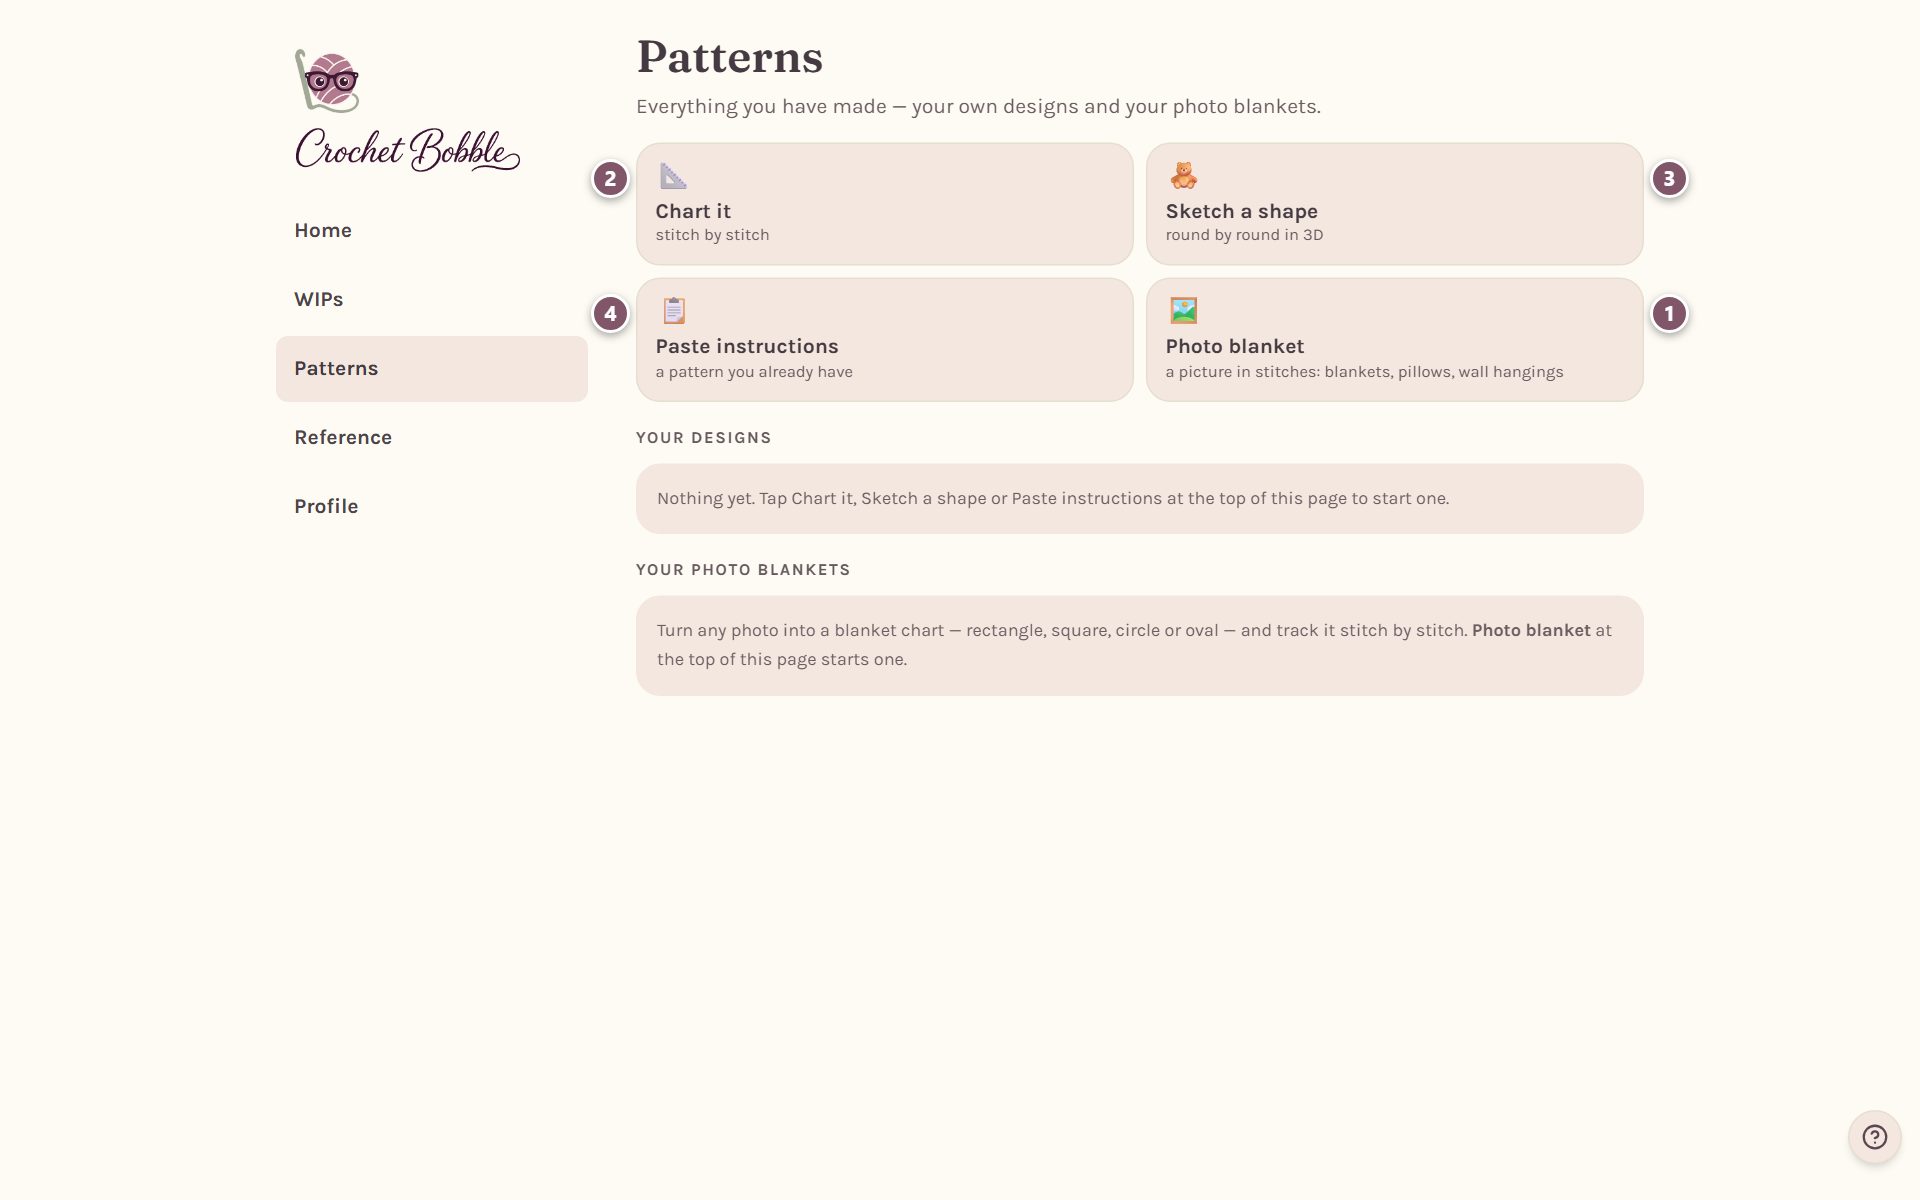
- Photo blanket is for a picture in stitches: blankets, pillows and wall hangings. Start from a photo, or start blank and paint your own. It makes square and rectangle blankets, C2C (corner to corner), filet, round, oval, round to square and mosaic.
- Chart it is the chart maker, for anything worked in rows or rounds with stitch symbols: dishcloths, scarves, granny squares, coasters and doilies.
- Sketch a shape opens the Shape Studio, for 3D pieces worked round by round: amigurumi, hats and balls. You draw your own shape, and it works out the increase and decrease math for each round.
- Paste instructions is for a pattern you already have written out. See track a crochet pattern you bought.
Not sure which one? Ask yourself what you're making:
- A picture or colorwork blanket? Photo blanket. See turn a photo into a crochet blanket pattern, or for a certain style, C2C, round blankets and mosaic. To start blank and paint, see edit a crochet blanket chart.
- Something flat with its own stitch pattern, like a dishcloth, granny square or doily? Chart it. That's the one we'll use below.
- Something stuffed or shaped, like a toy or a hat? Sketch a shape. See the amigurumi pattern maker.
Start your first chart
Tap Chart it. The New Pattern form opens.
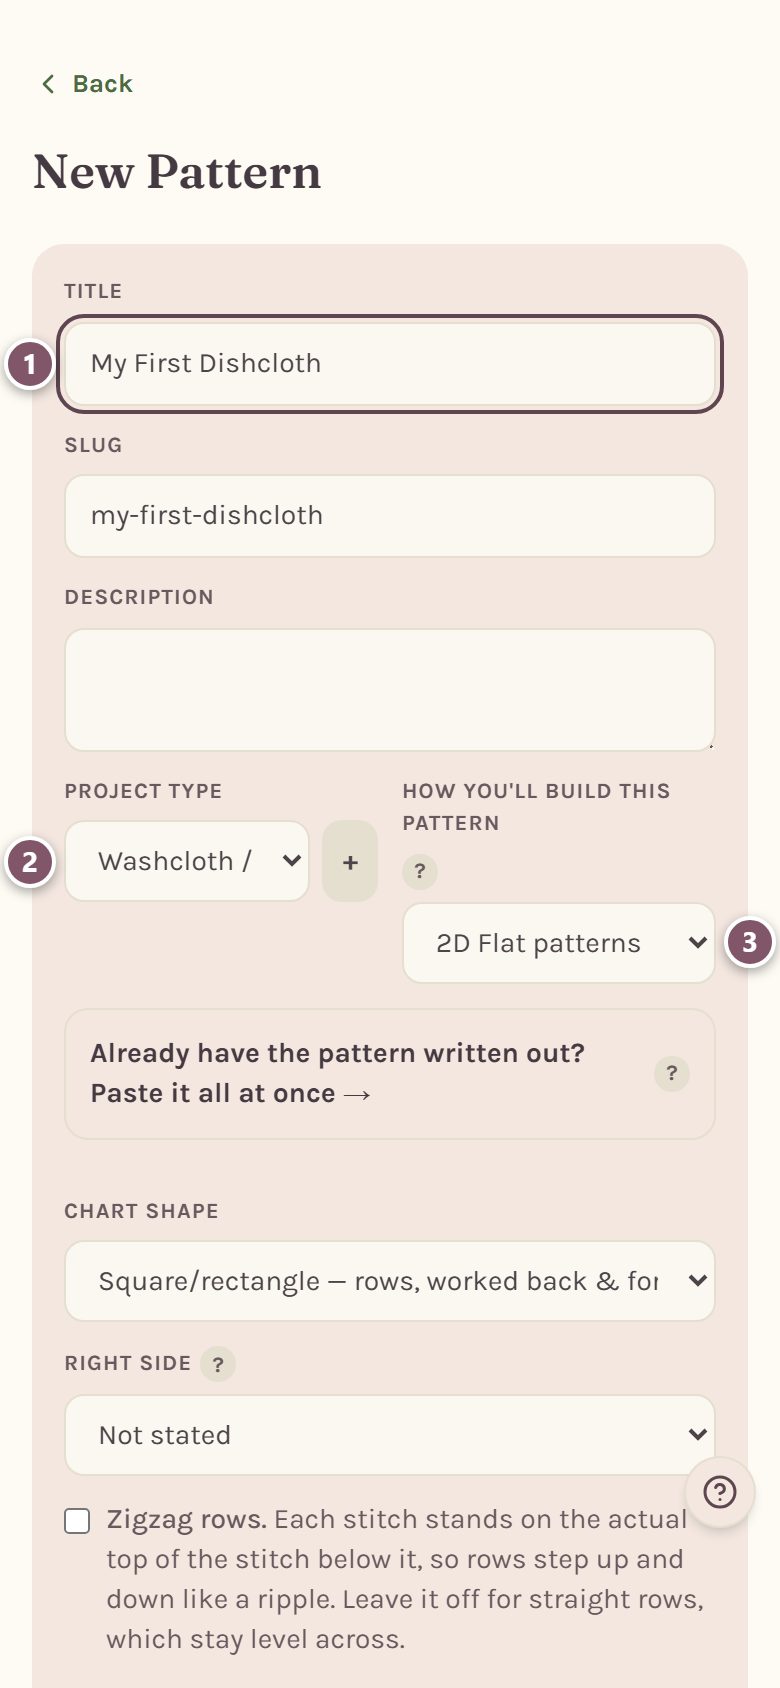
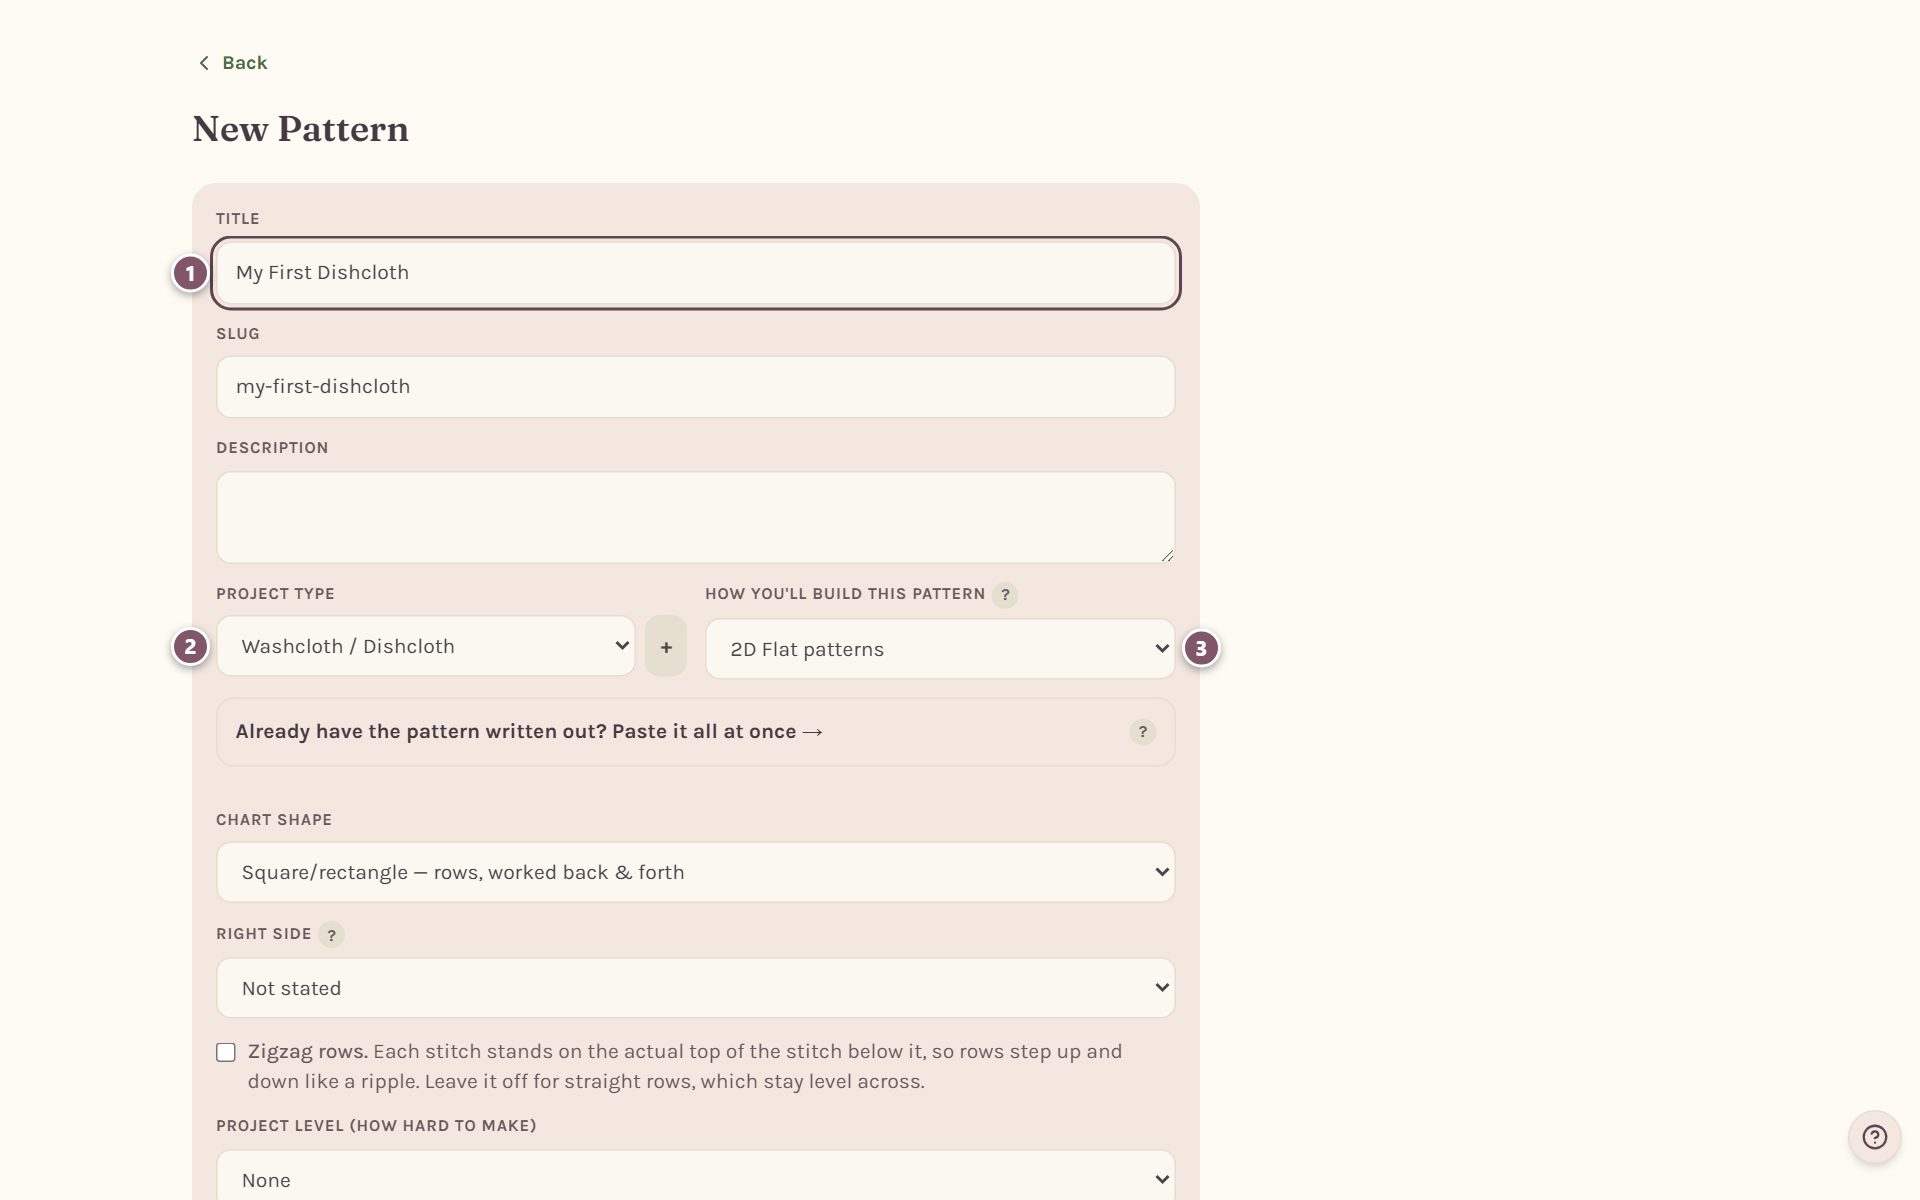
- Type a Title, like "My First Dishcloth".
- Pick a Project type, like Washcloth / Dishcloth.
- How you'll build this pattern says 2D Flat patterns. That's the chart maker. (3D / Shaped pieces is for amigurumi and hats, in the Shape Studio.)
Scroll down to Chart shape and choose Square/rectangle — rows, worked back & forth. A dishcloth is worked in rows.
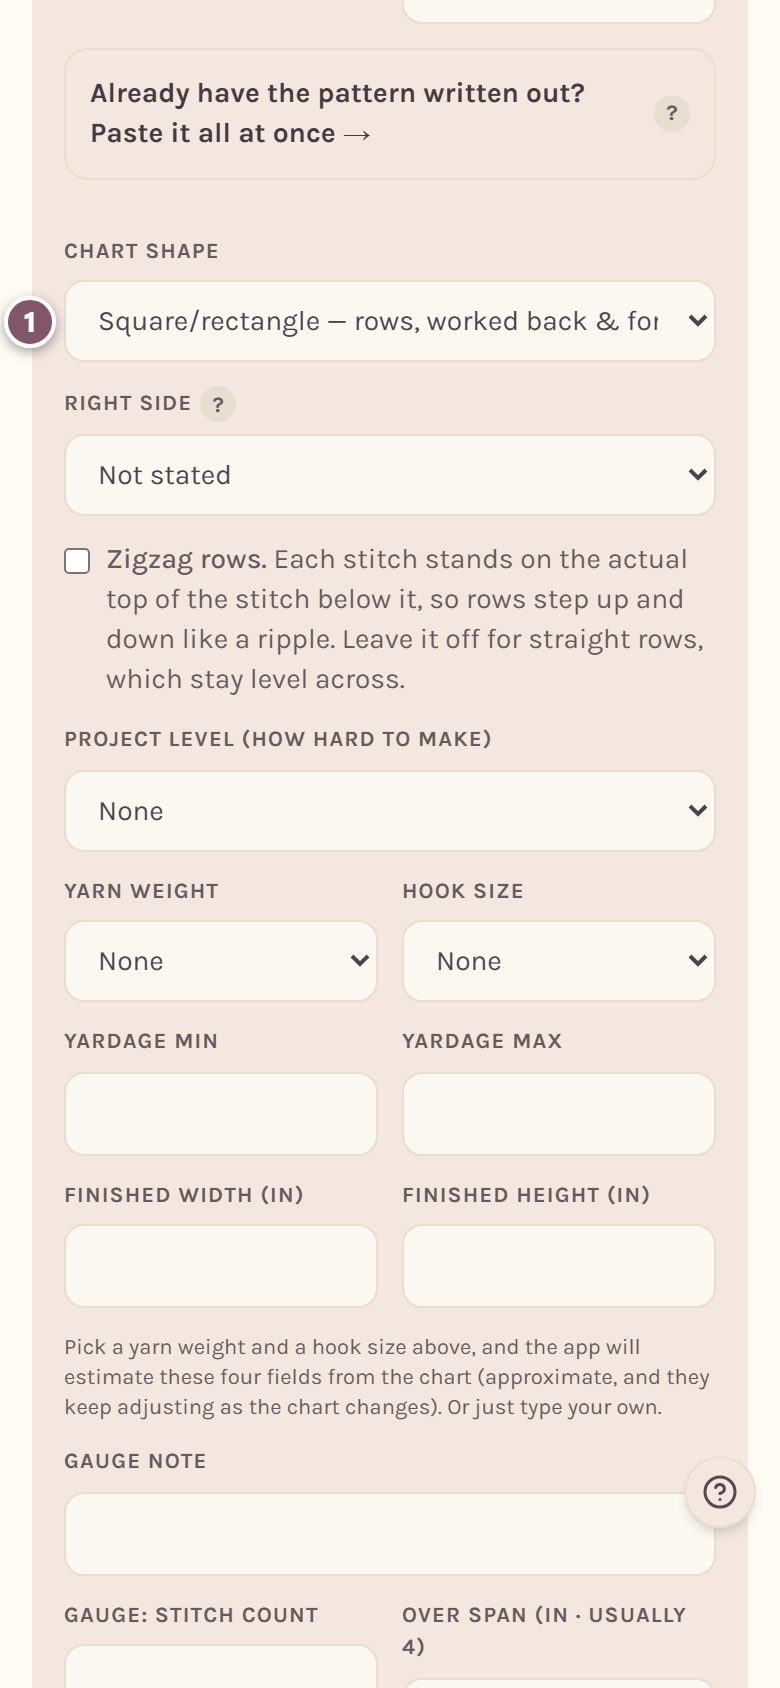
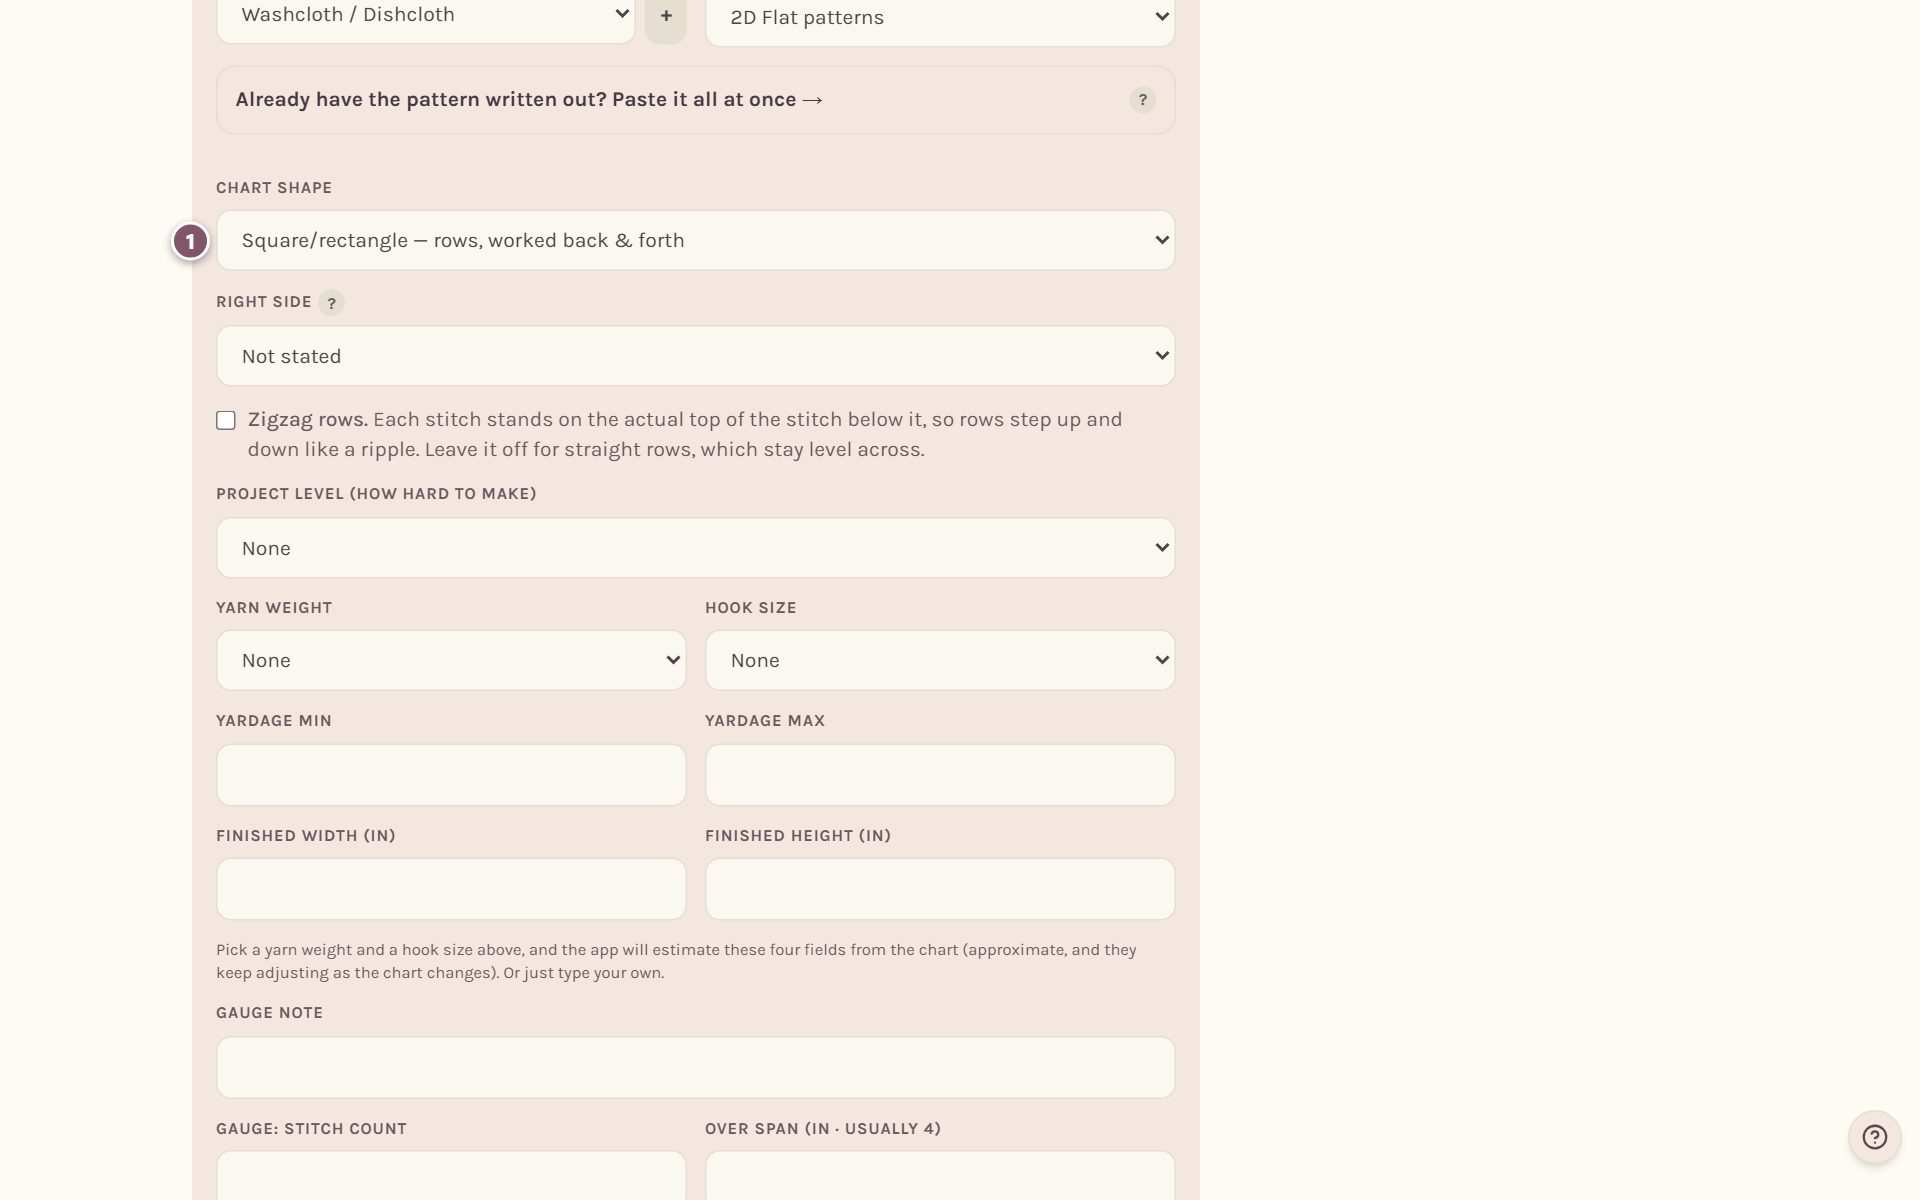
Then scroll to the bottom and tap Create & continue to builder.
Tip: if you know your yarn weight and hook size, like medium (4) and 5.5 mm, pick them on this form. The app then estimates how big your piece comes out and how much yarn it takes.
Make the foundation chain
The builder opens on your new pattern.
- Tap + Add row. On a phone it's the + at the top.
- Tap ch eleven times.
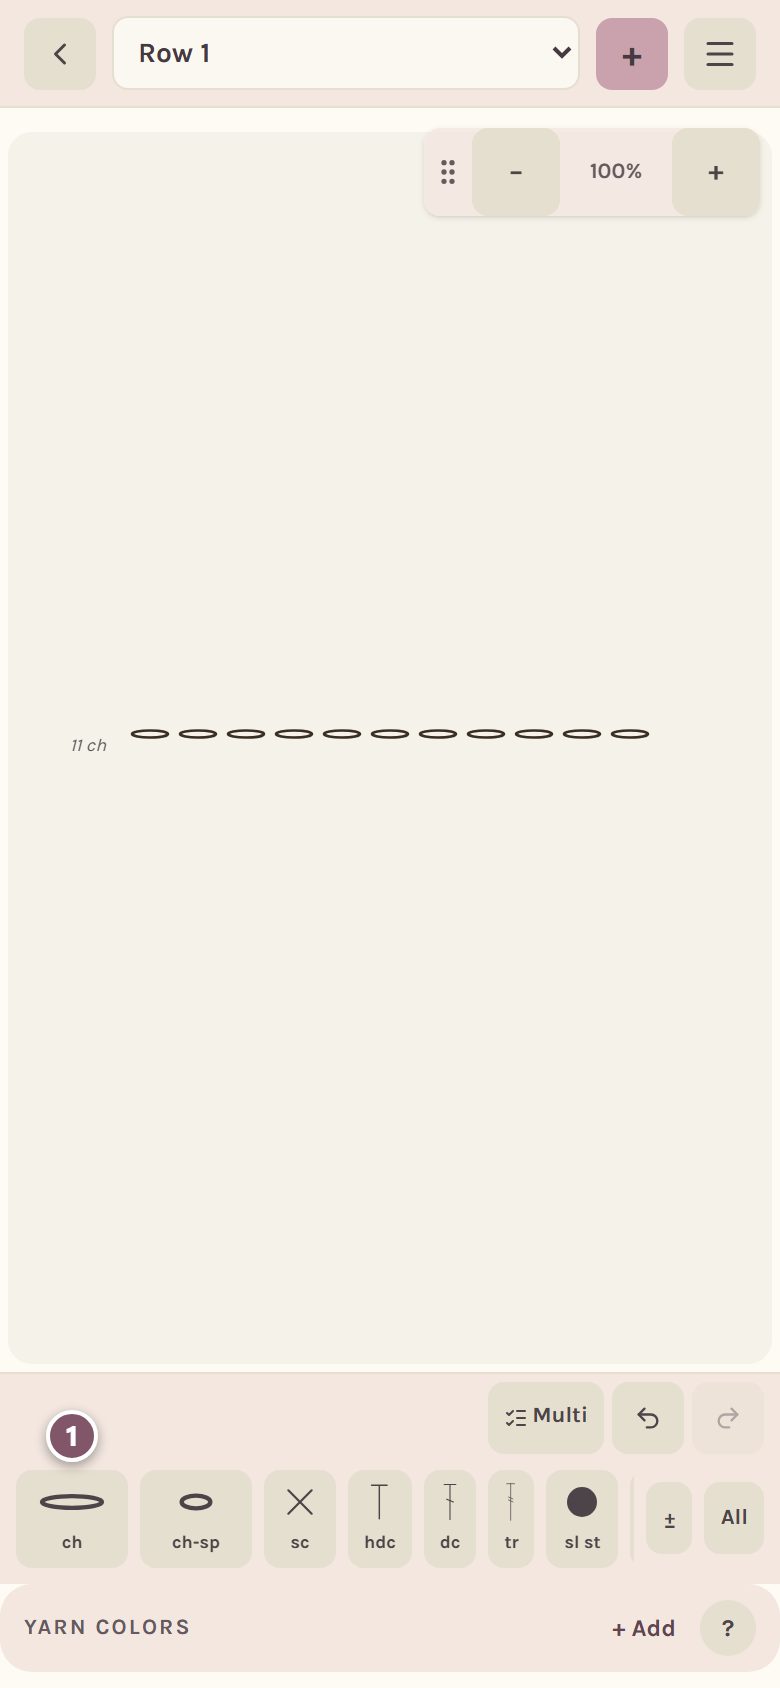
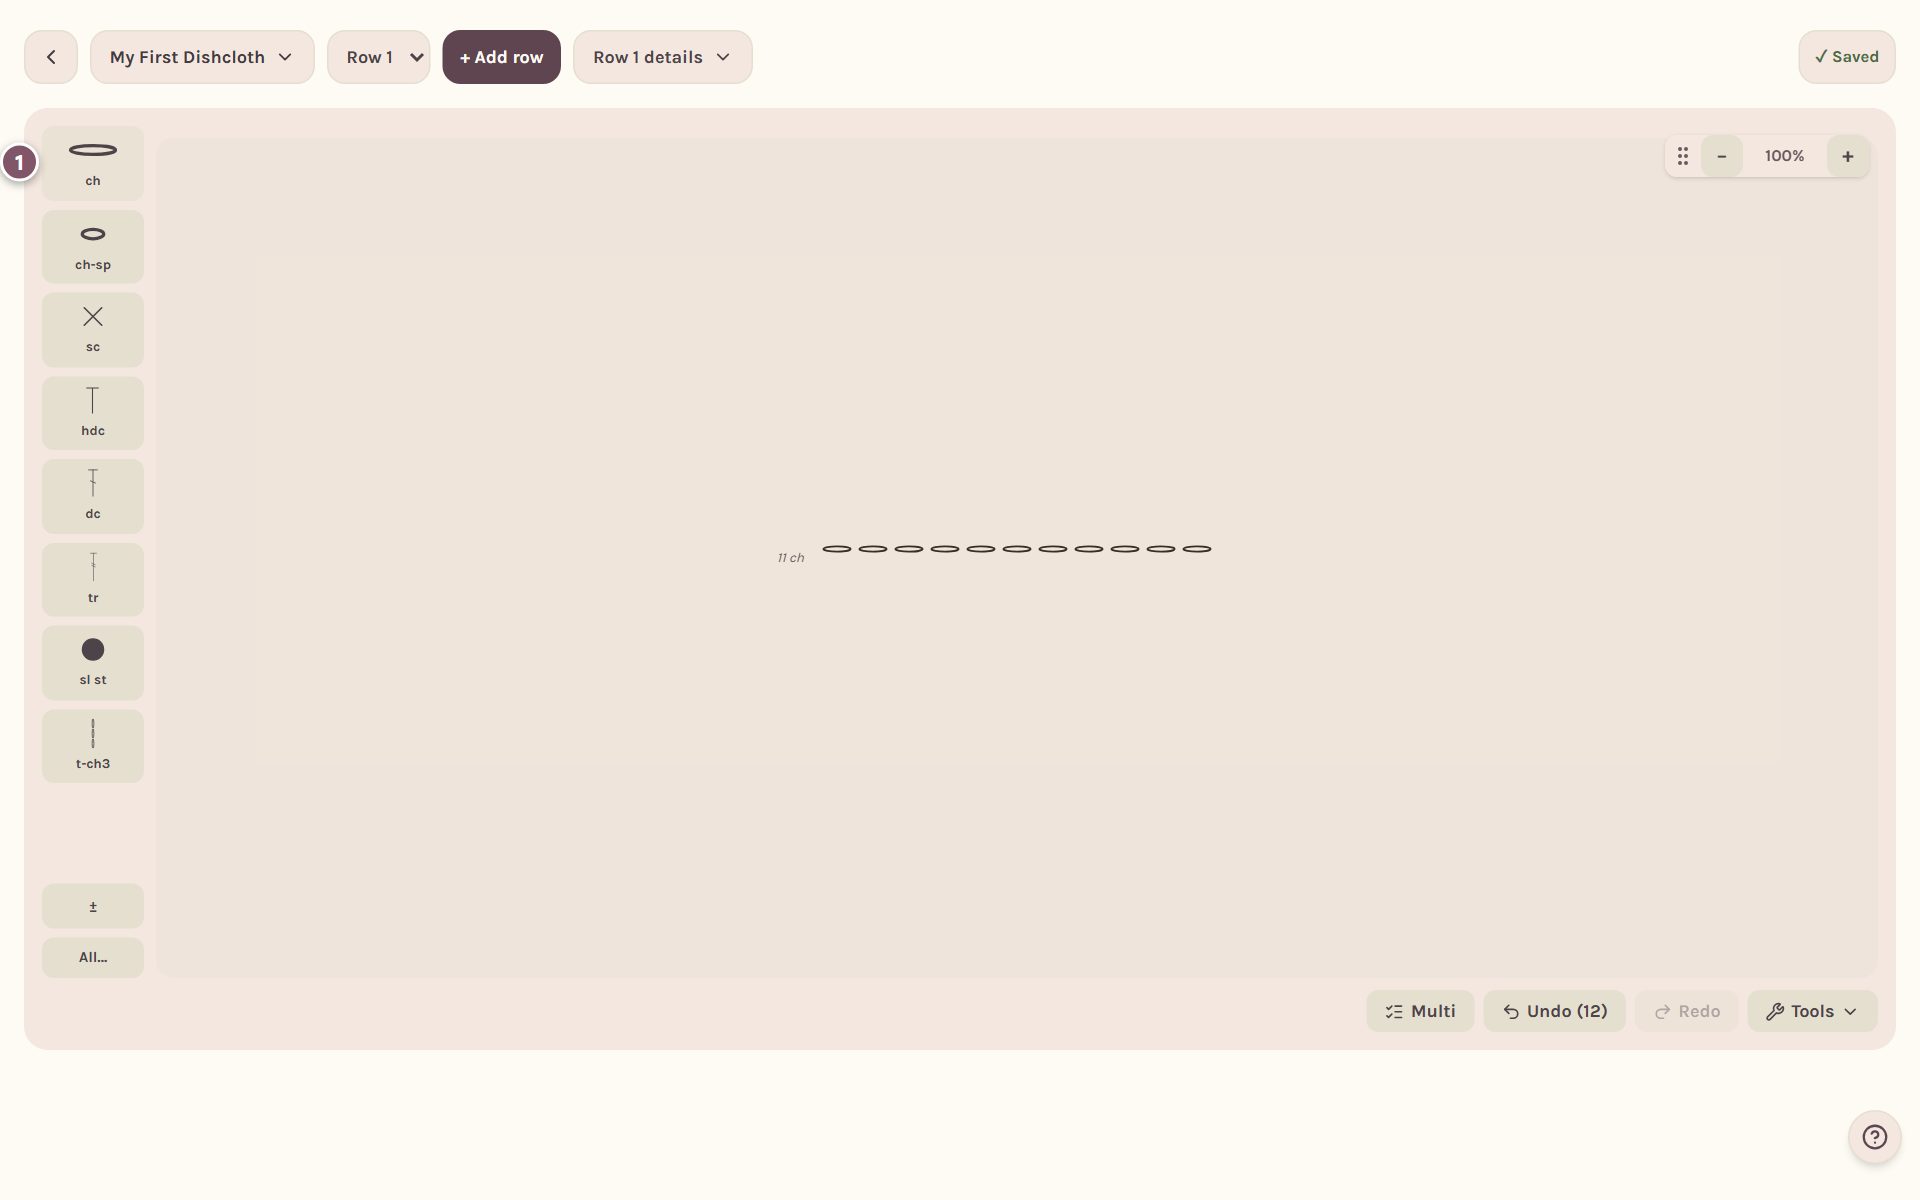
A row of nothing but chains is your foundation chain. It has no row number, because Row 1 is worked into it, and the chart shows "11 ch" at its end so you never have to count.
Add Row 1
- Tap + Add row again.
- Tap sc ten times.
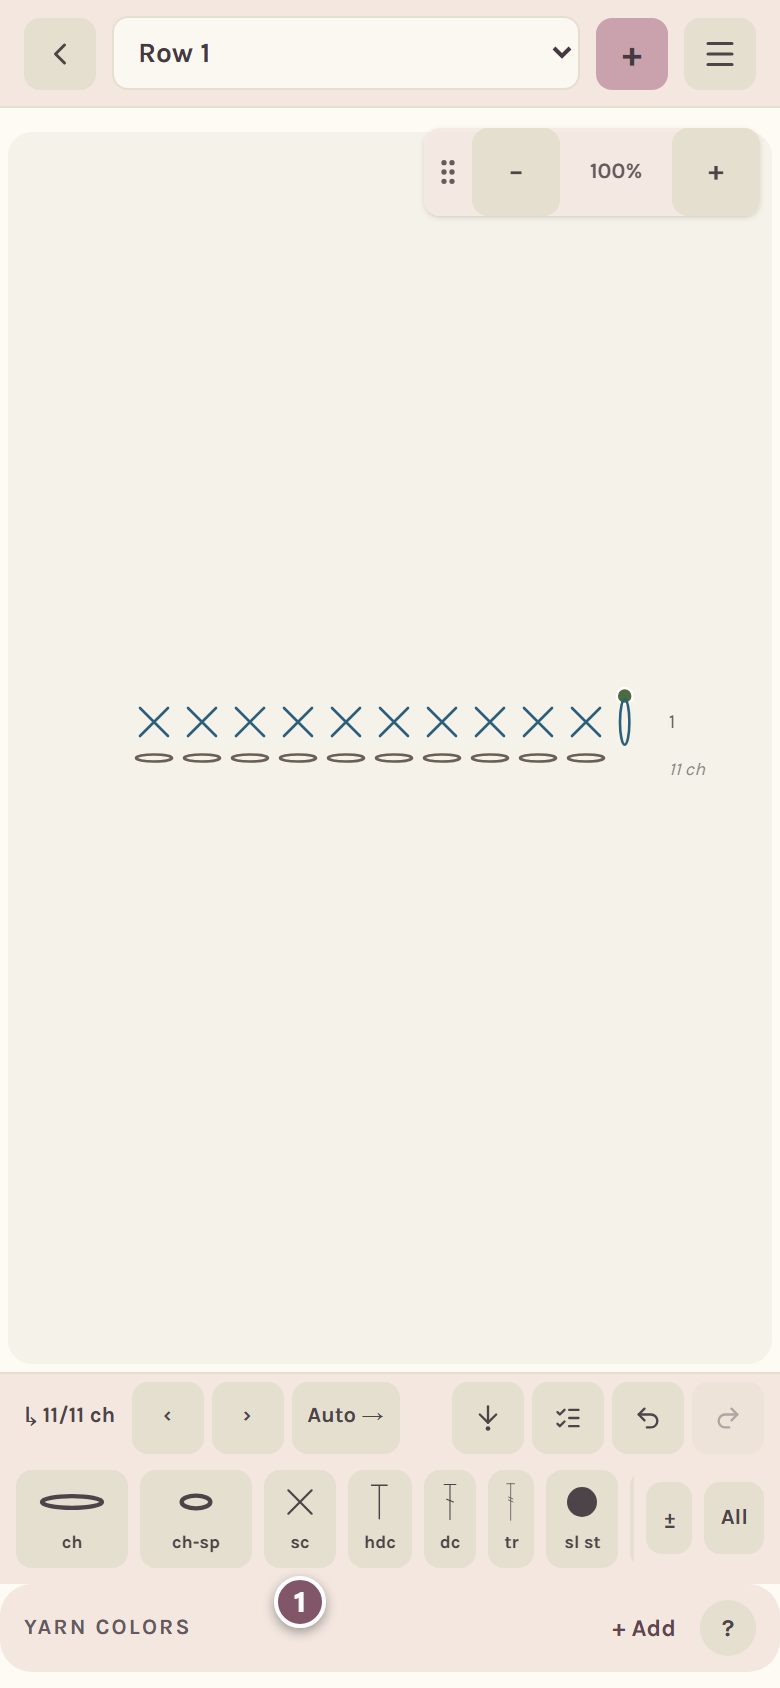
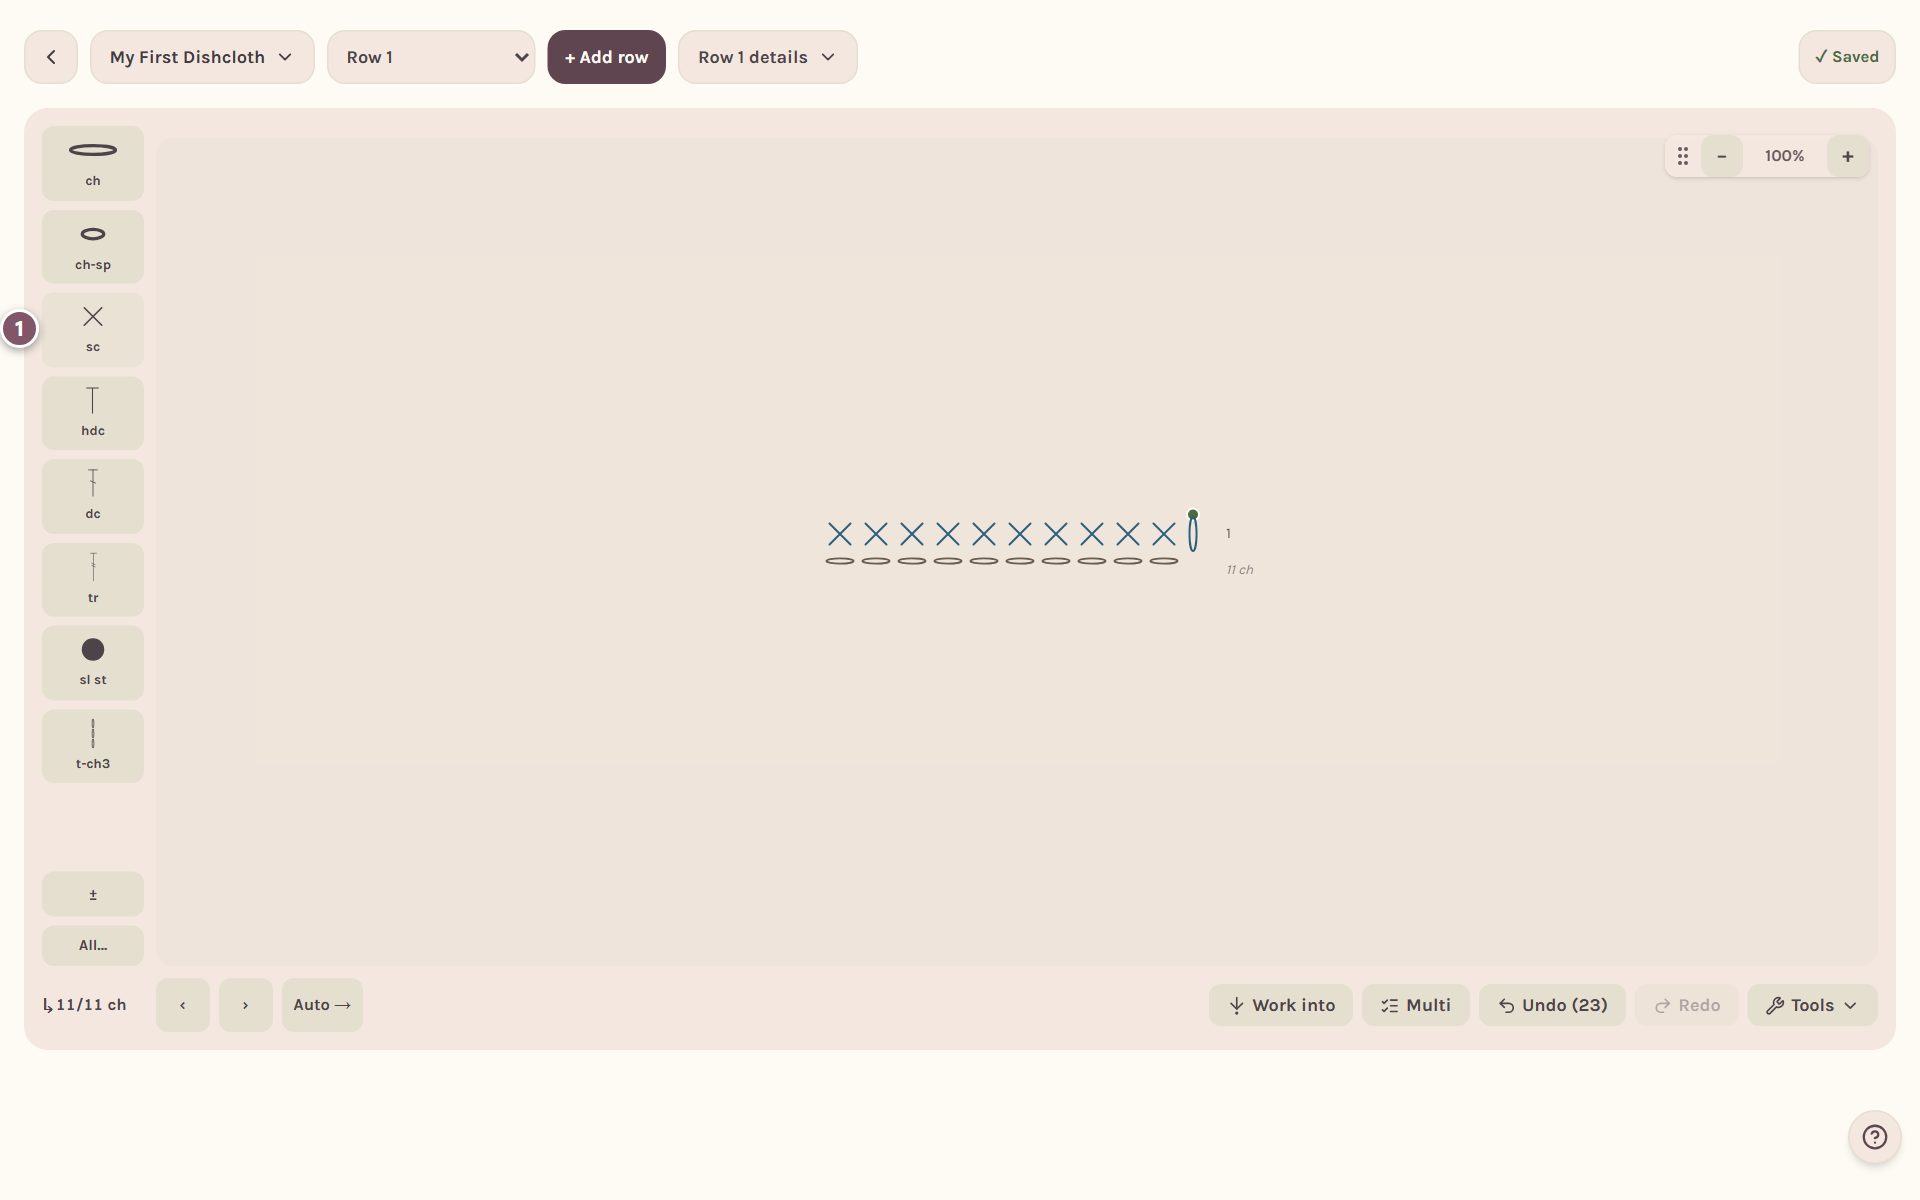
Each new stitch is worked into the stitch below it, starting at the end where your hook is, just like real crochet. The green dot shows where the next stitch goes.
Row 1 starts in the 2nd chain from the hook, so the chain at the hook becomes Row 1's turning chain. The chart stands it up at the start of Row 1, and there's one chain under each single crochet.
Add Row 2
- Tap + Add row again.
- Tap All at the end of the stitch strip, then tap t-ch1, the turning chain of one. Tap Less to put the strip back.
- Tap sc ten times.
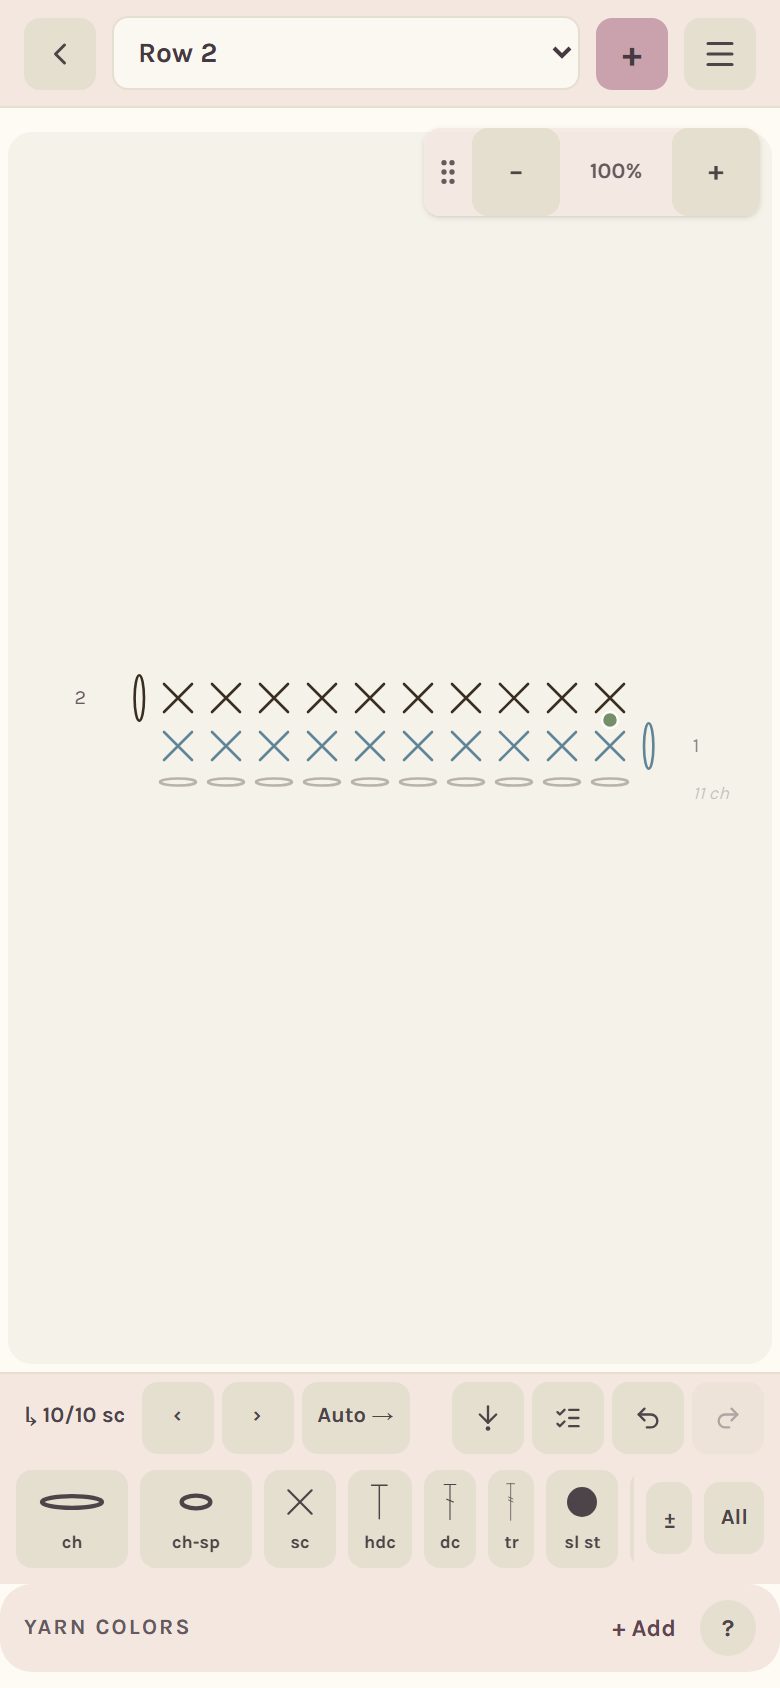
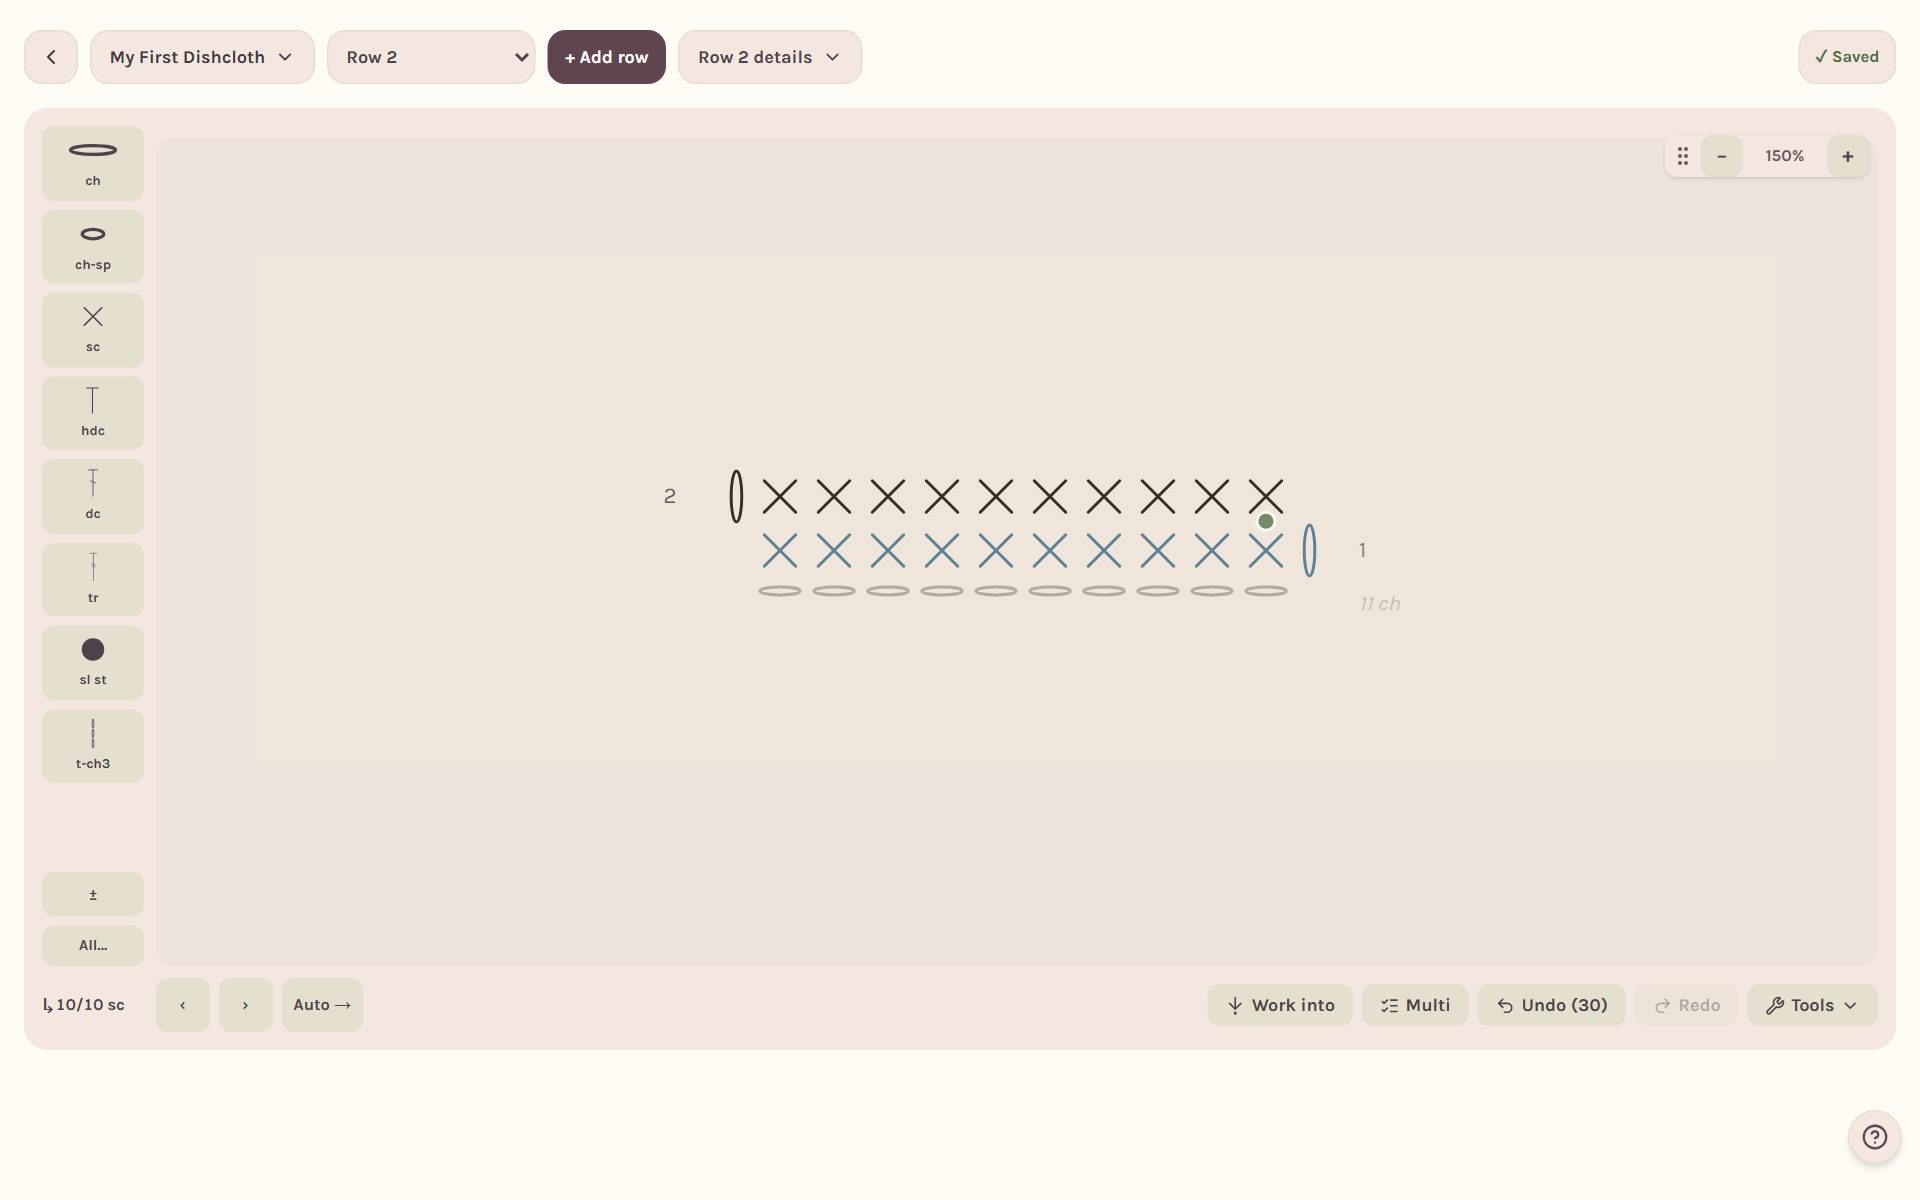
Everything saves as you go. ✓ Saved at the top tells you it's safe. To keep going, add more rows the same way. For a real dishcloth, you'd add rows until it's square.
Tip: made a mistake? Undo steps back, one stitch or one whole row at a time. On a phone it's the curved arrow in the bottom bar.
Write the words from your chart
Your chart can be spelled out in words, row by row. The words come straight from the stitches you placed, so they say exactly what your chart says.
- Open the pattern's menu. On a phone, tap ☰ at the top right. On a computer, tap your pattern's name at the top left.
- Tap Write every row from the chart, then tap again to say yes.
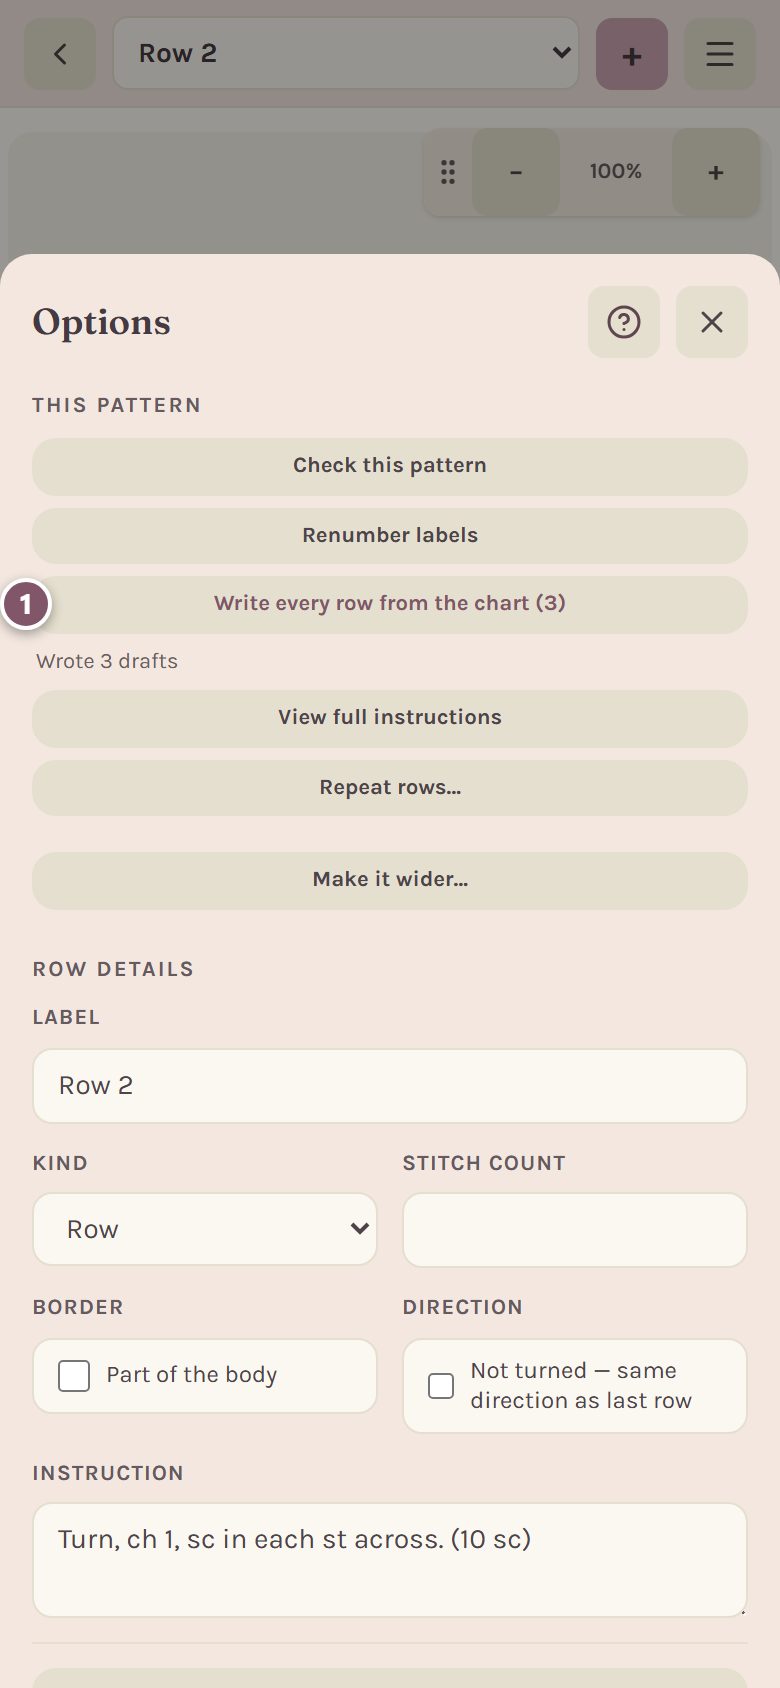
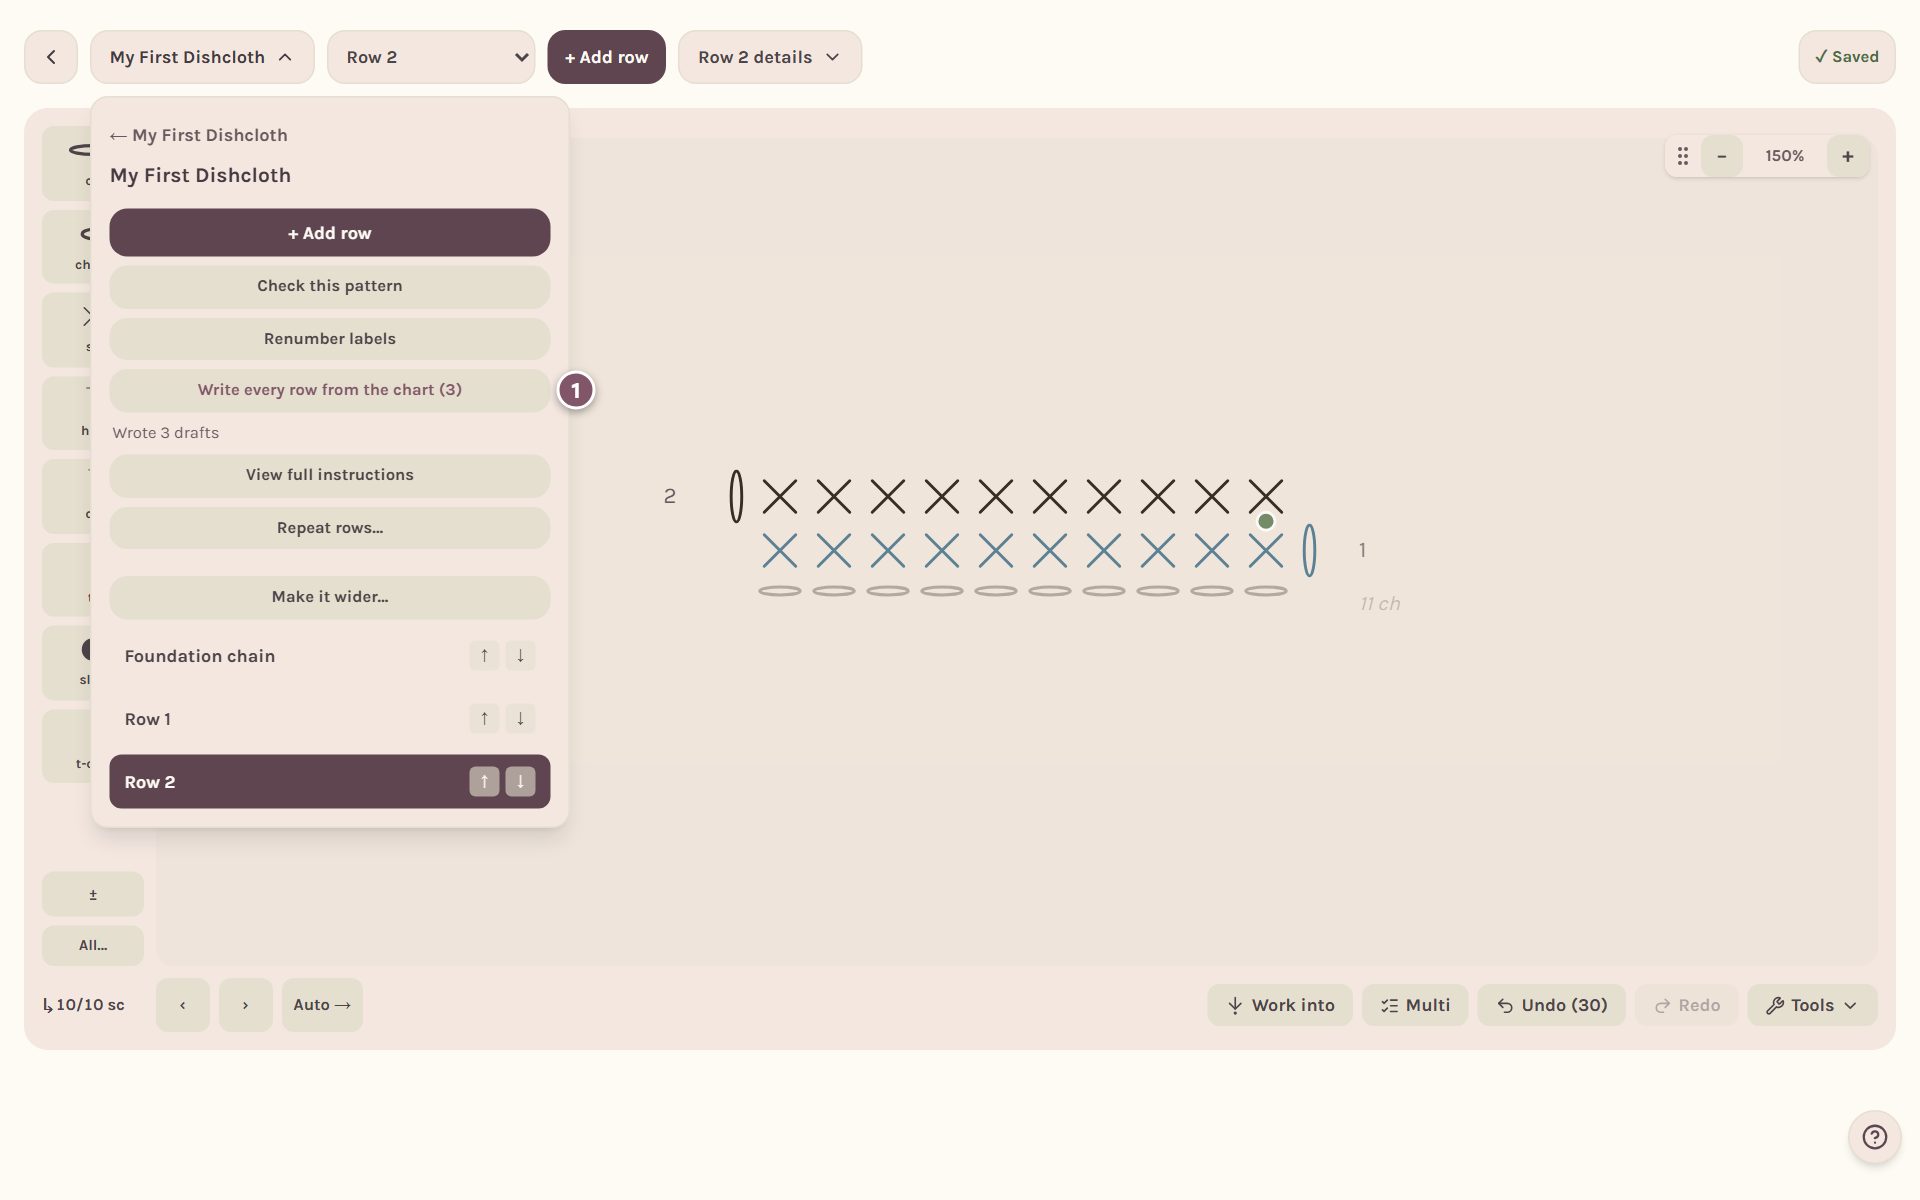
Then tap View full instructions in the same menu to read the whole pattern on one screen.
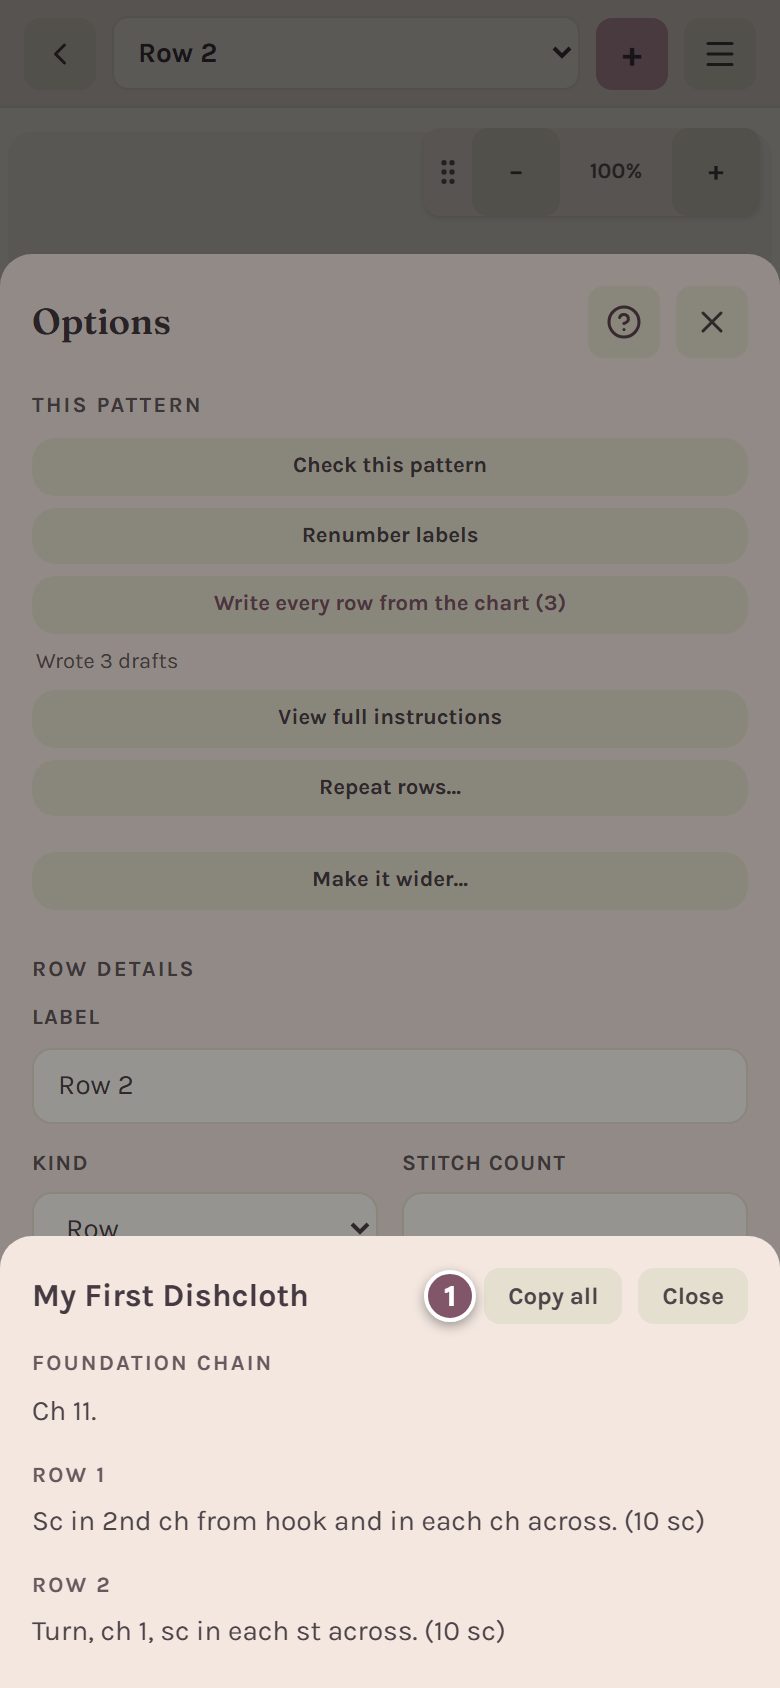
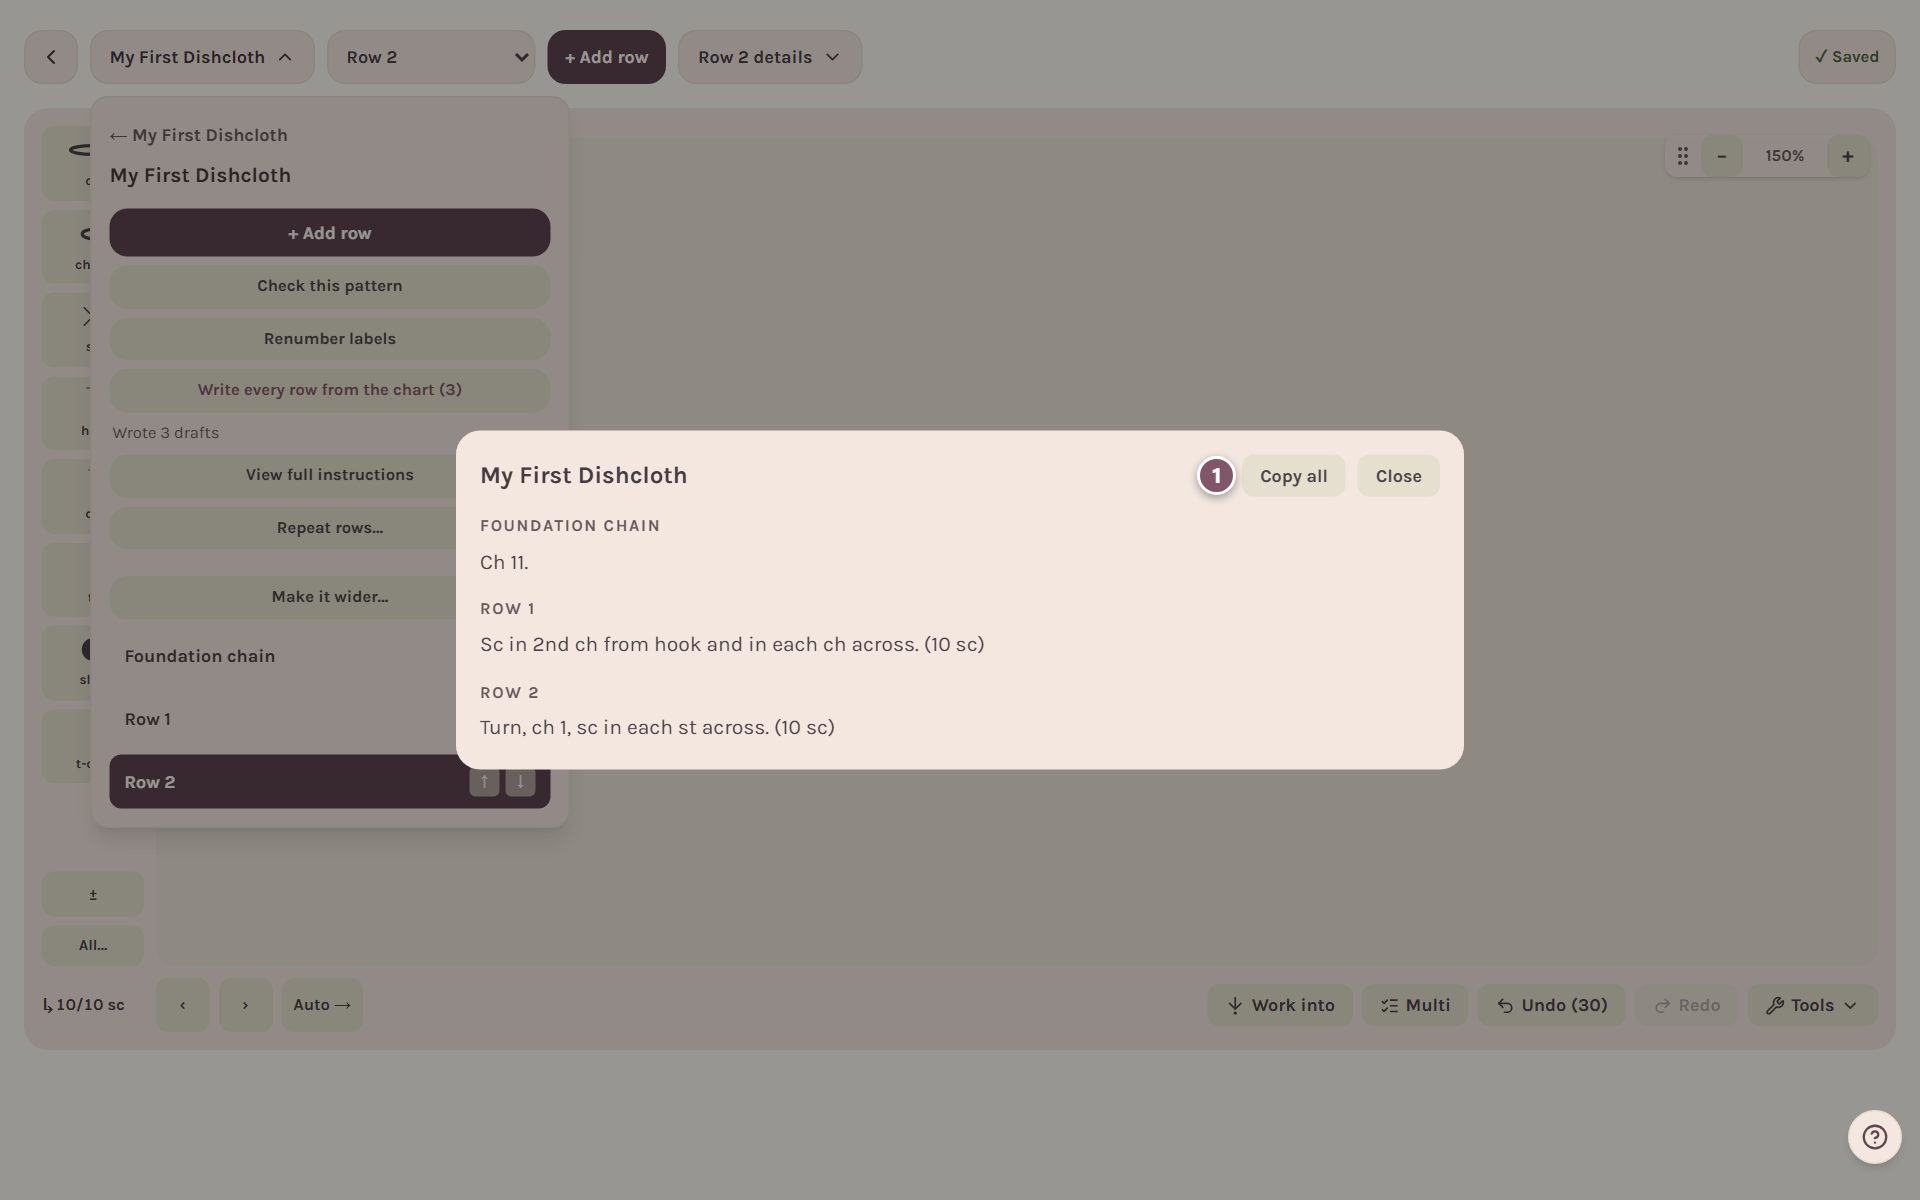
It reads just like a published pattern: "Ch 11.", then "Sc in 2nd ch from hook and in each ch across. (10 sc)", then "Turn, ch 1, sc in each st across. (10 sc)".
The words are yours to change. To say a row your own way, pick it from the row menu at the top, open its details (on a phone, tap ☰ and scroll down to Row details; on a computer, tap the Row 1 details button, named for the row you picked) and type in its Instruction box. Words you type yourself are kept when you write every row again.
Copy all copies the words, ready to paste anywhere. For more about the words, and Check this pattern for catching mistakes, see write crochet pattern instructions from a chart.
Find your design again
Everything you make lands on the Patterns tab under Your designs.
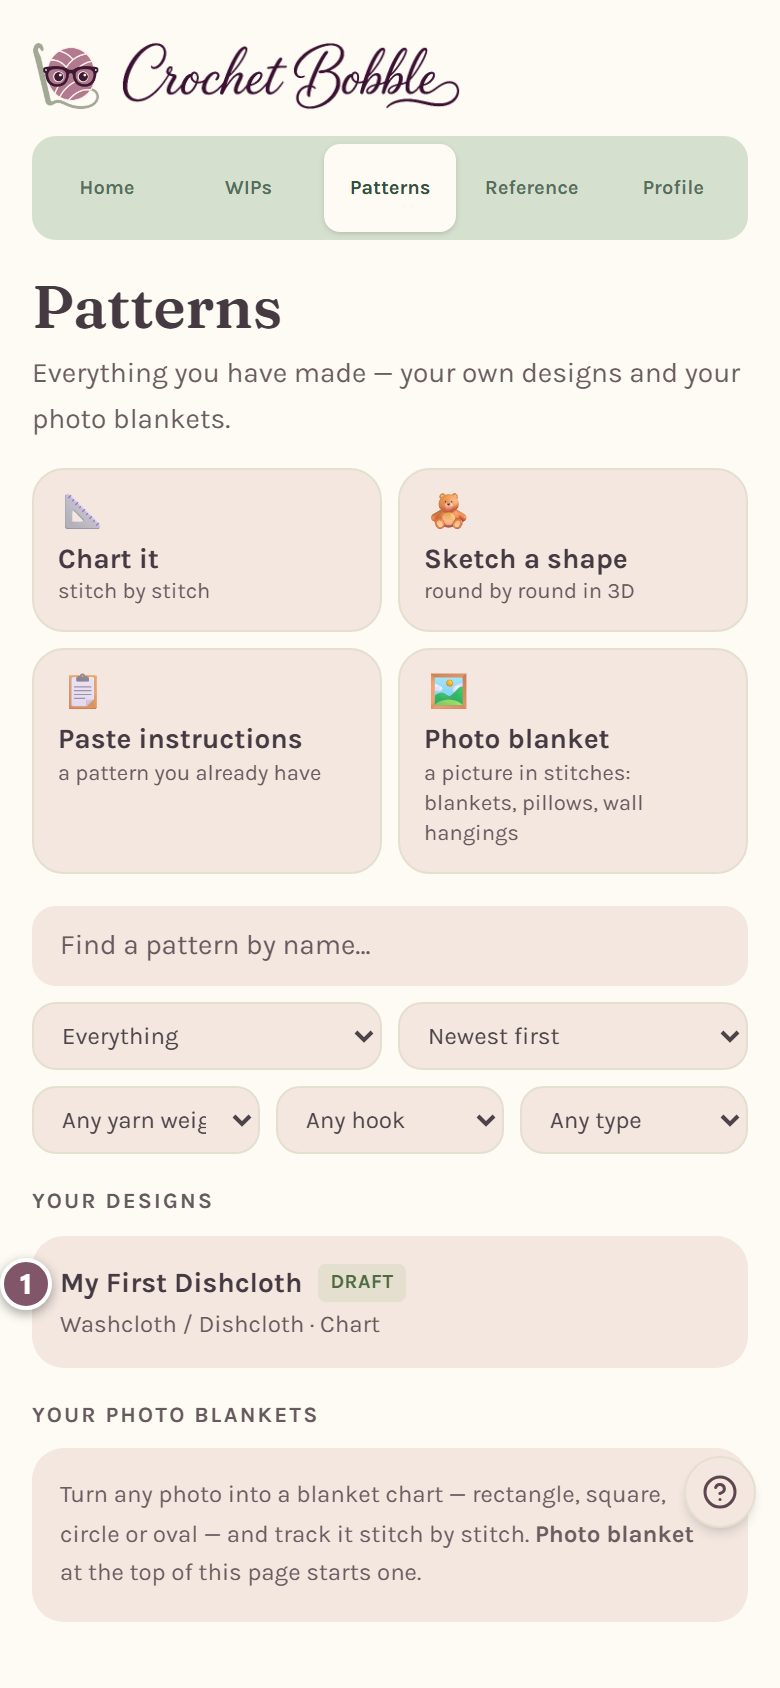
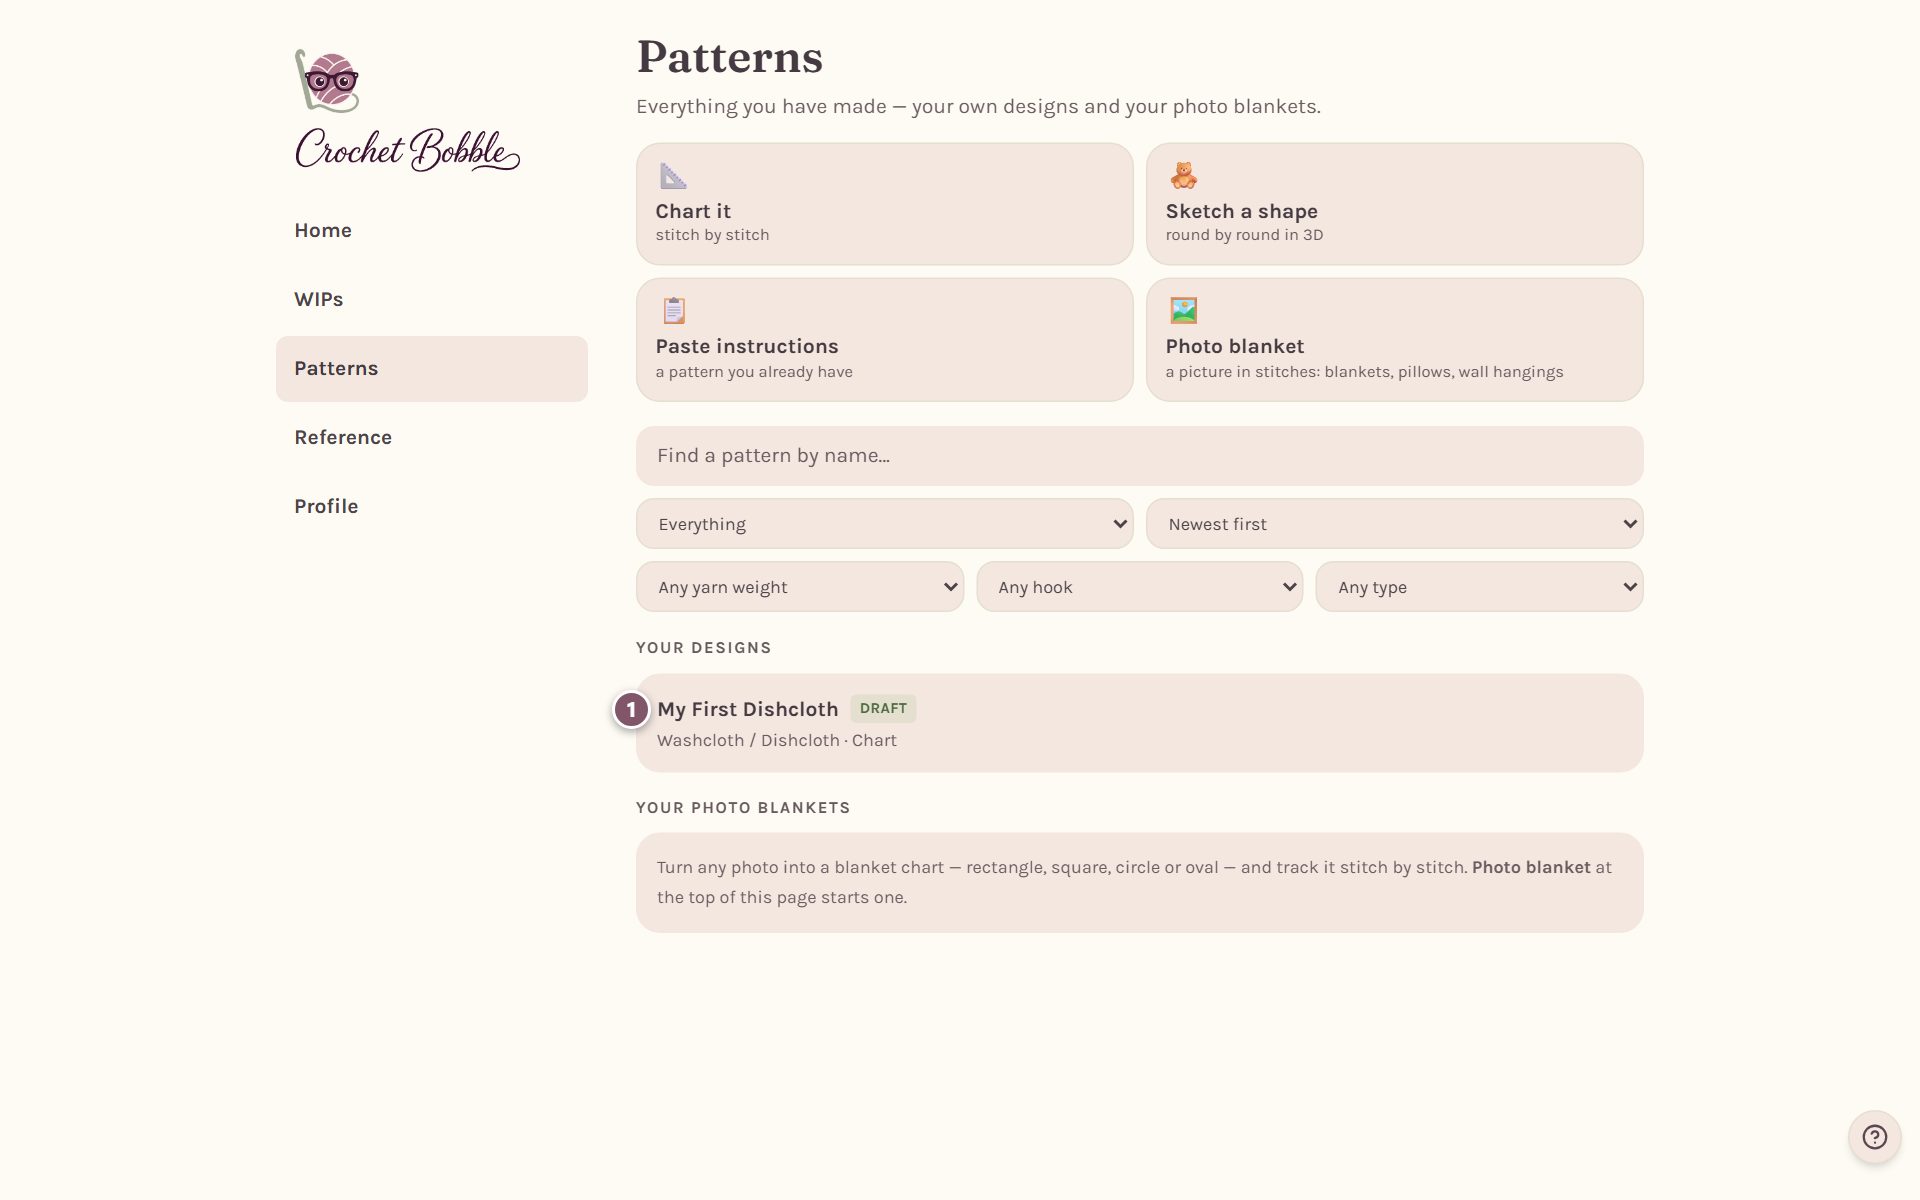
Tap it to open its page.
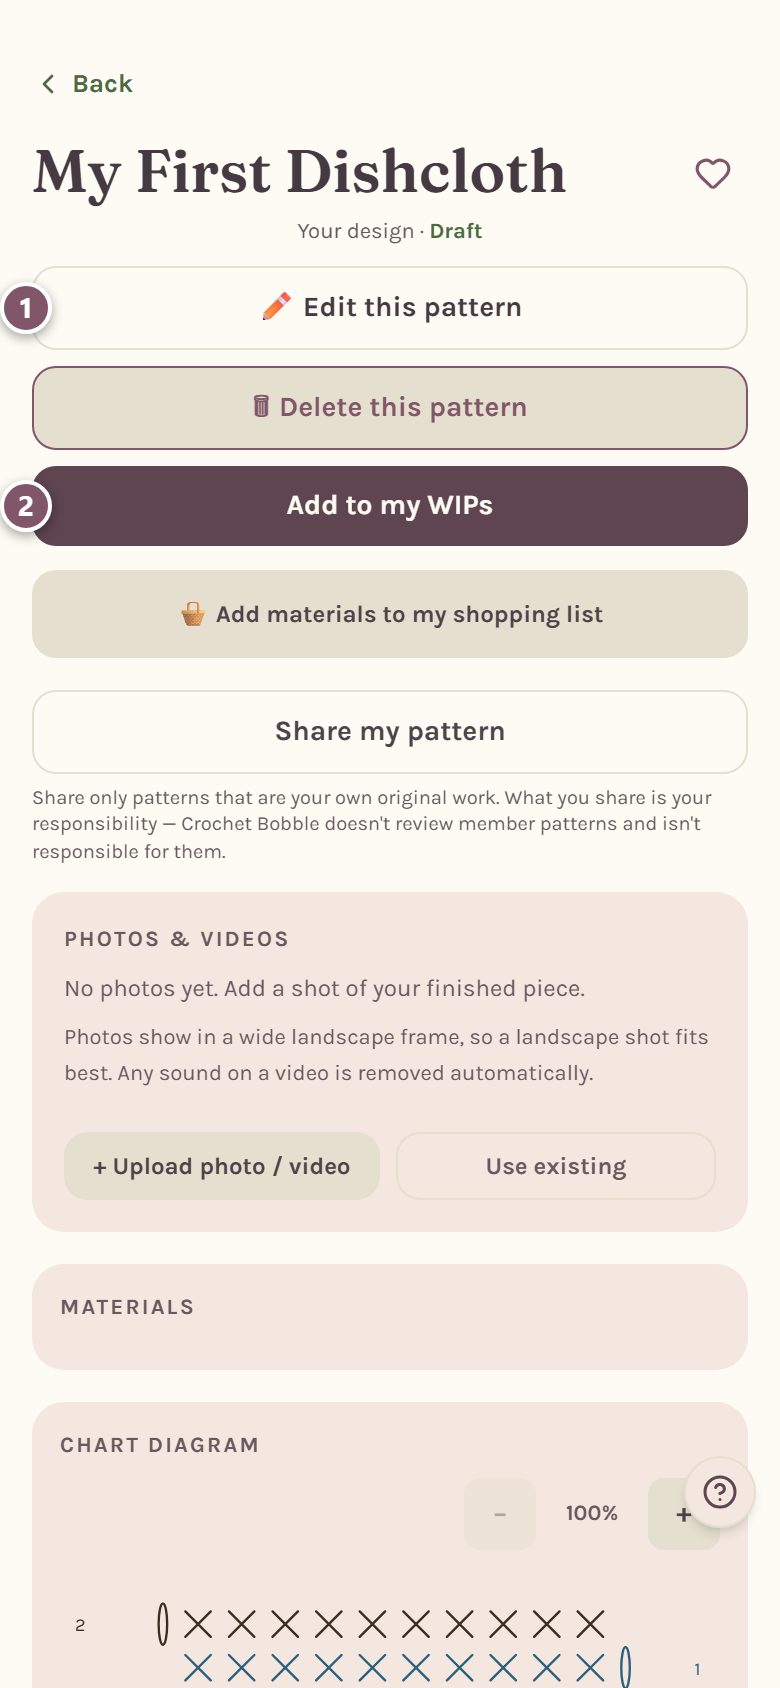
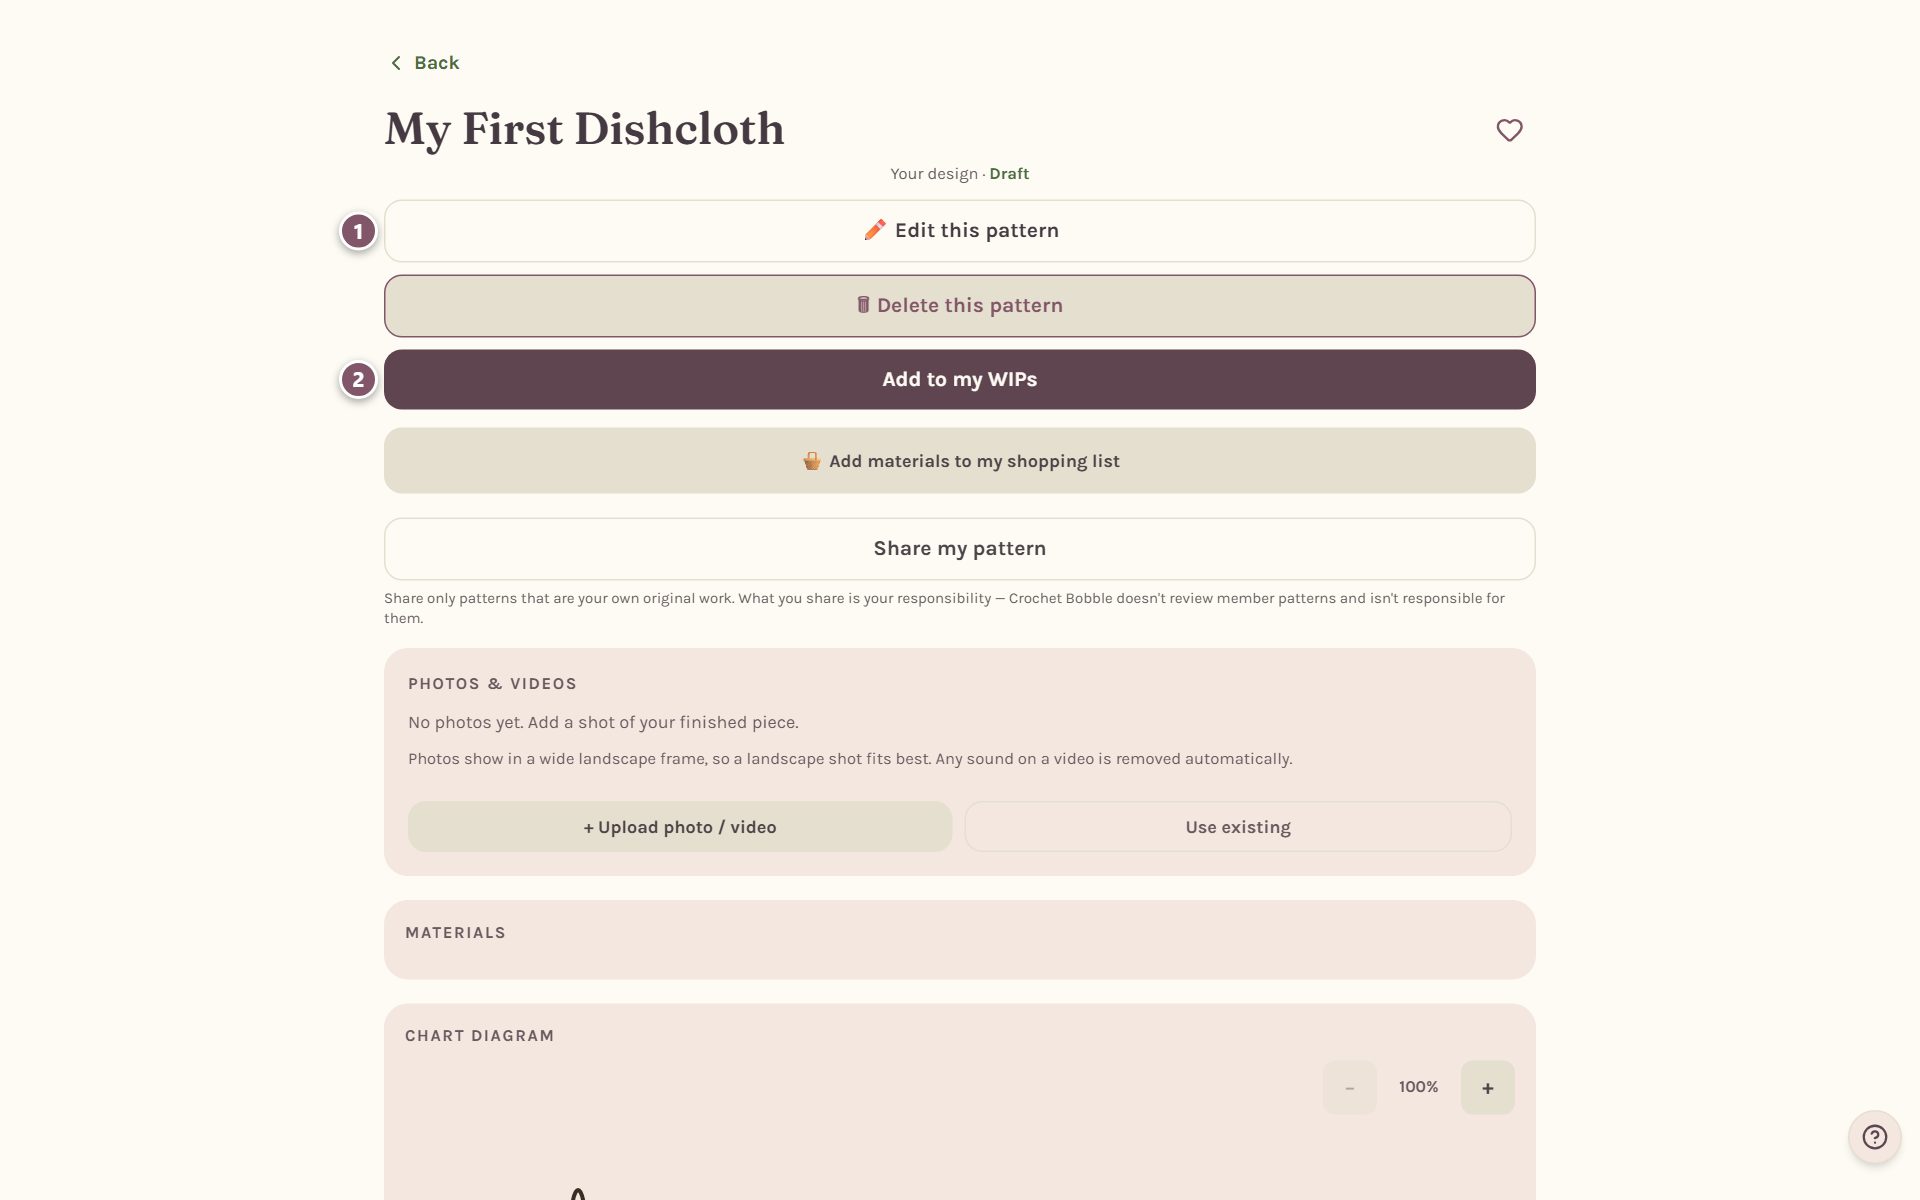
- Edit this pattern changes its name, yarn and hook, and Open builder at the bottom of that page takes you back to the chart.
- Add to my WIPs starts making it. The tracker keeps your place row by row and stitch by stitch. See track a written pattern row by row.
Print it
Scroll to the bottom of your design's page.
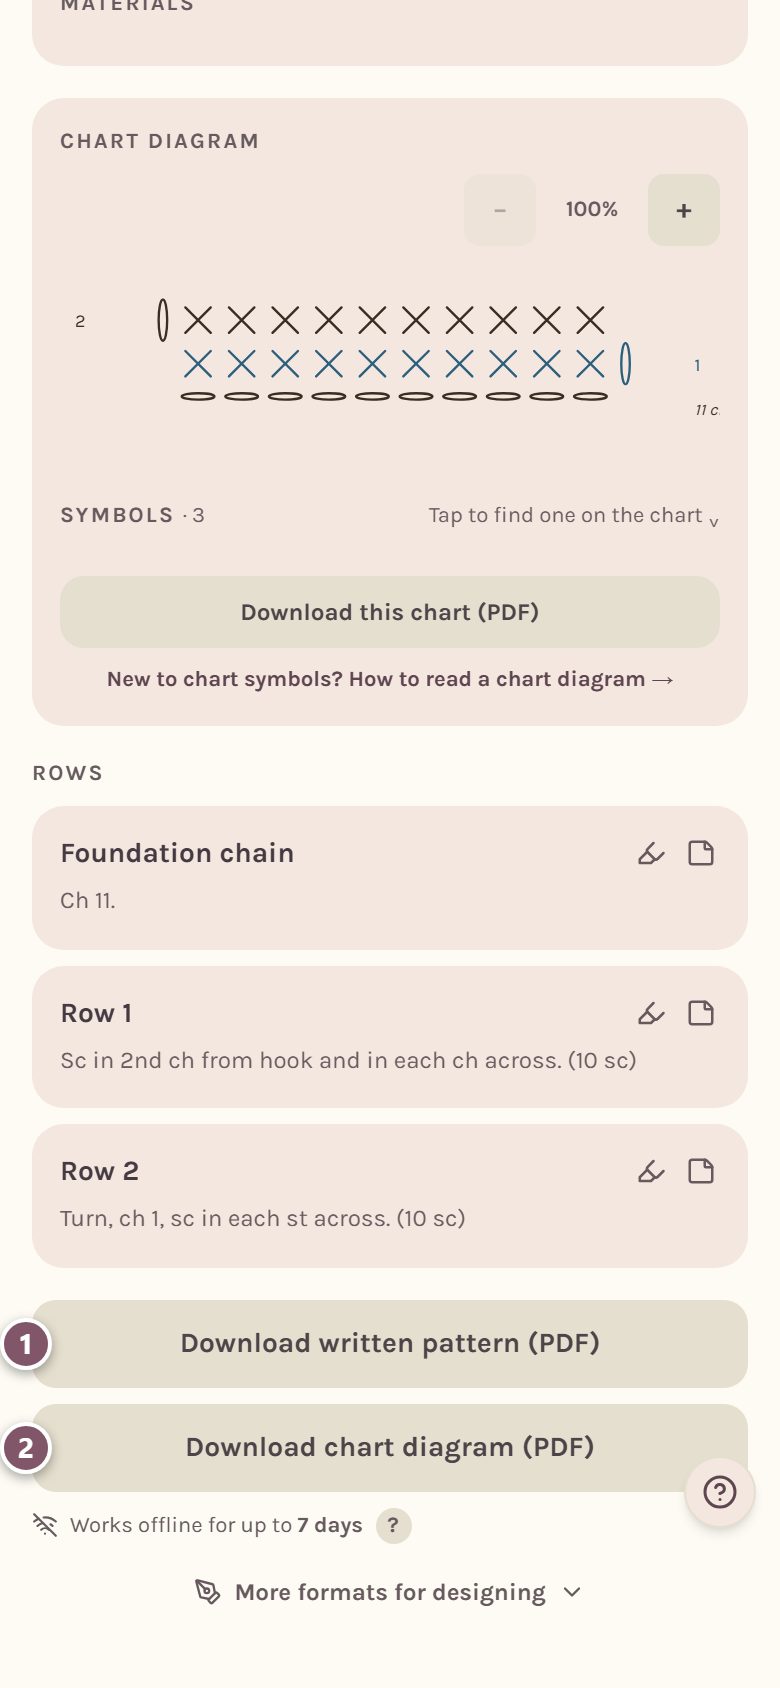
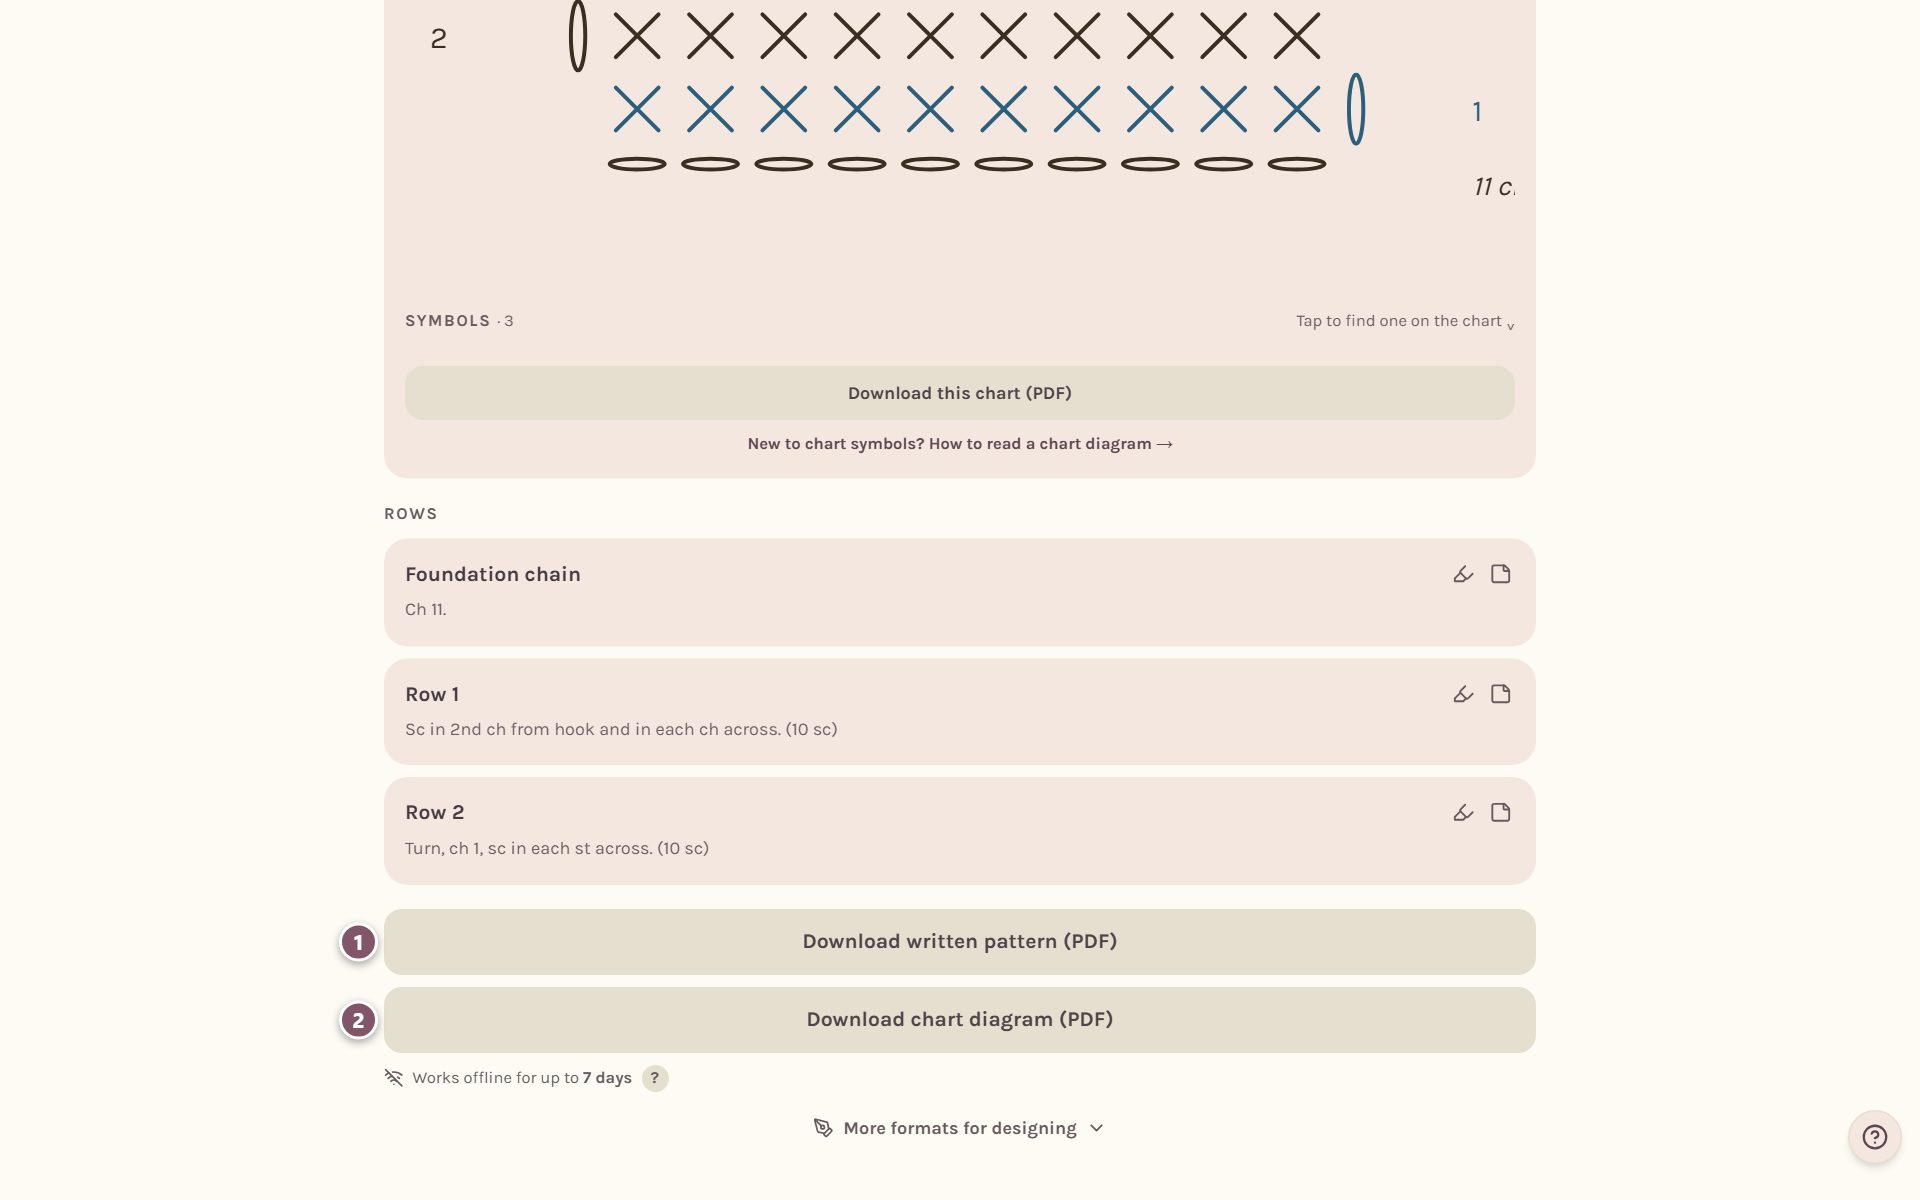
- Download written pattern (PDF) is the pattern in words, ready to print.
- Download chart diagram (PDF) is the chart with its symbol key.
There are more formats for laying your pattern out yourself. See your crochet designs.
Where to go next
- How to make a crochet stitch chart walks through a round chart, the stitch toolbar, and working into rows further down.
- Crochet chart maker tips covers repeats, chain spaces, stitch length and colors.
- The amigurumi pattern maker is your next step for 3D.
Frequently asked questions
Do I have to know chart symbols? No. Every button in the stitch strip shows its symbol and its name, and the stitch dictionary explains them all.
Can I change a design after I've started making it? Yes. Open it with Edit this pattern and change anything you like.
Is my design private? Yes. It's a draft only you can see.
Can I sell a pattern I design here? Yes. A pattern you design yourself in Crochet Bobble is yours to sell. See your crochet designs.
Ready to try it? Crochet Bobble opens right in your browser, on a phone or a computer.
Open Crochet Bobble